Chicken Tempura
This post may contain affiliate links. See my disclosure policy.
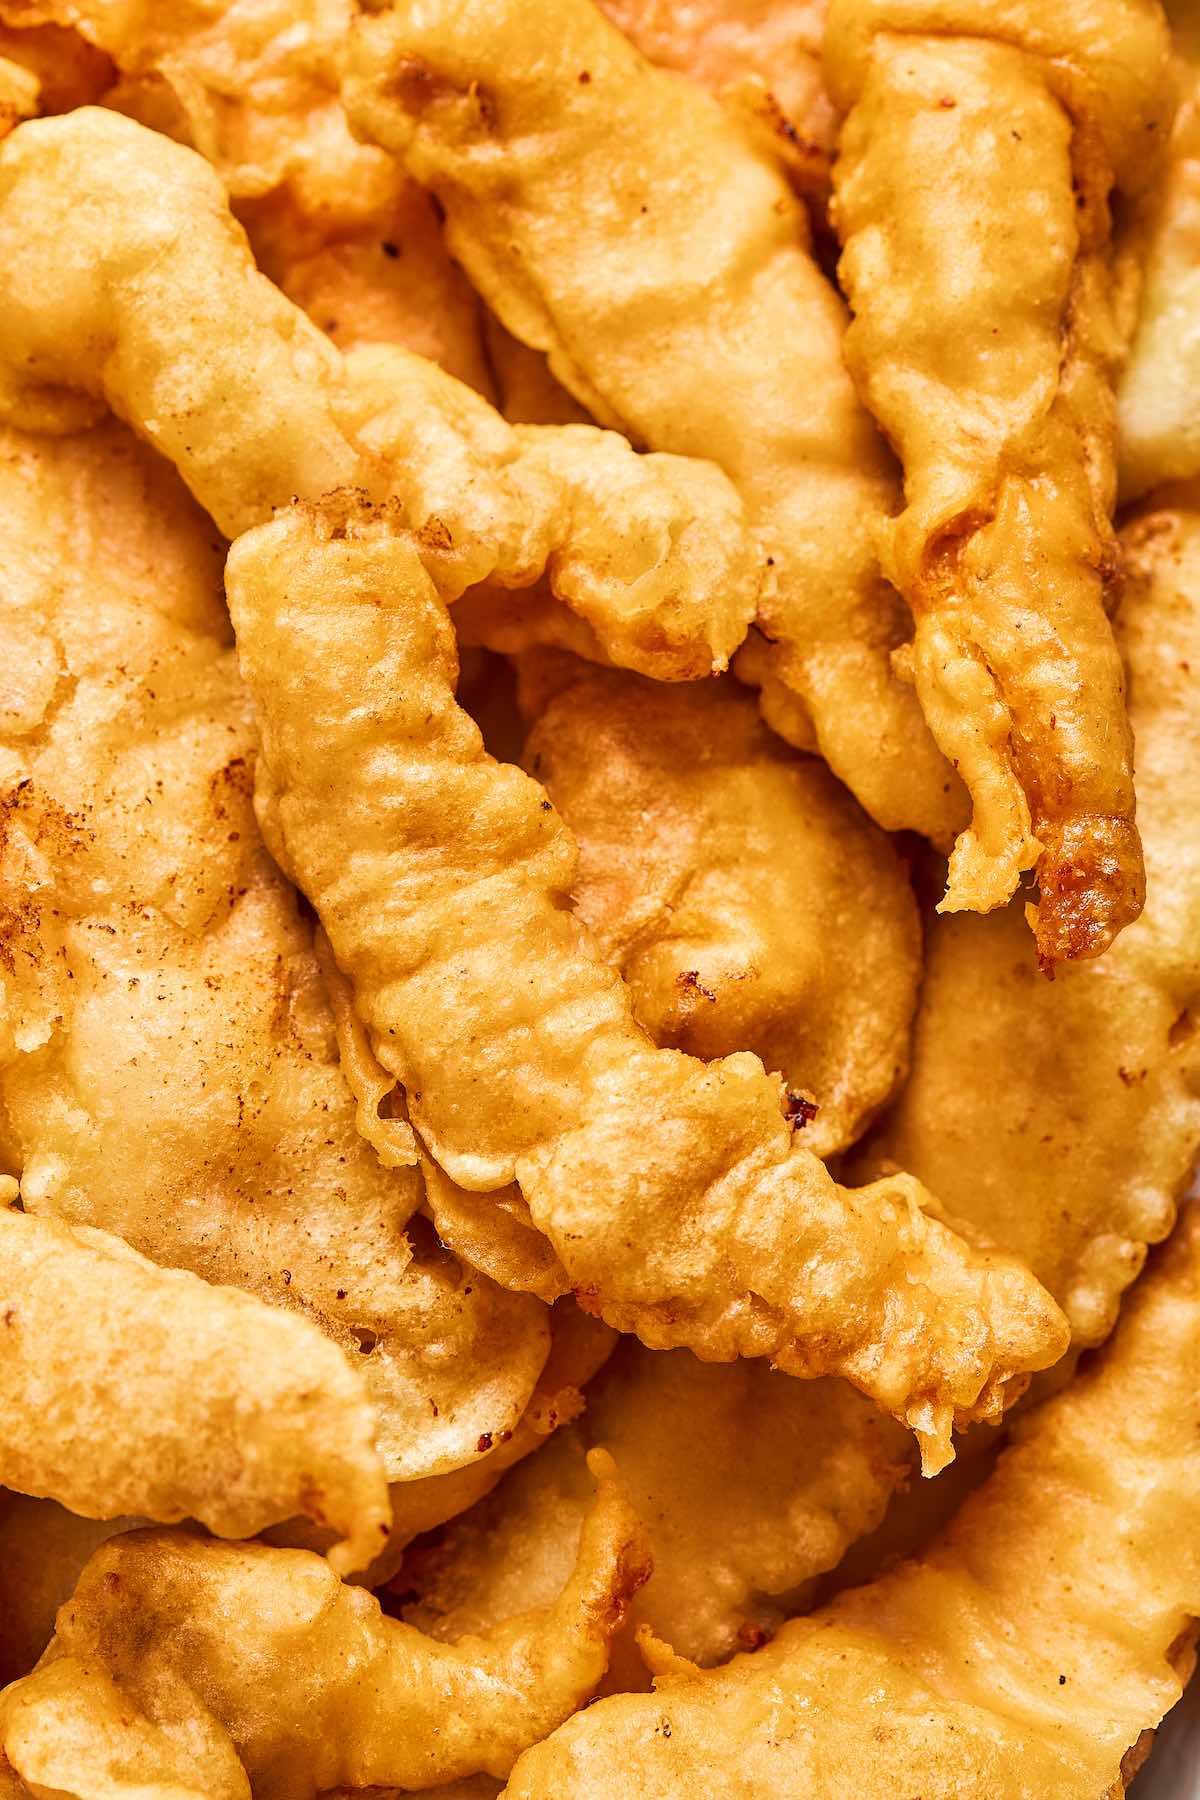
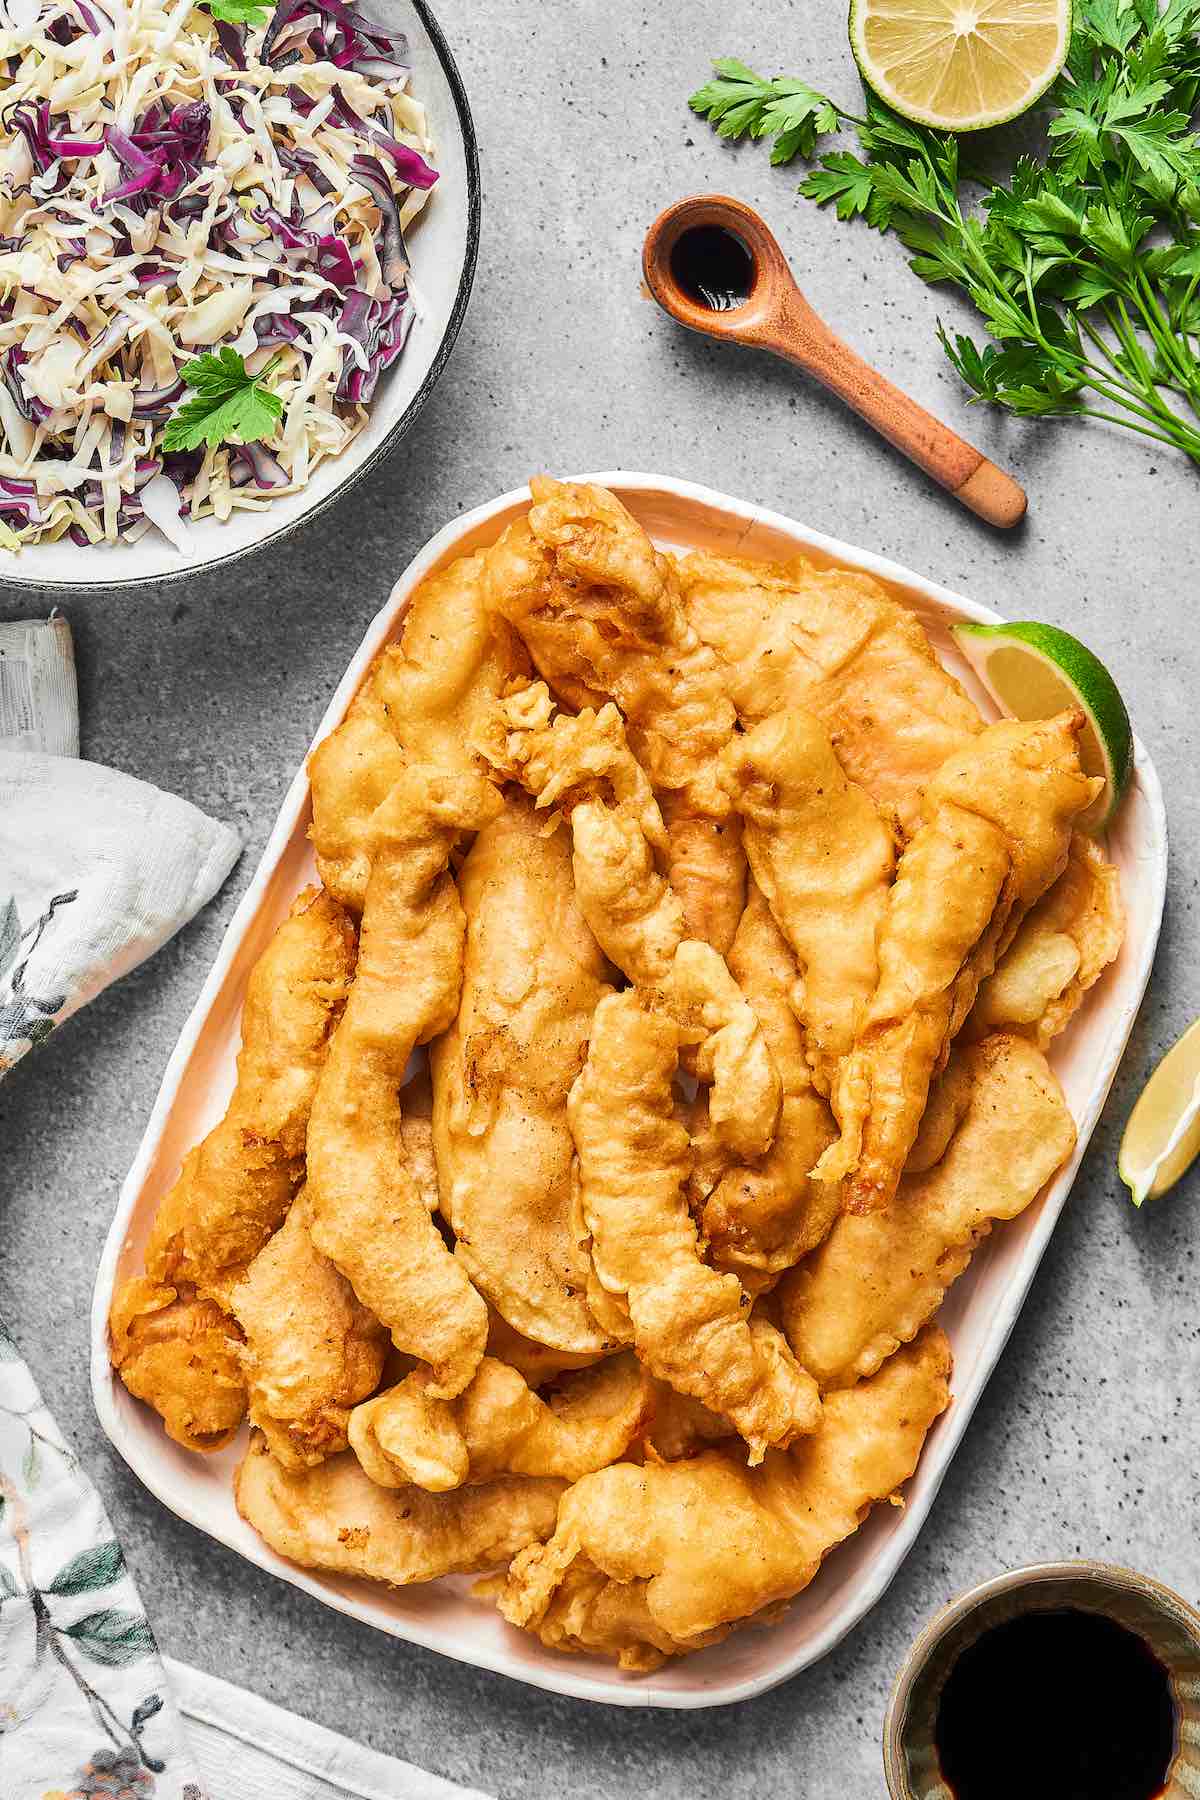
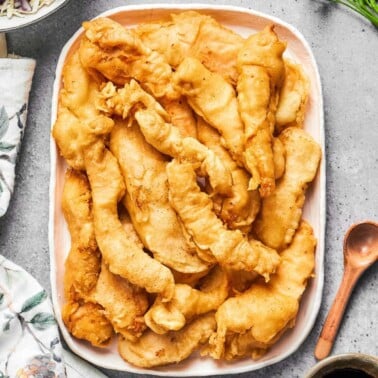
My chicken tempura recipe yields golden tempura pieces that are crispy on the outside and juicy in the center. They taste like they came straight from a Japanese restaurant!
Need more Asian chicken recipes? Try my chicken lollipops, chicken satay, or firecracker meatballs next.
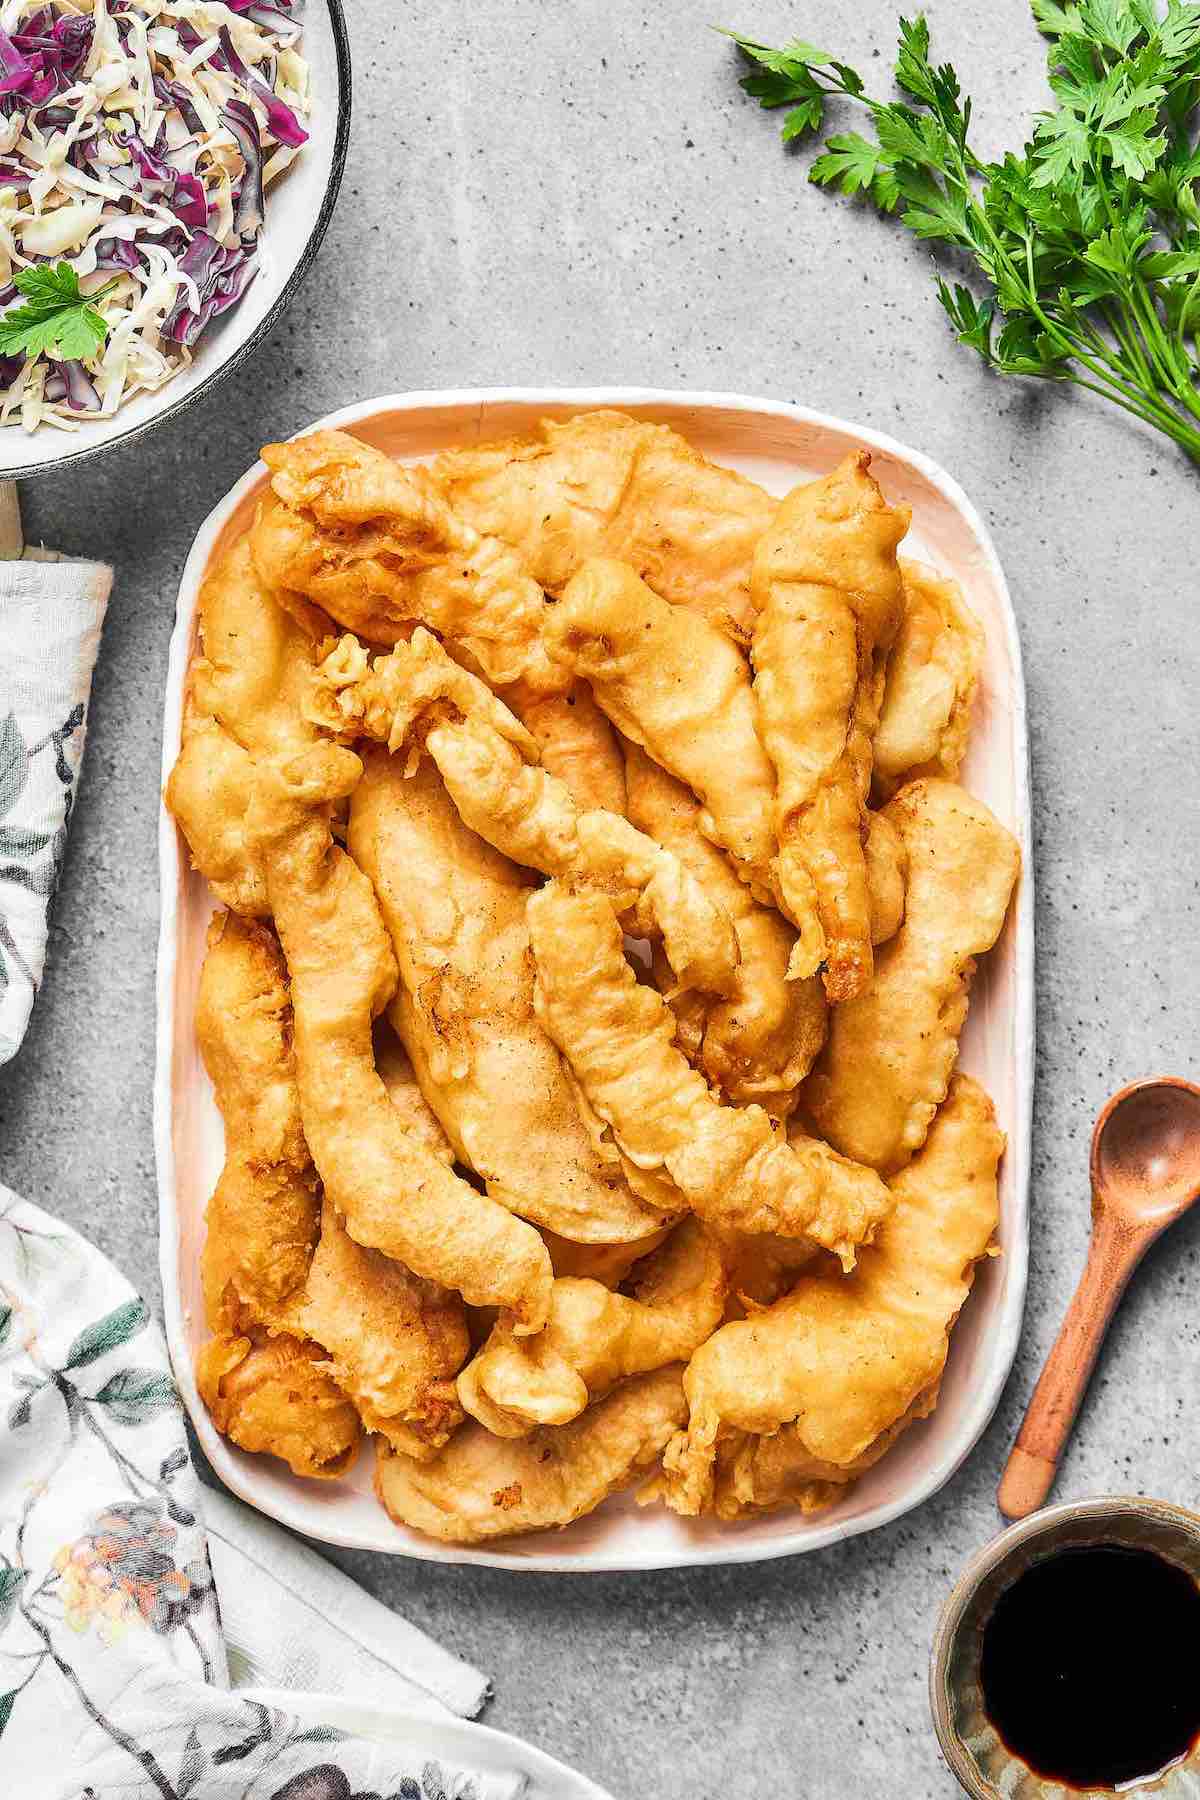
My family and I LOVE going out for Japanese food, and tempura is always our go-to appetizer. But, surprisingly, I just realized how easy it is to make at home.
Suffice it to say, we’ve been a bit obsessed. The batter coating is golden brown and addictively crunchy, while the meat remains tender and well-seasoned. When paired with the delicate flavors of my tempura dipping sauce, it’s sure to become a family favorite–just ask my family!
What is tempura?
Tempura is a Japanese dish consisting of lightly battered meat or vegetables fried until golden. It’s different from southern fried chicken in that the batter is made with flour, not breadcrumbs, which yields a far lighter texture.
Table of Contents
Why I love this recipe
- It’s so simple yet full of flavor. Honestly, the batter doesn’t look like much, but when it all comes together, you’ll be surprised at just how savory and complex it is.
- Healthier than regular fried chicken. The tempura technique doesn’t require as much oil as deep frying does, making for a (slightly) healthier choice.
- Works with other meats and veggies. Once you learn how to make the batter, feel free to experiment with shrimp, broccoli, or, my favorite, delicata squash!
- Alternative cooking methods. I’m partial to frying because it yields crispy tempura, but I also listed how to make tempura in the oven or air fryer.
Ingredients needed
- Chicken. I prefer chicken tenders as they are already cut to size for tempura. Alternatively, you can slice skinless chicken breasts or boneless chicken thighs into thin strips.
- Soy sauce. To keep the chicken juicy.
- Salt and black pepper. To taste.
- Oil. To fry the tempura. Always choose oil with a high smoke point, like canola or vegetable oil.
For the tempura batter:
- All-purpose flour. Also known as plain flour. I did get slightly crispier chicken with cake flour, so you could use either.
- Corn starch. Also known as cornflour, this works with the flour to add crunch and a lovely golden brown color.
- Baking soda. Adds stability to the batter.
- Egg. Adds moisture.
- Soda water. This is my #1 secret weapon for tempura. Soda water (or seltzer water) adds carbonation, making for ultra-crispy chicken.
- Cold water. While not technically an ingredient, you’ll need it to keep the batter cold.
How to make chicken tempura
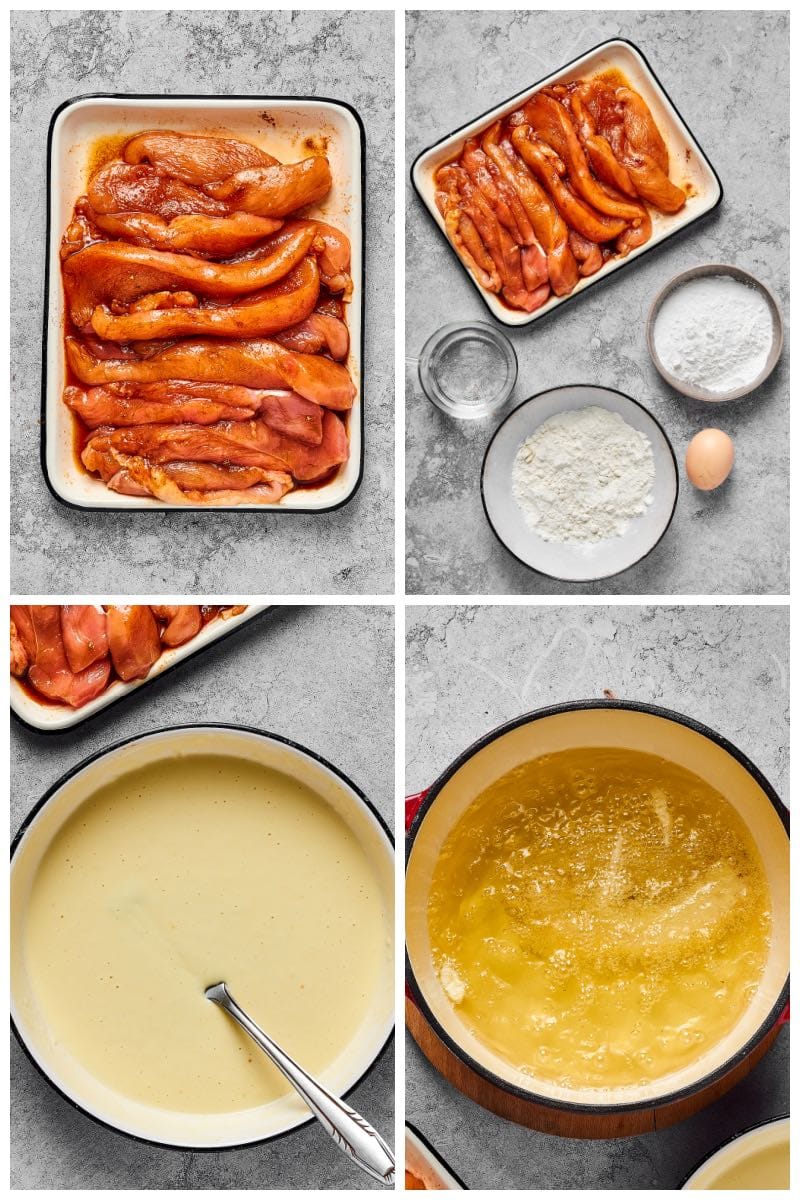
I’ve included step-by-step photos below to make this recipe easy to follow at home. For the full printable recipe instructions and ingredient quantities, scroll to the recipe card at the bottom of this post.
Step 1- Season the chicken. Add the chicken, salt, pepper, and soy sauce to a large bowl.
Step 2- Mix the batter. Add the batter ingredients to another mixing bowl and stir until smooth.
Step 3- Heat the oil. Fill a deep pot with oil over medium heat.
Step 4- Dredge and fry. Dip the chicken strips into the batter, shake off the excess, and fry until golden. Transfer the fried chicken to a paper towel lined plate and repeat with the remaining chicken.
Alternative cooking methods
If you’d rather not fry the chicken, you can make it in the air fryer or oven. Here’s how:
Air fryer method. Preheat the air fryer to 200C/400F. Add a single layer of battered chicken into the greased air fryer basket. Air fry for 12-14 minutes, flipping midway through. Wipe the basket clean between each batch.
Oven method. Preheat the oven to 200C/400F and line a baking sheet with greased parchment paper. Once hot, bake the battered chicken for 20-25 minutes, flipping several times throughout.
Arman’s recipe tips
- Don’t overmix the batter. The ingredients should be just combined. Even if there are a few clumps, don’t worry. They should disperse as the chicken is frying.
- Make the batter fresh. I tried making a batch after the batter sat out, and it didn’t turn out as crispy, likely because too much gluten had developed in the batter.
- Heat the oil to 180C/350F. I’ve found this is the perfect temperature for keeping the chicken juicy while giving the outside time to crisp up and become golden. Use an instant read thermometer to check.
Storage instructions
To store: Leftovers can be stored in the refrigerator in an airtight container for up to 5 days.
To freeze: Place the cooked and cooled tempura in an airtight container and store it in the freezer for up to 6 months.
Reheating: Reheat tempura in a non-stick pan or in the air fryer or oven. Do not microwave it or else it’ll become soggy.
Frequently asked questions
Chicken katsu is made with panko-breaded fried chicken, whereas tempura is made with boneless, skinless chicken that’s dredged in a flour-based batter.
If you let the batter sit for too long, gluten forms. Once you fry it, it becomes thick and gluggy and will not be crispy. To prevent this from happening, ALWAYS make your batter just before you fry the tempura.
Tempura is also deep-fried like a traditional batter, so it’s not the healthiest of options. But comparatively, it’s a healthier option because it uses less oil.
More Japanese-inspired appetizers & sides
Chicken Tempura
Ingredients
- 1 pound chicken breast sliced into strips
- 3 tablespoons soy sauce
- 1/2 teaspoon salt
- 1/2 teaspoon pepper
- 1 cup vegetable oil
For the batter
- 3/4 cup all purpose flour
- 1/4 cup cornstarch
- 1/4 teaspoon baking soda
- 1 large egg whisked
- 1 cup soda water seltzer/sparkling water
Instructions
- In a mixing bowl, add the chicken breast, soy sauce, salt and pepper.
- In a separate bowl, add the flour, cornstarch, and baking soda and mix well. Make a well in the center and add the egg and soda water. Gently mix until combined.
- Add the oil to a deep pot or saucepan and place it over medium heat.
- Moving quickly, dip the chicken in the batter until fully coated. Shake off excess batter.
- Place several chicken pieces in the hot oil and fry for 2-3 minutes until golden. Remove the cooked chicken and place them on a paper towel to soak up excess oil. Repeat the process until all the chicken is cooked.


It’s delicious
Japanese dish and I already have all. Soy sauce I like a lot.
I’ve made a LOT of chicken strips over the years but, this one is, by far, our favorite!
Easy, excellent flavor and moist! Hubby says we don’t have to try any other recipes!
It came out fluffy and crispy as it should, unlike many other recipes.
Thanks, Alex!
This recipe is amazing! I’ve already made it three times this month. Definitely a family favourite. Thank you for sharing.
Thanks for the feedback, Tina!
I did not know that soda water does the trick. Thank You.
What can I substitute for soy sauce. No salt due to medical problems. Thank You
I haven’t tried an alternative.
I use SAN-J Tamari gluten free 25% less. 15 ml, 10 cal, sodium 710mg 31%.