Vegan Brownies
This post may contain affiliate links. See my disclosure policy.
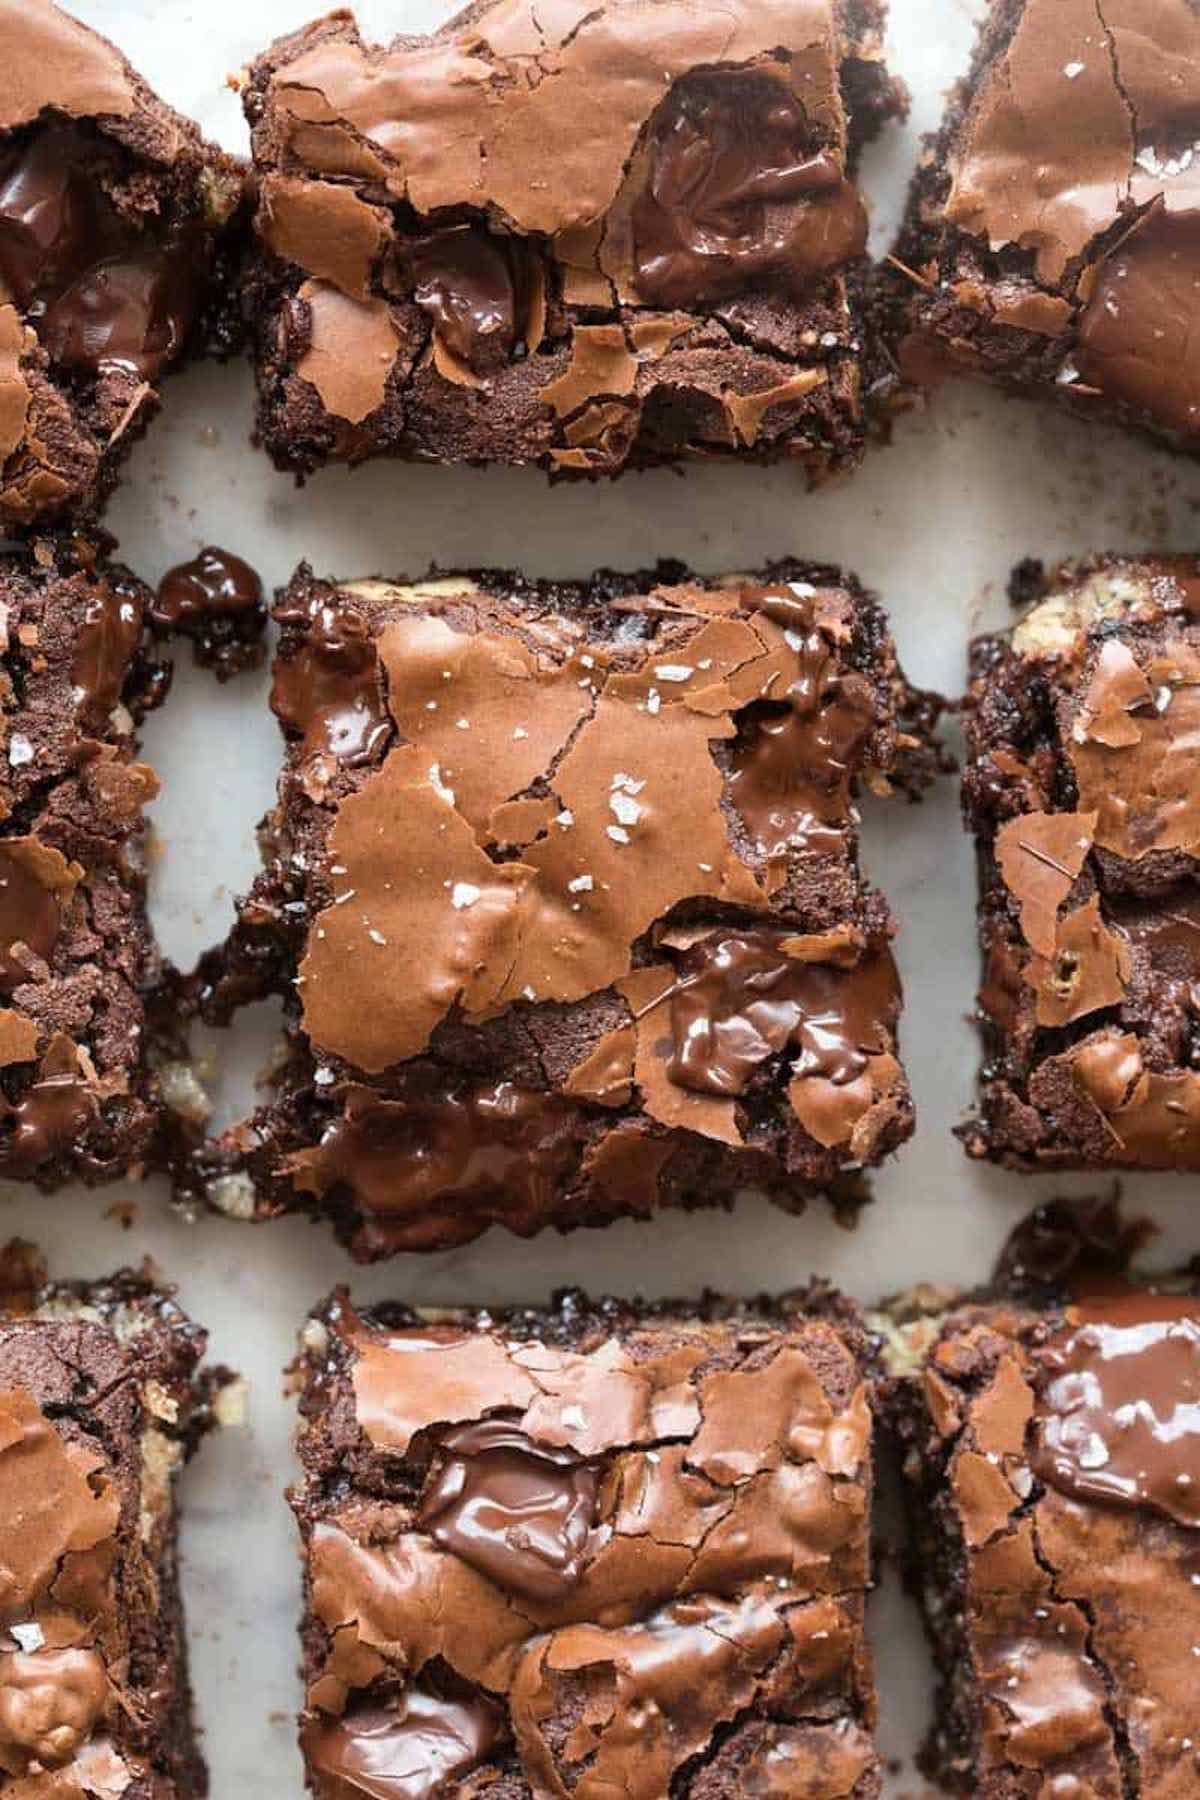
My vegan brownies are truly the best. They are fudgy and gooey in the middle with crackly tops. They are easy to make and use simple ingredients!
I’ve tested countless vegan brownie recipes over the years, but none of them hit that perfect trifecta: crackly tops, fudgy centers, and rich chocolate flavor… until this one. After months of tweaking ratios and testing every dairy-free substitute under the sun (spoiler alert: only a handful actually work), I finally landed on a recipe that my readers (and my own taste testers) now call the best vegan brownies ever.
They’ve even won several awards in the vegan baking category- and honestly, most people I serve them to don’t believe me until I tell them (even my partner, who thinks anything with the word ‘vegan’ in it is inedible!).
Table of Contents
Recipe highlights
- Perfect texture. Gooey, chewy, and loaded with tons of chocolate chips.
- One bowl. Everything is made in one bowl, so clean-up is a breeze.
- No strange ingredients. No milk or milk substitutes are needed, including soy or almond milk. Also, no black beans, chickpeas, or sneaky ingredients that should NOT belong in desserts.
What readers are saying
★★★★★ – “These are SO good and so fudgy. Honestly, the crinkly tops make them taste like a classic Boxed mix brownie.” – Lynn
Key Ingredients
Here are some important notes on the main ingredients for vegan brownies. The Full ingredients & instructions are in the recipe card below.
- Flax Eggs. My preferred egg sub for these brownies. Usually, one tablespoon of ground flaxseed is mixed with three tablespoons of water to form one ‘egg’, but I swap the water for black coffee for a more intense chocolate flavor.
- Black Coffee. Brewed and cooled. Instant coffee also works.
- Chocolate Chips. Skip the expensive store-bought kind and make your own vegan chocolate chips.
- Coconut Sugar. To sweeten the brownies and give them gorgeous crackly tops! White or brown sugar also works.
- Vegan Butter. I tested the four most popular vegan butter substitutes on the market (Miyokos, Earth Balance, Violife, and Kite Hill) and Miyokos was the clear winner- seriously, my partner and I were fooled into thinking it wasn’t vegan. It was also the only vegan butter that gave the brownies the crackly tops. Saying that, the other three turned out nice and fudgy.
- Vanilla Extract. A must for any good brownie recipe!
- All-Purpose Flour. Sifted to ensure there are no clumps.
- Cocoa Powder. Use unsweetened and natural cocoa powder. Dutch-processed cocoa will also work, but sometimes, it can affect whether the tops become crackly.
How to make vegan brownies
Step 1- Combine the ground flaxseed with the brewed coffee. Let it sit for 10 minutes for a gel to form.
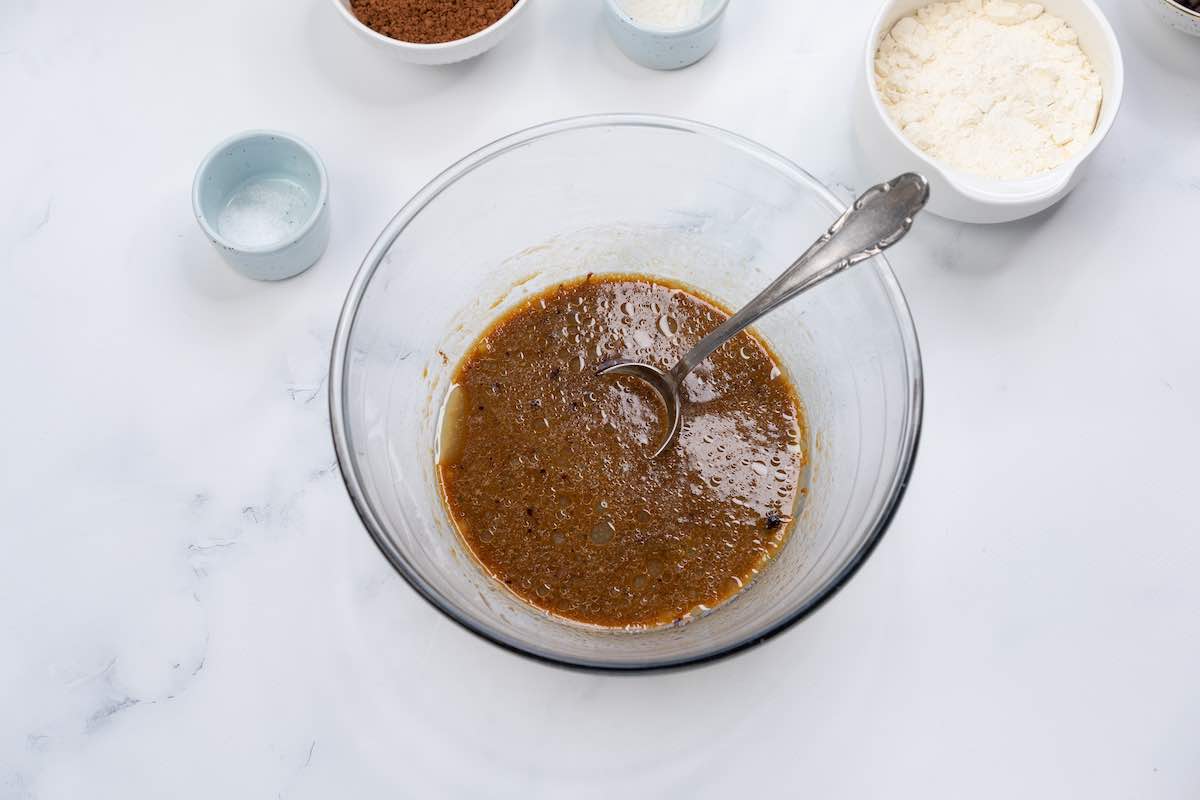
Step 2- Whisk the sugar and butter in a large mixing bowl until smooth. Add the vanilla extract, melted chocolate, and prepared flax eggs and whisk until combined and glossy.
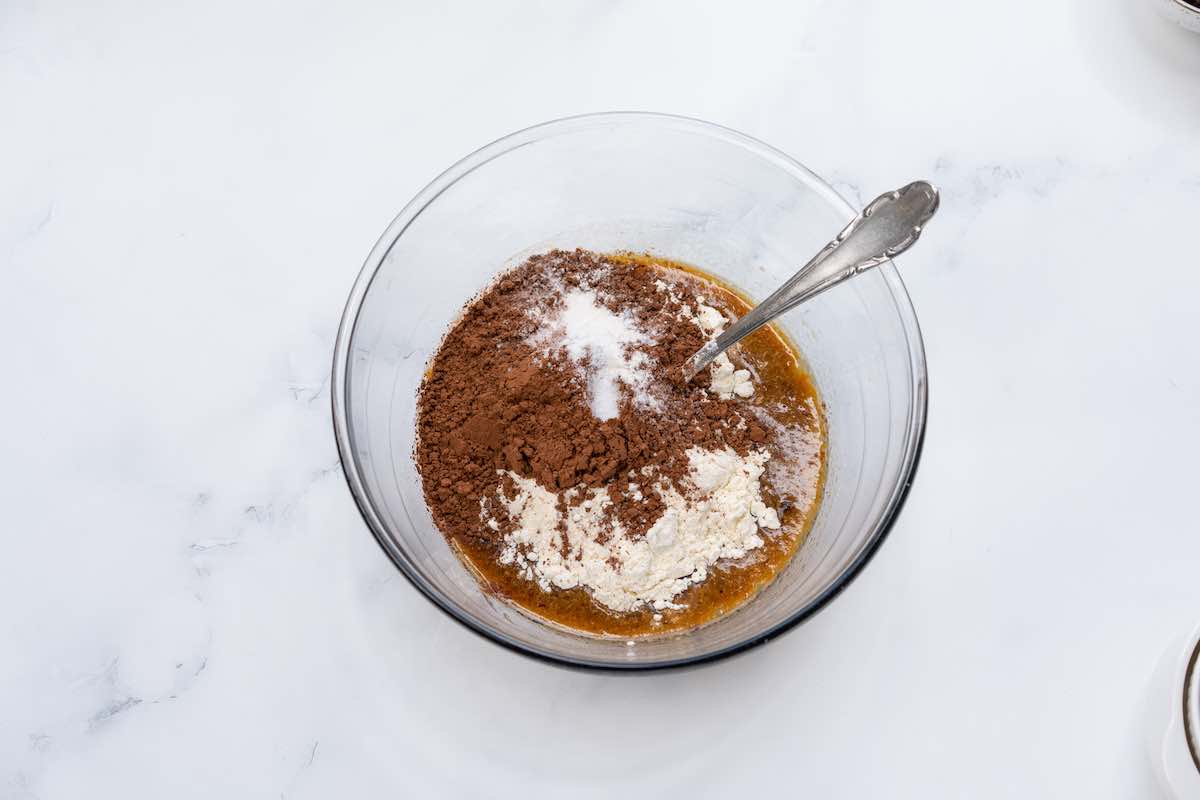
Step 3- Mix the flour, cocoa powder, baking soda, and salt until just combined.
Step 4- Bake the brownies for 27-30 minutes, or until a skewer comes out mostly clean.
Arman’s recipe tips
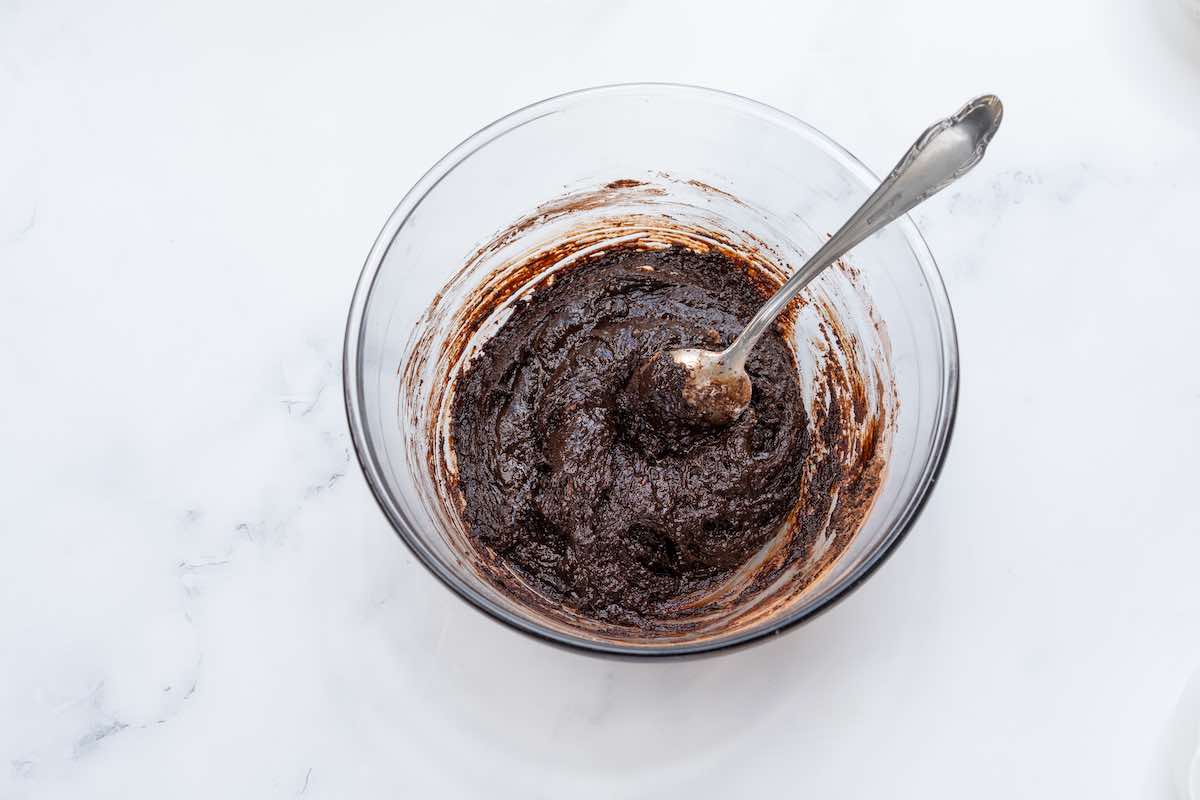
- Do not over-mix the batter. Many people fear brownies may turn out crumbly, and the number one reason is overmixing the batter. You want the ingredients to be ‘just’ combined- enough that no pockets of flour remain.
- Avoid over-baking the brownies as they continue to cook as they cool in the pan (called carryover cooking).
- For ultra gooey brownies, remove them around the 27-minute mark. If you’d prefer more chewy vegan brownies, keep them closer to 30 minutes.
- For easy removal, hang an inch of extra parchment paper over the sides. Once your brownies are ready to cut, remove them from the pan and slice.
Storage instructions
To Store: Store leftovers in the refrigerator to ensure they remain fresh. They are super gooey and fudgy, so the chilled temperature will ensure they don’t spoil.
To Freeze: Wrap them in parchment paper individually, and place them in a ziplock bag and store them in the freezer. They will keep well frozen for up to 6 months.
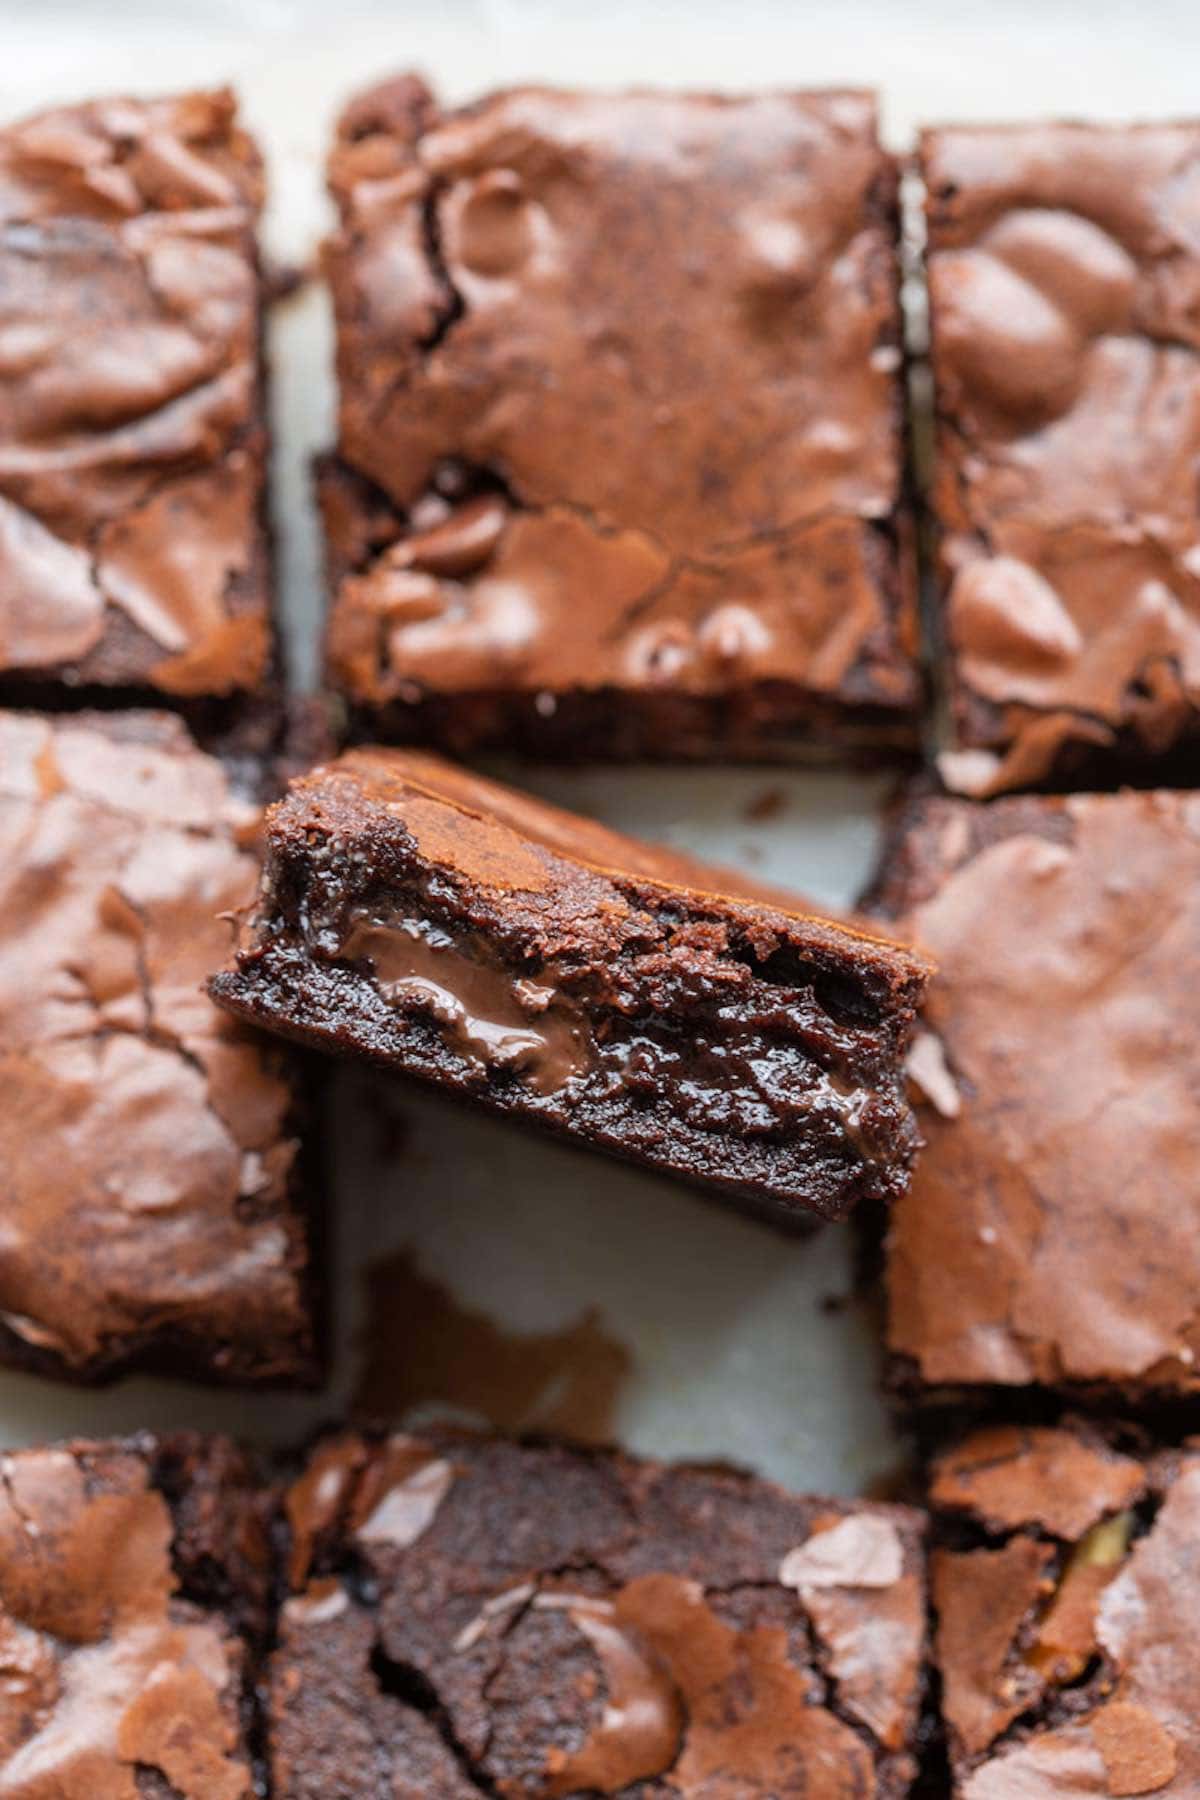

Fudgy Vegan Brownies
Video
Ingredients
- 2 tablespoon ground flaxseed
- 6 tablespoon brewed coffee can use for water
- 2 cup vegan chocolate chips divided
- 1 cup coconut sugar * See notes
- 6 tablespoon vegan butter softened
- 1 teaspoon vanilla extract
- 3/4 cup + 2 tablespoons all-purpose flour
- 1 teaspoon salt
- 1 teaspoon baking powder
- 1/4 cup cocoa powder
Instructions
- Preheat the oven to 180C/350F. Line an 8 x 8-inch square pan with parchment paper and set aside.
- Prepare your flax egg by combining your ground flaxseed with your brewed (chilled) coffee. Let it sit for 10 minutes, to form a gel.
- In a microwave-safe bowl or stovetop, melt one cup of chocolate chips of choice. Set aside.
- In a large mixing bowl, add your vegan butter and coconut sugar, and whisk well. Add in your prepared flax eggs, melted chocolate, vanilla extract, and mix well, until glossy.
- Sift through your flour, baking powder, salt, and cocoa powder and mix until just combined. Do not overmix. Fold through the remaining chocolate chips.
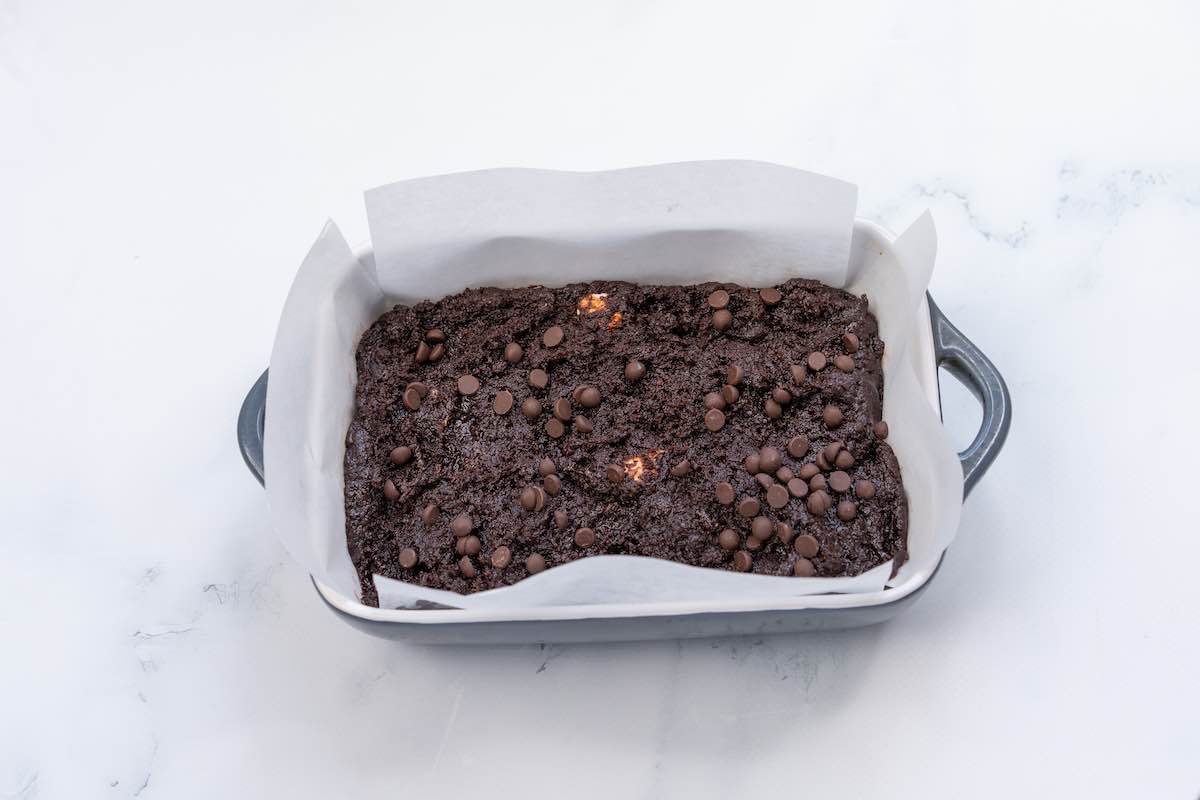
- Transfer your brownie batter into the lined pan. Bake your brownies for 27-30 minutes.
- Remove brownies from the oven and let cool completely, before slicing into 12 pieces.
Notes
- Make it gluten-free. Swap out the flour for gluten-free all-purpose flour that has added xanthan gum.
- Cut the sugar. Use a sugar substitute, like a brown sugar substitute. You can use swap out the chocolate chips for sugar free chocolate chips.
- Add frosting. A simple dairy free frosting or, for a healthy twist, a healthy frosting.
- Use different egg substitutes. Flax eggs work best, but you can also try one of these egg substitutes for baking.
- Add mix-ins. Fold through some chopped walnuts, vegan white chocolate, or even candy bits.
Nutrition
More favorite vegan desserts
- Vegan cinnamon rolls
- Vegan chocolate cake
- Vegan chocolate chip cookies
- Vegan blondies
- Vegan cookie dough
Originally published February 2020, updated and republished June 2025


The texture and look were great; however, the coffee was a bit bitter in them.
Hi Soraya- thanks for the feedback. I’m wondering if you used a really strong coffee, as it should elevate the chocolate flavor. Next time, reduce it by half and it should be perfect 🙂
What I have every year now for my birthday – three in a row!
I made a double batch the other night and only baked one storing the second in the fridge to snack on raw and then baked a second smaller pan the next day – AMAZING!
My family loves them as well as my co-workers!
Thank you! God bless!
Sounds perfect! What a birthday treat 🙂 So glad you love these brownies as much as we do!
Not gonna lie, totally didn’t think the top would crackle at all! I’ve baked vegan for over 20 years and have made many brownies and don’t think I’ve ever gotten a crackle! Also probably haven’t used a butter and ever since Miyoko’s became unavailable, I’ve had to use Melt so I wasn’t sure how well it would work. This recipe took me back over 30 years when a friend and I used to bake brownies from scratch. These are so good! Thank you! And I used water instead of coffee but to achieve a darker taste, cuz that’s just what I love, I added a smidge black cocoa powder and a few organic unsweetened raw cacao medallions to the melted chips. Not too sweet but rich and gooey. Of course, I sampled quite warm and it’s late so tomorrow I’ll see the true texture. Yum! This will be my new go-to recipe! I’m not always a recipe follower. I typically swap for avocado oil and use maple syrup, but I really wanted that crackle top so I fought the urge to fudge it up! Ha! So glad! Thanks again!
This is so wonderful to hear Bex! I’m so glad you got the crackly top you were looking for! It can definitely be a bit of balancing game with recipes like this 🙂
These are amazing!! Ice been making brownies for years and this is the first time they’ve come out fudgy!
If I triple the batch, will I have to adjust the baking time too??
Hi Krit- what a wonderful comment, thank you!
Yes- but it does depend on pan size. I’ve tripled this recipe and made it in a 13 x 9 inch pan and it did take quite a bit longer (47-48 minutes) but if your pan is say 15 x 15-inch, the baking time would be the same 🙂 As always, just check the tops and when it puffs up and the edges are firm, do the skewer test and go from there 🙂
I followed this recipe to a “T” except I substituted brown sugar for coconut sugar and I mixed this in a Kitchenaid mixer. The batter was so stiff and hard, just impossible to pour into the pan, so I had to add a little water, which impacted the baking time.
Hi Lilo- I’n sorry to hear that. Swapping the sugar wouldn’t be an issue unless it was a sugar free sub. If it turned out stiff and hard, it sounds like using the kitchenaid mixer cooled the melted chocolate, which affected how the batter turns out. I do recommend mixing by hand, so you can avoid the chocolate hardening, and easily incorporate each of the ingredients.
Hey Arman, I just made those brownies, and they taste great, but unfortunately they didn’t come out gooey at all. I made them in an 18 cm round form and reduced the amount of batter accordingly. Baked them for 27 minutes. Maybe had to reduce baking time by a couple of minutes? Are the metric measurements correct above? Most sites give vastly different conversions compared to the recipe.
The biggest differences were flaxseed and chocolate chips.
Chloe! Thank you so much for bringing this to my attention- I double checked and the metric numbers showing were the ones automatically generated by the recipe card, not the ones I inputed when I first posted this recipe- your numbers are correct! If you go in now, the correct measurements should be showing (updated and cleared caches in the recipe card). Please let me know if it’s showing on your end! 🙂
these vegan brownies are delicious! they are just the right mix of sugar, chocolate, and butter. one of the reasons we made this is because it’s vegan.
I love to hear that, Francis- thanks for the lovely review. I’m glad you enjoyed it 🙂
S
Thanks for the lovely rating, Tanya!
I’ve been looking for a good vegan brownie recipe and this is the first one I’ve tried that has been really good, and honestly they’re amazing. I used dutched cocoa and light brown sugar and they came out great; I didn’t get the crackly top, but I also don’t care about that as long as they taste amazing, which they did. Three important notes: 1) If you use the metric measurements, the conversion for the flax is VERY wrong; it should be 7g per tablespoon (14g for the single recipe), so 30g is crazy. Luckily I thought that seemed like too much and checked the package. 2) The salt amount is great if you’re using kosher salt (finally a brownie recipe with enough salt!), but for fine salt you need about 2/3 the volume (some folks say half, but I’ve never found half to be enough); 1 tsp of fine salt is way too much for an 8×8 pan of brownies. 3) I baked them almost 15 minutes longer and wished I had baked them even more (though I doubled the recipe, so that’s a factor). I took them out at an internal temp in the 180s in the center, over 200 on the edges, and when they had cooled the outside was perfect but the center was a bit too gooey. I found an Alton Brown recipe that says to bake to 195 in the center. That recipe also suggests baking at 300 for 15 minutes, then taking them out for 15 minutes, then baking another 30-ish minutes to 195 in the center, so I’m going to try that next.
H Jill, thanks so much for taking the time to leave a lovely review and rating. I also appreciate your notes you shared- I’ll double check on the flax ingredients, and also add a note on the salt. These brownies are definitely more on the gooey side, but I’d be keen to hear how they go when you try Alton Brown’s method- please keep me updated!
Its just better
You might even have some non-vegans agreeing with you on this one!
Can I do it without chocolate chips??
Hi Olga- the chocolate chips (or chopped chocolate) is needed for the batter, as it’s not just a mix-in.
Love this recipe – so easy!
Love to hear that, Fran. Thanks for taking the time to leave a lovely review and rating. 🙂
It was such a yummy brownie recipe!!! I used regular sugar instead of coconut and maybe it was a bit too sweet to my liking but delicious regardless, also used coconut oil instead of vegan butter and the flavor was increibleee. Maybe a bit too oily tho, I also had to cook it for a bit longer than 30min
Hi Domi- love to hear the tweaks you make. Yes, I hear you on the oil part, which is why I prefer vegan butter, but with the oil it still turns out really well- You can pat dry the sides to release extra. 🙂
They were very tasty however they were very undercooked. I baked them for about 20 minutes longer than stated and figured that had to be enough and let them sit out for a while. They were still basically raw in the centre. Put them in for at least another 20, and they were edible (only with a fork though haha) but still pretty wet. They did taste amazing but felt like we were eating brownie batter more than brownies. The only sub I made was brown sugar instead of coconut sugar but perhaps that makes a big difference?
Hi Victoria- So glad you found them tasting good. Brown sugar shouldn’t cause undercooking, so the issue is more likely the vegan butter. Not all vegan butters have the same fat content with many have more water, making brownies stay wet and gooey no matter how long you bake them. For these brownies, I’ve had the best results with Miyoko’s, and recently Country Crock plant butter (Earth balance, violife, and Kite Hill also work well).