Conchas (Mexican Pan Dulce)
This post may contain affiliate links. See my disclosure policy.
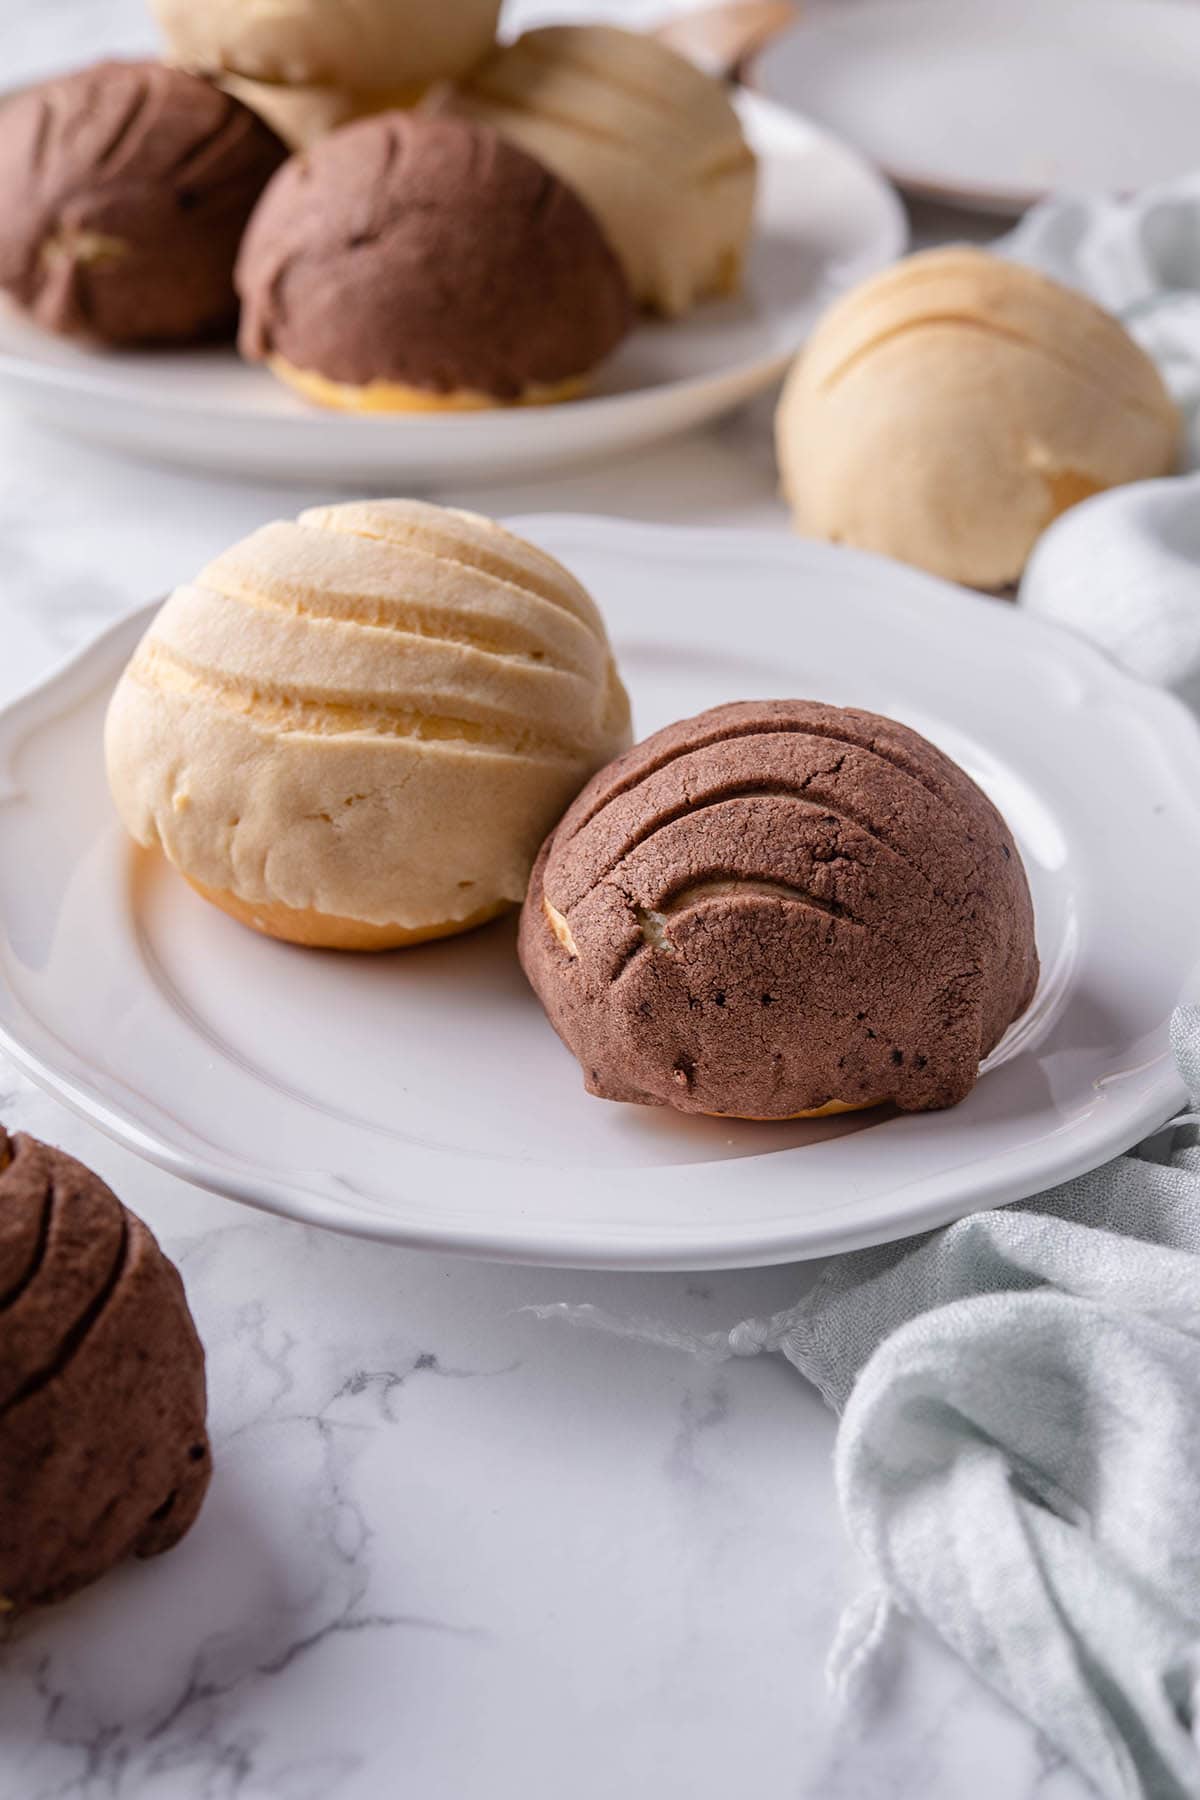
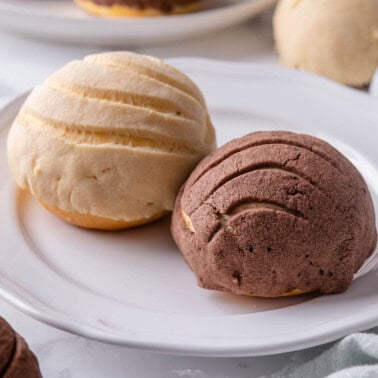
Pillowy-soft concha is a classic Mexican sweet bread (pan dulce) featuring a crackled and flavored shell-like topping. My recipe yields both vanilla and chocolate conchas.
If you’ve been lucky enough to try Mexican pan dulce before, then you’re familiar with the magic that is concha. I spent over a year in Mexico, and this was the #1 recipe I begged my host family to teach me.
This Mexican sweet bread is as addictive as any donut but swaps the powdered coating or vanilla glaze for a swoon-worthy crackled seashell topping. My homemade recipe yields a batch of vanilla and chocolate conchas, but you can have fun customizing the flavors and colors to suit your taste.
I tested this recipe multiple times with both bread flour and all-purpose flour, and while bread flour yielded a chewier texture, I found that all-purpose flour produced the soft, pillowy crumb that reminds me most of the conchas I had in Mexico. That’s the version I stuck with here.
What are conchas?
Concha (meaning “shell” in Spanish) is a type of soft Mexican sweet bread. The concha dough is rolled into smaller balls before each one is topped with a “shell” made from a streusel-like dough. The topping, whether it’s white, yellow, pink, or brown, is scored with a knife to give it the same shape and look as a clamshell.
Table of Contents
Why I love this concha recipe
- Best texture. Mexican concha is known for its soft, enriched dough and deliciously sweet flavors. It’s soft, fluffy, and has a gorgeous shell.
- Authentic yet approachable. After making countless batches, I simplified the steps so they’re easy to follow at home without losing the traditional taste and texture.
- Multiple flavors. This recipe splits the dough for the topping into two, giving you a batch of vanilla conchas and chocolate conchas.
- Foolproof. Don’t worry about your conchas looking perfect. Their rustic presentation is what makes them so special and fun to make.
READER REVIEWS
★★★★★ – “Love this recipe. For the topping, I make some with cocoa powder, others with cinnamon, almond, orange, lemon, mint, and so on. I match the food coloring with the flavor. YUM!” – Jacque
★★★★★ – “These turned out just like the ones I used to get at my local panaderia. Soft, fluffy inside with that perfect crackly topping- my whole family loved them!” – Maria
Key Ingredients
- Milk. I typically use regular whole milk, but any milk works.
- Active dry yeast. To help the dough ferment and rise. Please avoid using expired or old yeast, as it can affect the fluffiness of the bread.
- Sugar. Granulated white sugar.
- All-purpose flour. Sifted to ensure there are no clumps. Bread or pastry flour is fine to use, too.
- Kosher salt. To taste.
- Unsalted butter. Measured at room temperature.
- Eggs. Room temperature eggs, please.
- Topping. A simple combination of flour, powdered sugar, butter, vanilla, and cocoa powder.
How to make concha
This is an overview with step-by-step photos. Full ingredients & instructions are in the recipe card below.

Step 1 – Activate the yeast. Microwave the milk until warm (about 110ºF), then stir in the yeast and sugar. Set aside until foamy.
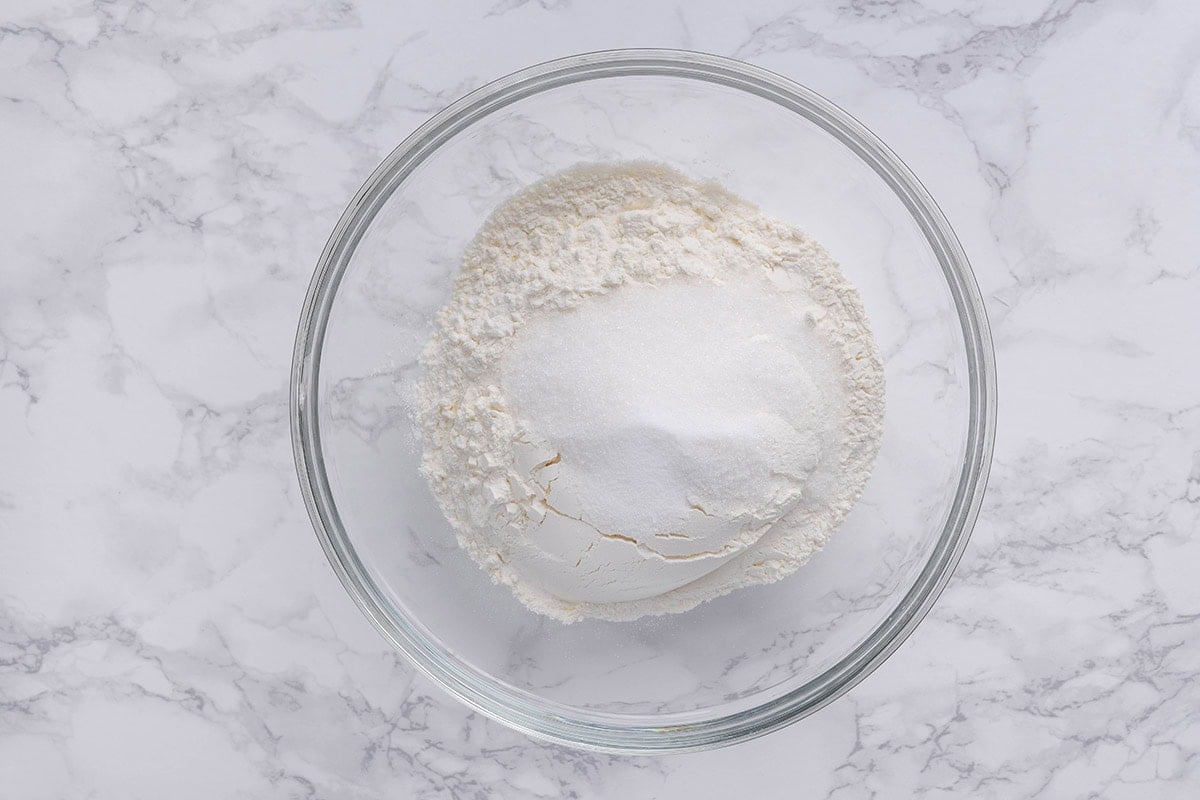
Step 2 – Mix the dry ingredients. Whisk the flour and salt together in the bowl of a standing mixer.
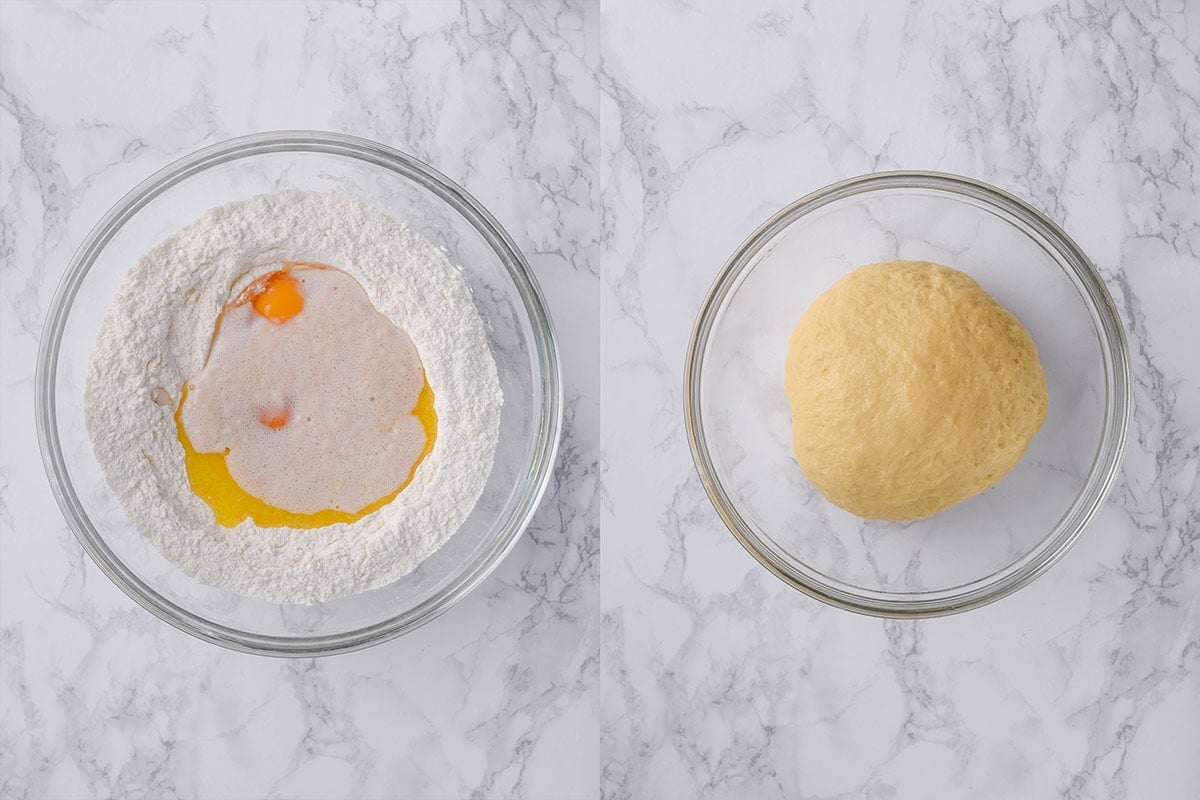
Step 3 – Add the wet ingredients. Add the melted butter, eggs, and activated yeast mixture to the bowl with the flour. Mix on low speed until it smooth.

Step 4 – Let it rise. Transfer the dough to a bowl lightly greased with oil. Set it aside to rise until doubled in size.
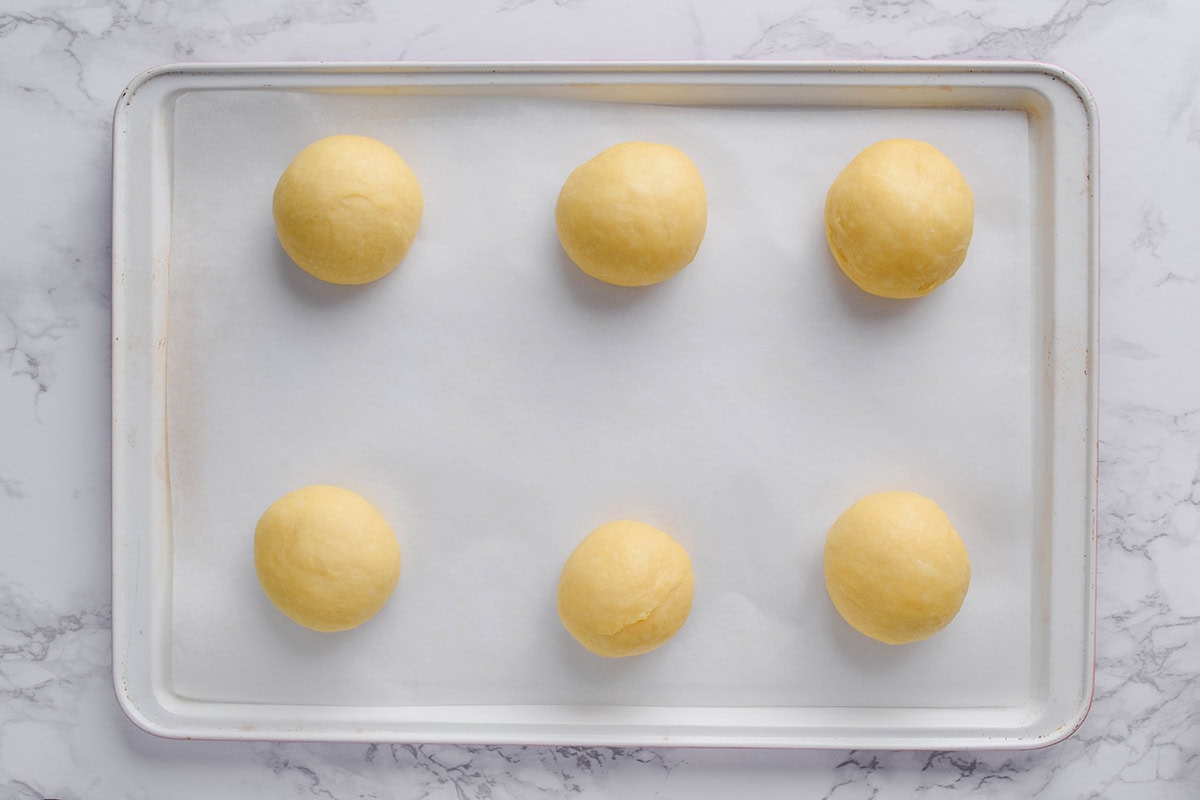
Step 5 – Shape the dough. Cut the dough into 10 equal-sized pieces. Shape each one into balls, then place them on a parchment-lined baking sheet.

Step 6 – Make the topping. Whisk powdered sugar and flour, then rub in butter until crumbly. Split the mix in half—add vanilla to one, cocoa powder to the other.

Step 7 – Roll out the topping. Cut each topping half into 5 pieces, then roll out the pieces using a rolling pin or tortilla press. Drape each piece over the dough balls.
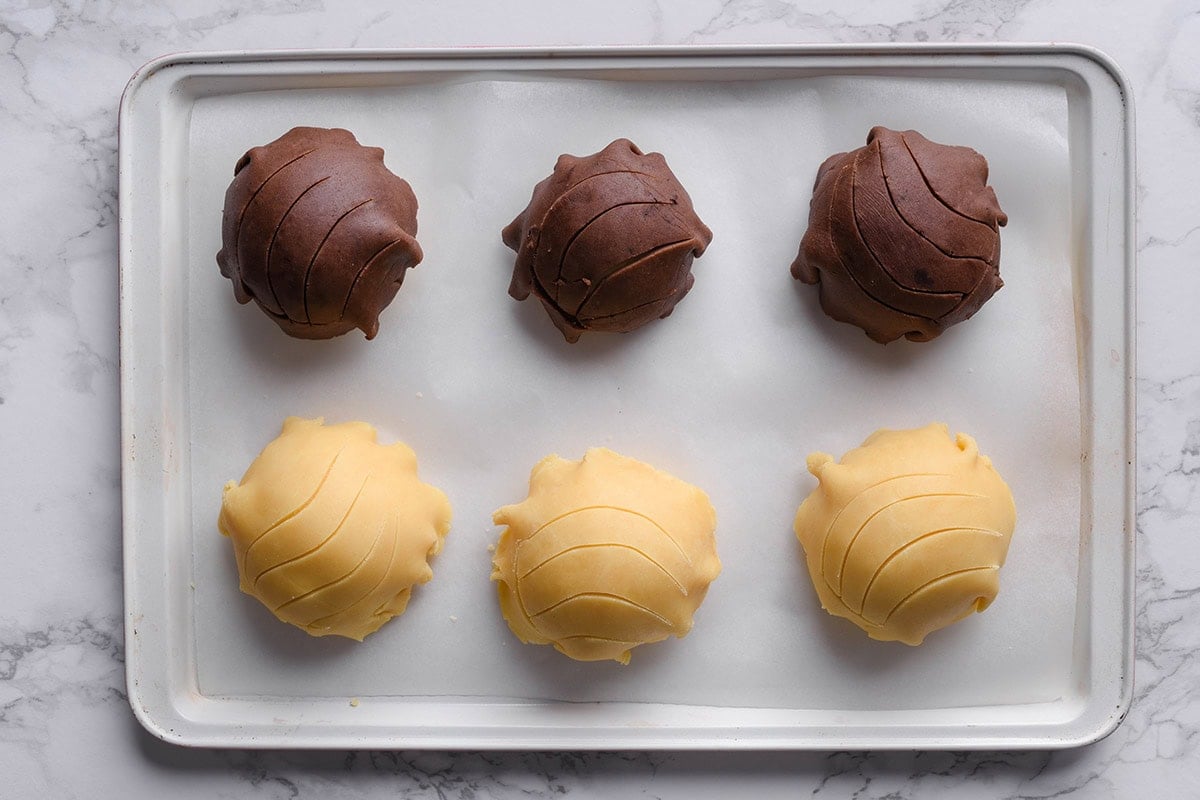
Step 8 – Score and bake. Use a sharp knife to score each topping until it looks like a clamshell. Bake until the dough is lightly golden and the topping is crackly.
Arman’s recipe tips
- Always use fresh yeast. In culinary school, we were taught that yeast should smell slightly sweet and nutty when alive. If it smells sour or doesn’t form, start fresh.
- Adjust the consistency. Does the dough feel too sticky to work with? Stir in 1 tablespoon of flour at a time until it feels tacky but not quite as sticky.
- Don’t overbake. You’ll know the conchas are ready when the topping is crackly and the dough is lightly golden.
- Don’t overproof. During testing, I found that letting the dough rise too long made the topping crack excessively in the oven. Aim for the dough to just double in size before baking for the best result.
Recipe variations
- Add food coloring. You can add any food coloring you like to make the vanilla concha topping extra fun. Some of the most popular choices are red, pink, blue, yellow, and orange.
- Infuse the dough. Keep the recipe as-is, but fold a pinch of ground cinnamon, Mexican cinnamon, crushed Oreo cookies, crushed nuts, or nutmeg into the concha dough.
- Flavored toppings. Instead of vanilla or cocoa powder, you can flavor the concha topping with strawberry powder, beetroot powder, dried spices, citrus zest, or different flavored extracts (like almond or lemon).
Frequently asked questions
Yes! Make the concha dough as normal, then divide it in half. Store the two halves in separate airtight containers or ziplock bags, then freeze. You can also freeze the rolled dough balls to save even more time. Just let the dough thaw before adding the topping and baking.
In my testing, this happened when the topping was rolled too thick or pressed in too firmly. Roll it thin and store gently for the classic crackled look.

Storage instructions
To store: Keep the conchas in an airtight container at room temperature for up to 3 days. They should last for about 1 week when they’re stored in the fridge.
To freeze: Freeze the baked conchas in an airtight, freezer-safe container for up to 1 month. Let them thaw before serving.
More Mexican desserts to try
Concha Recipe (Pan Dulce)
Video
Ingredients
- 1/4 cup milk
- 1 3/4 teaspoons active dry yeast
- 3 tablespoons sugar divided
- 3 cups all-purpose flour
- 1/2 teaspoon salt
- 1/4 cup unsalted butter
- 3 small eggs
Topping
- 3/4 cup all-purpose flour
- 1/2 cup confectioners sugar
- 1/4 cup butter room temperature
- 3/4 teaspoon vanilla extract
- 3/4 tablespoon cocoa powder
Instructions
- Preheat oven to 350°F (180°C).
- In a microwave-safe bowl, heat milk until it reaches 110°F. Add yeast and sugar and set aside for 5 minutes or until foamy.
- Melt the butter and let it cool to room temperature.
- In a large bowl or stand mixer bowl, whisk together the flour and salt. Add melted butter, eggs, and yeast mixture. Stir or mix on medium-low speed until the dough becomes smooth and elastic. The dough will be slightly tacky, but not completely sticky. If your dough is sticky, add another tablespoon of flour.
- Transfer the dough into a clean bowl, greased with some oil, and let it sit for 2 hours or until doubled in size.
- Divide the dough into 10 equal pieces. Shape the dough into balls. Place the balls onto two baking sheets lined with parchment paper. Set them aside for 30 minutes.
- Make the topping; whisk flour and powdered sugar in a bowl. Add butter and work it in with clean hands or process it all in a food processor until you have a streusel-like topping.
- Divide the topping in two and add vanilla in one part and cocoa powder into the second part. Stir well to combine.
- Divide each topping into five portions. Roll out the topping by rolling pin until lightly flattened, or use a tortilla press to flatten them out. Drape the topping over the dough and pat gently to secure it.
- With a sharp knife cut grooves into the topping so it resembles a clam shell. You can also use a concha cutter.
- Bake the concha bread for 20-22 minutes or until the dough is lightly golden.
- Allow to cool for 10 minutes before serving.
Notes
- Storage: for the best flavor and texture, conchas are ideally enjoyed the day they’re baked, but I tested storing them in both the fridge and freezer and found they keep surprisingly well. Just rewarm in the oven for a few minutes to bring back their softness.
Nutrition
Originally updated January 2024


If you doesn’t have confectioners sugar can you use regular sugar
Hi Elma, if you don’t have access to confectioners sugar you can use regular sugar. I would blend it down in a food processor first just to make sure it’s nice and fine. You can use as is, but it will change the texture of the conchas.
Can these be made with GF all purpose flour?
I haven’t tried with this recipe, Chris- but you’re welcome to experiment and see. I swear by Bob’s Red Mill GF flour or King Arthur GF flour- these are the two I’ve baked in other recipes cup for cup successfully.
Love this recipe. For the topping I make some with the cocoa powder, some with cinnamon, almond, orange, lemon, mint, etc. I match the food coloring with the flavor. YUM!
YUM!!!!
One of my favorite breads to make during the holidays. Easy and delicious.
Thank you so much for your lovely comment, Jackie 🙂 I’m glad you enjoy this during the holidays.
I heard for this dessert. Is it actually Japanese or some other culture? Is it tasty?
delicious !
Thanks, Brigitte!
The best concha recipe I have ever made!
Sally- this is such a compliment, and it means so much. This recipe did take a lot of recipe testing to achieve what a classic Pan Dulce would be like. Thank you!!!
Could I use instant yeast or would it be better to use active yeast?
I prefer active yeast 🙂
I first tried this in Mexico and have been dying to try it myself at home and this recipe was such a winner. It was easy to make and I appreciated the recipe video so i could easily follow along. I like to sprinkle some powdered sugar on top before serving.
Thank you for your lovely comment, Alana- I appreciate it. I tested this recipe multiple times to make sure it did justice to classic Pan Dulce. I love the addition of powdered sugar on top!
The best concha recipe I’ve ever made.
That is what I like to hear!
This was the best concha recipe I’ve made recently- super fluffy and flavorful.
Mel- thank you for your lovely comment. It means so much to hear that you loved it.
Hi. Love the recipes but you don’t put the sugar value in you breakdown of nutrition which mean many won’t give it a go if for example diabetic. Just a thought it would open you to more followers. Even diabetic or caloric watches want your tasty food. You are obviously very talented and intelligent so please give the sugar values per portion or unit.
Thanks
Dee💃🏻
Hi Dee- all of our recipes include the sugar content- We have an in-house dietitian (Felia Newell) who calculates all the nutritional content for every recipe, along with her personal notes.