Arepas
This post may contain affiliate links. See my disclosure policy.
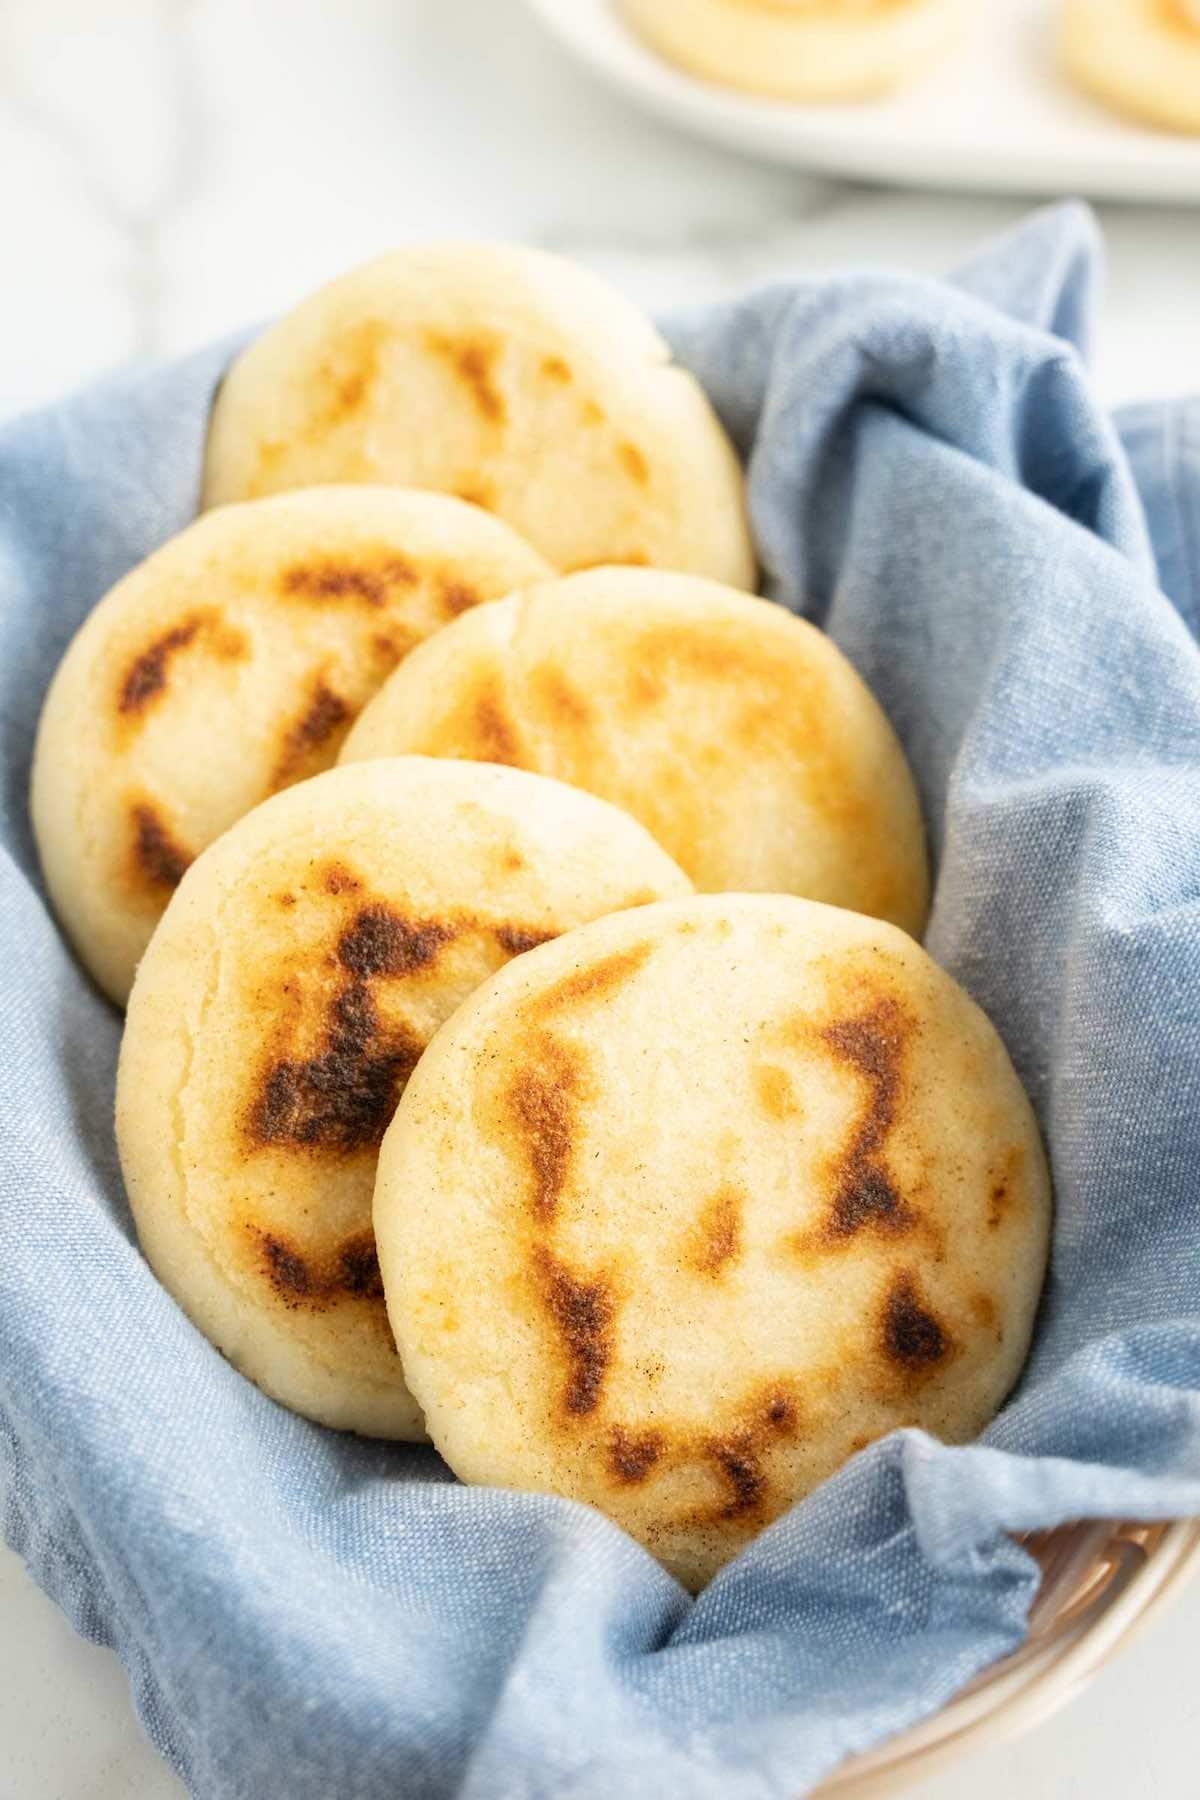
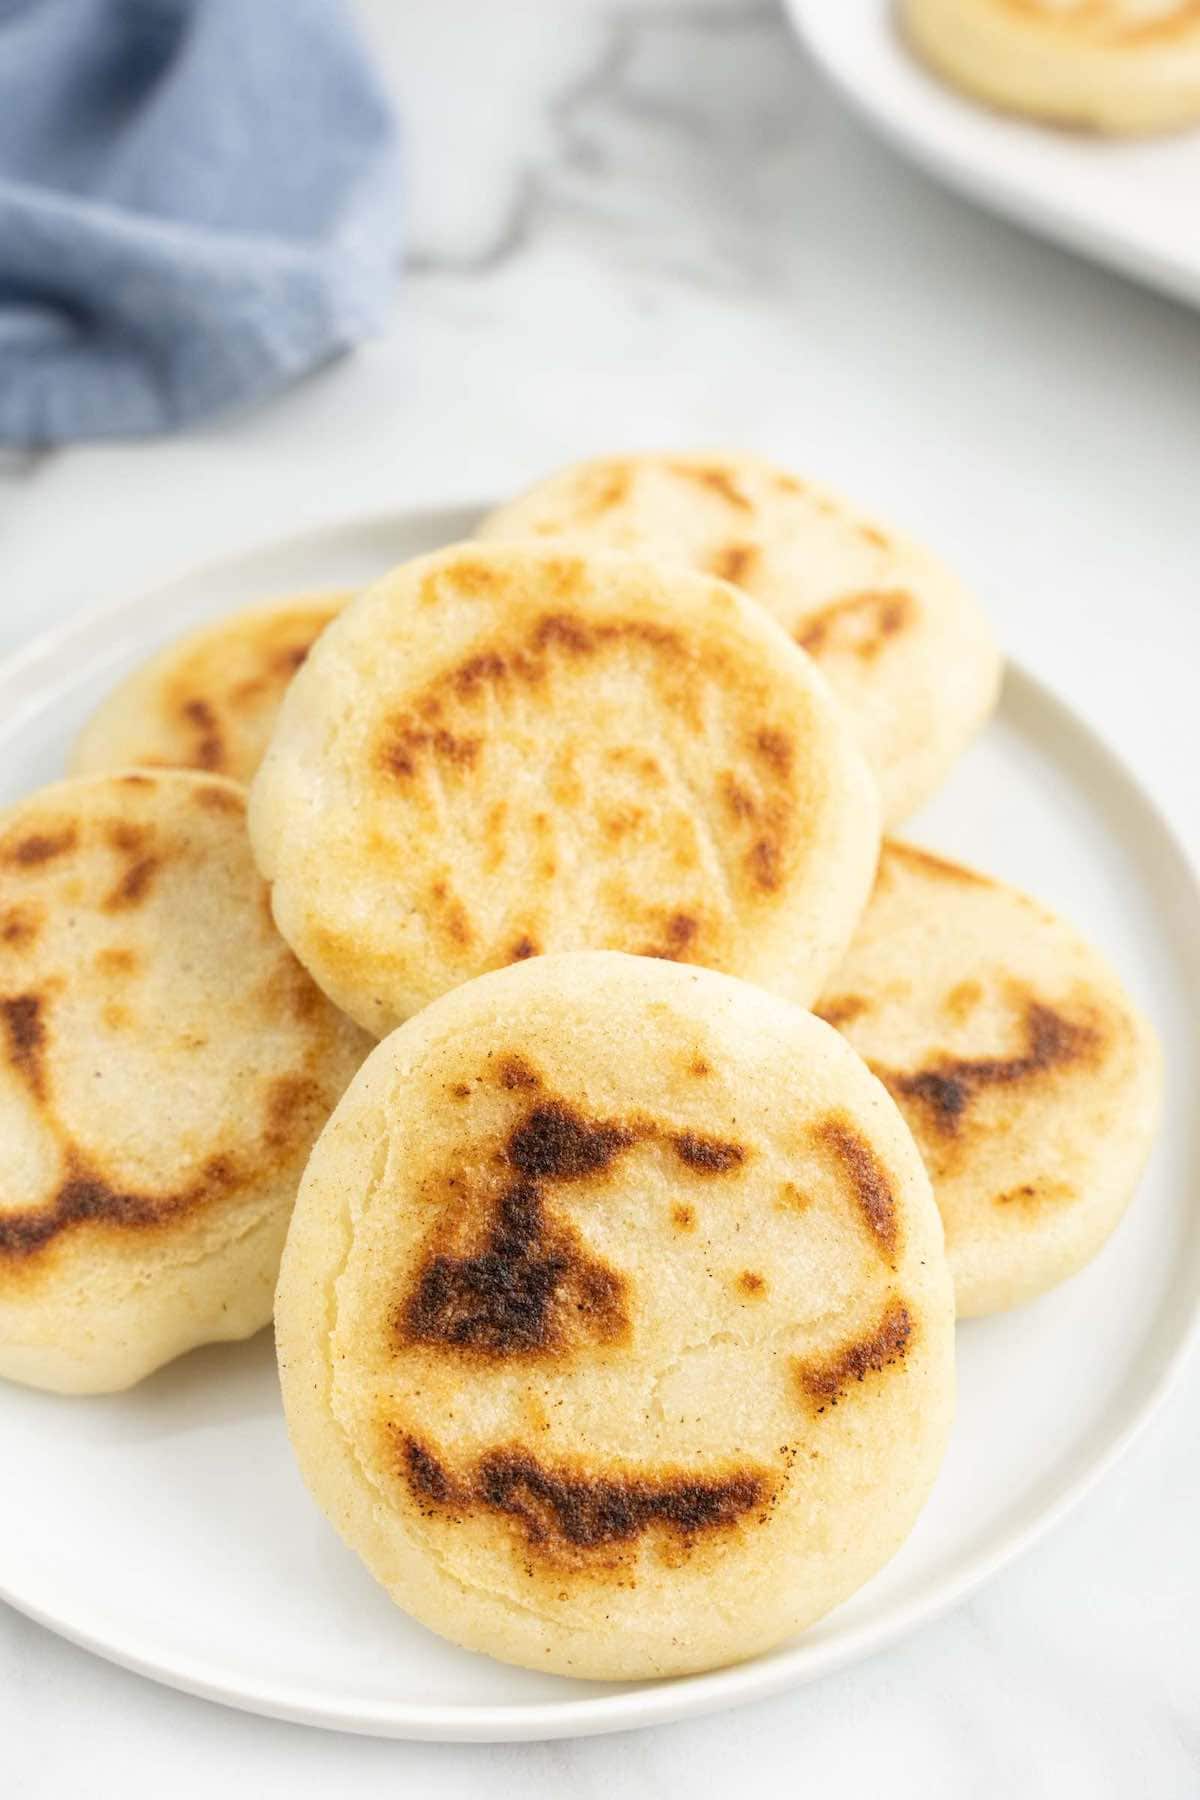
My super simple arepas recipe is easy to make with only 3 ingredients. These soft and fluffy fried corn cakes are fantastic on their own or stuffed with meat, cheese, and more!
Love Latin American breads? Try my gorditas, sopes, and pupusas next.
The only reason I managed to keep myself well fed the 6 months I traveled Venezuela is thanks to all the arepas I ate! These affordable, South American fried corn cakes are deliciously savory and available literally everywhere. I loved them so much, I requested my Venezuelan host family share thier authentic yet simple recipe with me to share with you!
What are arepas?
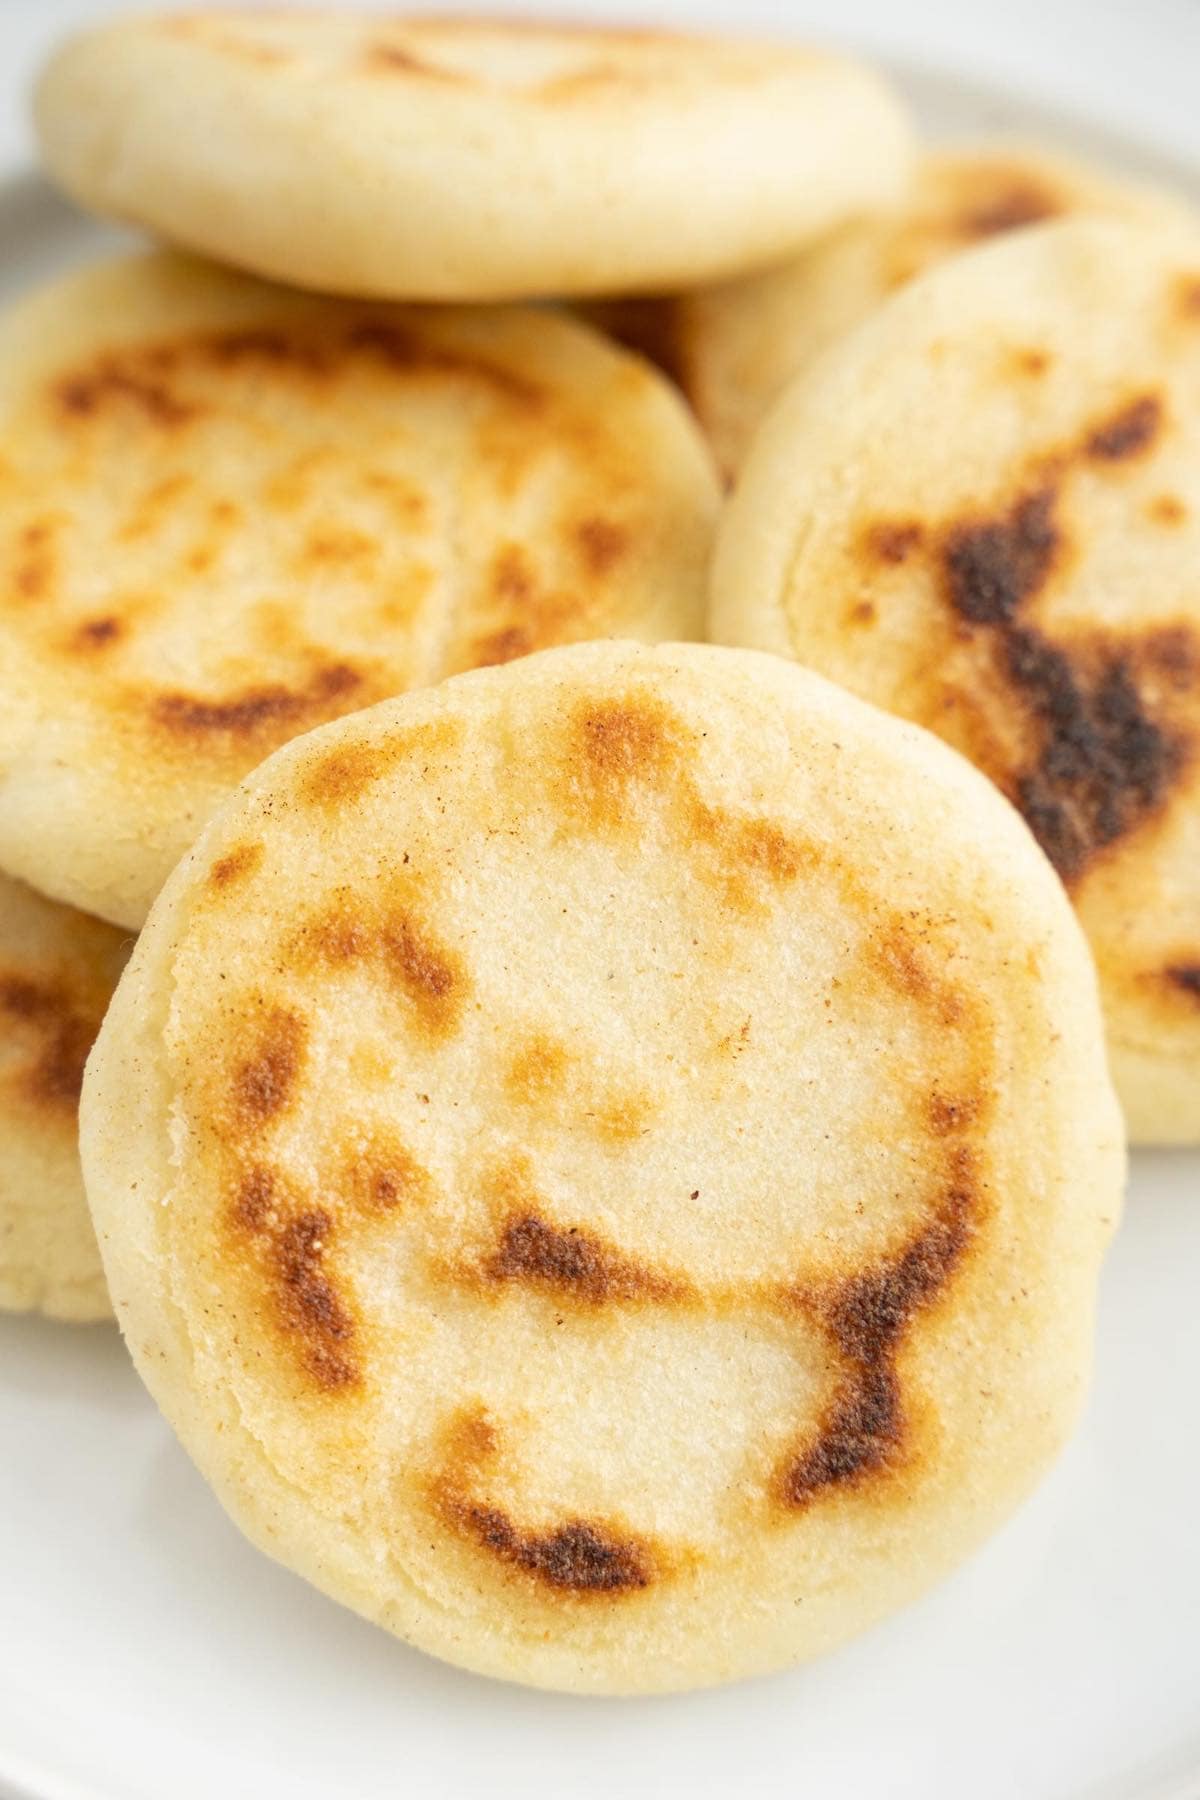
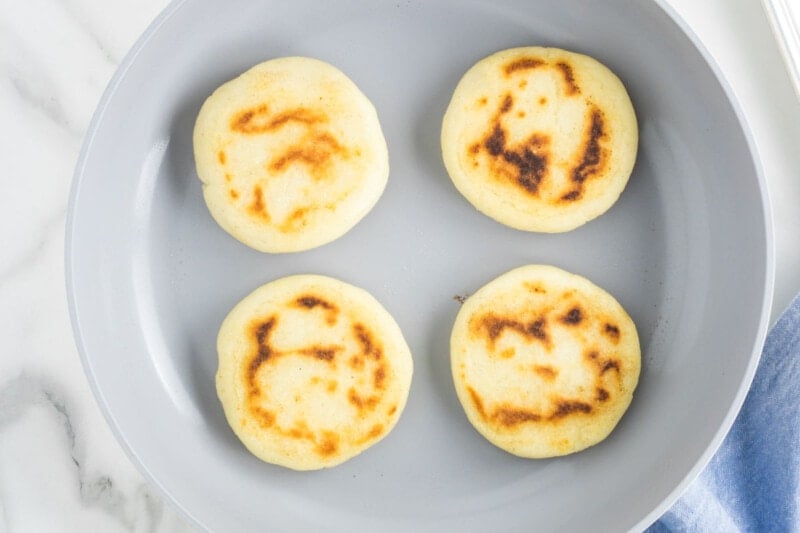
Arepas are fluffy handheld cornbread patties made with masarepa (pre-cooked cornmeal flour), water, and salt. Similar to a thick tortilla, the recipe originated in South America and remains a popular dish throughout Columbia and Venezuela. Once formed into disks, arepas are fried until crispy on the outside and fluffy on the inside, then sliced in half and stuffed with cheese, avocado, black beans, carnitas, or any flavor you like.
Table of Contents
Why I love this recipe
- Only 3 ingredients. Cornmeal flour, water, and salt are the 3 budget-friendly ingredients you need.
- Naturally gluten-free and vegan. And that is by complete accident!
- Easy to make. The process is as simple as making the dough, forming it into small disks, then pan-frying each one. Trust me, if I can do it, anyone can!
- Fun to eat. I love the versatility of arepas. I’ve enjoyed them with classic fillings but also love being creative with others, too (yes, I did do Nutella once). Check out the Serving Suggestions below to find your perfect match.
Ingredients needed
- Cornmeal flour. I made this with white cornmeal flour, but yellow cornmeal flour works just as well. The most important thing is to use pre-cooked cornmeal flour (sometimes labeled as masarepa or arepa flour). It’s softer and finely ground, unlike the coarser masa harina.
- Water. The water should be warm, like lukewarm water. If I’m being pedantic, I’ll use a thermometer and aim for it to be between 90-105F.
- Salt. Regular table salt works great.
- Butter OR oil. For frying the arepas. Vegetable oil is the most common oil used for traditional arepa.
How to make arepas
I’ve included step-by-step photos below to make this recipe easy to follow at home. For the full printable recipe instructions and ingredient quantities, scroll to the recipe card at the bottom of this post.
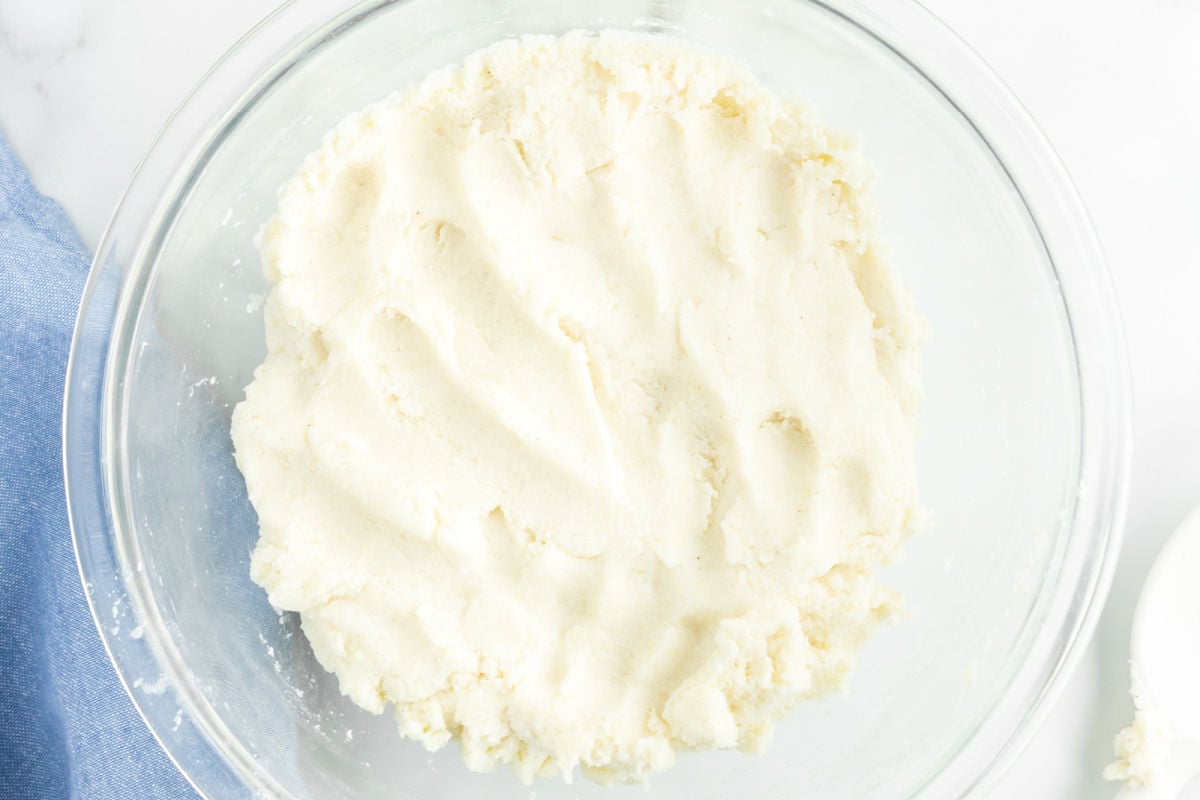
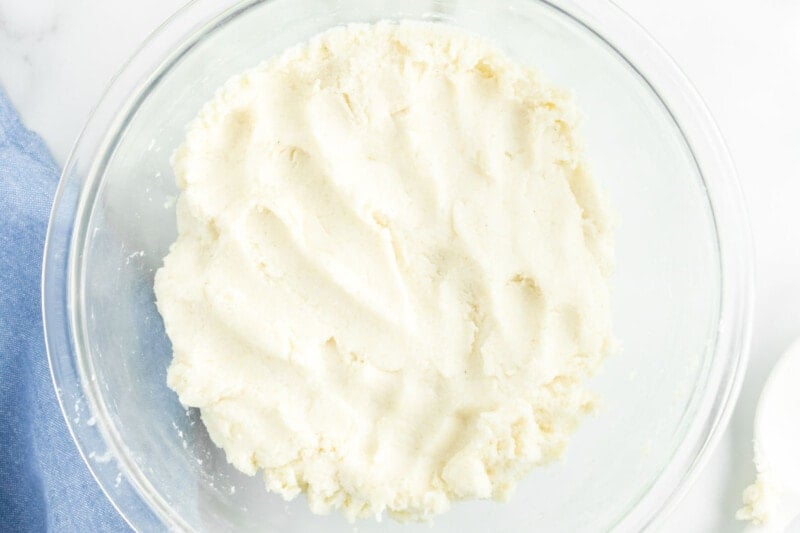
Step 1 – Make the dough. Combine the salt and warm water in a bowl. Slowly stir in the arepa flour when the salt has dissolved.
Step 2- Knead. Gently knead the dough until it becomes a smooth ball. Cover the bowl with a clean kitchen towel and leave the dough to rest.

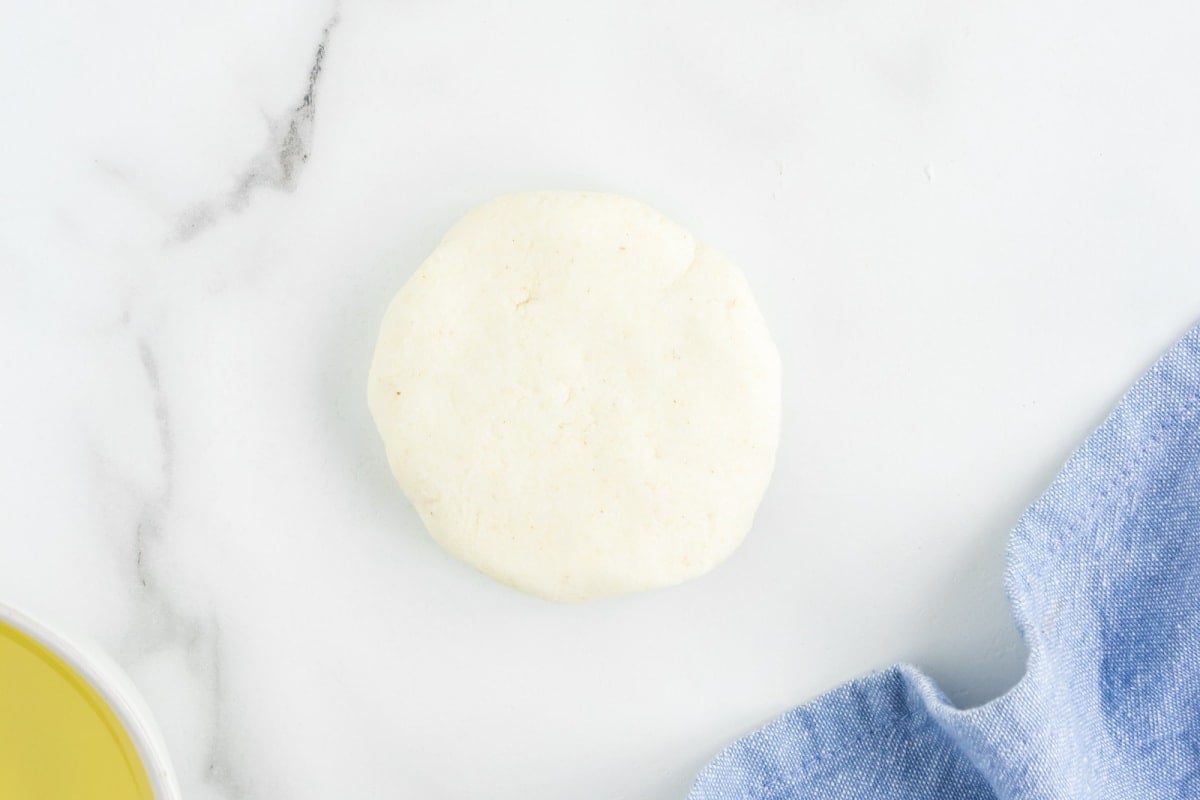
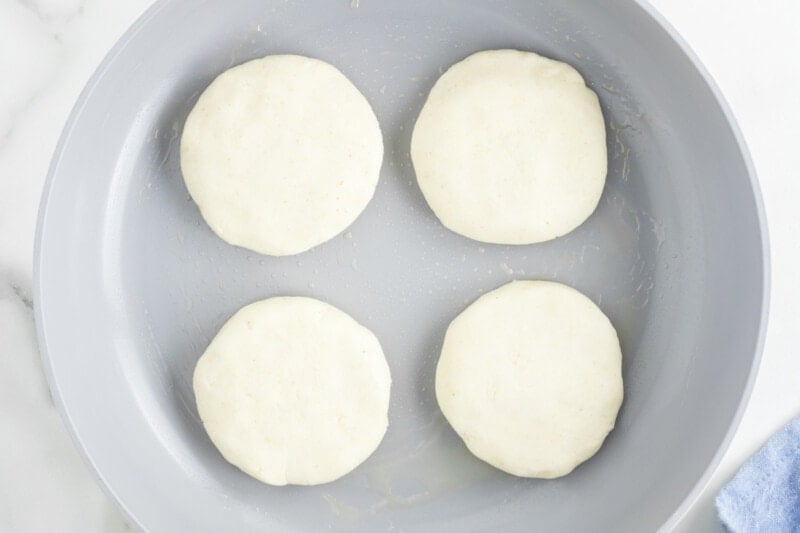
Step 3- Shape. Grease your hands with a little oil or water and divide the dough into 8 portions. Flatten each one into a thick disk.

Step 4- Pan fry. Melt the butter in a large cast iron skillet over medium heat, then add the arepas. Place a lid on top to help them steam and fry. Flip and continue cooking until golden brown.
Can I bake arepas?
I tested my recipe in the oven, and while it is not as traditional as the skillet-cooked ones, it works pretty well.
For oven-baked arepas, line a baking sheet with parchment paper. Place the dough disks on top and lightly brush with some oil. Bake at 200C/400F for 12 minutes, flipping halfway through.
Arman’s recipe tips
- Your hands are the only tool you need to mix the dough! After all, that’s how it’s done throughout South America.
- Is the dough feeling a bit too sticky and wet? Add more cornmeal flour, one tablespoon at a time, until it starts to come together.
- You’ll know the dough is ready when it turns into a smooth ball that pulls away from the sides of the bowl.
- Make arepas con queso. This was my absolute favorite (I think my record was 6 in one sitting!). Stir about 4 tablespoons of shredded Oaxaca or mozzarella cheese in with the dough. When they’re done frying, slice them in half and add a slice of cheese inside. Fry again until the cheese melts, then enjoy!
Storage instructions
To store. Keep the cooked arepas in an airtight container in the fridge for 3 to 4 days.
To freeze. Separate each one with a layer of parchment paper before freezing them in an airtight container or freezer-safe bag. Freeze for up to 1 month.
To reheat. Place the arepas on a lightly oiled skillet over medium-low heat until they’re warmed through and crisp again.
Frequently asked questions
In South America and Latin countries, arepas are made almost every day because they’re so easy to put together. But if you’re short on time, they can easily be cooked and frozen for up to 1 month. You cannot, however, make the arepa dough in advance because it may ferment.
Yes! Arepas are made with corn flour (masarepa), which just happens to be naturally gluten free.
While the base of both Colombian and Venezuelan arepas are exactly the same, in Colombia, the arepas are usually enjoyed with more simple, sweet fillings.
What to serve with this dish
Besides the classics mentioned throughout the post, I typically serve these to my family with some flavorful meats, like:
3-Ingredient Arepas
Video
Ingredients
- 2 cups white cornmeal flour
- 2 1/2 cups water warm
- 2 teaspoons salt
Instructions
- Add the salt and warm water into a bowl and let the salt dissolve.
- Slowly pour the arepa flour into the mixture, stirring consistently while doing so. Once all the flour is added, gently knead the dough several times, ensuring no lumps remain. If the dough is sticky, add more arepa flour, one tablespoon at a time, as needed.

- Cover the bowl and set aside for 30 minutes.
- Divide the dough into 8 portions. Grease your hands with oil and flatten each portion of dough into a thick disk shape, around ½-⅓-inch in thickness.
- Heat a large non-stick pan or skillet over medium heat. Drizzle with a teaspoon of butter or oil and use a paper towel to spread it around the entire pan. Place the arepas in the pan, cover, and cook for 7-8 minutes. Remove the lid, flip, and cook for a further 2-3 minutes.
- Repeat the process until all the arepas are cooked.

Notes
Nutrition
Originally published February 2023, updated and republished July 2024


Sure easy and delicious! I stuffed mine with pulled pork and cheese. Looking forward to trying other fillings.
Oh wonderful! That sounds really delicious Maggie. Thanks so much for sharing!
Thank you for the recipe! Covering the pan for the first part of cooking made the arepas turn out nice and fluffly inside. Yum!
Is it really supposed to be 2 1/2 cups of flour?
Hi Nikki, it’s 2 1/2 cups of water with 2 cups of white cornmeal flour, which is quite absorbent. If you take a look at the video you’ll see the consistency of the dough that’s needed. Hope this helps!
Hi, I just tried this recipe and made half a recipe. I made sure to halve all the ingredients and it was way too wet (like soup) so I added more corn flour until it seemed right. What did I do wrong? I used Bobs’ Red Mill corn flour.
Hi Theresa, unfortunately Bob’s Red Mill corn flour is a bit different to the pre-cooked white cornmeal flour usually used for arepas. Bob’s is very fine and not pre-cooked unfortunately so it won’t absorb water in the same way. The package you’re looking for should specifically say “pre-cooked corn meal”, “masarepa” or arepa flour. Hope this helps!
I will do this recipe this week. Really seems interesting.
I need
To see if I can find cornmeal flour. Is it like corn flour?
In the post above, he says right under “Ingredients Needed” exactly why kind of corn flour to use. You can find it on Amazon if you search “Goya, White Masarepa” or you can find it in a Latino grocery store. Masarepa is not the same thing as Masa Harina so be sure to read the label.
Gorgeous because I’m vegan and gluten free❤️❤️❤️❤️
Do you think this could work with almond flour? I don’t eat grain.
Can it be made with yellow cornmeal? The white one is not available here.
I don’t see why not!
Me sorprendió ver esta receta de arepitas venezolanas 😍
In Australia is cornflour a reasonable substitute for cornmeal? Or is it too fine?
I think it will be a little too coarse actually!