Beef Negimaki
This post may contain affiliate links. See my disclosure policy.
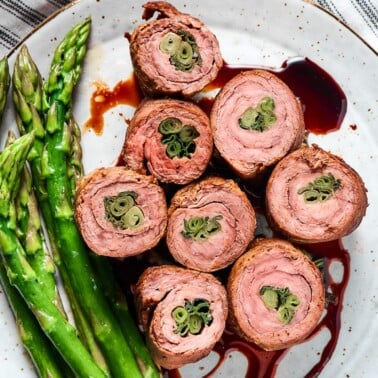
This beef negimaki recipe makes a fabulous dinner or appetizer that comes together in no time! Made with simple ingredients, it tastes like something you’d get at a Japanese restaurant.
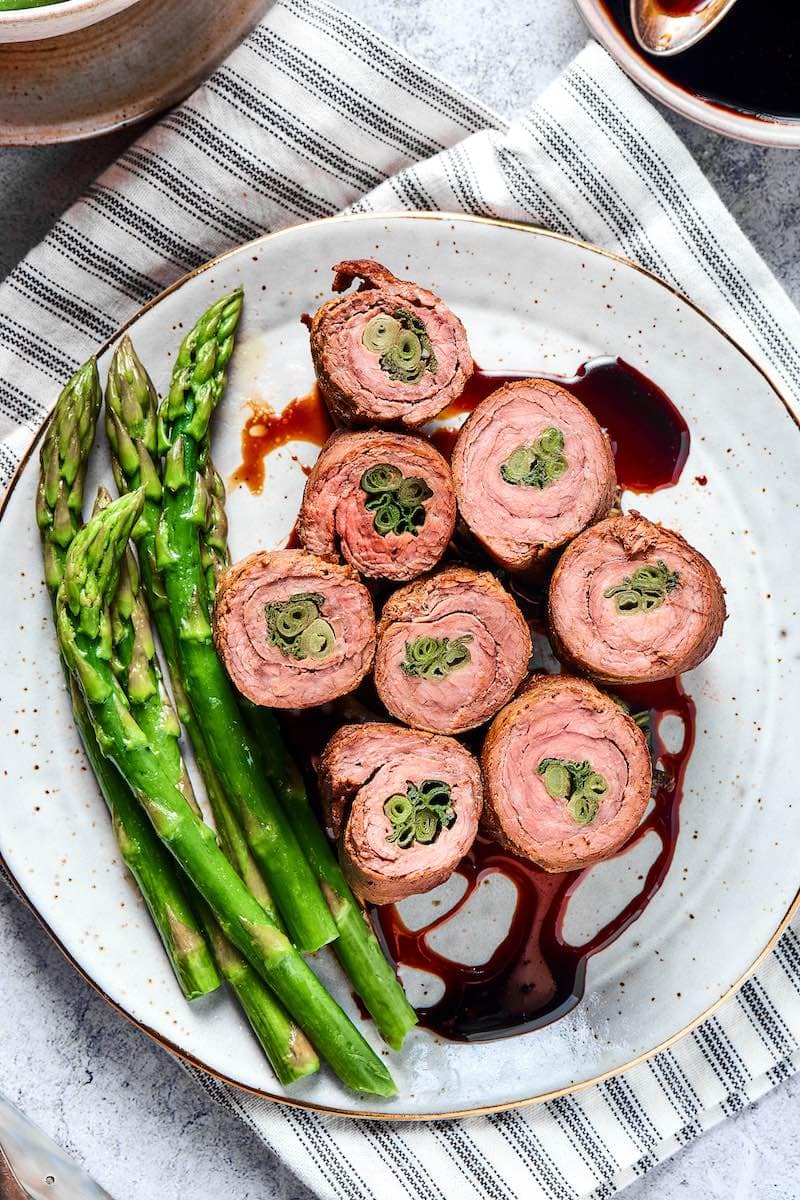
My family LOVES Japanese food, so whenever I’m able to recreate our favorite dishes at home, I’m all for it.
When it comes to Japanese appetizers, we’ve been loving tuna tartare, chicken yakitori, and beef negimaki. This recipe, in particular, is a huge hit, thanks to its incredible flavor and ridiculously juicy, tender texture.
Table of Contents
What is beef negimaki?
If you prefer thinner cuts of beef, negi maki is the dish for you. Pronounced neh-gee-mah-kee, it is a Japanese appetizer involving thin beef strips rolled around asparagus or scallions. It’s grilled or pan-fried, then covered in a teriyaki sauce that is seriously addictive. Here are some reasons why we’ve been making this dish on repeat:
- Versatile. While traditionally served as an appetizer, we often have it as the full meal. It’s delicious on its own or served alongside Asian cucumber salad and instant pot sushi rice.
- Perfect texture. With a flavor similar to pan seared steak but minus the chewy bites, it’s perfect for even the pickiest eaters.
- So much flavor. The sauce alone is addictive and hits all the flavors- salty, spicy, umami, and a little sweet.
- Ready in under 20 minutes. So you can focus on other tasks in the kitchen.
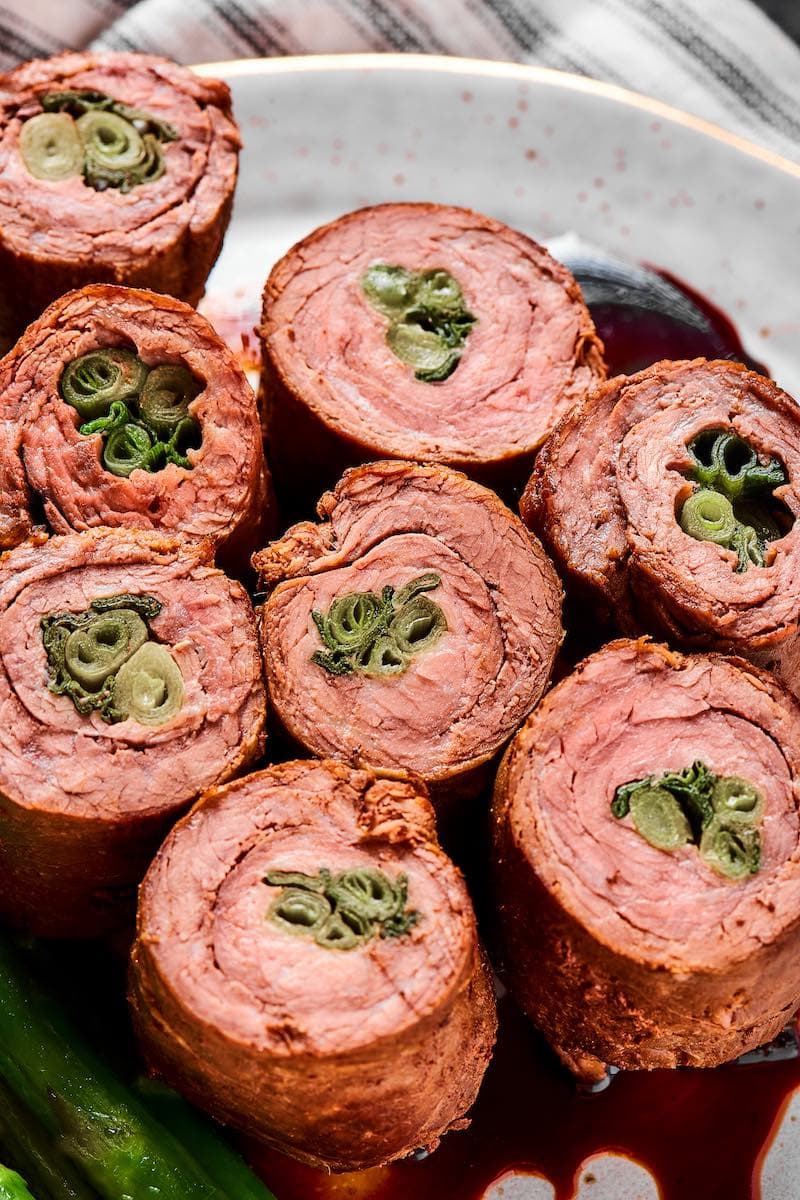
Ingredients needed
This is such a simple recipe with a basic ingredient list. You’ll easily find everything at your local grocery store, including the specialty Japanese sauces. Here’s what you’ll need:
- Flank steak. The best steak to use for negimaki, as they can be pounded very thin and keep plenty of flavor. While I prefer the traditional texture and flavor of flank steak, you can use other cuts of steak, like skirt steak, flat iron steak, tri-tip steak, or hanger steak.
- Scallions OR asparagus. I prefer using scallions, but asparagus can also work.
- Sake. Japanese alcohol that is often used in marinating meat to tenderize it. If you don’t have sake, fear not! I’ve tested this recipe with dry vermouth and cooking sherry, and it still turns out delicious. If you’d rather not cook with alcohol, I’d suggest using rice vinegar.
- Mirin. A Japanese cooking wine similar to dry sherry.
- Soy sauce. Tamari also works.
- Sugar. Just a pinch to balance out all the umami flavors.
- Oil. To pan-fry everything.
How to make beef negimaki
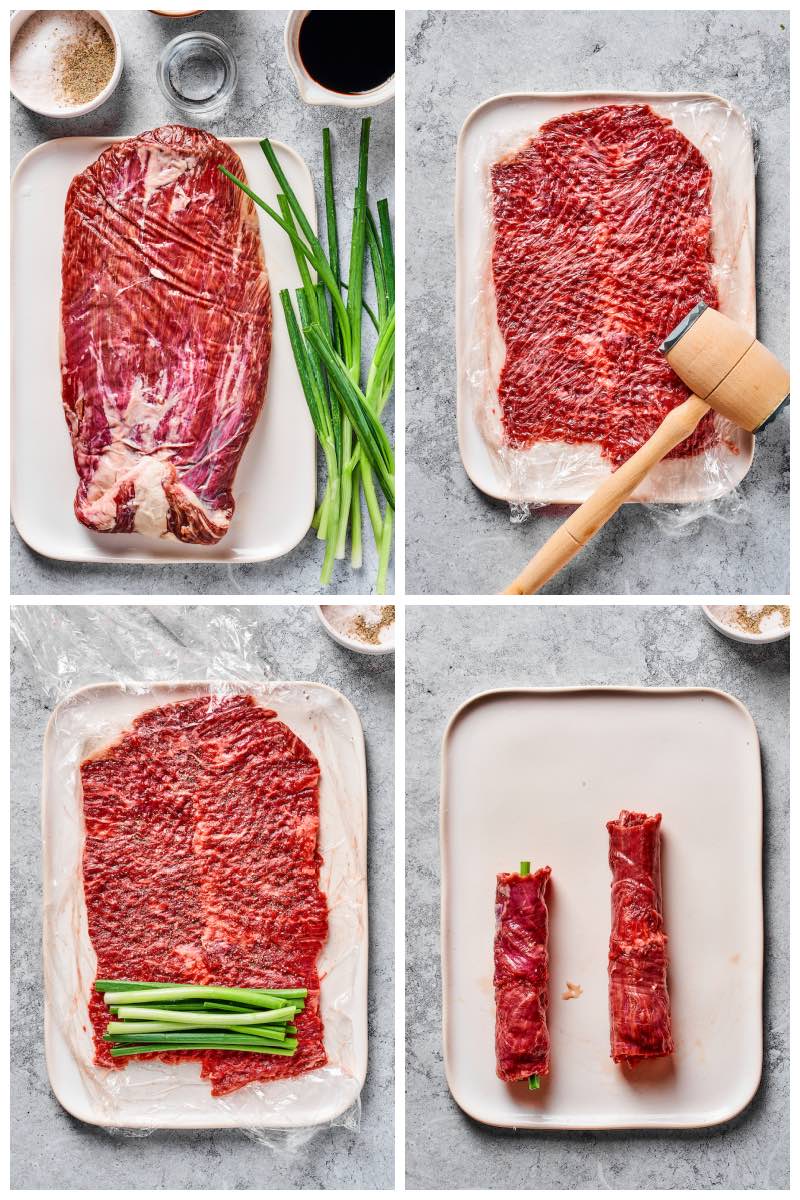
I’ve included step-by-step photos below to make this recipe easy to follow at home. For the full printable recipe instructions and ingredient quantities, scroll to the recipe card at the bottom of this post.
Step 1- Blanch the scallions. Add the scallions into a pot of boiling water form 30-40 seconds, then immediately transfer into a bowl of iced water.
Step 2- Pound the steak. Cut the steak against the grain into scant 1/4-inch slices. Pound the slices of steak until they are around 1/8-inch slices.
Step 3- Assemble the negimaki. Sprinkle a little salt on top of the beef and add 3-4 scallions to the center of each one. Tightly roll up each one and use a toothpick to hold it into place. Transfer the rolled beef into a shallow container or dish.
Step 4- Marinate the beef. In a small bowl, whisk together the sake, mirin, and soy sauce. Drizzle it over the rolled beef and turn around each side so the sauce touches all surfaces.
Step 5- Cook the negimaki. Add oil to a non-stick pan and place it over medium heat. Once hot, add the rolled beef portions in it and cook all sides until no longer pink around the sides. Drizzle the remaining sauce over the top and serve immediately.
Recipe tips and variations
- The thinner you pound the steak, the better the rolls will be. The more you can roll the steak up, the more of the marinade the steak will absorb. This will yield more flavorful negimaki.
- Coat all sides of the meat with marinade. Leaving one side of the negimaki unseasoned will overcook that side.
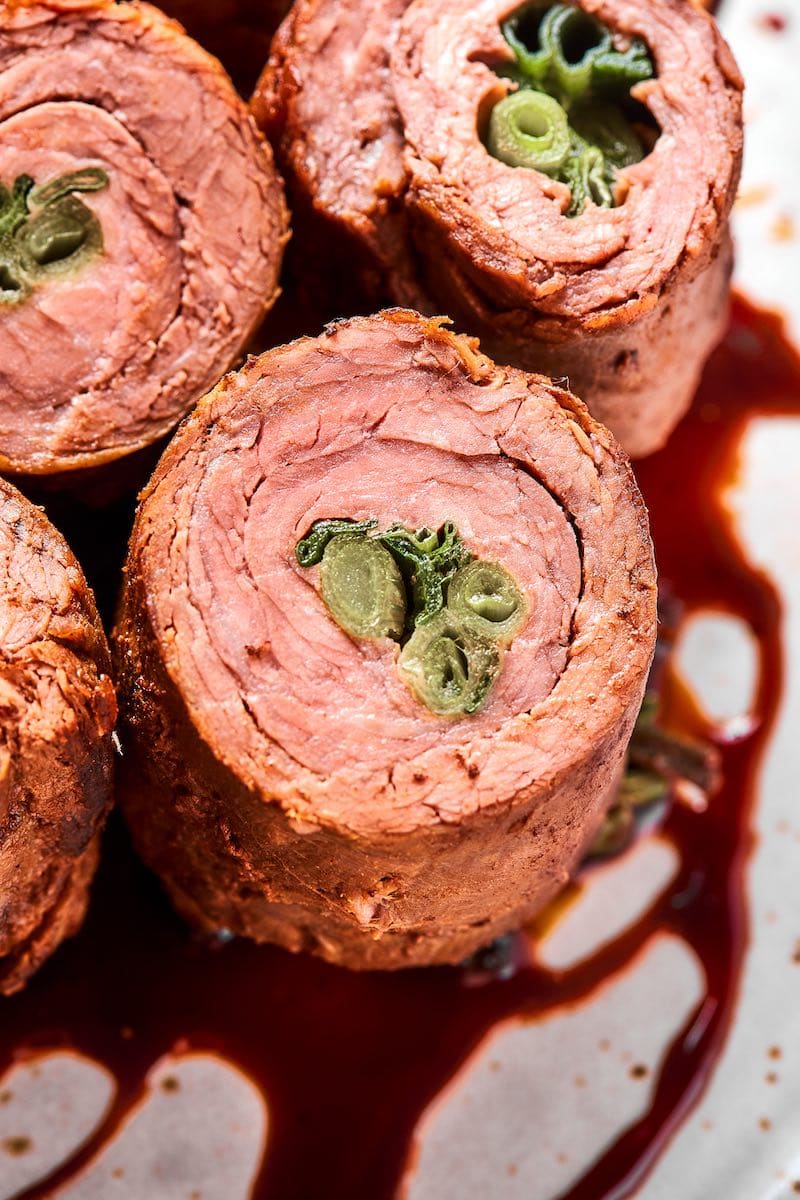
- Rare is best. This is the beef or steak-based dish where the rarer the meat is, the more melt-in-your-mouth it will be. I highly suggest cooking the meat rare (120-125F) since that’ll make it the most tender. For medium rare, cook it to 130-140F.
- Garnish. I like to add a sprinkle of sesame seeds or a drizzle of sesame oil right before serving.
- Grill the meat. While definitely optional, I love the flavor you get from a hot charcoal grill. Simply heat the grill to medium-high heat, prep the meat, and grill directly on the grates.
- Add ginger. If I have any ginger lying around, I like to add it to the marinade since I feel it gives the beef rolls a subtle heat and brighter flavor.
How to store leftovers
To store: Leftovers can be stored in the refrigerator, covered, for up to three days.
To freeze: Place the cooked and cooled negimaki in an airtight container and store it in the freezer for up to two months.
To reheat: Microwave leftovers or reheat them on a non-stick pan over medium heat until warm.
Make ahead tip
These beef rolls can easily be made ahead of time. Simply assemble the rolls and store them in an airtight container in the fridge for 1-2 days. Let them come to room temperature for 15 minutes before cooking.
More Japenese-inspired recipes to try
- Chicken tempura– Light and crispy batter with the most juicy chicken.
- Katsu (Breaded meat)– Try chicken katsu, pork katsu, or beef katsu.
- Harumaki– Japanese-style spring rolls perfect for feeding a crowd.
- Mochi donuts– Mochi-style Japanese donuts that come together quickly.
Beef Negimaki
Ingredients
- 2 lb flank steak
- 24 small scallions trimmed
- 1/3 cup soy sauce
- 1/2 cup mirin
- 1/2 cup sake
- 2 tablespoon sugar
Instructions
- Bring a pot of water to a boil. Once boiling, add the scallions to it and blanch for 30-45 seconds. Remove from the water and place in a bowl of iced water.
- Slice the steak into thin strips, around 1/4-inch in thickness, to leave 12 squares of steak.
- Place the steak between plastic wrap and pound the pieces until 1/8-inch thickness.
- Add 3 scallions to the center of each piece of steak and tightly roll each one up. Use a toothpick to hold them into place. Place the rolls of steak in a shallow container or dish.
- Whisk the remaining ingredients together and pour over the steak rolls. Shake the container/dish, ensuring both sides and the exterior of the steak is covered. Let everything sit for 15 minutes.
- Add oil to a non-stick grill or skillet and place over medium heat. Once hot, add the beef rolls to it, shaking off excess sauce and sear on all visible sides.
- Remove the negimaki off the heat and drizzle with any remaining sauce.


Love the flavor but a little bit too sweet
You can certainly omit the sugar if you find this recipe too sweet. Your choice of sake my have also contributed to an overly sweet taste. Very easy to remedy though!
I have used cooked thin rare roast beef for this dish ..works nicely too .
Bake or broil no need to cover your stove top with spattered grease. And use sesame oil