Pupusas
This post may contain affiliate links. See my disclosure policy.
This easy pupusa recipe teaches you how to make bean and cheese-filled tortillas. They cook in just 6 minutes, and I love how easy they are to customize! Pair it with curtido for a classic combo.
Looking for more cornmeal-based vegetarian recipes? Try arepas, sopes, and gorditas.
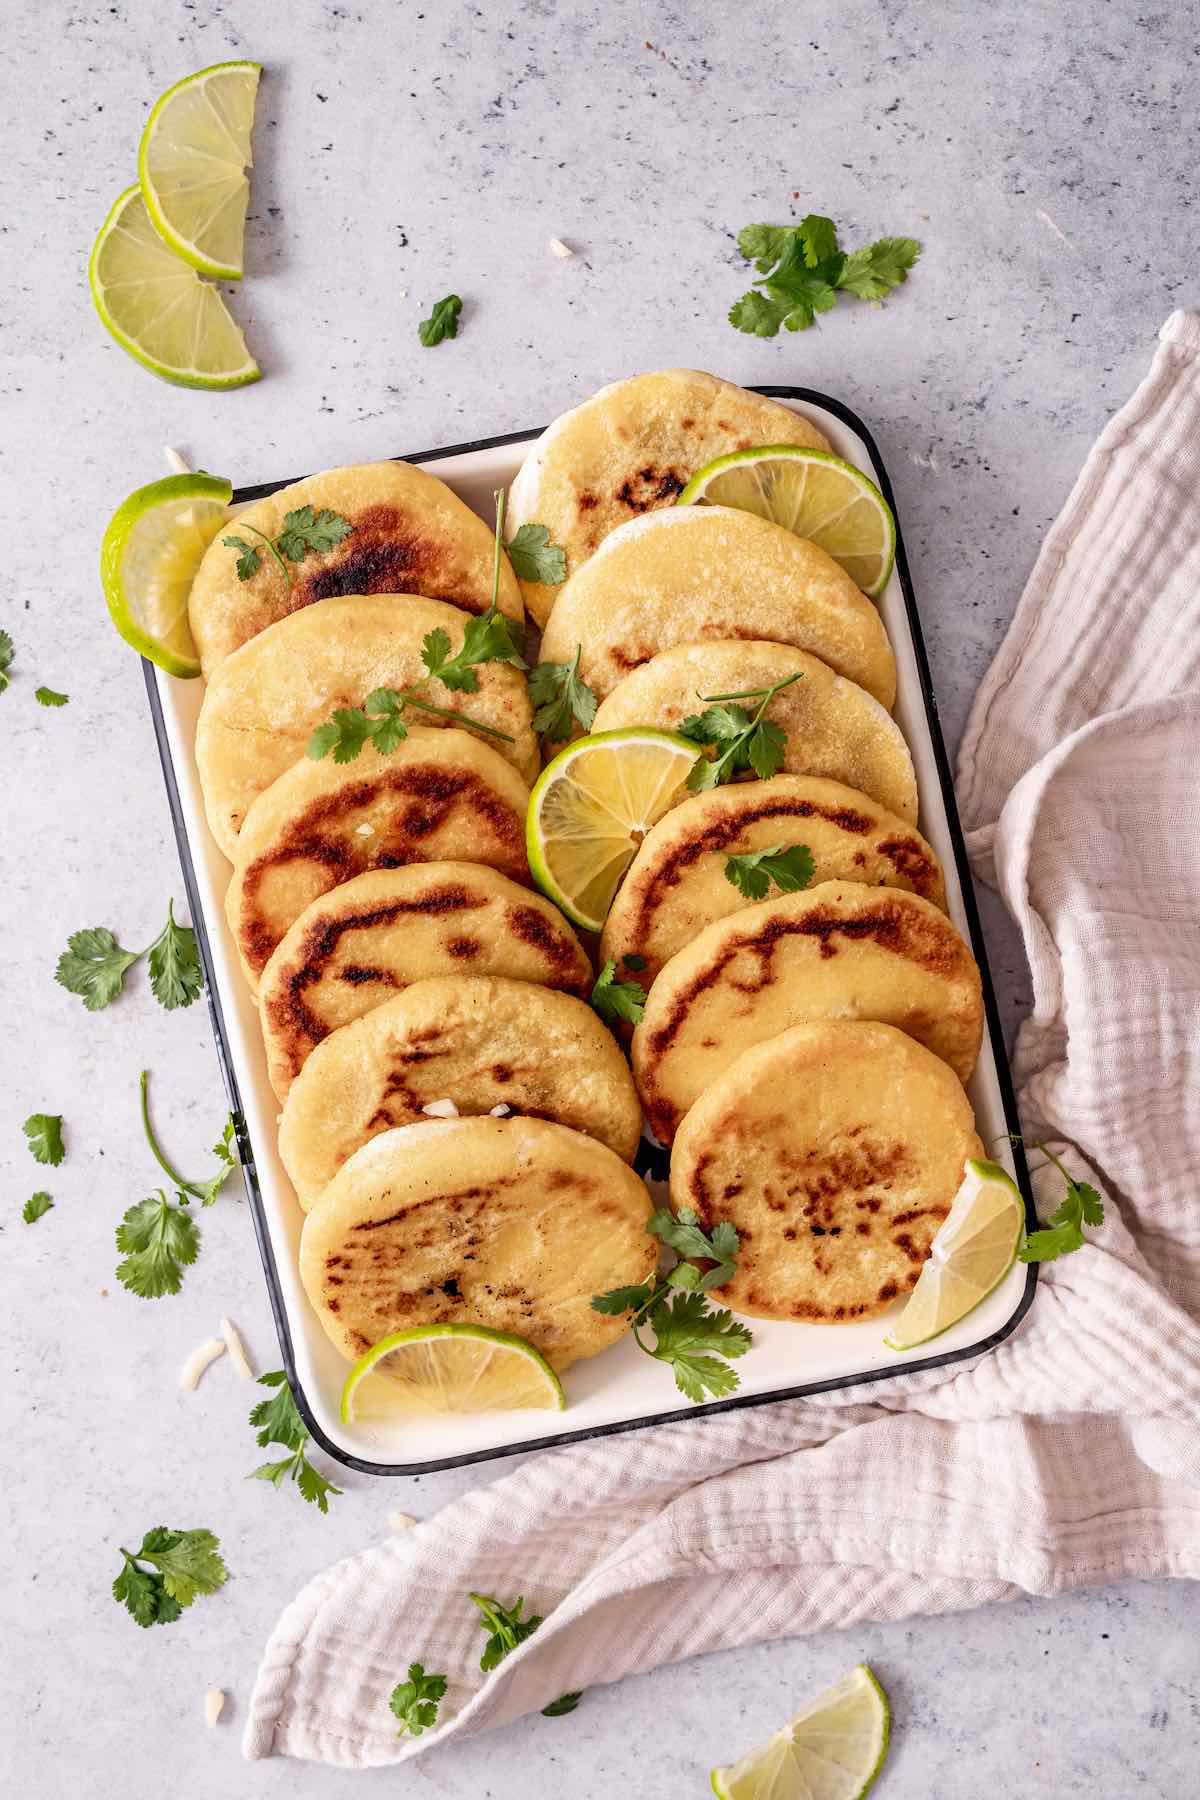
If you love my tacos dorados or Mulitas, you will surely love Pupusas. This popular street food makes the best snacks or a fun meal in itself.
Growing up, mom used to make her version of these but called them stuffed tortillas. It was only recently, when I asked her for the recipe, that she informed me they were the infamous pupusa. Fun to say, even more fun to eat!
Table of Contents
What are pupusas?
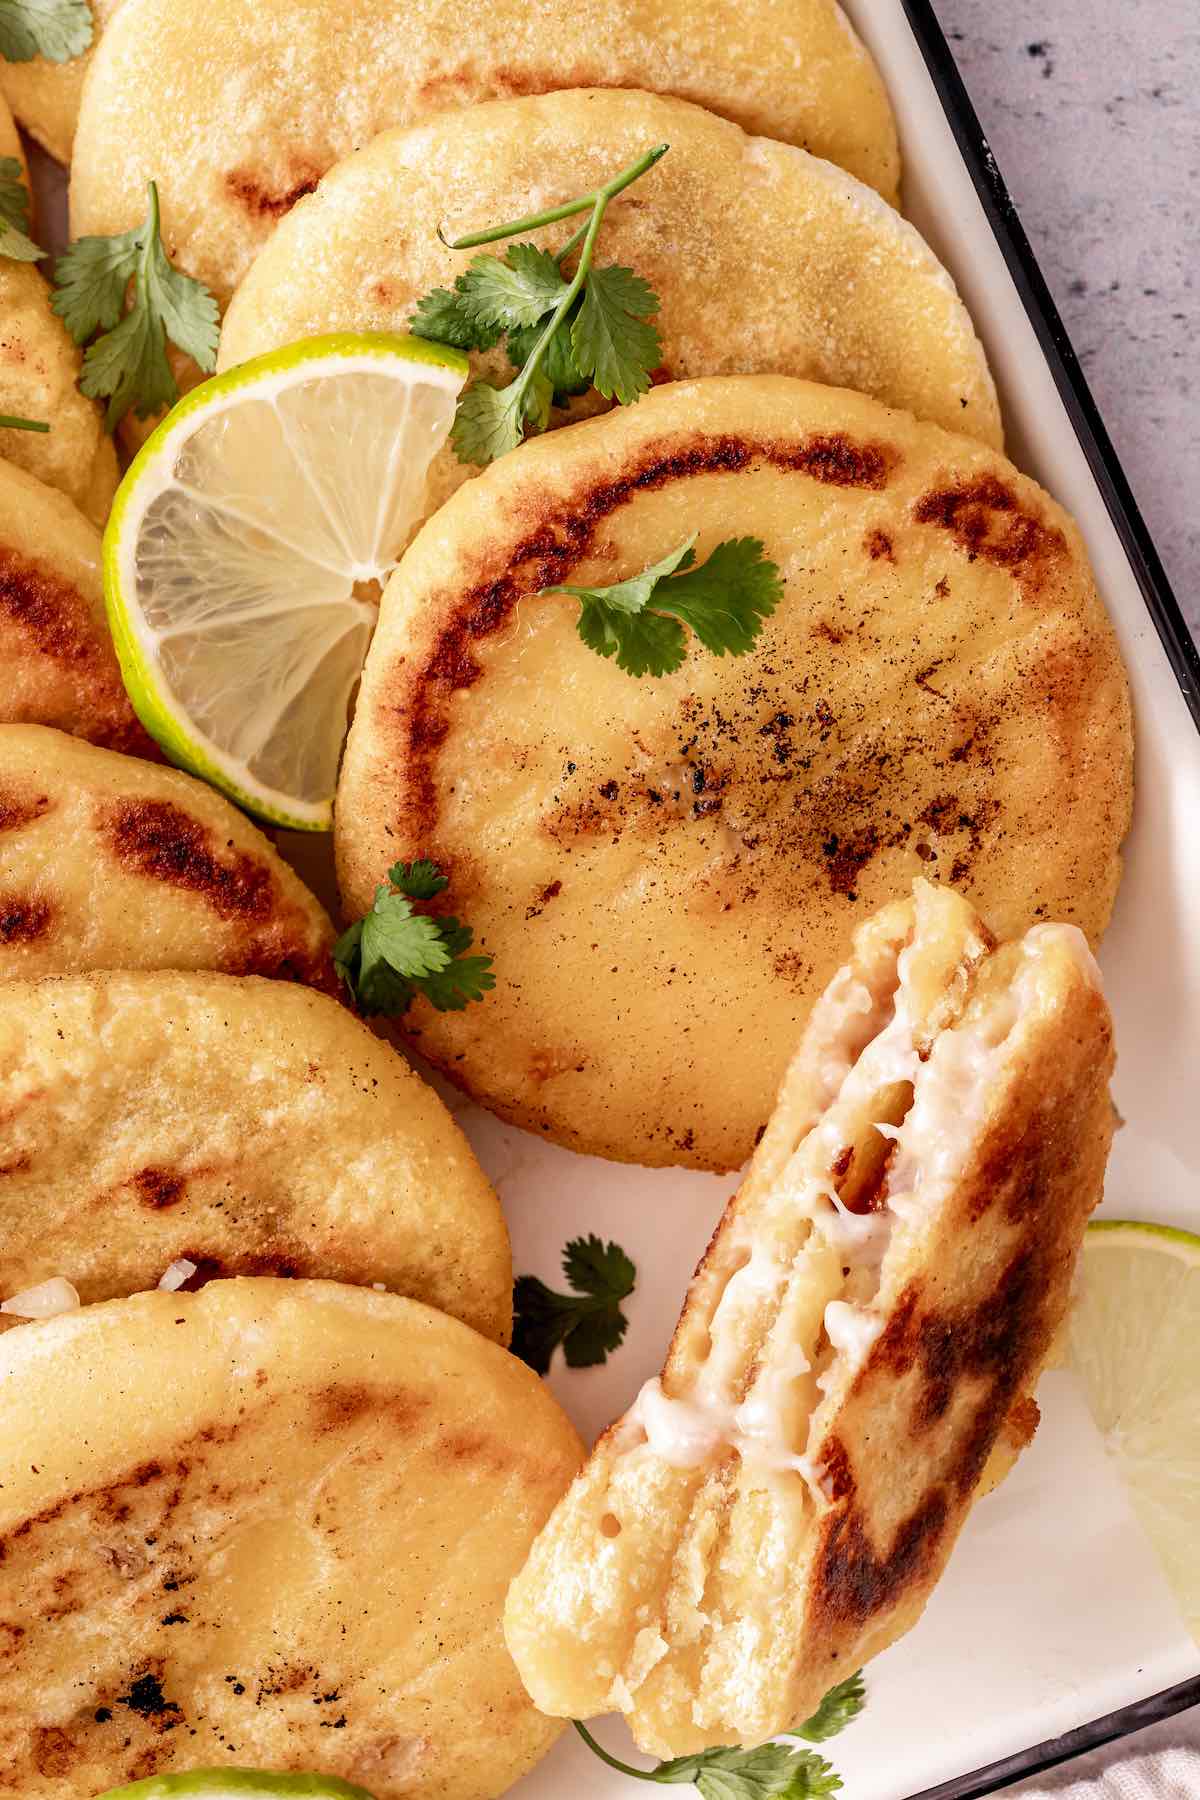
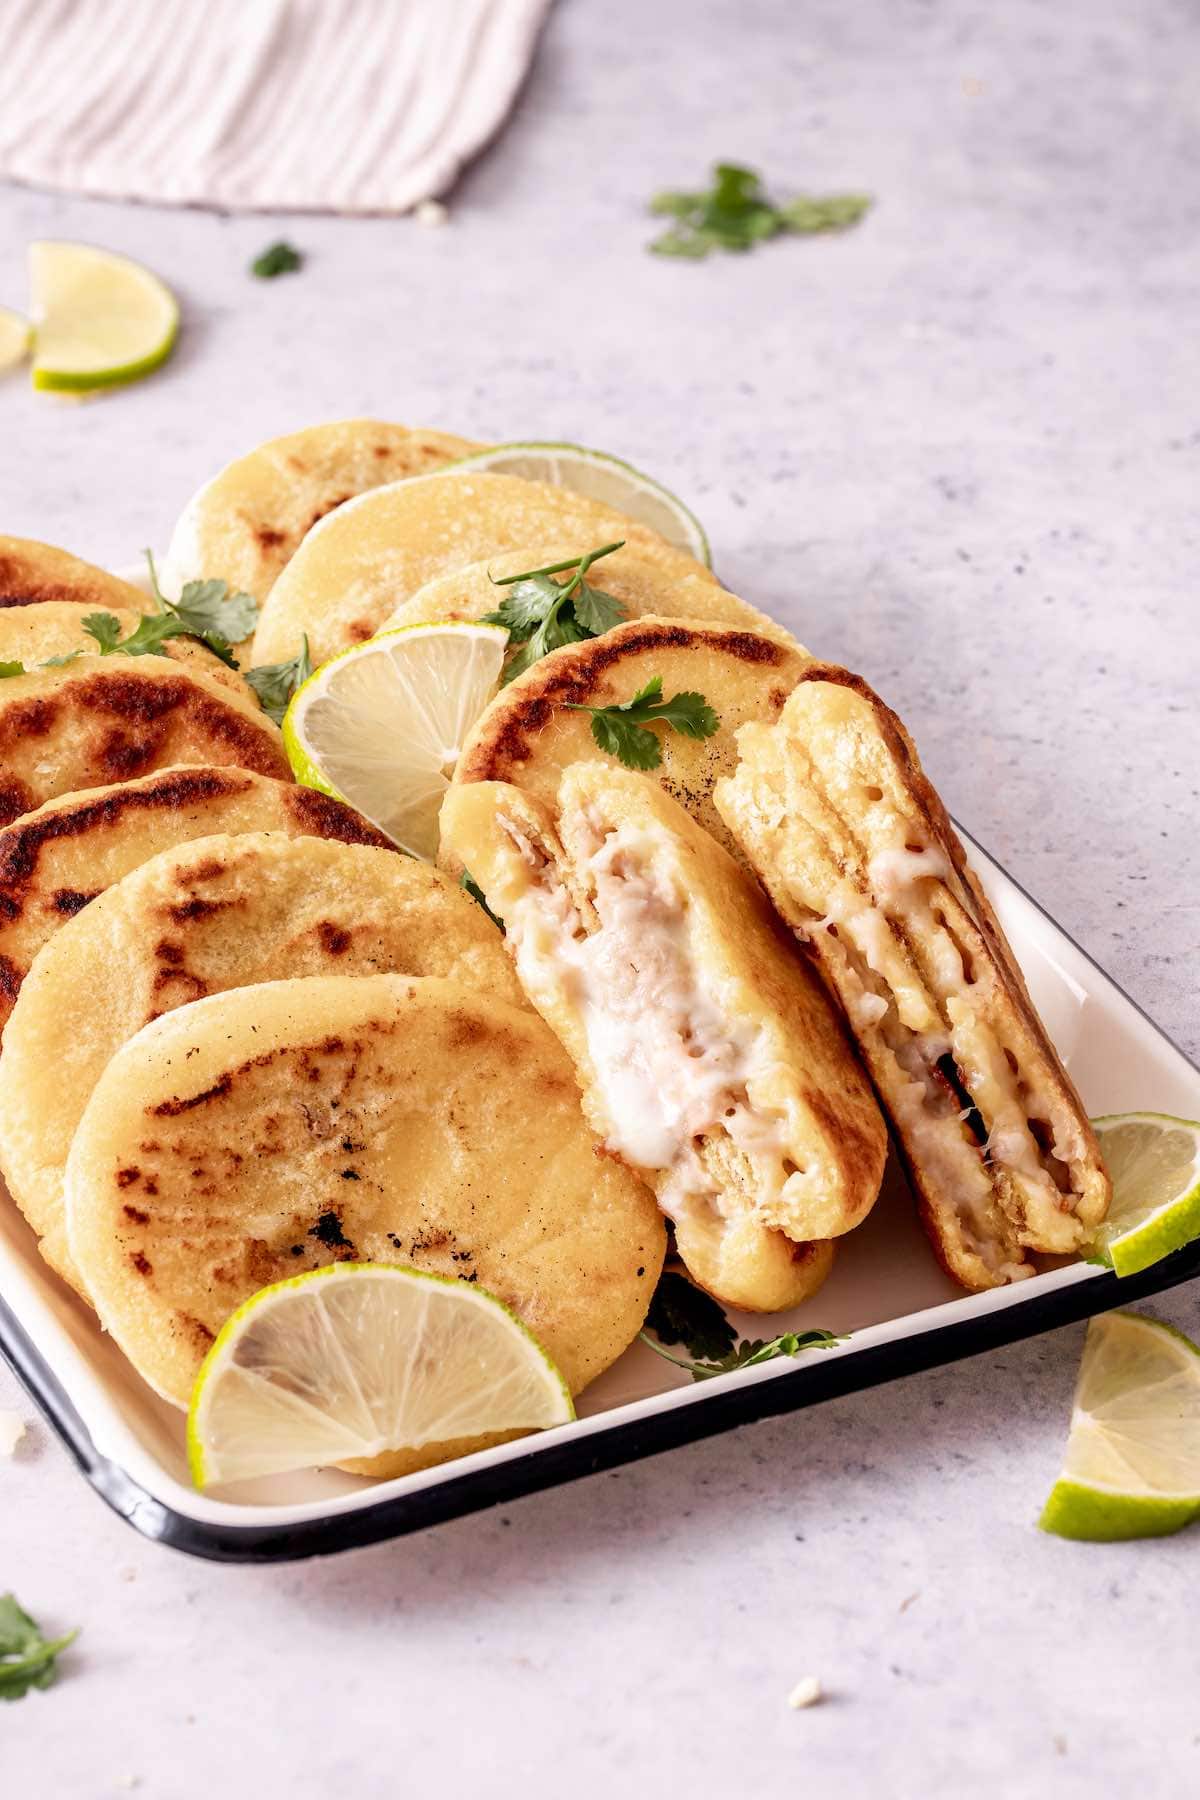
Popular in El Salvadoran cuisine, pupusas are thick corn pancakes that are filled with refried beans, cheese, or some form of protein (usually carnitas or sliced skirt steak).
Usually served with curtido, a twist on the classic coleslaw, they are a popular street food but also make a fabulous lunch or dinner. I like to use a cast iron pan to cook them, and mom’s homemade recipe is a game changer. Here are some reasons why I love this recipe:
- Customizable fillings. What makes this dish so good is that you can make them with any filling of your choice, including meat, beans, cheese, mashed potatoes, chorizo, etc.
- Great side dish, appetizer, or main. Served with salsa and sauces, this is super versatile. I sometimes like to really pack in the fillings for a family-friendly meal.
- Freezer-friendly. Uncooked pupusas freeze quite well. Double this recipe and freeze part of the pupusas for later use.
Ingredients needed
These beans and cheese-stuffed pupusas call for only six simple ingredients. Here’s everything you will need to make them.
- Masa harina. Known as dried corn dough, masa harina is the key ingredient you need to make traditional pupusas.
- Water. Warm water is needed to mix with masa harina and make the dough.
- Cheese. Any shredded cheese will work so long as it melts well. Mozzarella and queso fresco are two of your best options.
- Refried beans. Use canned refried beans or make them yourself.
- Oil. Sunflower oil, vegetable oil, or any neutral-flavored cooking oil of your choice.
- Salt. To taste.
How to make pupusas
I’ve included step-by-step photos below to make this recipe easy to follow at home. For the full printable recipe instructions and ingredient quantities, scroll to the recipe card at the bottom of this post.
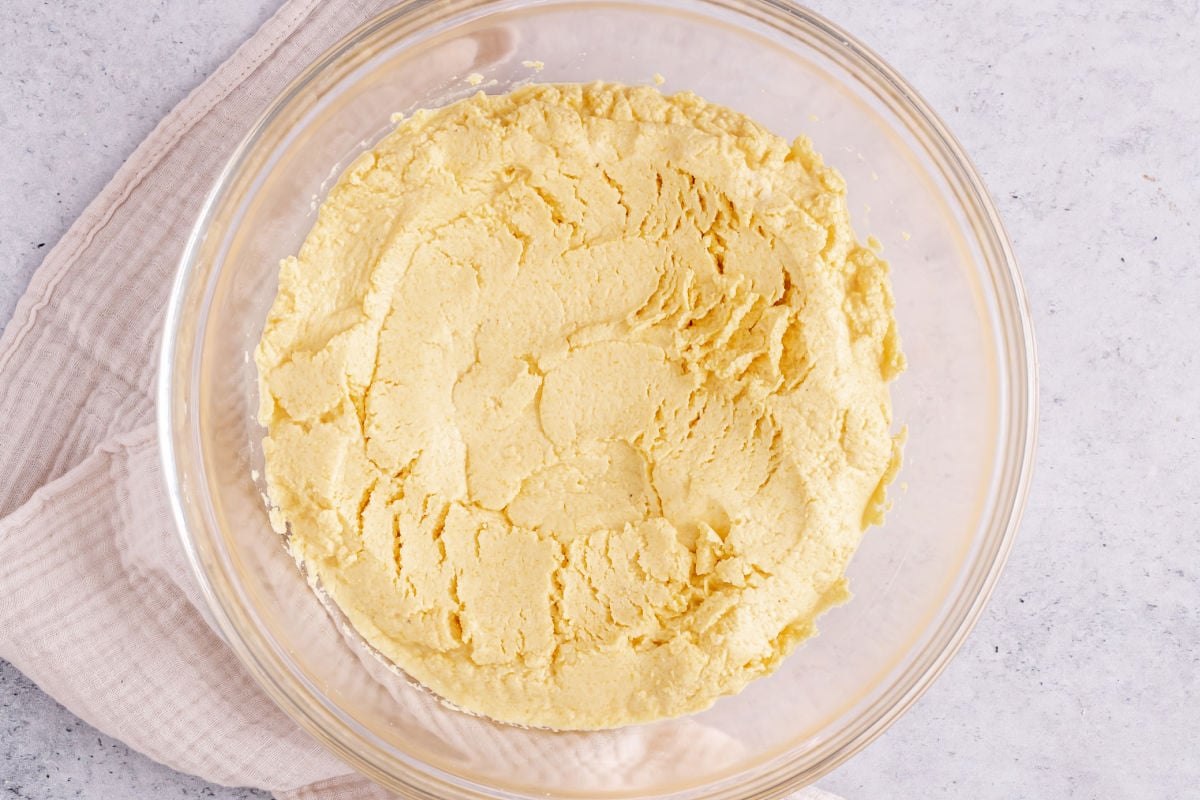
Step 1- Prepare the dough. Combine masa harina with warm water and salt in a large bowl. Mix with a spoon until it thickens and proceed to knead with your hands until smooth dough forms. Cover the dough with plastic wrap and let it rest for 5 minutes.
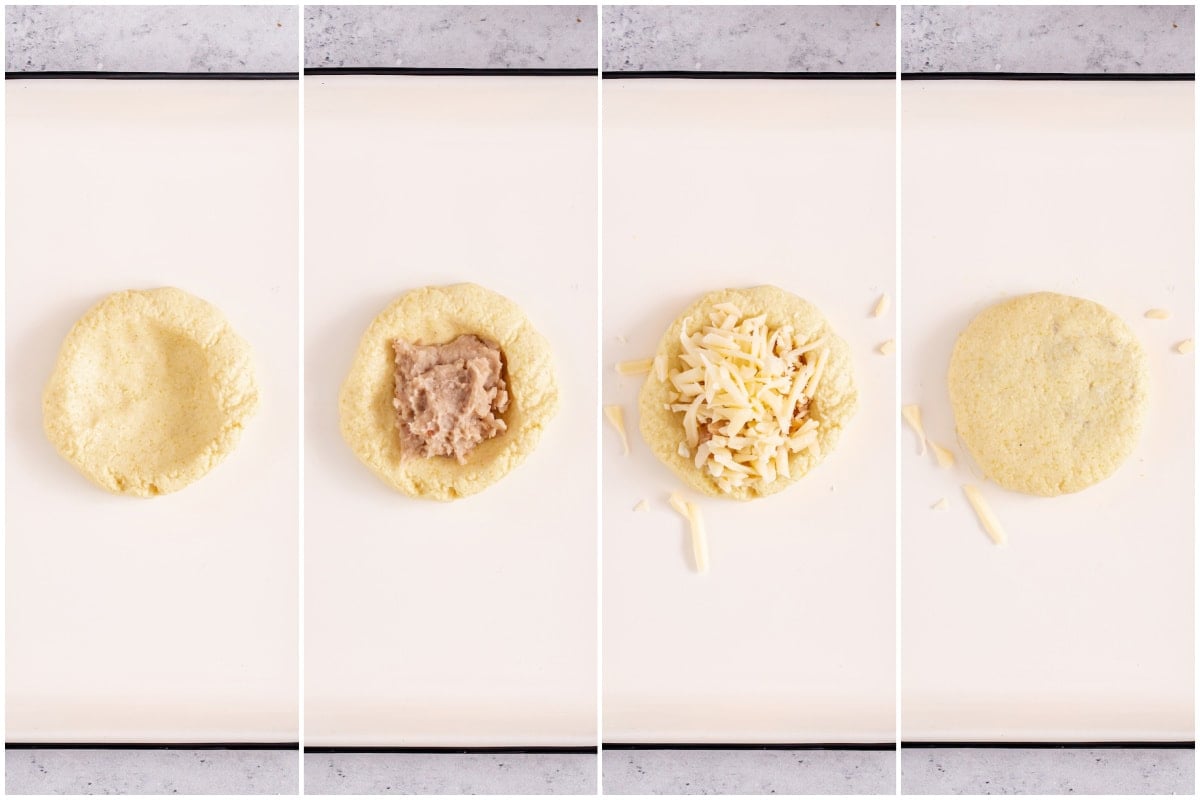
Step 2- Shape and stuff the pupusas. Divide the dough into 14 even balls (golf ball size). Use your hands to form a pocket in the middle of the ball. Place a teaspoon of refried beans and a teaspoon of shredded cheese in the pocket. Bring over the edges to cover the fillings and form a ball again. Use your hands to gently flatten the pupusa ball into a thick disk.
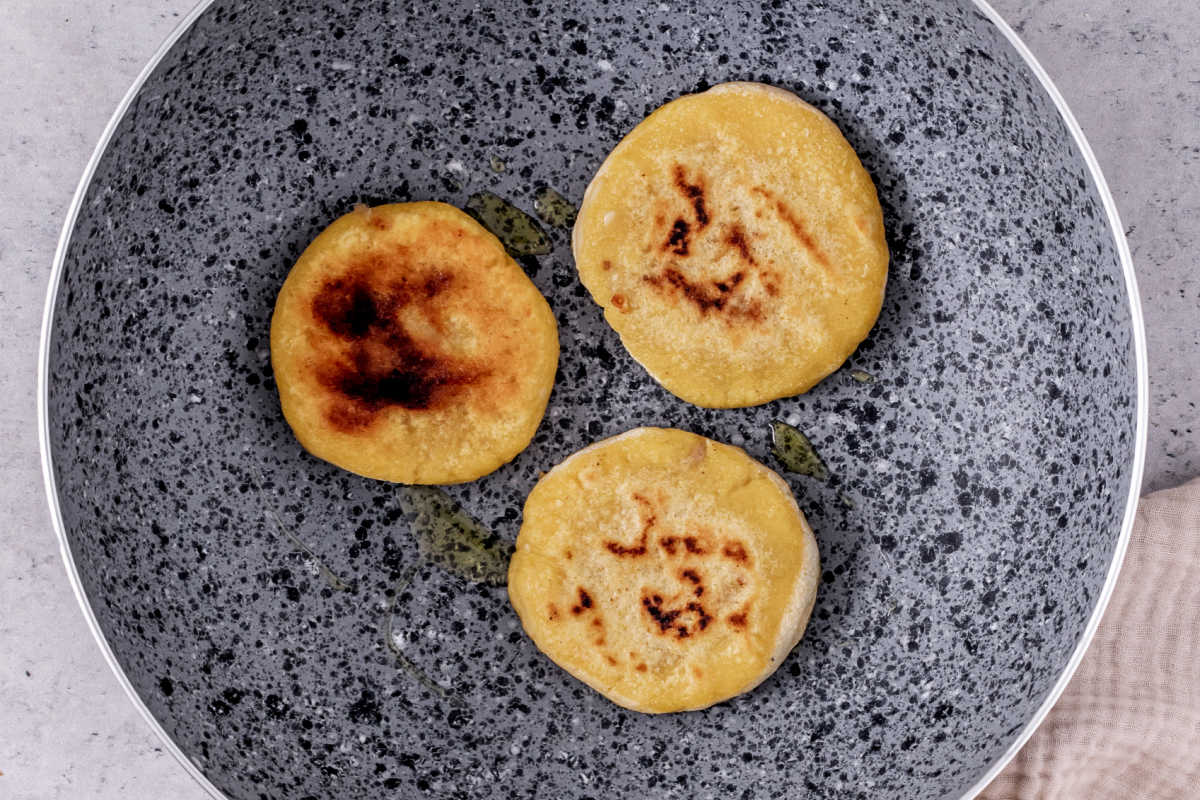
Step 3- Cook. Add a small amount of cooking oil to a non-stick pan or griddle and heat it. Cook the pupusas in the pan for 3 minutes per side until lightly browned.
Tips to make the best recipe
- Use an ice cream or a cookie scoop to portion the dough evenly and make even-sized pupusas.
- For an authentic Salvadoran experience, serve these with salsa and curtido, a traditional cabbage slaw.
- Oil your hands lightly to prevent the dough from sticking to them.
- If the dough tears while forming the pupusa, simply pinch it back together.
- If you are making a big batch and need to keep them warm while you finish cooking them all, turn on the oven to 200F degrees and keep the cooked ones there until dinner time.
How to store leftovers
To store. Store leftovers in an airtight container in the refrigerator for up to 3 days.
To freeze. Freeze them on a baking sheet first until they are solid. Then put them in an airtight bag or container and freeze them for up to 3 months. We typically don’t keep them any longer because they are easy enough to make fresh,
To reheat. Reheat them in a skillet over medium heat or in the microwave at 15-second intervals until they are heated through.
Frequently asked questions
The flavor of pupusas depends on the fillings you use for them. The flatbread itself tastes pretty much like a corn tortilla.
Yes, pupusas are gluten-free, so long as you don’t use wheat flour to make them. Additionally, when using canned ingredients, such as refried beans, check the ingredient list to make sure they don’t have any gluten-containing additives.
Yes! Simply prepare them as instructed, then place them in a greased air fryer basket and air fry at 200C/400F for 4 minutes, flipping halfway through.
What to serve with this dish
While we typically make curtido (fermented cabbage salad), anything fresh and green pairs well with it, so here are some suggestions.
- Green goddess salad– A creamy and hearty salad that doesn’t need any dairy.
- Rice salad– Another hearty salad that can be enjoyed hot or cold.
- Air fryer frozen broccoli– The speediest way to cook this cruciferous vegetable.
- Air fryer potato wedges– Always a classic and always polished off.
Pupusas
Video
Ingredients
- 3 cups masa harina
- 2 teaspoons salt
- 2 3/4 cups warm water
- 1 cup mozzarella cheese shredded
- 1/2 cup refried beans
- 2 tablespoons oil
Instructions
- In a mixing bowl, combine masa harina and salt. Add the water and mix with the spoon until it thickens. Start kneading with your hands until a smooth dough forms. Let it rest for 5 minutes.
- Divide the dough into 14 balls. With your hands form a pocket in the middle of the ball. Place one teaspoon of refried beans and one tablespoon of shredded cheese in the pupusa dough. Using the edges, cover the filling and form a ball once again. Flatten each filled ball into a thick disk shape.
- Add oil to a non-stick pan and place over medium heat. Once hot, add the pupusa to the pan and cook for 3 minutes per side until it starts browning.
Notes
Nutrition
Originally published February 2023, updated March 2024


Arman, this turned out sensational. I make these very regularly!!
I love to hear that, Brittany- thanks for taking the time to leave a lovely review and rating!
My first time making them. I work with people from El Salvador and I love the papusas they bring in from their local grocery. This tasted JUST like them and they came out beautifully. No leaking or cracking. Dough is beautiful.
Thank you so much for the recipe! I made this tonight and they were amazing!