Cookie Dough Cake
This post may contain affiliate links. See my disclosure policy.
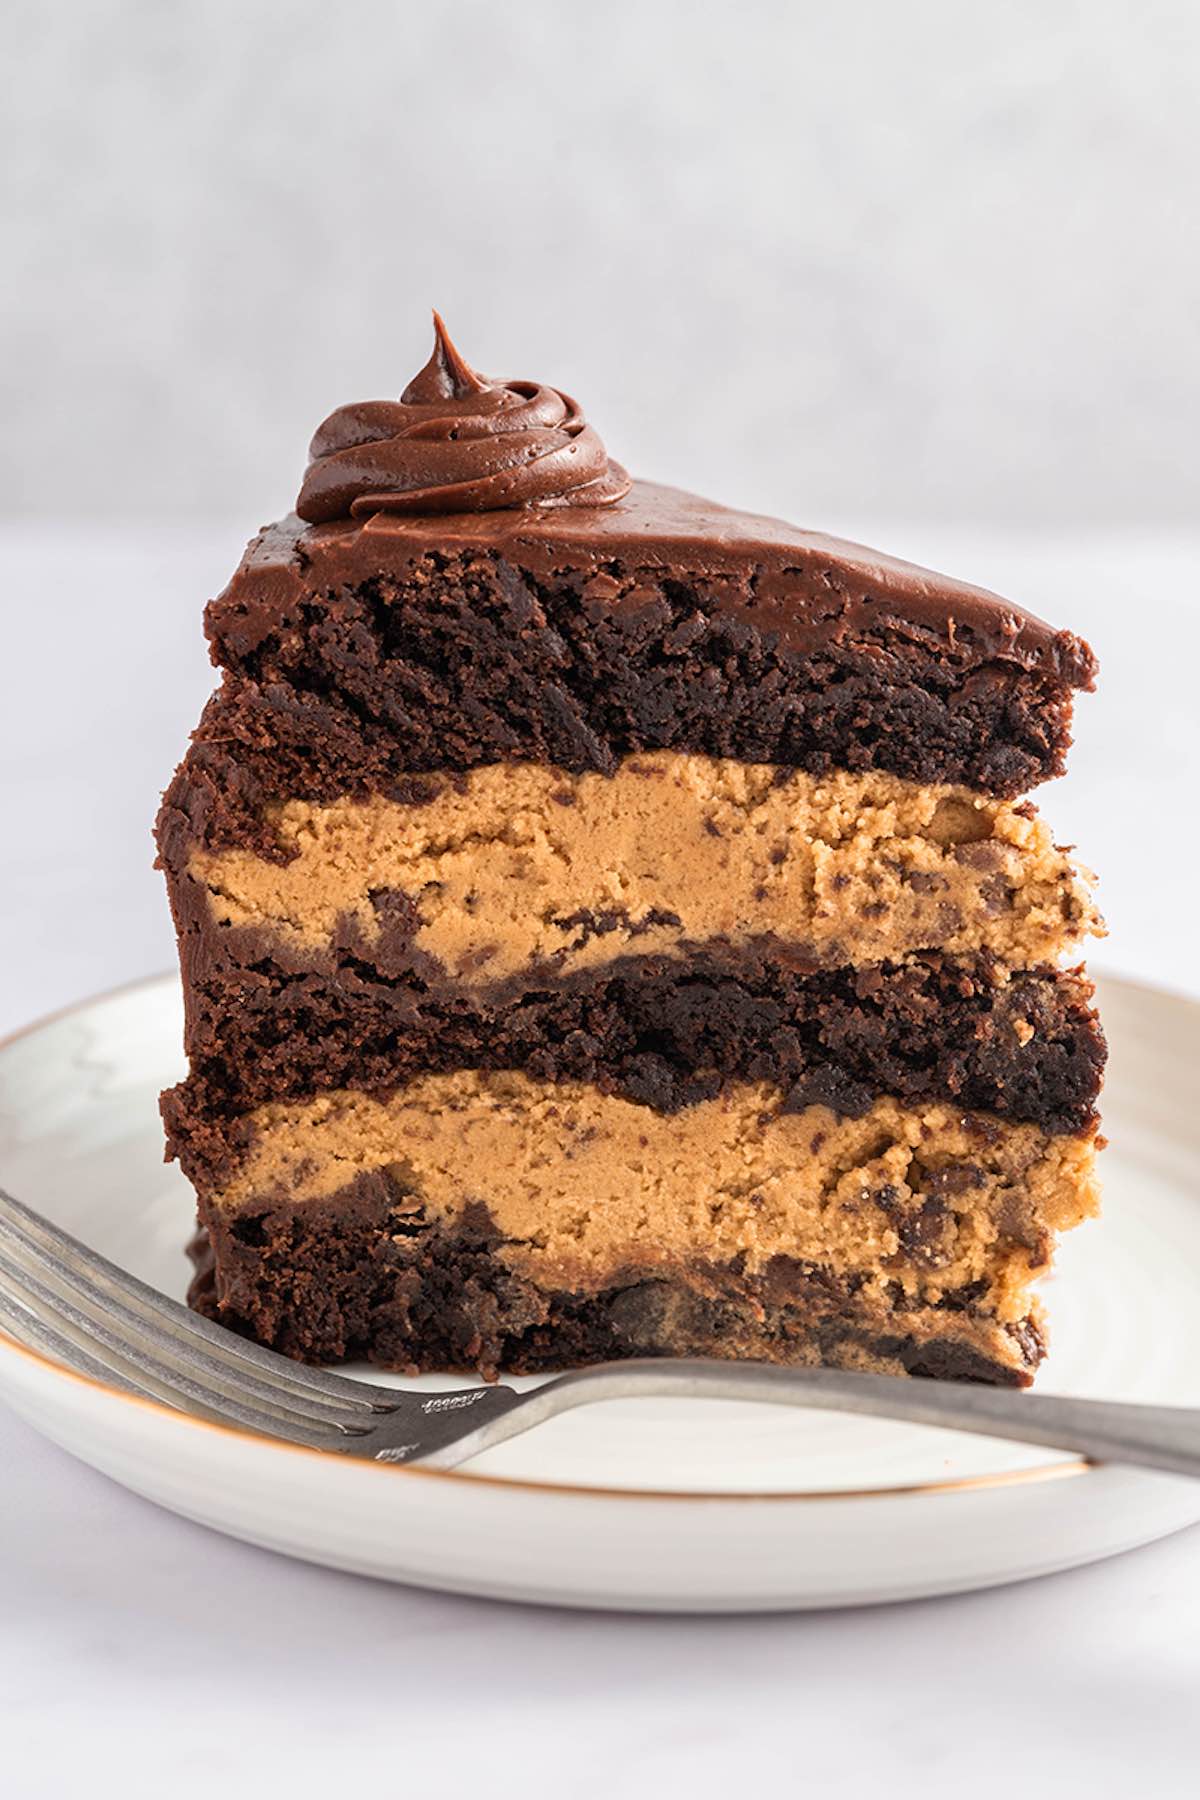
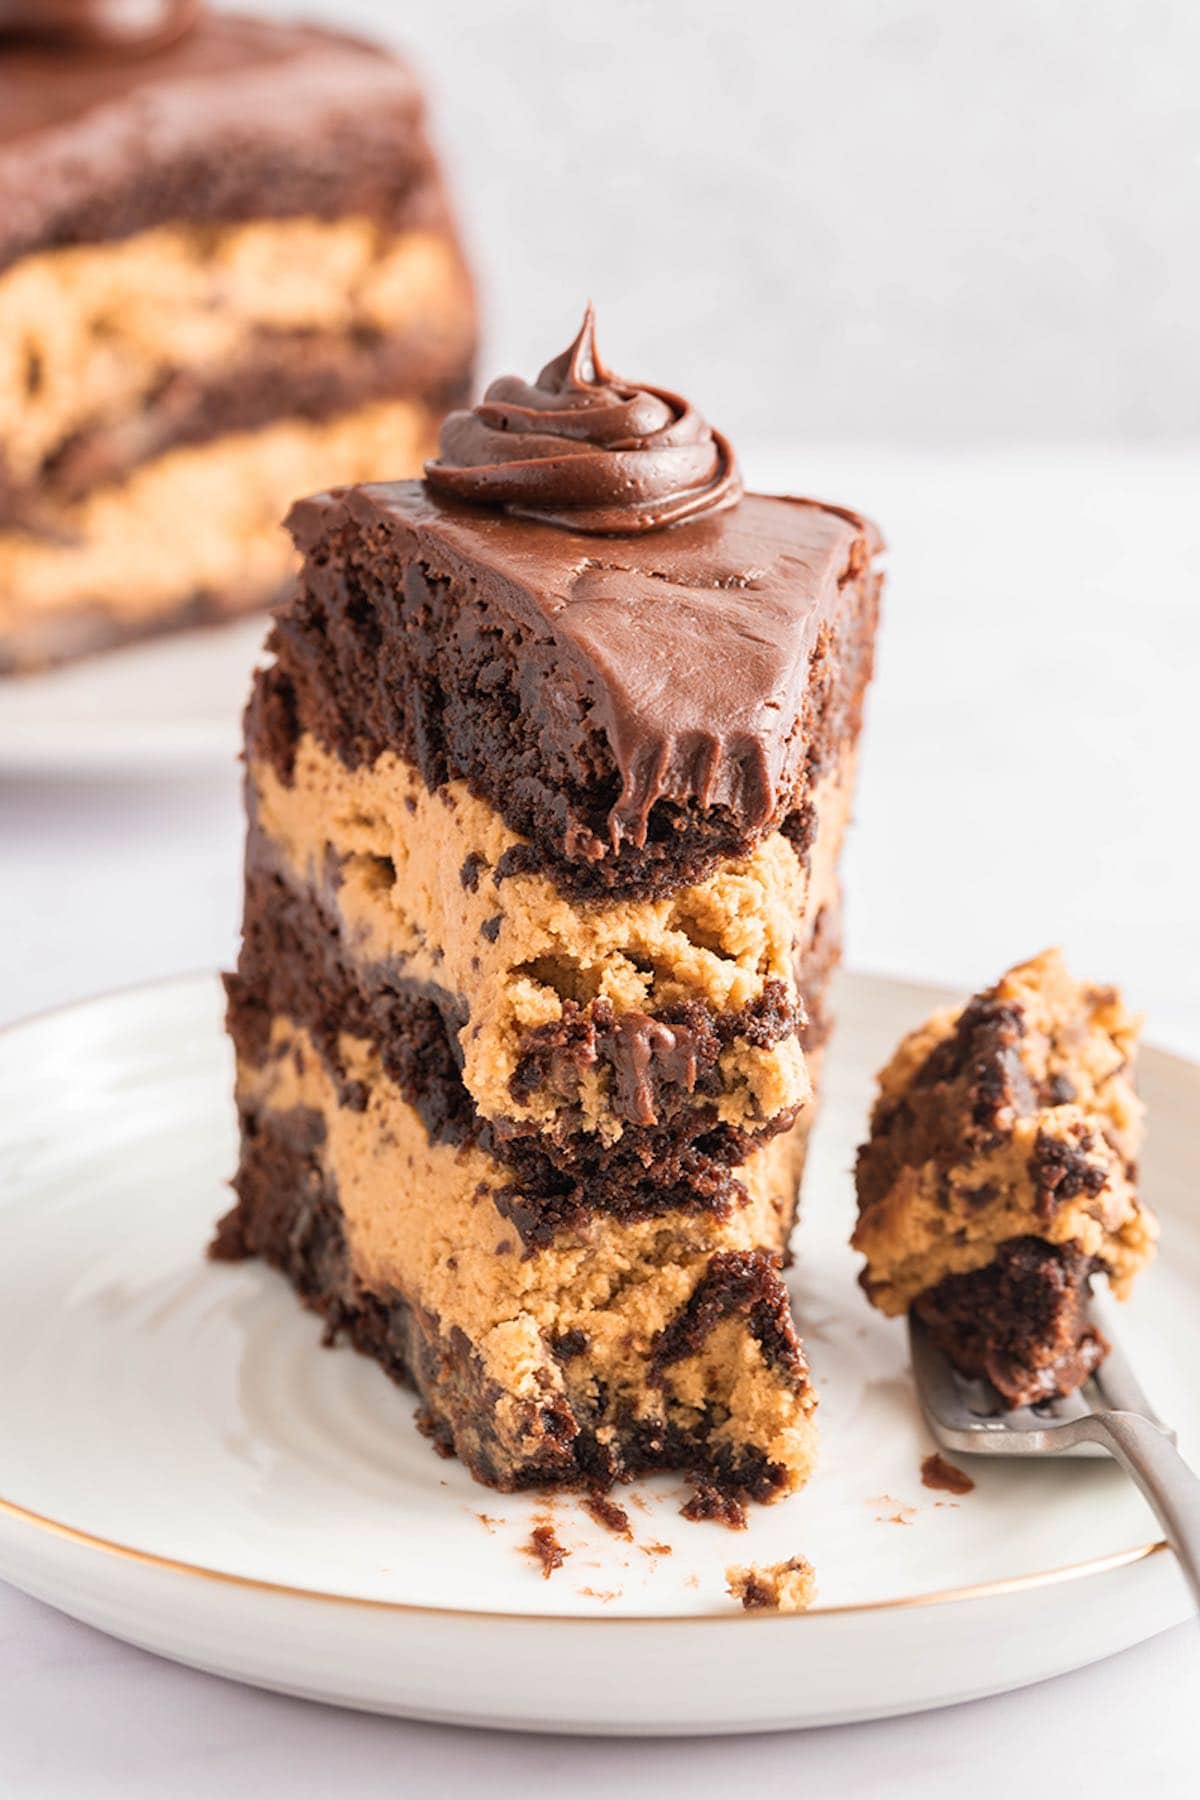
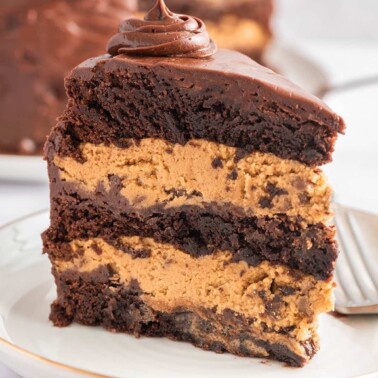
My cookie dough cake is what I make whenever I need a showstopping dessert that combines two popular treats. Instead of cake layers, I use fudgy brownies, which balance the thick layers of cookie dough. The best part? It’s deceptively easy to make.
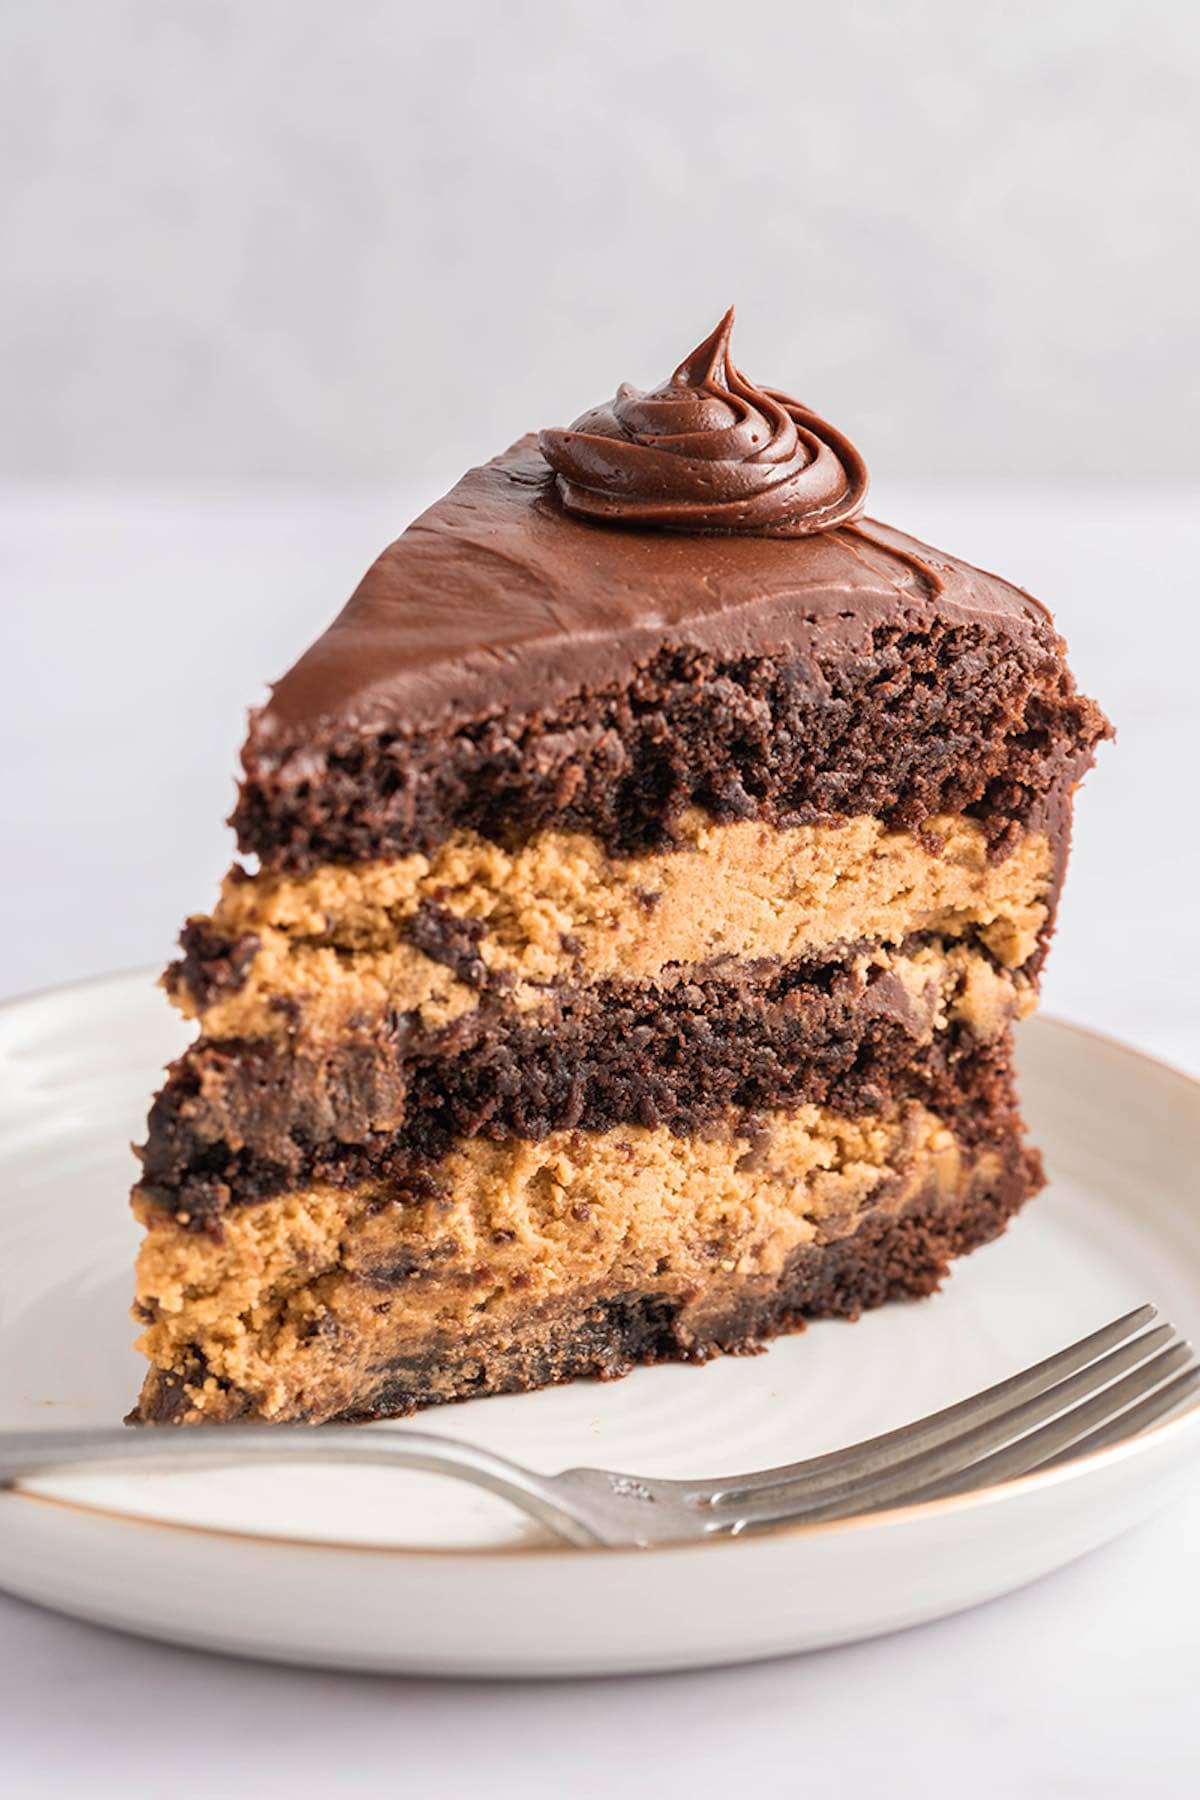
Ever since doing a module on layer cakes and decorating in culinary school, I’ve been a little bit obsessed with trying various combinations. After sampling the most incredible chocolate cookie dough cake from Saint Street Cakes (in Fort Greene, NY), I went to recreate it myself. What stood out was that instead of a traditional chocolate cake, they used brownies. So, I started with my tried-and-true flourless brownie recipe and adjusted the ratios to make them sturdier to layer. Once they cool, I just layer them with edible cookie dough, then frost the outside. Each bite is fudgy, thick, and chewy, then melts in your mouth.
Table of Contents
Arman’s recipe highlights

Deceptively easy. Because I’m not baking the cookie dough on top of the brownies, it’s a super straightforward recipe. I’ll walk you through the whole process with simple, step-by-step photos. Fact: My partner made this one year, and he usually burns toast. So there’s that.
Easy to customize. You can use any brownie mix you like, including boxed mixes. Provided they are baked to be a little more cakey (for sturdiness), it’s fine to use.
Make ahead. I’ve made this cake up to 3 days in advance, and it stores in the fridge and holds up really well. I do recommend bringing it to room temperature about two hours before serving.
Key Ingredients and Tips
- Coconut oil. Gives the brownie base the shiny, crackly tops and richness. I like to use refined coconut oil because it has no coconut flavor. Unsalted butter also works.
- Chocolate. Using a chopped-up chocolate bar melts much better than chocolate chips, which often contain stabilizers to hold their shape. Saying that, if that is all you have, don’t fret. It will be fine for the cake.
- Sugar. My typical brownie recipe uses a mix, but for this cake, I prefer white sugar. It helps keep the brownies more sturdy (brown sugar keeps the middles softer, which could cause the cake to sink in the middle).
- Eggs. Room temperature eggs are best, as cold ones can cause the butter/chocolate mixture to seize.
- Cocoa powder. I typically use sifted Dutch-processed cocoa powder, but for a richer flavor, I like to use dark or black cocoa powder (I always have Hershey’s special dark on hand).
- Cornstarch. The brownies are flourless, so adding arrowroot gives them some structure. You can also use arrowroot powder or tapioca flour.
For the cookie dough:
- Butter. For richness and to bind the ingredients. I used room-temperature unsalted butter.
- Brown and white sugar. For a subtle caramelized flavor. If you want a richer flavor, you can use half dark brown sugar.
- Milk. To form the dough. I used unsweetened almond milk, but any milk will work.
- All-purpose flour (heat-treated). Heat-treating flour kills potentially harmful bacteria, making it safe to eat raw. To heat treat flour, spread it into an even layer on a baking sheet and bake at 350F for 5-6 minutes. Allow it to cool before using.
- Chocolate chips. I prefer mini chocolate chips because they disperse better in the cookie dough. Regular chocolate chips are fine.
To finish the cake:
- Chocolate frosting. I made my 2-ingredient dairy free frosting, but store-bought chocolate buttercream frosting will work, too.
How to make
I’ve included step-by-step photos below to make this recipe easy to follow at home. For the full printable recipe instructions and ingredient quantities, scroll to the recipe card at the bottom of this post.
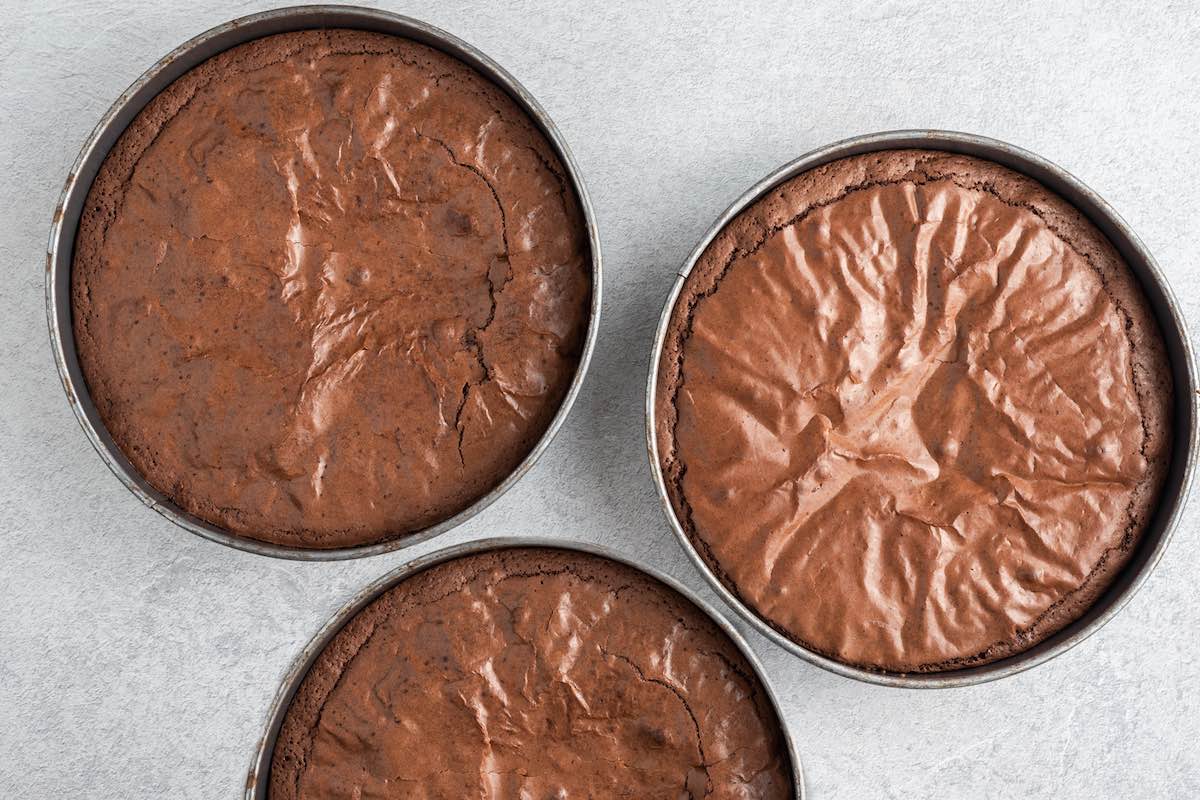
Step 1- Prep. Preheat the oven to 350F/180C, and line 3 8-inch cake pans with parchment paper greased with nonstick cooking spray. Set aside.
Step 2- Make the brownie batter. In a microwave-safe bowl, melt the coconut oil and chocolate together. Add the sugar and eggs, then add the cocoa powder and arrowroot. Whisk until smooth.
Step 3- Bake the brownie cakes. Pour the cake batter into the three cake pans and bake for 23-25 minutes or until a toothpick comes out clean. Let the brownies cool in the cake pan briefly, then transfer them to a wire rack to cool completely.
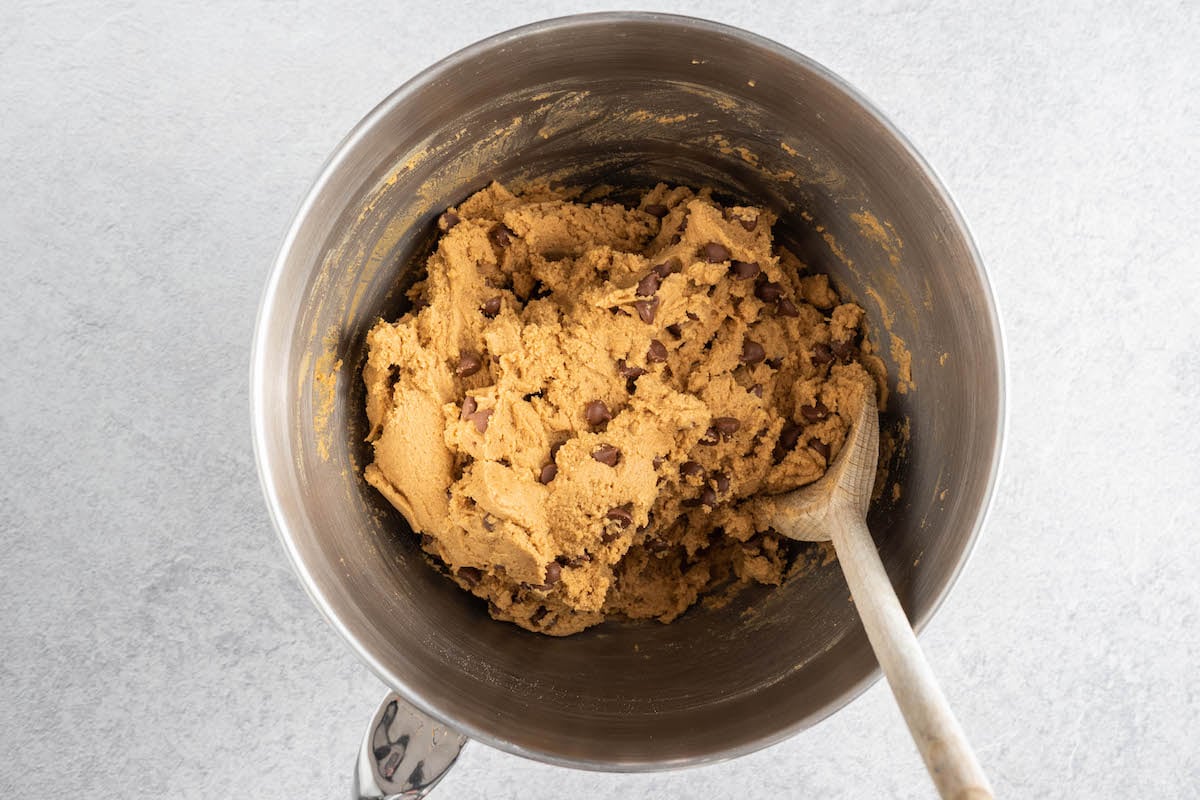
Step 4- Make the cookie dough. While the brownies cool, make the cookie dough. In a stand mixer with a paddle attachment, cream the butter and sugars. Add the vanilla and milk and continue mixing on medium-high speed. Slowly add the flour until just combined, stopping midway to scrape down the sides of the bowl. Stir in the chocolate chips.
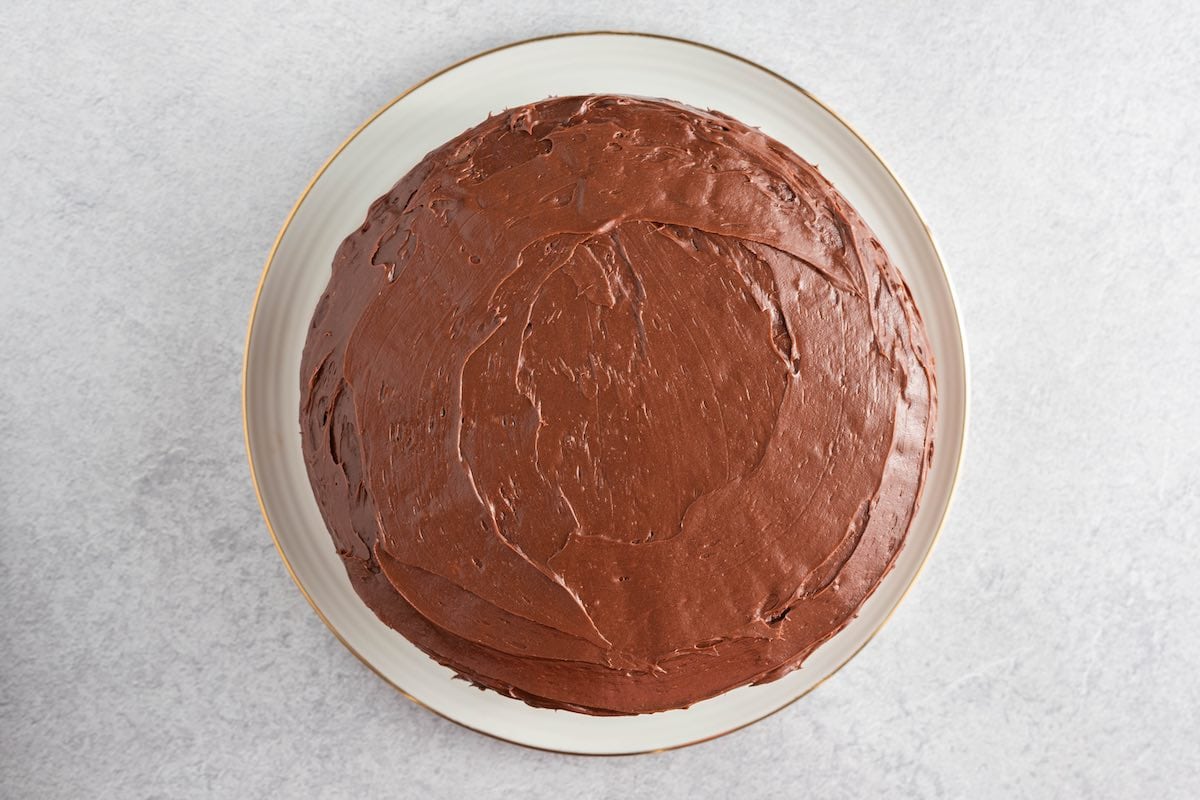
Step 5- Assemble. Once the brownies have cooled, prepare the first cake layer. Lay a thin layer of chocolate frosting, followed by half the cookie dough mixture. Repeat and top with the final brownie layer. Top with the remaining chocolate frosting, then refrigerate for 1 hour to firm up.
Pro recipe tips
- Don’t underbake the brownies. The brownies need to be sturdy enough to hold multiple layers and cookie dough. Pull them out of the oven when a toothpick comes out mostly clean. The brownie edges should be set, and the center should still be slightly soft when pressed.
- Chill the cookie dough, if needed. Depending on which sugar combo you use, the cookie dough might be a little thin. If you notice that, chill it for about 30 minutes. This prevents the cookie dough from squishing out when stacking.
- Line the pans with parchment paper. Even though my pans are all non-stick, I still line them with parchment because it makes removal so easy. Just cut out a circle that fits directly in the pan, and you’re good to go.
- Chill once assembled. Chilling the cake for about an hour helps everything ‘stick’ together and makes slicing so much easier.
Storage and make ahead
To store: Leftover cake can be kept refrigerated and covered for up to one week. I recommend slicing them first. You can also freeze slices for up to 3 months, thawing overnight in the fridge before enjoying.
To make ahead: You can make this cake up to 3 days in advance. Once it has been assembled, cover it completely (no air pockets, please!) and refrigerate. Remove it from the fridge two hours before serving.
Frequently asked questions
Yes, you can use 9-inch pans, but reduce the cooking time by 5-6 minutes since the cake layers will be thinner. If you use 6-inch pans, increase the cooking time by 5 minutes or until a toothpick inserted in the center comes out clean.
If your cookie dough has a thin batter consistency, it could be because the dry ingredients weren’t properly measured. Add more heat-treated flour, one tablespoon at a time, and continue mixing until it reaches your desired consistency.
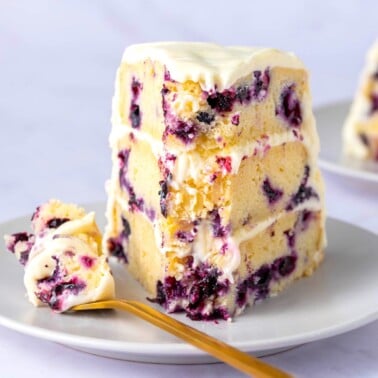
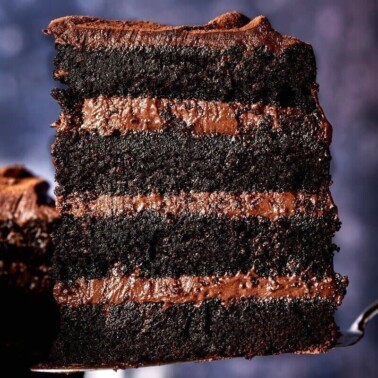
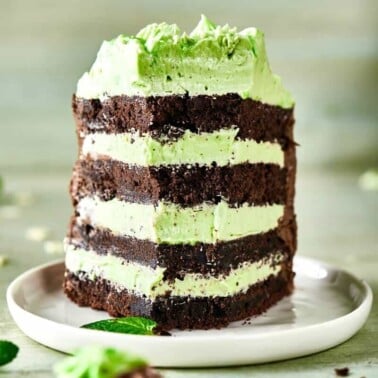
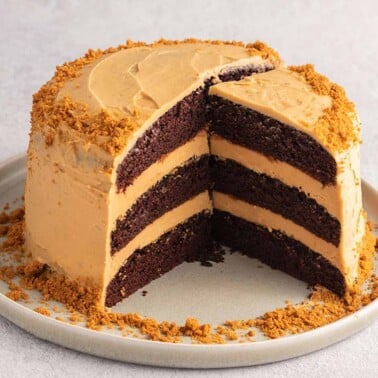
More impressive layer cakes
Cookie Dough Cake
Ingredients
- 3/4 cup + 2 tablespoons coconut oil
- 3 cups chocolate chopped
- 2 1/4 cups sugar
- 6 large eggs
- 6 tablespoons cocoa powder
- 9 tablespoons cornstarch
Cookie dough layer
- 1 cup butter
- 1 cup light brown sugar
- 1/3 cup sugar
- 2 teaspoons vanilla extract
- 2 tablespoons milk
- 2 cups all-purpose flour heat treated * see notes
- 1 cup chocolate frosting
- 1/2 cup chocolate chips optional
Instructions
- Preheat the oven to 180C/350 and grease 3 8-inch cake pans with cooking spray and set aside.
- In a microwave-safe bowl, add the coconut oil and chocolate and melt in 20-second spurts. Whisk together. Add the sugar, then add the eggs, one at a time. Add the cocoa powder and cornstarch and mix until the batter is smooth.
- Pour the batter into the three cake pans and bake for 23-25 minutes, or until a toothpick comes out clean. Let the brownies cool in the cake pan completely.
- While the brownie cakes cool, make the edible cookie dough.
- In a mixer, cream together the butter with brown sugar and white sugar until combined. Add the vanilla and milk and continue mixing. Slowly add the flour until just combined. Fold through the chocolate chips.
- Once your brownies have cooled, prepare the first brownie layer. Lay a thin layer of chocolate frosting, followed by half the cookie dough. Repeat again and top with the final brownie layer. Top with extra chocolate frosting. Refrigerate for an hour, to firm up.


The amount of chocolate chips is missing from the recipe. Can you please provide this?
Hi Isabel, this should be a 1/2 cup, thanks for spotting that! All fixed 🙂
Looks so tasty. You actually have many “cookie dough” recipe.
I sure do- it’s my fav!
Looks so nice oh. I think if I make this for parents they will be so happy.
It says in the instructions arrowroot but there’s no arrow root in the recipe?
Hi Courtney- correct, it should be cornstarch, which I’ve just updated 🙂
Can I use almond milk? Doesnt it makes a difference if I choose that one?
I looooove this so much!!
Now if I were to go rogue…would this work with a Blondie recipe instead of the brownie, and do you have a suggestion of which recipe if so?
I’d love to create a funfetti blondie/cookie dough mash up!!
You could try my keto blondies 🙂