Cast Iron Chicken Thighs
This post may contain affiliate links. See my disclosure policy.
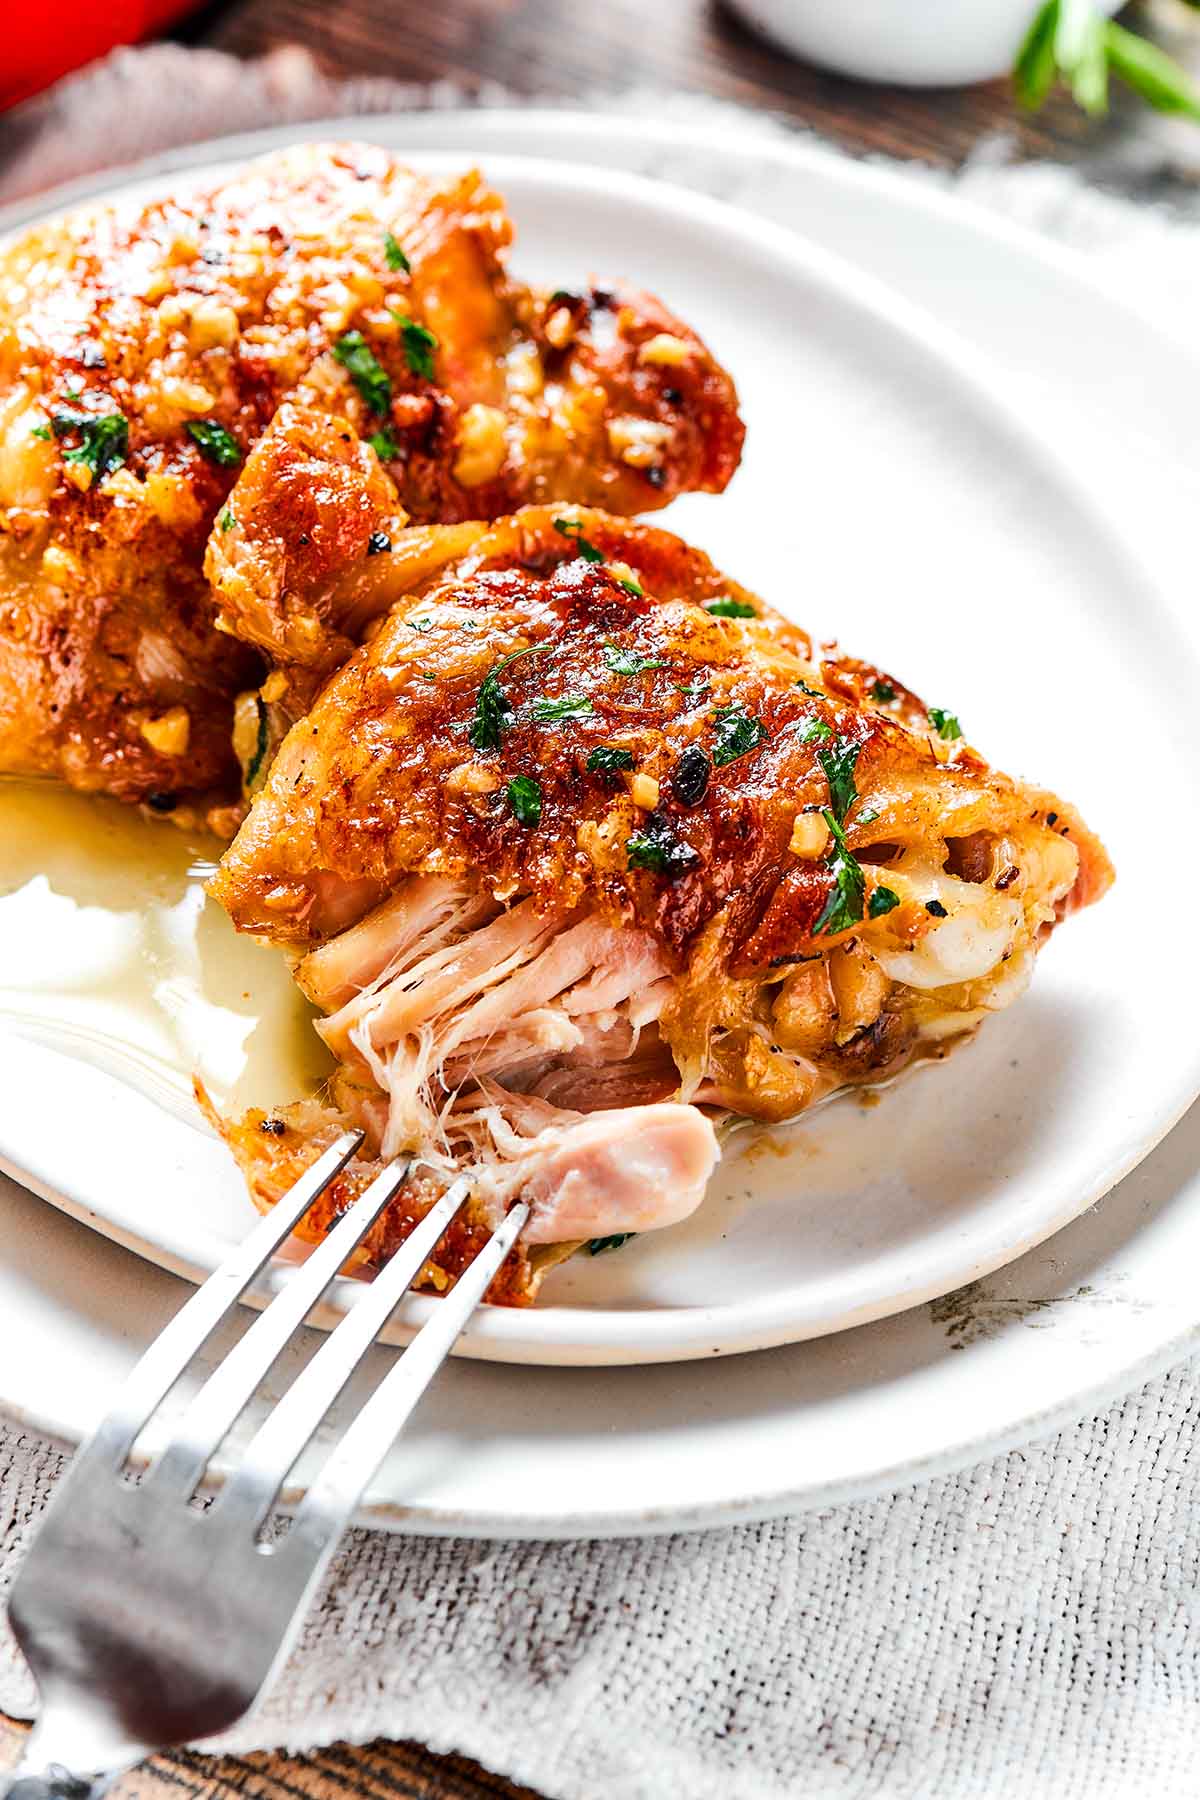
My cast iron chicken thighs need just 5 ingredients to make and yield the JUICIEST meat with extra CRISPY skin every single time.
Love cast iron cooking? Try my cast iron chicken breast, cast iron salmon, cast iron steak, and cast iron pizza next.
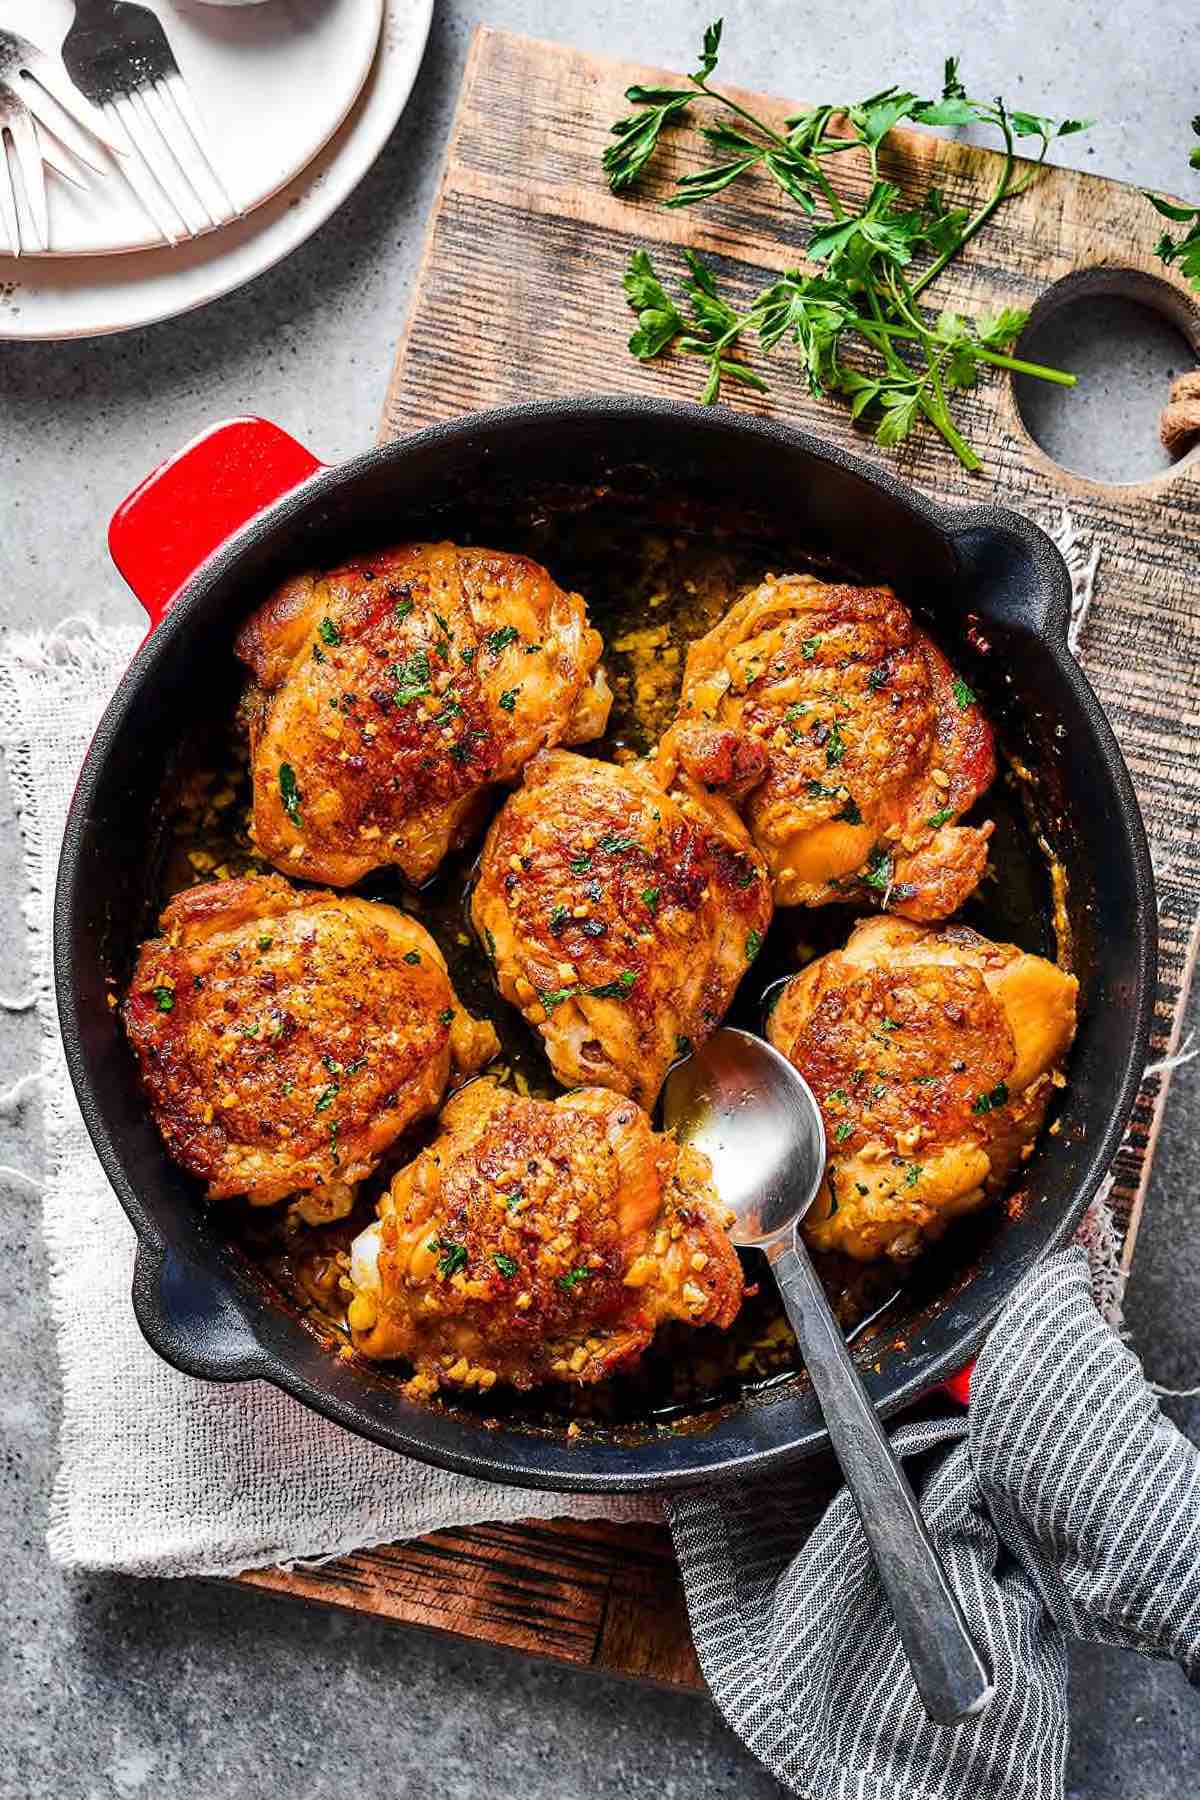
I cook chicken for my family every single week, and chicken thighs are the unanimous favorite. It makes sense because this cut of poultry is naturally juicier and fattier than other cuts. While I have a few favorite ways to cook it, nothing beats using a cast iron skillet.
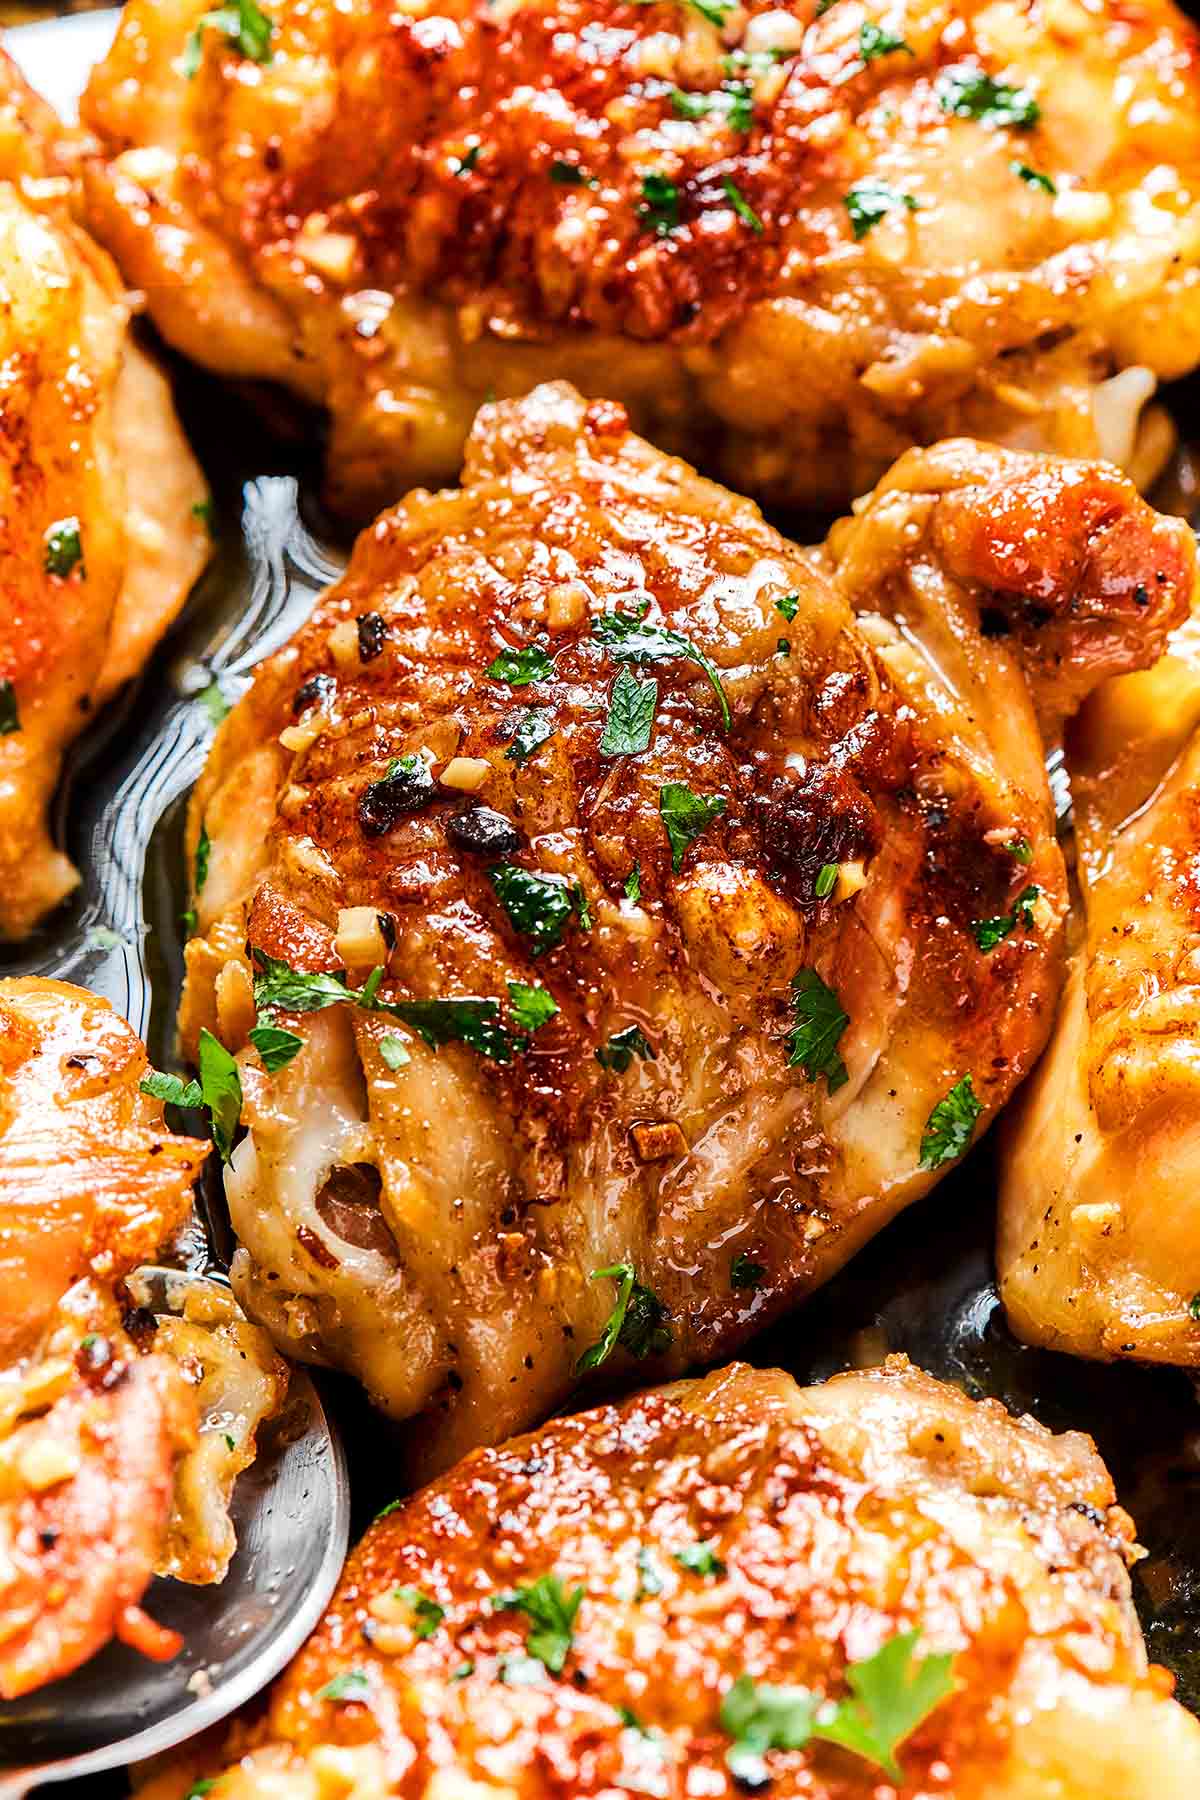
The sizzling hot pan works magic to transform the chicken skin into a crispy golden crust you won’t want to wait to sink your teeth into. Meanwhile, the inside retains its natural juices!
Table of Contents
Why I love this recipe
- It’s just plain easy. Searing the chicken in a hot cast iron skillet before letting it finish cooking in the oven is a foolproof way of making my family an epic chicken dinner.
- SO QUICK. From prep to plate, the chicken cooks in under 30 minutes.
- Put your own spin on it. I keep things simple with garlic and seasonings, but you can jazz these up in many ways. I’ll be sure to include lots of flavor options, too.
Ingredients needed
- Chicken thighs. Skin-on chicken thighs are preferred because the skin becomes golden and crispy after searing. Both bone-in and boneless skinless chicken thighs work as well.
- Olive oil. To prevent the chicken from sticking to the pan and to help the skin become golden brown.
- Butter. Unsalted butter gives the pan-seared chicken a rich flavor.
- Garlic. Fresh cloves.
- Salt and pepper. To taste.
How to cook chicken thighs in a cast iron skillet
I’ve included step-by-step photos below to make this recipe easy to follow at home. For the full printable recipe instructions and ingredient quantities, scroll to the recipe card at the bottom of this post.
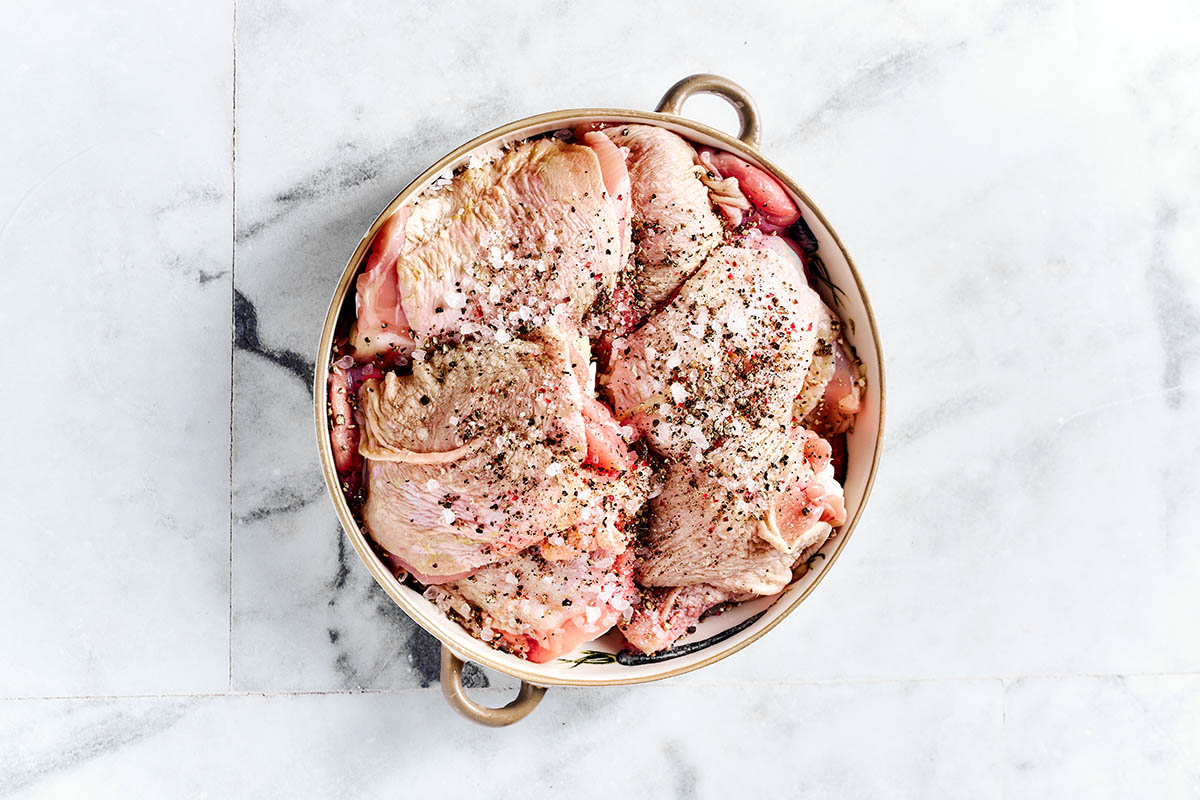
Step 1- Season both sides of the chicken thighs with a generous amount of salt and pepper.
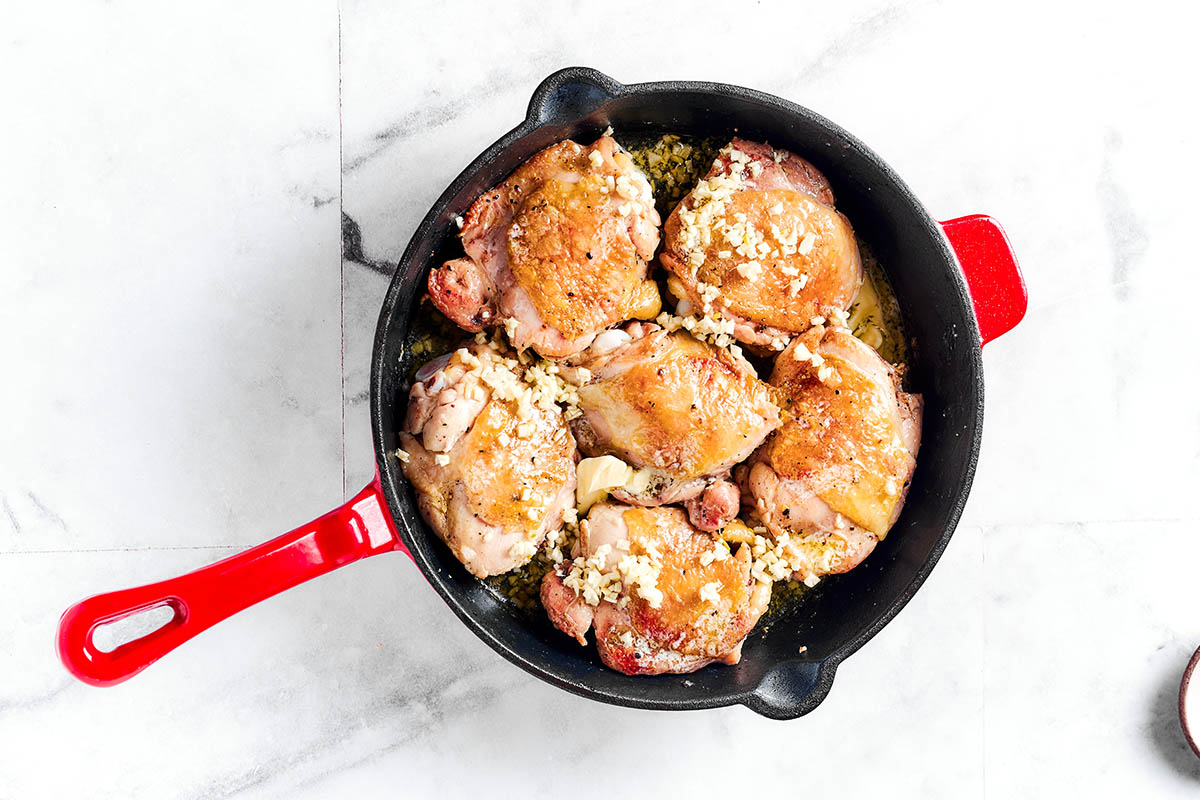
Step 2- Sear. Heat the cast iron skillet, and once hot, add the olive oil and butter, followed by the seasoned chicken thighs. Cook skin side down until they’re golden brown and crispy on one side. Flip the thighs so they can crisp on the other side. Add the minced garlic.
Step 3- Bake. Transfer the skillet to a preheated oven. Bake until the chicken thighs are cooked through.
Arman’s recipe tips
- Start with dry chicken. For any protein that you want to have a crispy exterior, ALWAYS pat it dry with a paper towel before adding any oils or seasonings. Trust me, it makes all the difference.
- You’ll know the chicken is cooked once it reaches an internal temperature of 165F. Use a meat thermometer to double check.
- Always preheat the skillet. Cooking chicken thighs in a cast iron skillet that’s been thoroughly pre-heated is always the best way to go. The hot temperature will prevent the chicken from sticking to the pan while giving it a golden color and helping it crisp.
Variations
- Swap the seasonings. Take the flavor up a notch by swapping the salt and pepper for Italian seasoning, taco seasoning, poultry seasonings, BBQ dry rub, lemon pepper seasoning, or blackened seasoning. Fresh herbs work well too, like parsley or Rosemary.
- Use a marinade. Deepen the flavor by soaking the thighs in my chicken thigh marinade, or any marinade of choice for 30 minutes, or up to 12 hours.
Storage instructions
To store: Place the leftover chicken thighs in an airtight container and store them in the fridge for up to 3 or 4 days.
To freeze: Place the cooked and cooled chicken in a freezer-safe container or bag and freeze for up to 6 months. Let them thaw in the fridge before reheating.
To reheat: Heat the leftover thighs in a baking dish in a 350ºF oven until they’re warmed through.
Frequently asked questions
Make these chicken thighs the main protein at dinner and add side dishes to complete it. My family enjoys some air fryer baked potato, stuffed potatoes, and stuffed sweet potatoes. For some greens, some sauteed asparagus or sauteed brussels sprouts are always some speedy options.
Absolutely! Just remember to let the frozen chicken thaw in the fridge before adding the seasonings and cooking.
More chicken thigh recipes
- Pollo Asado
- Peruvian Chicken
- Sous Vide Chicken Thighs
- Huli Huli Chicken
- Grilled Boneless Chicken Thighs
- Peri Peri Chicken
- Honey garlic chicken thighs

Cast Iron Chicken Thighs
Video
Ingredients
- 4 chicken thighs skin-on
- 1/2 teaspoon salt
- 1/2 teaspoon pepper
- 1 tablespoon olive oil
- 1 tablespoon butter
- 3 cloves garlic minced
Instructions
- Preheat the oven to 200C/400F.
- Season the chicken thighs with salt and pepper.
- Heat a cast iron skillet over medium-high heat. Add olive oil and butter. Cook chicken thighs, skin side down, for 6-8 minutes, or until golden and crispy
- Flip the chicken thighs, add minced garlic, and transfer the skillet to the oven.
- Bake for 12-15 minutes until the chicken reaches an internal temperature of 165°F (74°C).
- Let chicken thighs rest in the skillet for a few minutes.
Notes
Nutrition
Originally published August 2023, updated and republished October 2024


Looks yummy! Going to try this week.
Please do, Kathy- they are such a simple yet delicious way to cook chicken thighs 🙂
I have made your Mayo, bread, and pancakes so far. I am going to try the chicken and maple syrup this week! So far Delicious, and easy!
Thank you 😊
Please do, Anne- I’m so appreciative of you making so many of my recipes 🙂
Arman.. this recipe looks delicious. I’m making it tonight. The question I have is “my skillet will only take 300*. Your recipe states 400*. Is it ok just to cook it longer in the oven?” Thanks a lot.
Stan
Hi Stan! Your skillet- is that 300°F or 300°C. If it’s C, you’ll be fine to cook it as instructed. If not, you can definitely just cook it a little longer 🙂
Excellent and delicious and so easy to make Skin is super crispy and meat is juicy
I love to hear that, E Monty- thanks so much for making my recipe 🙂
DEEEELICIOUS! THANK YOU!
So glad you liked this one 🙂
Super easy and delicious! Family all loved it.
Can’t go wrong with this one! So glad it was a hit!
I added some extra spices and cooked as directed. Mine took about 30 minutes in the oven but this was the best thighs!