Homemade Crunch Bars (Award Winning Recipe!)
This post may contain affiliate links. See my disclosure policy.
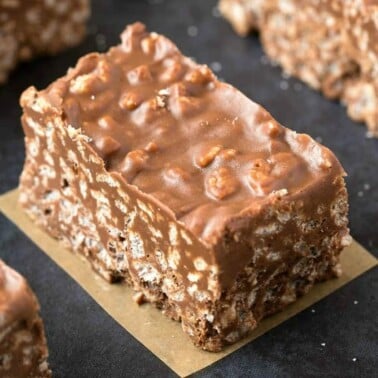
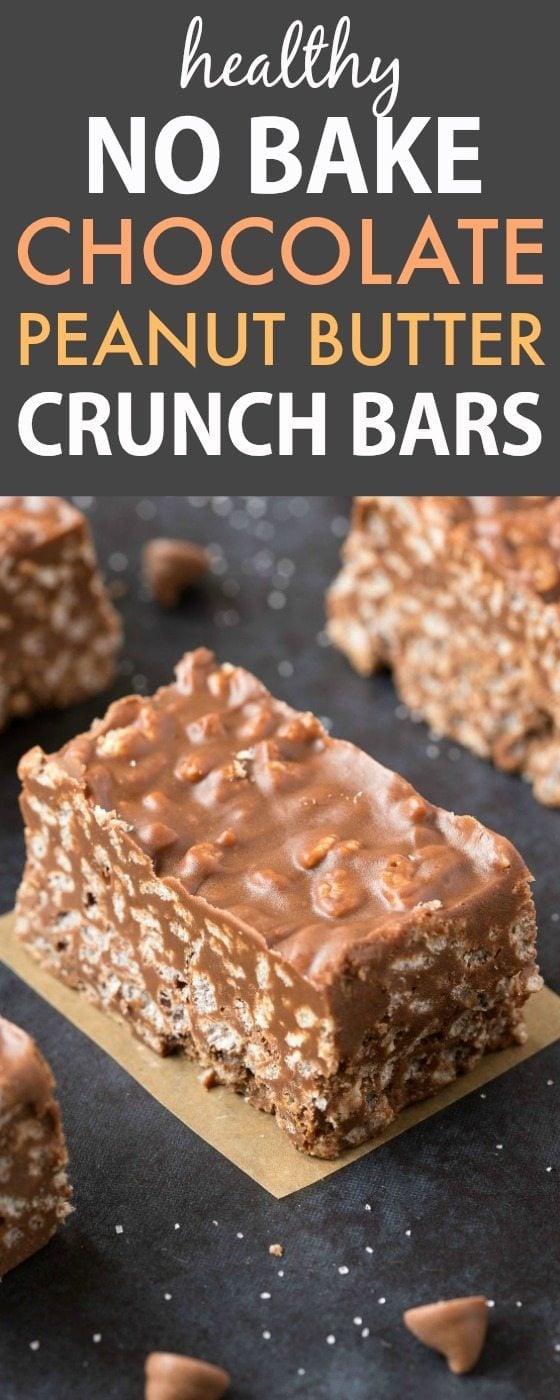
The BEST homemade crunch bars recipe that tastes BETTER than the actual candy bar! 5 ingredients, 5 minutes and perfectly crispy, crunchy, sweet copycat crunch bars- Vegan, Gluten-Free, Dairy-free.
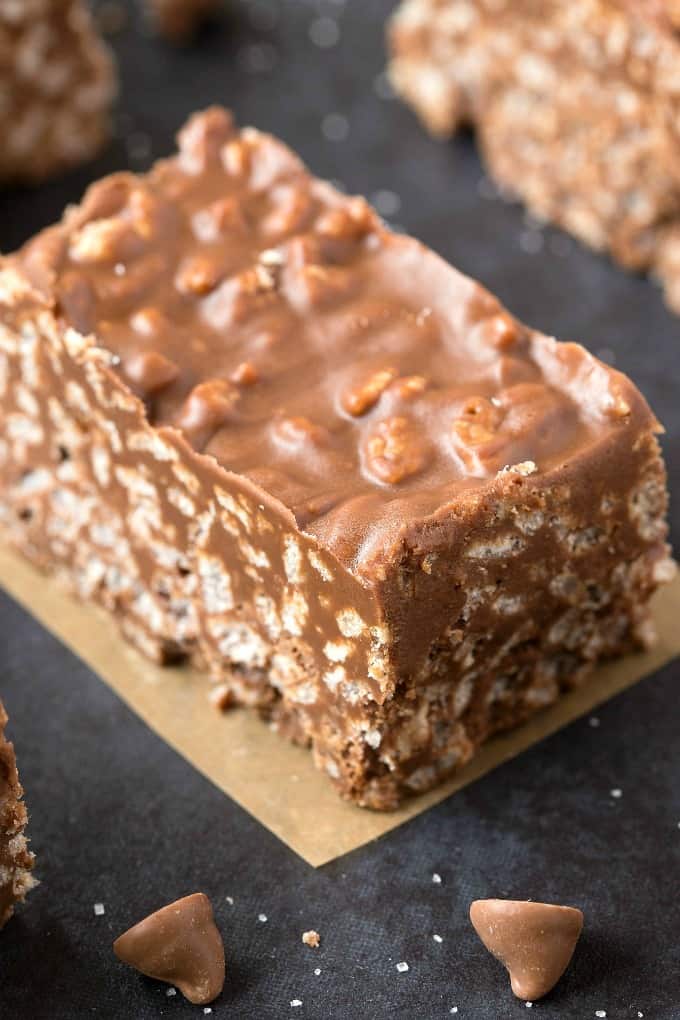
Nestle announced back in 2018 that Crunch bars have been discontinued but do not fret- We have a homemade and even BETTER version here, and is relatively healthier than the traditional version!
You may come across other homemade crunch bar recipes, but those are quite frankly sub bar. Most of them call for 2 or 3 ingredients, mostly melted chocolate with crispy rice cereal.
Is that a crunch bar? Technically, yes. But taste-wise, it is very, VERY average.
Instead, I’m here to share with you my homemade version which tastes amazing and one recipe that thousands of my readers have continually made over and over again!
WHY THESE ARE THE BEST HOMEMADE CRUNCH BARS
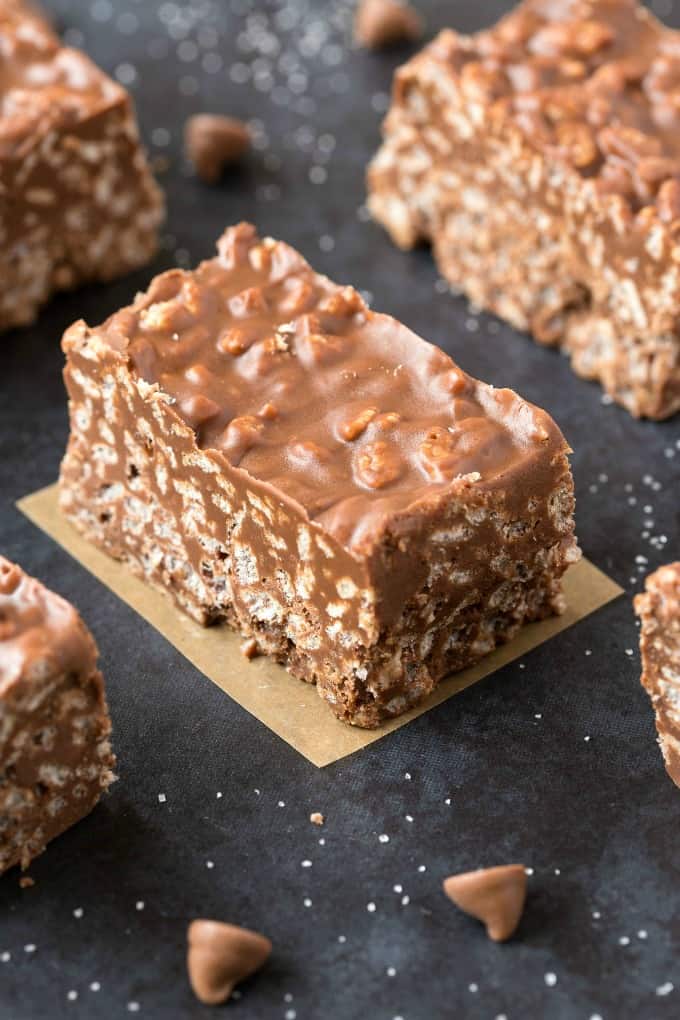
Crunchy, crispy, smooth, and creamy and all words to describe these no bake chocolate peanut butter crunch bars.
You bite into it and are met with of these, which are a texture lovers’ dream!
Traditional crunch bars use butter, sugar, margarine and several kinds of oil to produce a delicious end product.
My version uses just FIVE ingredients, and takes less than 2 minutes to whip up!
Not only are these beauties completely vegan, gluten-free and dairy free, but it also has the option to be made completely sugar-free, so take note below!
HOW TO MAKE HOMEMADE CRUNCH BARS
Start by pouring your cereal in a large mixing bowl, and setting it aside. To also save time, prepare your baking dish by adding parchment paper to it.
In a microwave-safe bowl or in a saucepan, add all your ingredients, except for the cereal. Heat the mixture until the chocolate chip has melted. Whisk very well together, until you have silky, thick, and smooth chocolate.
Finally, pour the melted chocolate mixture over the crispy cereal, and mix very well, until all the cereal is coated in the chocolate. Transfer to the lined baking dish and refrigerate until firm.
THE INGREDIENTS (and substitution tips!)
- Crispy Rice Cereal
- Peanut Butter
- Chocolate Chips
- Maple Syrup
- Coconut oil
The ‘crunch’ factor can come in two folds. The first and most dominant one is in the cereal used. The original recipe from the cookbook used cornflakes, but my preference lies in rice crispy treats, so I used gluten-free crispy rice cereal. It’s my favorite to use in these no bake bars and these no bake rice crispy cups. If you don’t have a gluten intolerance, any crispy rice cereal will work fine.
The second part comes with using crunchy peanut butter. You are welcome to use smooth peanut butter if that is all you have on hand, but I love the added texture of the little pieces of peanuts throughout!
Speaking of peanut butter, for those with peanut allergies, I’d recommend you use crunchy sunflower seed butter or soynut butter. You can also substitute the peanut butter for another nut butter, like almond or cashew.
As these crunch bars are based around chocolate, PLEASE make sure you choose a high-quality chocolate bar (baking style or standard) or chocolate chips. I used my favorite dairy free chunks, which I regularly eat on its own.
For those who want to keep this completely sugar-free, use your favorite sugar free BAKING bar or chips. Simply melting a generic sugar-free candy bar won’t yield the results you are after.
Also, for the maple syrup, swap it for this sugar-free alternative. While not as good as the original, it’s the best sugar-free syrup when used IN recipes.
Coconut oil is my preference, but butter or vegan butter works well too.
STORING CRUNCH BARS
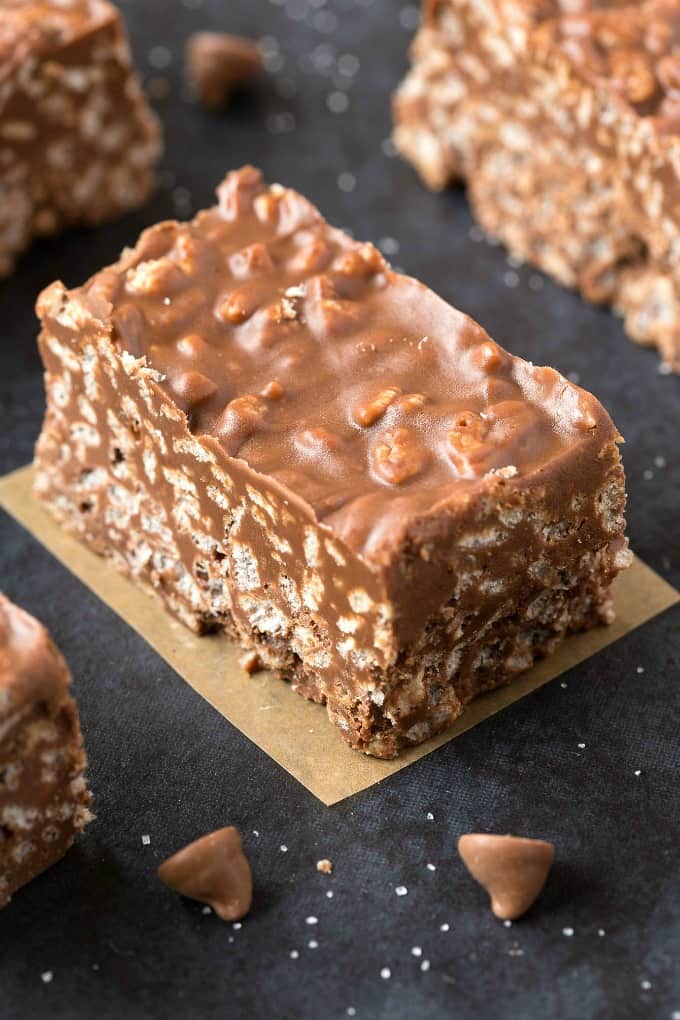
Like any candy or chocolate bar, crunch bars can be stored at room temperature, in a sealable container. They will keep fresh for up to 2 weeks, but I promise you, they will NEVER last that long!
They are also freezer friendly, so wrap up a few and store away to enjoy when the chocolate cravings strike! Wrap individual bars in parchment paper and place them in ziplock bags. They will freeze well for up to 6 months.
CAN I MAKE CRUNCH BARS KETO AND PALEO?
Yes! I have made a keto and paleo option for this recipe. It uses nuts and seeds instead of the cereal, and also keto-approved chocolate and syrup.
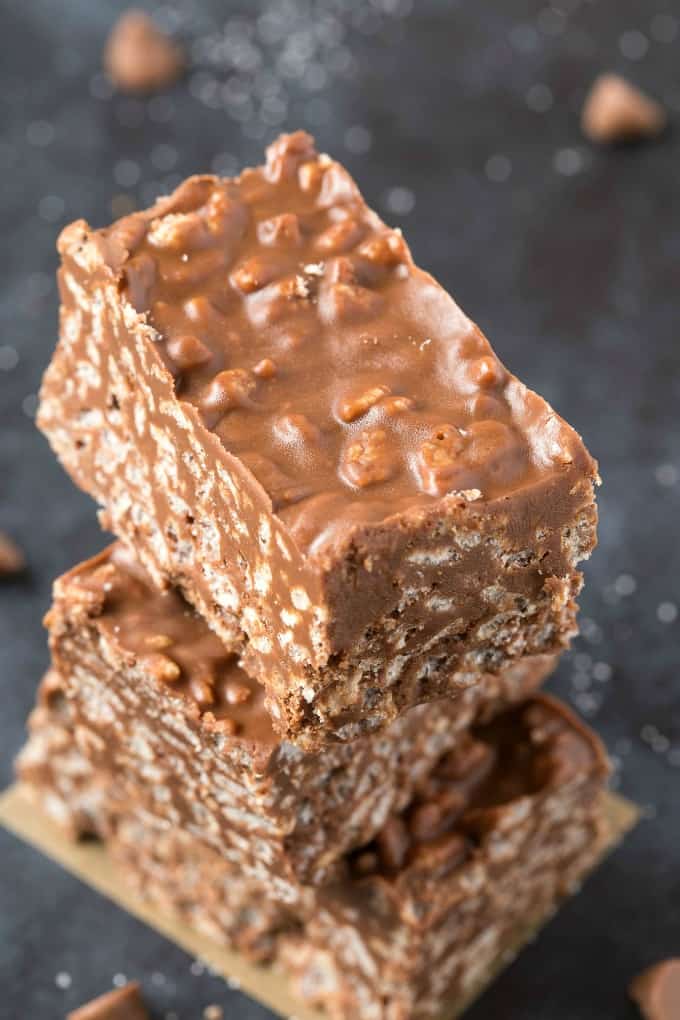
MORE HOMEMADE CANDY BAR RECIPES
Watch the step-by-step video below!
The BEST Homemade Crunch Bars
Ingredients
- 3 cups crispy rice cereal
- 1 1/2 cups chocolate chips
- 1 cup peanut butter can substitute any nut or seed butter
- 1/2 cup maple syrup
- 1/4 cup coconut oil can sub for grass fed butter
Instructions
- Line an 8 x 8-inch baking dish or deep baking tray of choice with parchment paper and set aside.
- Add crispy rice cereal into a large mixing bowl and set aside. In a microwave safe bowl or stovetop, combine all your other ingredients and heat until melted. Remove from microwave/off stove and whisk until completely incorporated.
- Pour the chocolate/peanut butter mixture over the crispy rice cereal and mix until combined. Pour into the lined baking dish and refrigerate until firm (at least an hour).
- Remove and cut into bars.
Notes
Nutrition


Is the only thing healthy about this recipe that it’s vegan and gluten free? Do you have nutritional information?
Amy, if you compare it to traditional crunch bars, it is much healthier and much less ingredients. If you’d like the nutritional information, myfitnesspal is a great resource 🙂
Hi
These sound delicious & as soon as I receive a reply from you I’ll make them immediately. You mention you could substitute a sugar free alternative for the maple syrup. Which can I use as a substitute??
Thanks
Kat
Hi Kat! The link for the sugar-free maple syrup I’ve tried with is included 🙂 It’s a monk fruit one- Others haven’t worked for me!
Made these last night and they’re delicious! I also added sunflower seeds and chia seeds, and they’re super crunchy. Only thing is, when they’re out of the fridge they start to go very sticky – any way you can make them a bit more ‘resilient’?
Hi Jill! That sounds delicious! for sure- I recommend using a little more coconut oil and halving the cereal- That tends to help it stick better 🙂
These look yummy, but not sure I would like maple syrup. I’m not worried about all the “free” stuff so could I use basic white corn syrup?
You can certainly use corn syrup- My mom uses the brown one but either should be fine 🙂
What if you substituted half of the chocolate chips with butterscotch chips, making it like “Scotcheroos”?
😀 Expect a fun twist on this to come!
I just made these and used melted Lily’s chocolate chips, almond butter and coconut nectar(didn’t have maple )syrup) omg, delicious!
Drooling right here 🙂
I’ve just been looking for recipes as to how I can fit peanut butter into my food. Think I’ve found the perfect one! Thanks again Arman, you’re the man.
tried these, they tasted great but was very crumbly , wouldn’t stay together when sliced.
Hi Elaine! perhaps you added too much cereal or not let it chill long enough? It’s been made by many people with success 🙂
Could the maple syrup be substituted for honey? Or golden syrup? Maple syrup is pretty expensive in New Zealand! =(
Hi Aimee! Absolutely- Golden syrup would be a great substitute and better tasting than honey (which is a little overpowering)
To be sure you make these dairy-free, you’ll need to find dairy-free chocolate chips, too. Most have milk in them. Look for dark chocolate variety and read the label.
Yes, I use Enjoy Life Dairy Free chocolate chips for all my recipes 🙂
The look delicious! Did you use milk chocolate chips or semi sweet?
I prefer semi-sweet or dark, as the maple syrup gives even more sweetness. Saying that, my sister adores milk chocolate so I use those for her 🙂