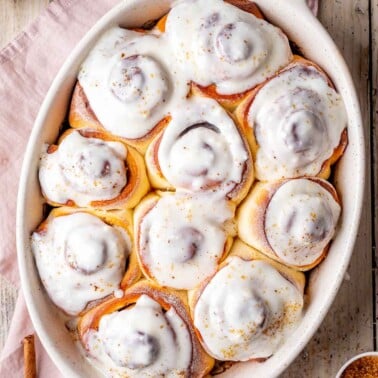
Bread
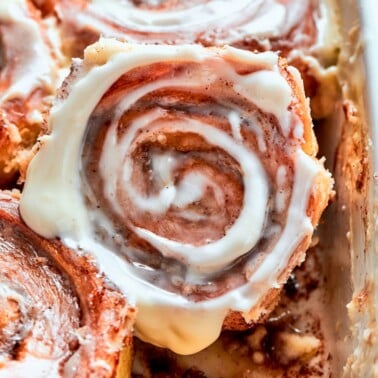
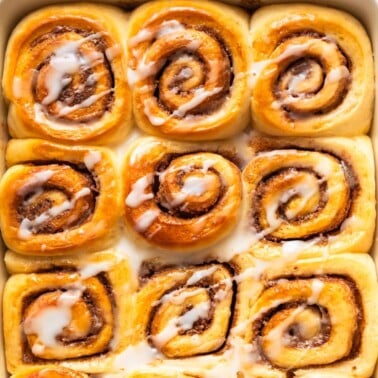
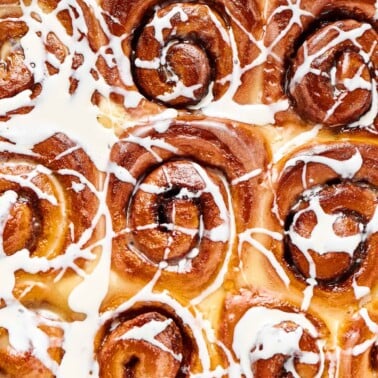
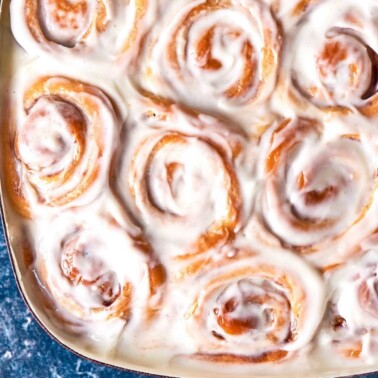
Vegan Cinnamon Rolls
Cakes, Muffins, and Quick Breads
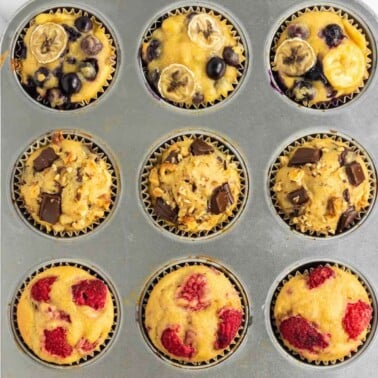
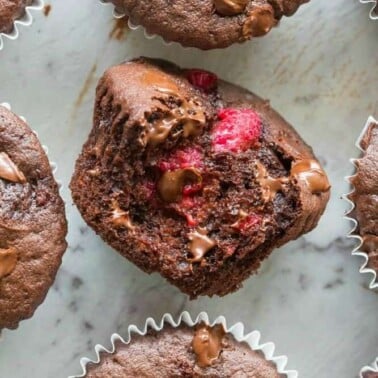
Healthy Breakfast Muffins
Dessert For Breakfast
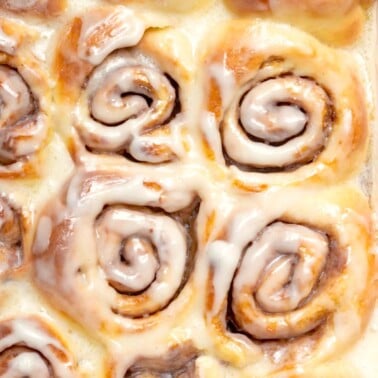
Keto Cinnamon Rolls
Oatmeal and Overnight Oats
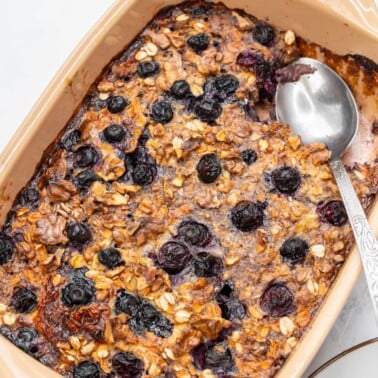
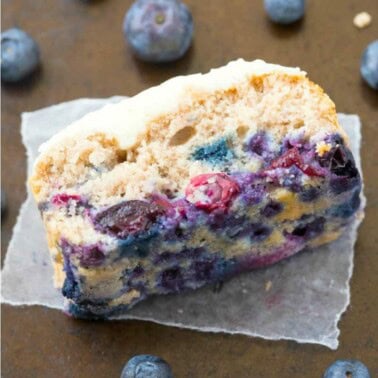
Blueberry Baked Oatmeal
Dessert For Breakfast
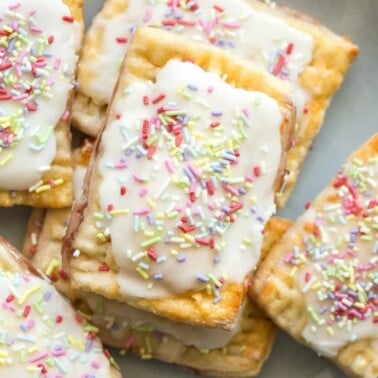
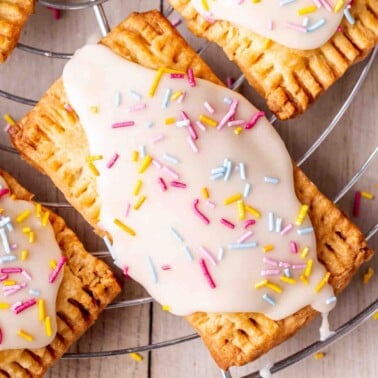
Protein Pop Tarts
Dessert For Breakfast
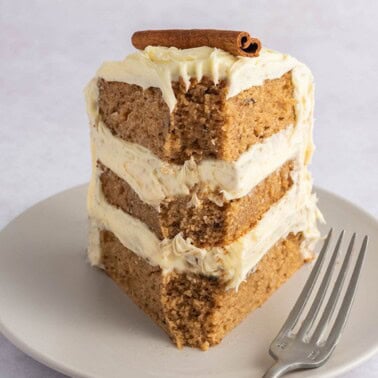
Breakfast Cake
Air Fryer Recipes
Air Fryer Apples
Dessert For Breakfast
Blueberry Breakfast Cake

Brownie Recipes
Oatmeal Brownies

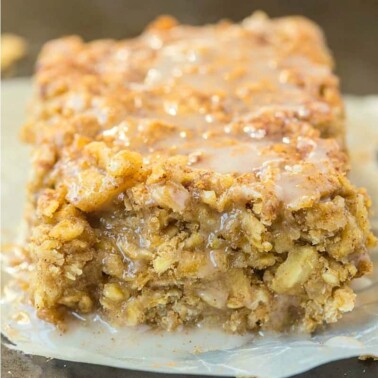
Oatmeal and Overnight Oats
Oatmeal Breakfast Bars
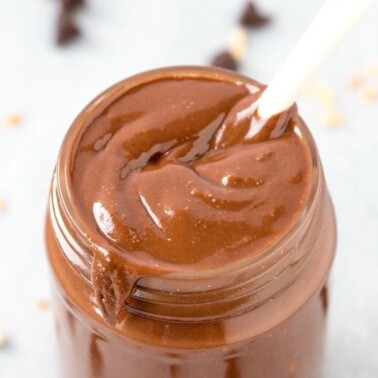
Sauces And Spreads
Healthy Nutella

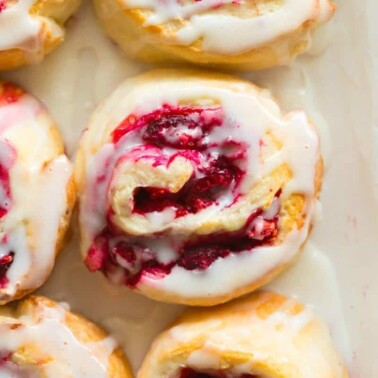
Bars, Blondies, and Slices
Strawberry Oatmeal Bars (Thick, Chewy, 5 Ingredients)
Dessert For Breakfast
Healthy Pop Tarts
Oatmeal and Overnight Oats
Cinnamon Roll Baked Oatmeal
Dessert For Breakfast
Keto Breakfast Muffins
Dessert For Breakfast
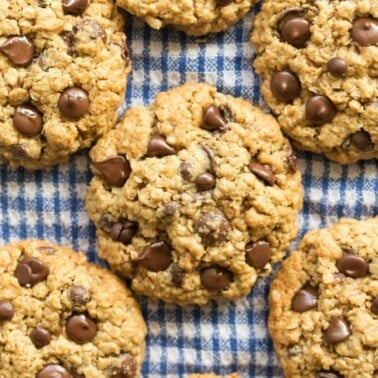
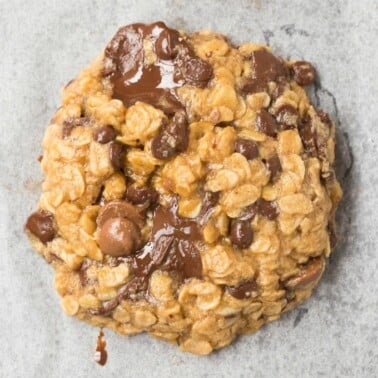
Keto Breakfast Cookies
Dessert For Breakfast
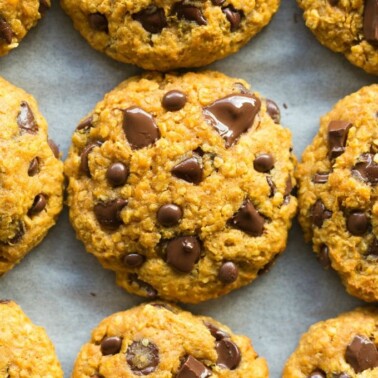
Pumpkin Breakfast Cookies
Oatmeal and Overnight Oats
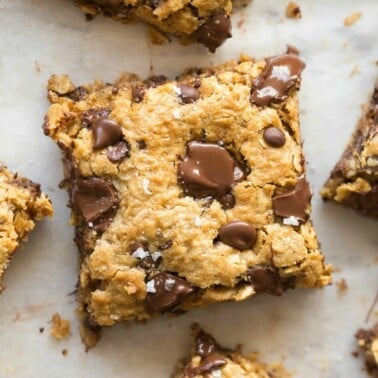
Banana Bars
Dessert For Breakfast


