Kung Pao Cauliflower

This post may contain affiliate links. See my disclosure policy.
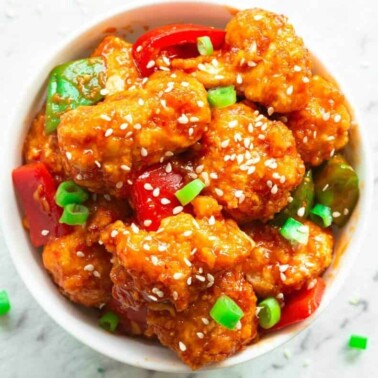
My kung pao cauliflower recipe features crispy baked cauliflower and stir-fried peppers and onions in a savory, spicy sauce!
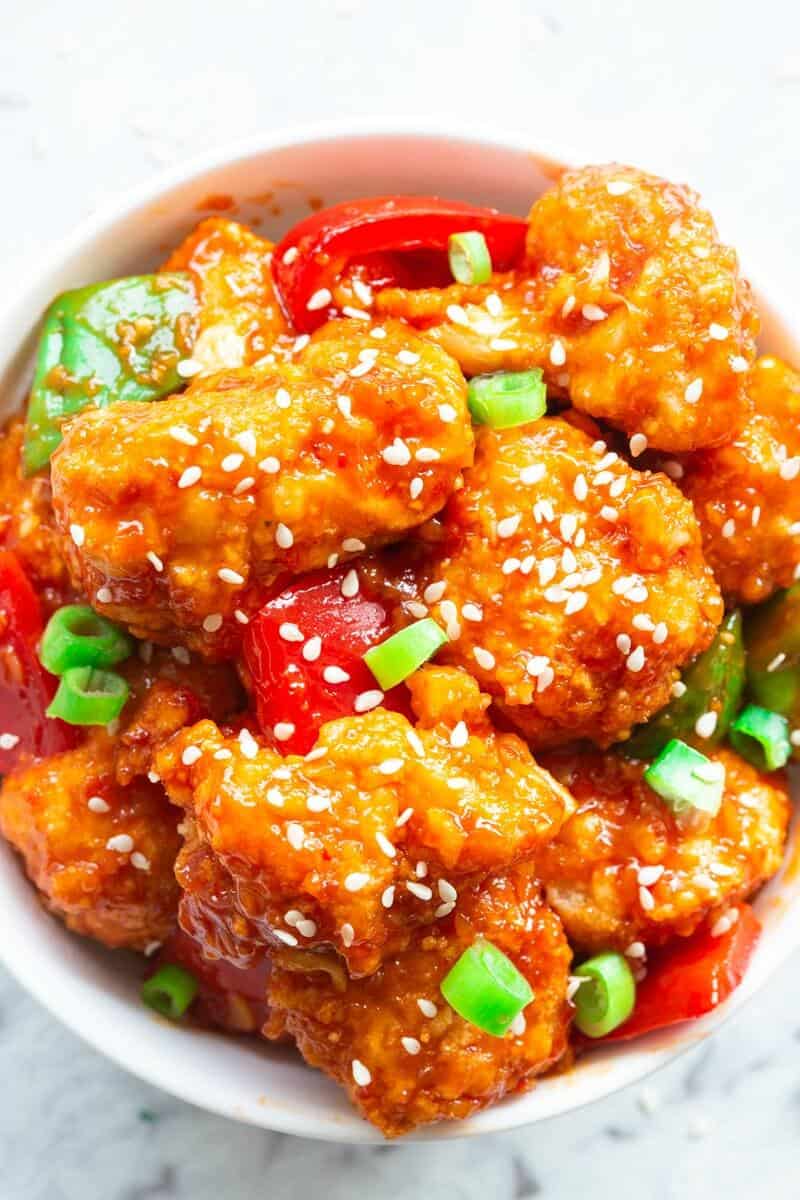
My Kung Pao Cauliflower tastes like takeout

I used to order kung pao chicken at my local Chinese restaurant religiously, but in an effort to eat less meat, I decided to create a vegetarian version.
I drew inspiration from my popular Asian cauliflower recipe, using the same crispy battered cauliflower and tossing it in a sweet, sticky Kung Pan sauce instead. You guys, this has become my family’s current obsession. The crispy baked cauliflower is so satisfying, and the sweet-and-spicy sauce takes it to another level. Here’s why I love it:
- That sauce. It’s salty and sweet, and you’re welcome to add a touch of heat if you’d like (I usually do!).
- Crispy, sticky, and saucy. Everything you love about classic Kung Paeo takeout, but made with cauliflower.
- No mess. Since it’s baked instead of deep-fried, there’s no pot of hot oil to clean up afterward.
Table of Contents
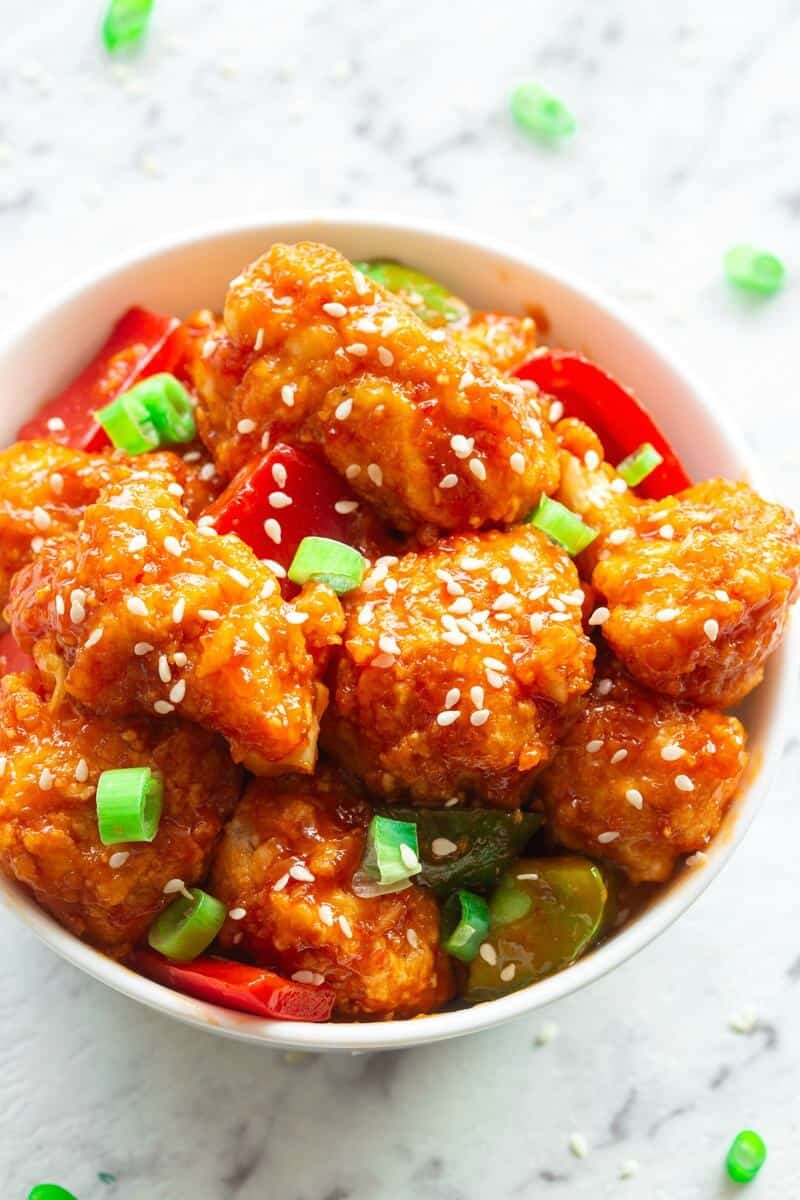
Key Ingredients
Here’s what you’ll need, along with my kitchen notes. Full measurements are in the recipe card below.
- Cauliflower. Fresh cauliflower florets chopped into bite-sized pieces. I tested frozen cauliflower, and it was too gummy.
- All-purpose flour and milk. Mix with the milk for the batter. Use GF all-purpose flour if needed.
- Salt and pepper. Just a pinch.
- Panko breadcrumbs. For the extra coating after the cauliflower has been battered. Use gluten-free breadcrumbs if needed.
- Vegetables. I’m using thinly sliced bell peppers and onions.
- Dried chiles. Only if you want some heat. Red pepper flakes also work.
- Peanuts. Optional, but it gives some added crunch.
For the kung pao sauce:
- Soy sauce. I prefer using light soy sauce rather than dark soy sauce, which can be overpowering. Gluten-free soy sauce or tamari also works.
- Hoisin sauce. The secret ingredient that gives the sauce a sweet-and-salty taste.
- Sesame oil. Adds a subtle sesame flavor.
- Coconut sugar. Just a pinch keeps the sauce balanced. You can also use brown sugar or white sugar.
- Corn starch and water. Thickens the sauce.
How to make kung pao cauliflower
Step 1- Prep. Preheat the oven to 180C/350F and line a baking tray with parchment paper. In a mixing bowl, combine the flour, milk, and salt. In a separate bowl, add the breadcrumbs.
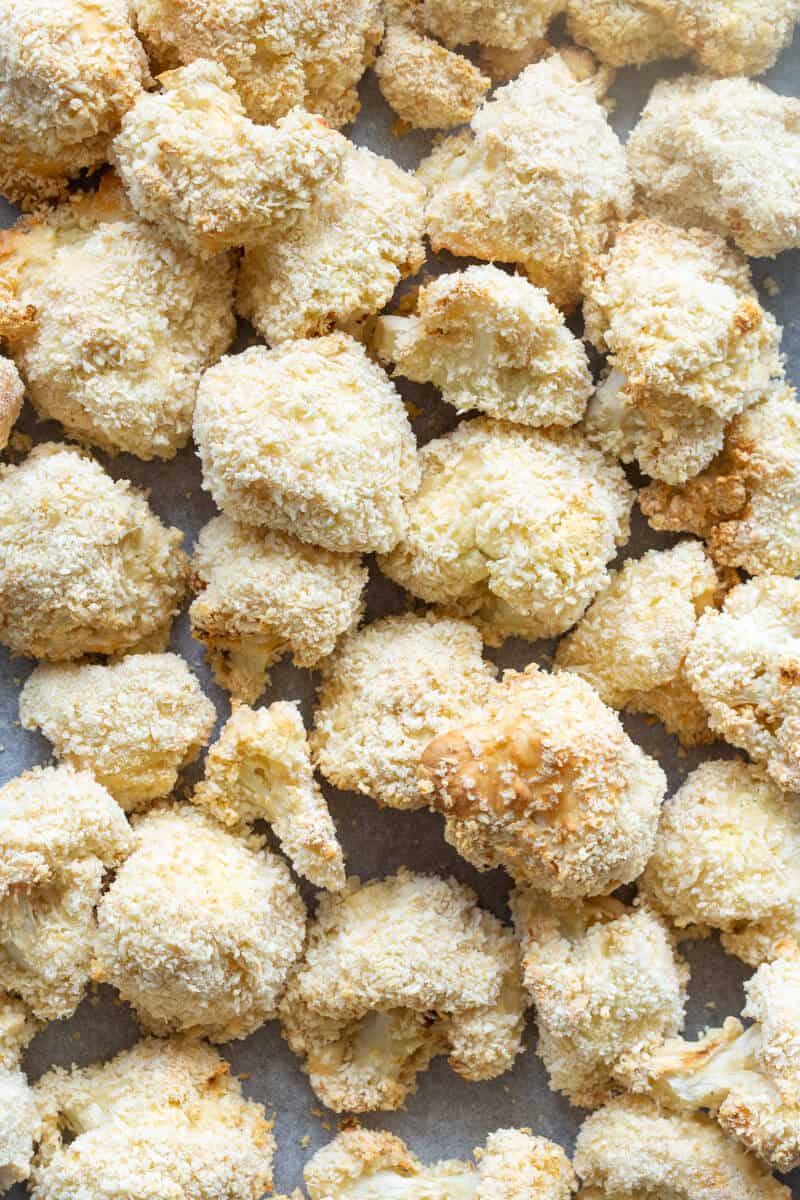
Step 2- Dredge. Dip the florets in the batter, then coat them in the panko breadcrumbs. Place the cauliflower on the prepared baking sheet.
Step 3- Roast. Roast the cauliflower for 35-40 minutes or until golden brown.
Step 4- Make the sauce. Whisk together the sauce ingredients until combined. Place over medium heat until it thickens.
Step 5- Simmer. Heat oil in a large pot over medium heat. Once hot, add the peppers and onions and sauté for 5 minutes. Stir in the whole dried chili.
Step 6- Assemble. Add the baked cauliflower to the pot with the veggies. Pour the sauce on top and toss to coat. Serve immediately with chopped peanuts.
Can I deep-fry the cauliflower?
Yes, and just between us, that’s my preferred way to cook the cauliflower! Simply add 2 inches of oil into a deep pan or pot and, once hot, drop the battered cauliflower and fry for 3-4 minutes, until golden.
Arman’s tips and variations
- Add fresh aromatics. Stir freshly minced garlic, ginger, or both into the sauce for even more flavor.
- Switch up the vegetables. Add broccoli, baby corn, mushrooms, water chestnuts, or snow peas for extra color and crunch.
- Make it spicier. Add extra sriracha, red pepper flakes, or chopped fresh chili if you like more heat.
- Serve it your way. Enjoy it over steamed jasmine or basmati rice, or toss through spicy noodles for a homemade takeout-style meal.
Storage instructions
To store: I recommend separating the sauce and the breaded cauliflower and refrigerating them for up to 4 days. Do not freeze.
To reheat: Reheat the sauce in a pan with a tablespoon of water or in the microwave. Leftover cauliflower can be reheated in a preheated oven or air-fried until crisp (at 350°F).
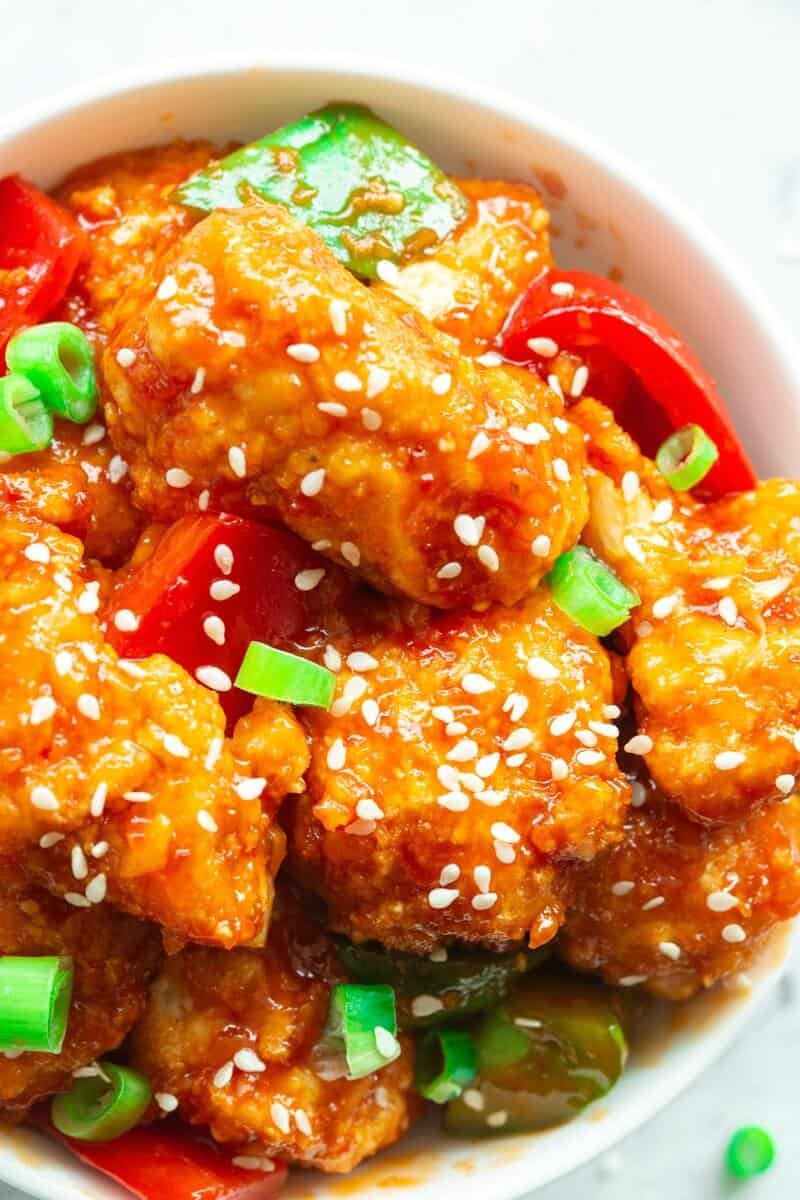
More cauliflower recipes
Kung Pao Cauliflower
Ingredients
- 4 cups cauliflower chopped (about 1 large cauliflower)
- 1 cup all purpose flour gluten free, if needed
- 1 cup milk I used unsweetened almond milk
- 1/2 teaspoon salt
- 1 cup panko breadcrumbs gluten free, if needed
- 1 large onion sliced
- 1 cup bell peppers
- 1/4 cup peanuts chopped
- 4 large dried chilis optional
For the sauce
- 1/4 cup soy sauce gluten free, if needed
- 1 tablespoon Hoisin sauce
- 1 tablespoon sesame oil
- 1 tablespoon coconut sugar
- 1 tablespoon cornstarch
- 1/4 cup water
Instructions
- Preheat the oven to 180C/350F. Line a large baking tray with parchment paper.
- In a mixing bowl, add your flour, milk, and salt. Whisk well. In a separate bowl, add your panko breadcrumbs.
- Dip the cauliflower florets in the batter until covered. Next, coat in the panko breadcrumbs. Place the cauliflower on the lined tray.
- Bake the cauliflower for 35-40 minutes, or until golden brown.
- While the cauliflower is baking, prepare your sauce. Whisk together your soy sauce, hoisin sauce, sesame oil, coconut sugar, cornstarch, and water in a small saucepan until combined. Place over medium heat until it reaches a gentle simmer, stirring frequently.
- In a large pot or saucepan, heat up some oil on medium heat. Once hot, add your sliced bell peppers and onions and sauteed for 5 minutes until cooked. Add the whole chilis and mix until combined.
- Add your baked cauliflower into the pot with the other veggies. Cover all the vegetables with the sauce until completely coated. Sprinkle with chopped peanuts and serve.
Notes
Nutrition
Originally published September 2020















I wonder if you missed a step to heat and thicken the sauce. When we pour the watery sauce onto the cauliflower it is lost. So I made a second batch of sauce and simmered it until thick and glossy, then poured that over. It was better but still didnt look anything like the photo. Tasted fine though.
Hi Sue, sorry for any confusion. As you say, the sauce definitely needs to be reduced and thickened before adding it back over the veggies. The cornstarch should help you get that nice glossy finish. Hope this helps!
Love your healthy recipes ❤️
Thank you!