This post may contain affiliate links. See my disclosure policy.
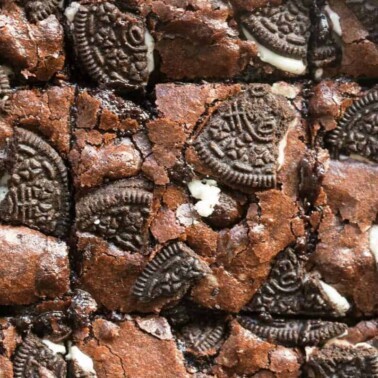
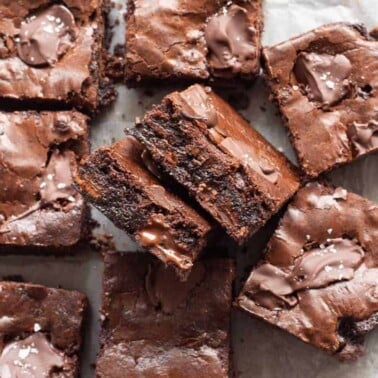
These Oreo brownies combine crushed Oreo cookies with baking staples to make rich, decadent, fudgy brownies. Made with one bowl in under 30 minutes!
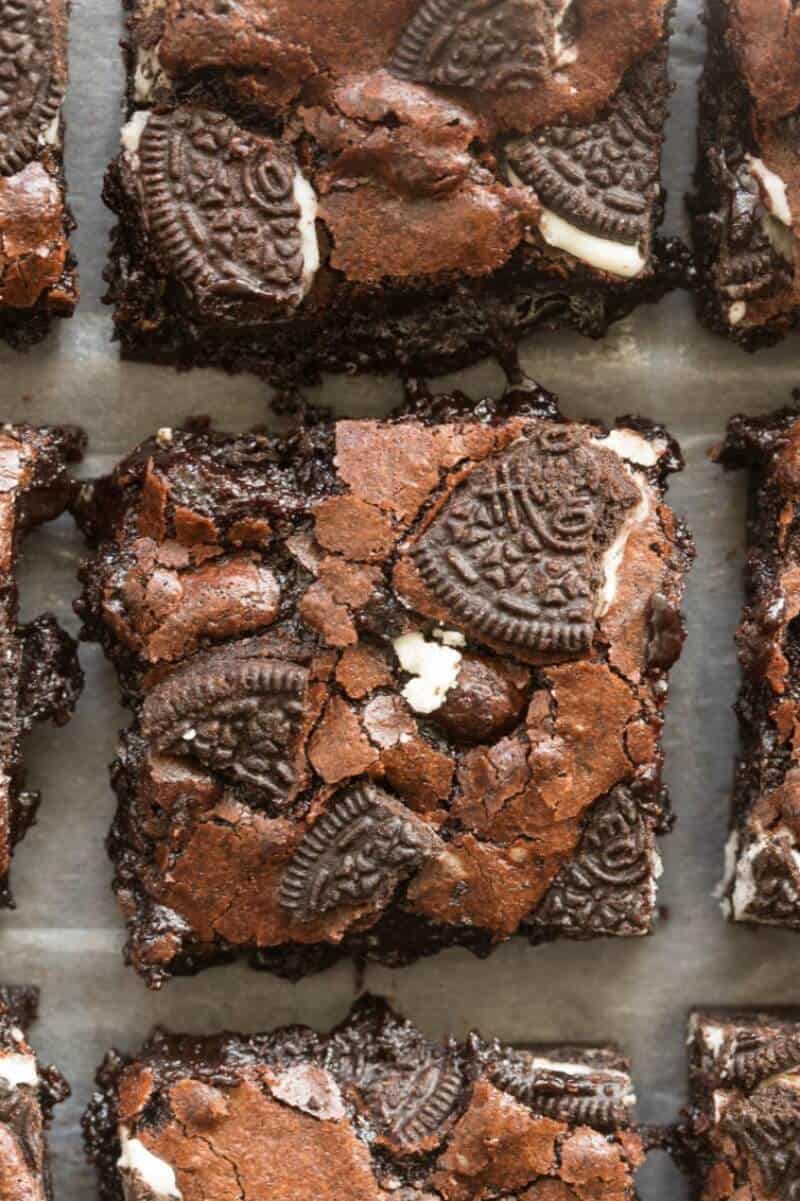
Need an out-of-the-box brownie recipe that’s sure to impress? Make these brownies with Oreos!
Like my strawberry brownies and nutella brownies, these oreo-packed bars come together with basic ingredients and make rich, moist, flavorful brownies that are WAY better than any box brownie mix. Plus, I fold in plain yogurt, which adds an extra layer of fudginess and creamy texture.
Table of Contents
Recipe highlights
- The perfect duo. Trust me, after one bite, you’ll wonder why you never thought of this combination sooner!
- Made in one bowl. So, set up and clean up is a breeze.
- Egg-free. No eggs are needed, and you can easily make this recipe gluten-free and vegan.
- Foolproof. Like my caramel brownies, these brownies look fancy, but they’re deceptively easy to make.
Ingredients needed
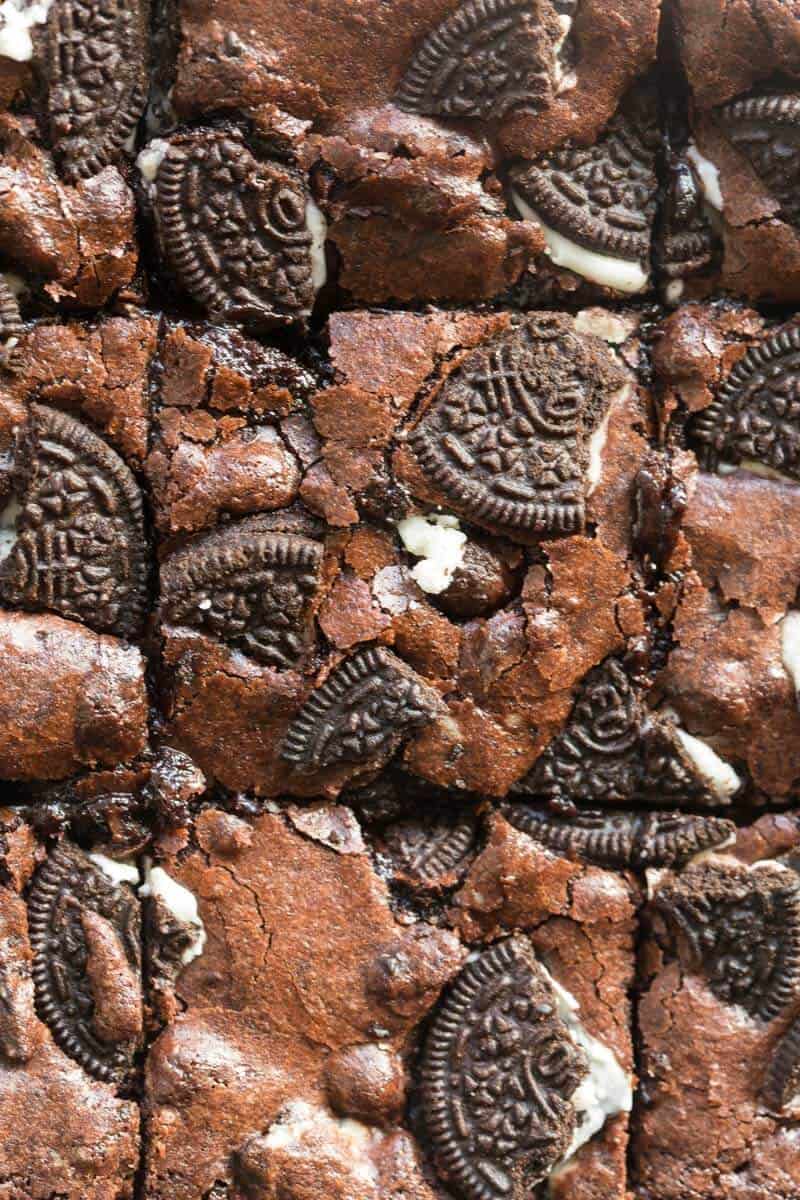
This brownie recipe is made with easy-to-find baking staples you may have on hand already. Here’s what you’ll need:
- Chocolate. I used a chopped-up dark chocolate bar, but semi-sweet chocolate chips will also work.
- Sugar. I prefer the flavor of white granulated sugar, but you can use brown sugar or coconut sugar if you prefer.
- Yogurt. This will give the brownies a smoother texture reminiscent of the cream layer in oreo cookies. Stick to plain, unsweetened yogurt.
- Flour. Regular all-purpose flour is perfect for this recipe. Make sure to sift the flour so there are no clumps. If these need to be gluten-free, use a gluten-free AP flour blend and add ¼ teaspoon of xanthan gum.
- Cocoa powder. I like using unsweetened Dutch-process cocoa powder for its mild, smooth flavor, but you can use Dutch black cocoa powder for a more robust chocolate flavor.
- Baking soda. To help the brownies rise.
- Milk. To make the brownie batter. I used unsweetened almond milk.
- Oreo cookies. I’m boring and like to use classic Oreo cookies, but you can get creative and use any of the oreo flavors, or make my low-carb Oreos.
Find the printable recipe with measurements below.
How to make oreo brownies
Step 1- Prep work. Preheat the oven to 350F/180C and line an 8×8-inch baking pan with parchment paper.
Step 2- Combine the wet ingredients. In a small saucepan or in a microwave-safe bowl, add the chopped chocolate. Melt until smooth, then remove from the heat and whisk in the sugar and yogurt.
Step 3- Add the dry ingredients. To the bowl, add the flour, cocoa powder, and baking soda. Stir to combine, then add milk and continue mixing until you have a cohesive batter. Fold in the chopped oreo cookies, reserving a few to top the brownies.
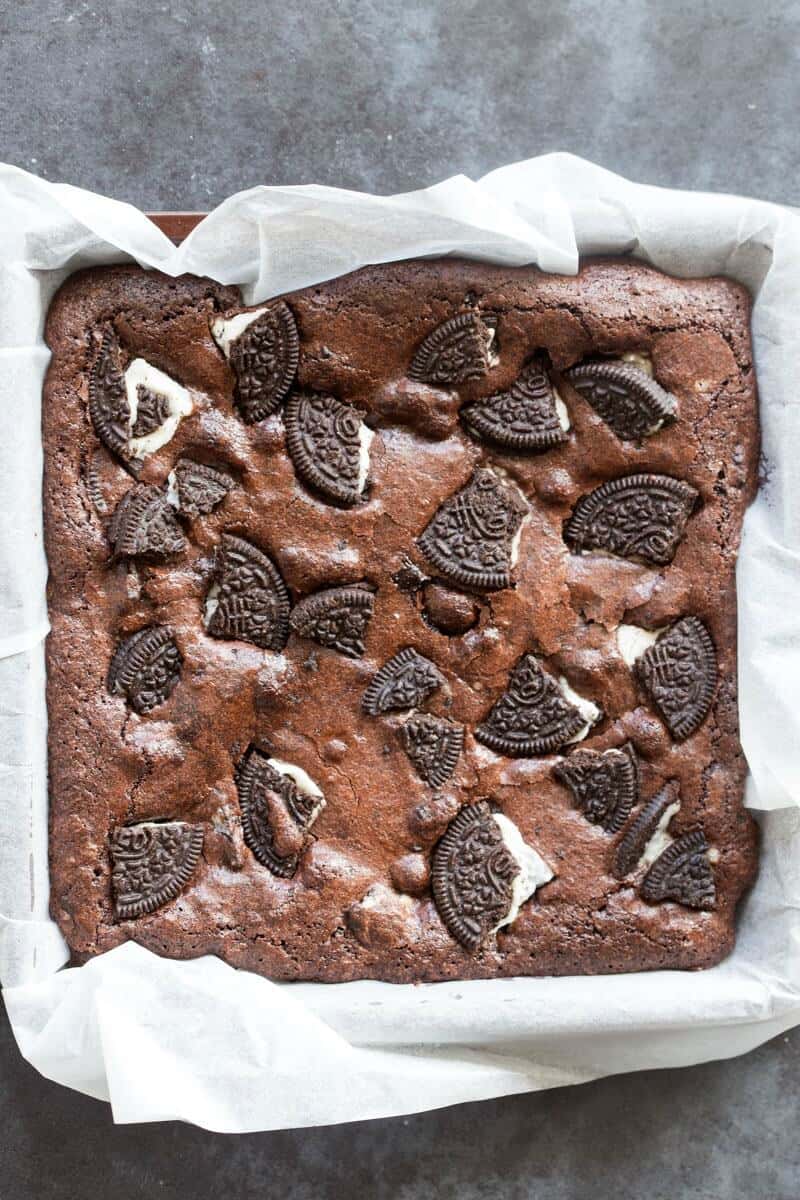
Step 4- Bake. Pour the brownie batter into the prepared pan and add extra oreos to the top of the brownie batter. Bake for 25-30 minutes or until a toothpick inserted in the center comes out clean. Remove the brownies from the oven and let them cool completely before slicing.
Recipe tips and variations
- Don’t overmix. My #1 tip for baking desserts is to NOT overmix the batter. Otherwise, you’ll end up with dense, cakey brownies. Only mix until the batter is smooth and cohesive.
- Make vegan brownies. Use vegan yogurt and non-dairy milk. As for the Oreos, they’re technically vegan!
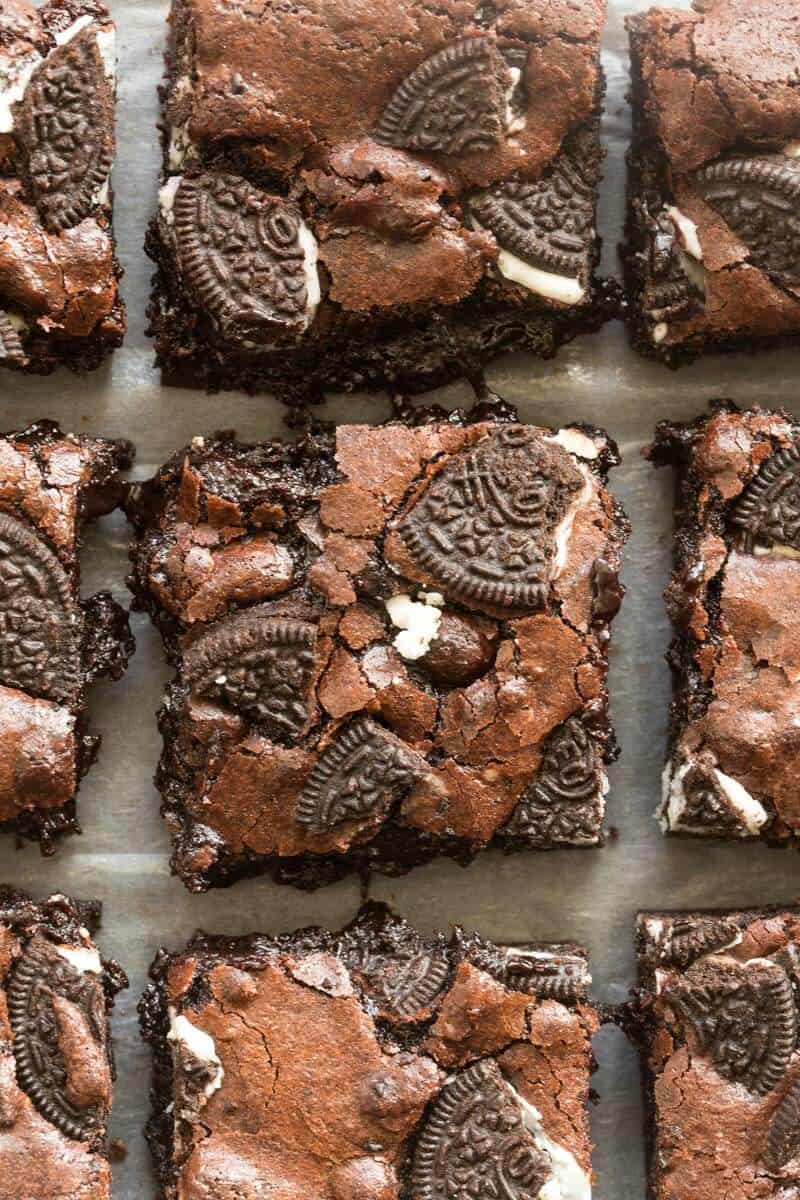
- Make gooey brownies. I prefer my brownies right in between gooey and firm. If you prefer ultra-gooey brownies, remove them from the oven around the 25-minute mark. For thicker, cakey brownies, remove them at around 32-35 minutes.
- Double the chocolate. If you’re a chocolate fiend like I am, fold some dark or white chocolate chips into the batter.
- Add mix-ins. Try walnuts, chopped-up candy bars, peanut butter chips, or sprinkle the brownies with sea salt when they’re fresh out of the oven.
- Choose the right pan. I’ve found that using glass baking pans takes longer to conduct heat, so if that’s the type of pan you’re using, add at least 5 minutes of baking time.
Storage instructions
To store: Leftover cooled oreo cookie brownies can be stored in an airtight container at room temperature for up to 4-5 days or in the refrigerator for up to two weeks.
To freeze: To keep the brownies fresher for longer, I like to wrap them individually in plastic wrap and store them in a freezer-safe container for up to 4 months. Then, let them thaw overnight or microwave them for 10-15 seconds or until warm.
Frequently asked questions
If you don’t have Oreos you can use any creme-filled chocolate cookies.
Technically, Oreos contain no eggs, dairy, or animal-based ingredients, making them vegan-friendly.
Yes, but keep in mind the cooking time and thickness of the brownies will change depending on how big or small of a pan you use. If you want to use a 9×13-inch baking pan, I suggest doubling up the recipe so the brownies aren’t too thin.
More brownie recipes you’ll love
- Zucchini brownies– The perfect way to use up leftover zucchini AND sneak a little nutrition into your treats.
- No-bake brownies– Thick, fudgy, gooey brownies made with just 4 ingredients in less than 5 minutes.
- Biscoff brownies– Thick, chocolatey brownies filled with a thick layer of creamy biscoff. Trust me, you won’t be able to stop with one!
Oreo Brownies
Ingredients
- 1/2 cup chocolate chopped
- 1/2 cup sugar white, brown, coconut, or a sugar free sub.
- 1 cup plain yogurt non dairy, if needed
- 3/4 cup all purpose flour gluten free, if needed
- 1/2 cup cocoa powder
- 1/2 teaspoon baking soda
- 1/2 cup milk
- 10 Oreo cookies chopped * See notes
Instructions
- Preheat the oven to 180C/350F. Grease an 8 x 8-inch pan and set aside.
- In a small saucepan or in a microwave-safe bowl, add your chopped chocolate. Melt your chocolate. Remove from the heat and add in your sugar and yogurt, and whisk until combined.
- Add the flour, cocoa powder, and baking soda, and mix until just combined. Add your milk and mix well, until fully incorporated. Fold through your chopped Oreo cookies, reserving a few to top the brownies with.
- Transfer the brownie batter into the lined pan and top with extra Oreos. Bake for 25-30 minutes, or until a toothpick comes out 'just' clean.
- Remove from the oven and let cool completely, before slicing.


What is the best non-diary milk to use in this recipe?
Definitely oat or soy milk 🙂
These honestly are the best brownies I’ve ever eaten. I’m recently vegan and gluten intolerant so they were perfect. I didn’t feel sickly after eating them and I wasn’t addicted to them like normal brownies they are just perfect. I also Couldn’t get over the nutritional value and calories in them, like could you get anything better?!!!
Love that- Thanks Sophie!
Can I skip oreos? To make plain brownies??
Of course!