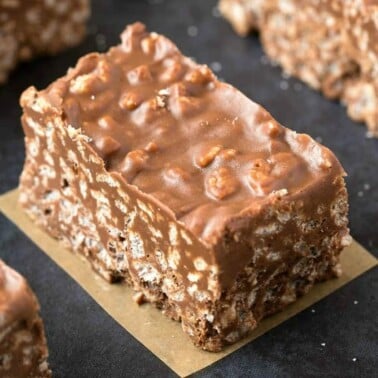
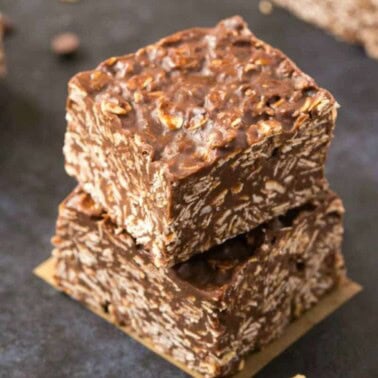
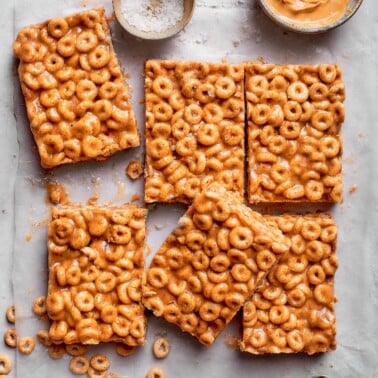
Peanut Butter Cornflake Bars
This post may contain affiliate links. See my disclosure policy.
My peanut butter cornflake bars make a delicious no bake dessert that combines the irresistible flavor of peanut butter with the satisfying crunch of cornflakes.
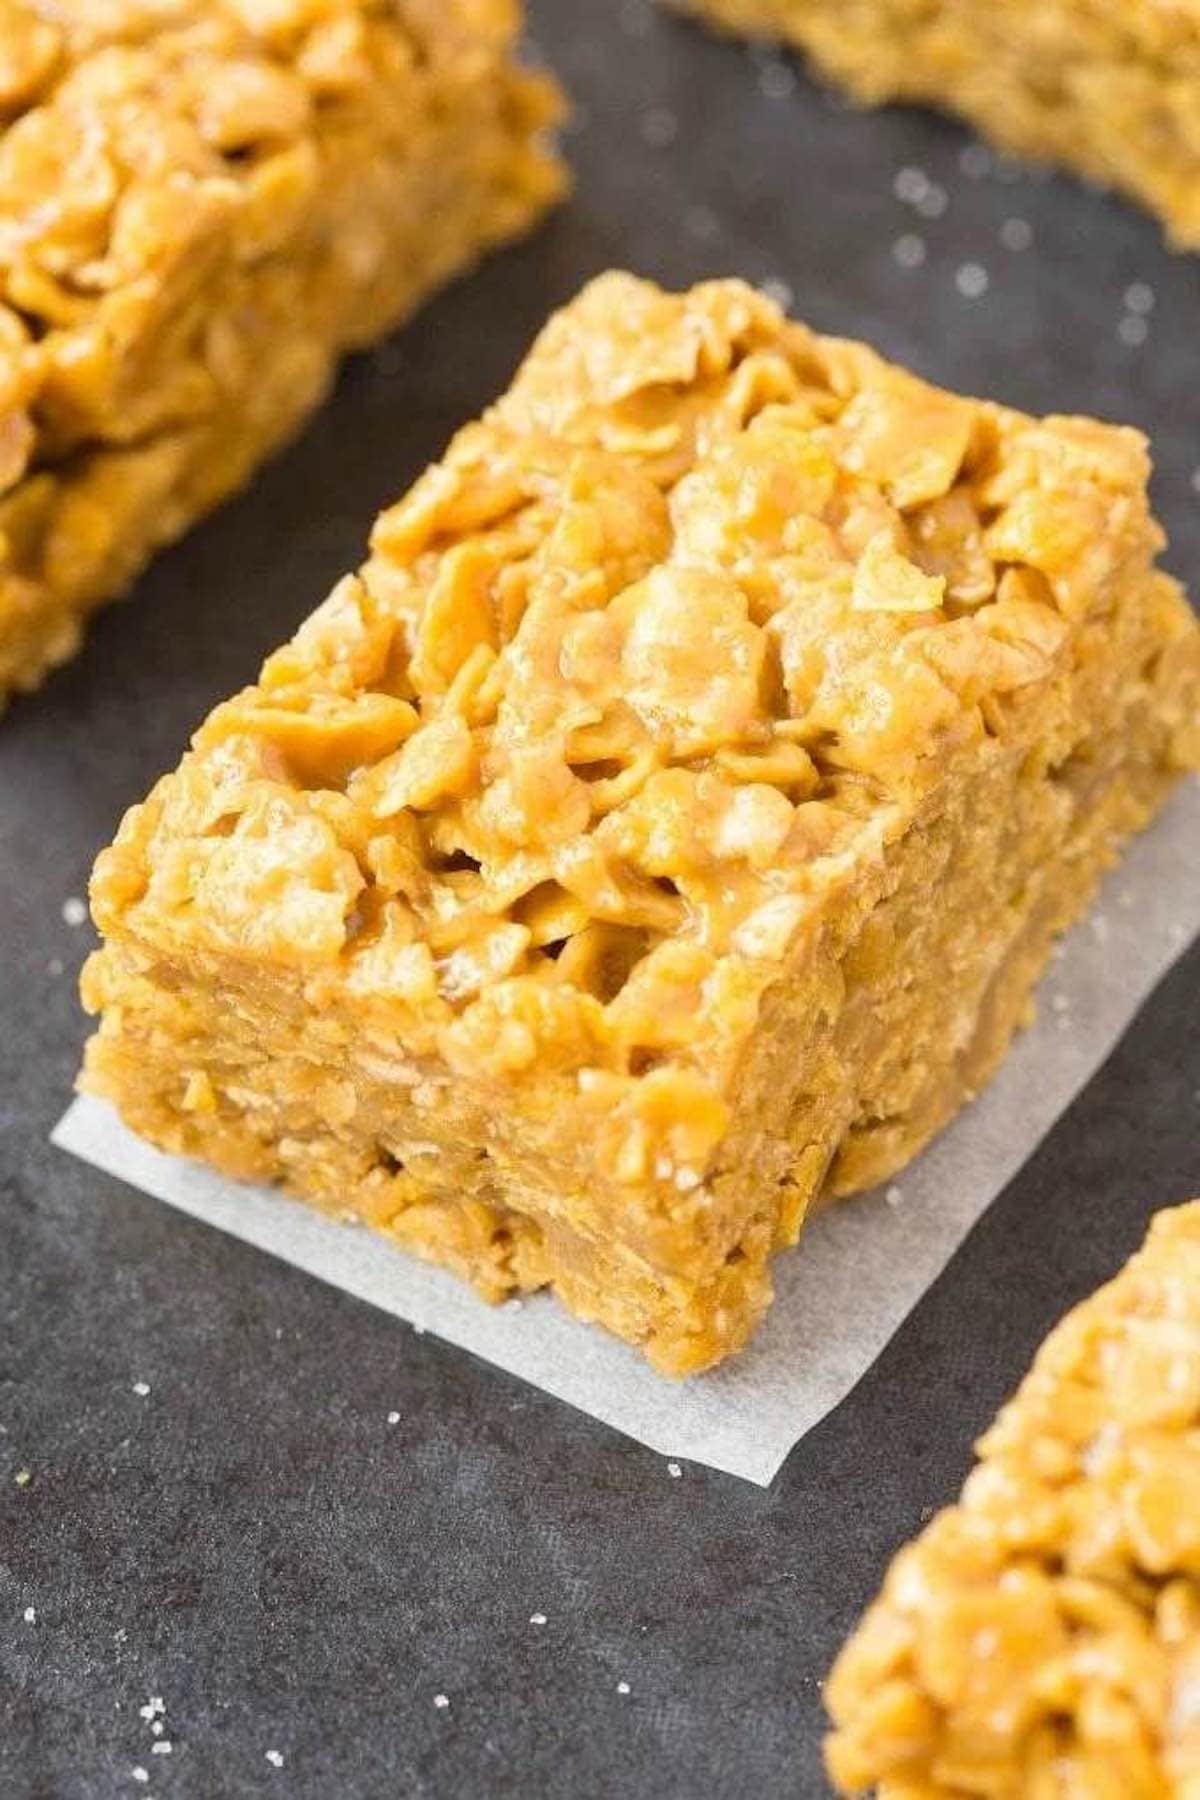
Crispy, sweet, crunchy, peanut buttery, and sticky. That is how you’d describe my cornflake bars. I grew up eating these at my friend’s birthday parties.
Twenty years later, these no bake bars aren’t just reserved for parties anymore- they make a fabulously quick and easy dessert too.
For me, the difference between a good cornflake bar and a great one comes down to the crunch. During testing, my first few batches either fell apart completely or turned the cornflakes soft and soggy. After a few tweaks, I realized I was using far too much syrup. Once I cut it back, the bars held together perfectly and stayed crispy for days.
Why I love this recipe

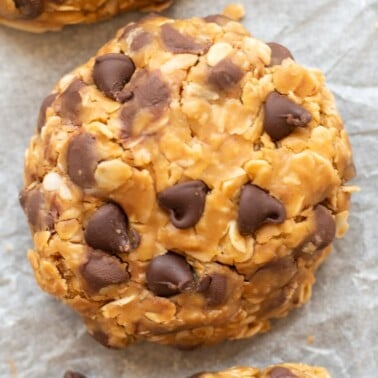
- Only 3 ingredients. You need three pantry staples to make these bars, and they happen to be dairy and gluten-free.
- Takes 5 minutes to make. I simply stir everything together, press it into a pan, and let the bars set.
- No corn syrup. Unlike many classic cornflake bar recipes, these are sweetened with maple syrup for a richer flavor and a simpler ingredient list.
★★★★★ REVIEW
“Fantastic!!! LOVE LOVE LOVE!!!” – Linda
Key Ingredients & Substitutions
Here’s what goes into cornflake bars, along with my kitchen notes. Full measurements are in the recipe card below.
- Corn flakes. This simple cereal delivers plenty of crispiness and lets the peanut butter flavor shine through. I’ve also tested gluten-free cornflakes with identical results (Nature’s Path).
- Peanut butter. I recommend using smooth peanut butter since it mixes more easily with the cereal and syrup. Any nut or seed butter works, though, including almond butter or tahini (my partner’s favorite).
- Maple syrup. It sweetens the bars and helps bind everything together. I tested honey too, but found its flavor a little overpowering, whereas maple syrup lets the peanut butter take center stage.
How to make peanut butter cornflake bars
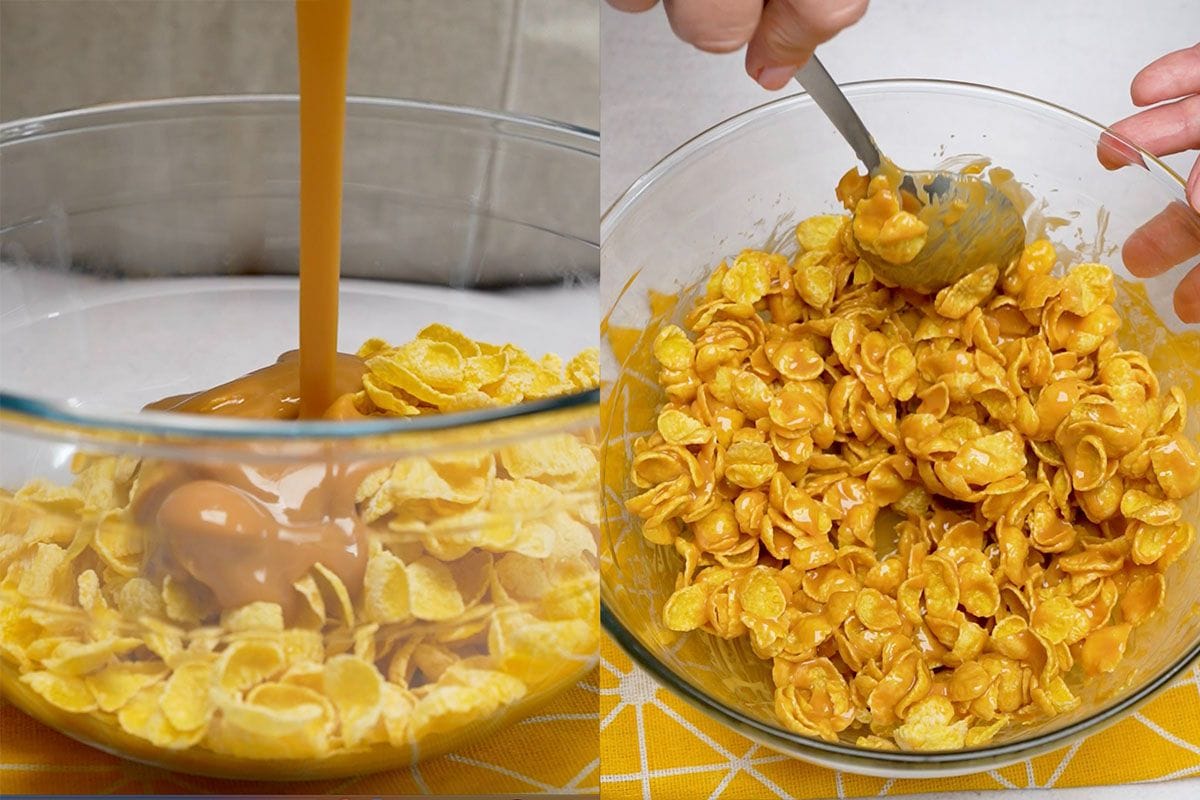
Step 1- Make the mixture. Melt the peanut butter and maple syrup in the microwave. Pour this mixture over the cornflakes and mix until fully combined. If the mixture is not sticky enough, add more maple syrup.
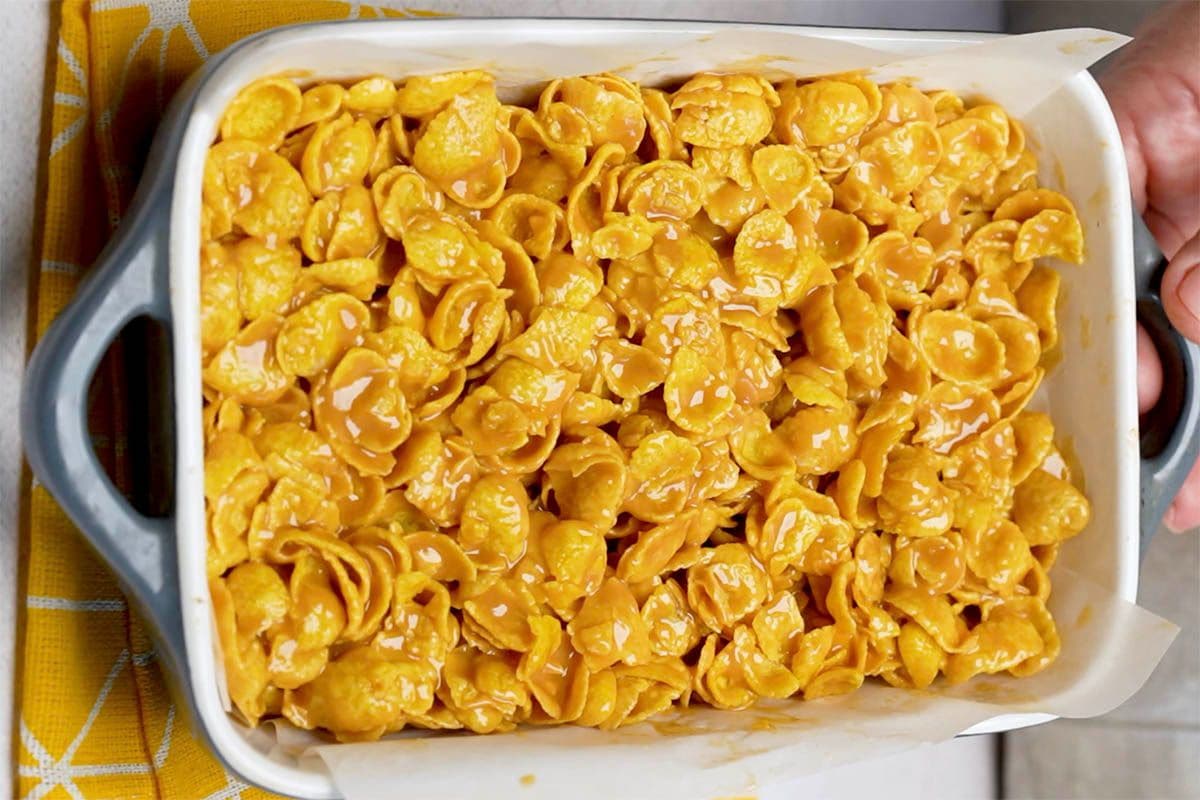
Step 2- Set. Transfer the sticky cornflake mixture to a pan lined with parchment paper. Wet your hands and press the cornflakes into an even layer. Press down into an even layer and refrigerate for 30 minutes or until firm.
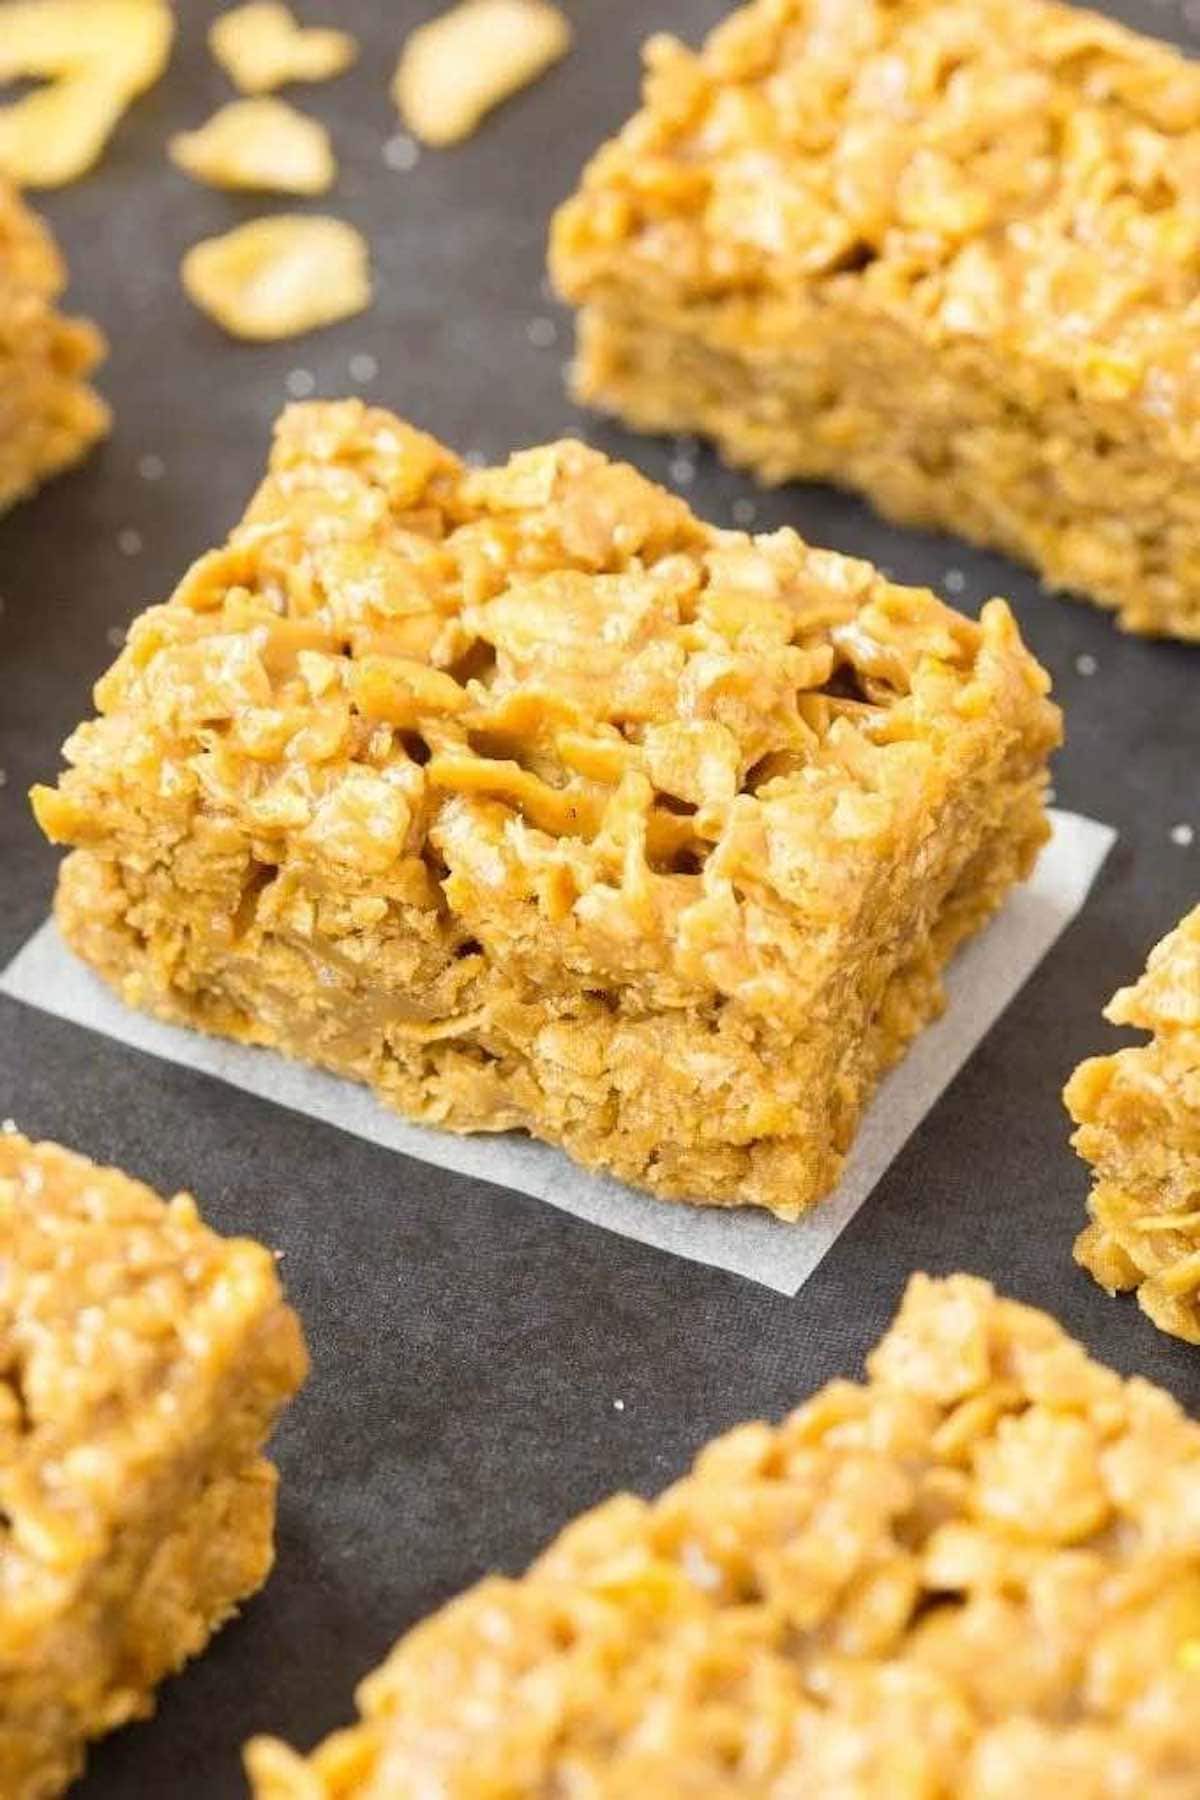
Step 3- Slice into bars and serve.
Arman’s recipe tip
Use a sharp, slightly wet knife to slice the bars. I run mine under hot water and dry it lightly before cutting, which helps create clean slices without the bars crumbling apart.
Storage instructions
To store. Store cornflake bars in an airtight container in the fridge for up to 2 weeks. I first tried keeping them at room temperature, but they gradually lost their crunch and became too gooey for my liking.
To freeze. Freeze individually wrapped crunch bars for up to 2 months. Bring the bars to room temperature before eating them.
Frequently asked questions
When testing this recipe, I found the bars were most likely to fall apart if I didn’t press the mixture firmly enough into the pan. If they’re still crumbly after chilling, it’s usually a sign that the peanut butter and maple syrup weren’t mixed thoroughly enough to evenly coat the cornflakes.
More easy no bake desserts

Peanut Butter Cornflake Bars
Video
Ingredients
- 4 cups Corn Flakes 120g
- 1 cup peanut butter can use any nut or seed butter, 250g
- 1/4 cup maple syrup See notes, 60ml
Instructions
- Line an 8 x 8 pan with parchment paper and set aside.
- Add your corn flake cereal into a large mixing bowl and set aside.
- In a microwave-safe bowl or on the stovetop, melt your peanut butter with pure maple syrup. Pour over the cornflakes and mix until fully combined and all the cornflakes are evenly coated. For ultra gooey corn flake crunch bars, add an extra tablespoon or two of maple syrup.
- Pour the mixture into the lined pan and lightly wet your hands. Press the bars into an even layer, but don't compact it too firmly or you'll lose some crunch. Chill for at least 30 minutes or until firm. Cut into bars.


Very good Thankyou
So glad to hear that, Johanna!
Make this with gluten free cornflakes – easy and delicious – Thankyou
So welcome, Vicki!
This one didn’t quite work out for me. I see lots of other people love them but I do wonder if the differences in peanut butter make this recipe unsuitable for UK bakers. I used a common uk brand of peanut butter and my resulting bars were too salty, a little cloying and didn’t have enough structural integrity to be cut.
Hi Rachel, thanks for the feedback and I think you nailed it on the hand- especially the too salty and not enough structural integrity. You could try using a natural peanut butter as they are universally quite similar. When you melt the peanut butter with syrup, the mixture should be thick but drippy. Once it’s mixed through the cereal, it should be firm and easy to cut.
Please send me recipe card for peanut butter and corm flake bars,
Can’t get the recipe card for the peanut butter cornflake bar. Please send me the recipe card. Thank you, Martha
pretty darn good. I add craisans and almonds. love them
Very interesting! Sounds like they would be delicious. I love how easy this recipe is to customize!
This is exactly what I was looking for thank you perfect
Just made these and they were SO tasty 🙂 Chewy, gooey, and so yummy.
So glad you enjoyed them! They always bring back memories of childhood birthday parties for me 🙂
Fantastic!!! LOVE LOVE LOVE!!!
Did not work. I assume using real maple syrup as opposed to fake sugar water syrup was the issue.
Hi John- you hit the nail on the head. Using sugar free syrup is pretty much like adding water to the mixture. It doesn’t help with binding at all. I’d stick with maple syrup (regular) or honey.