Cake Pop Recipe
This post may contain affiliate links. See my disclosure policy.
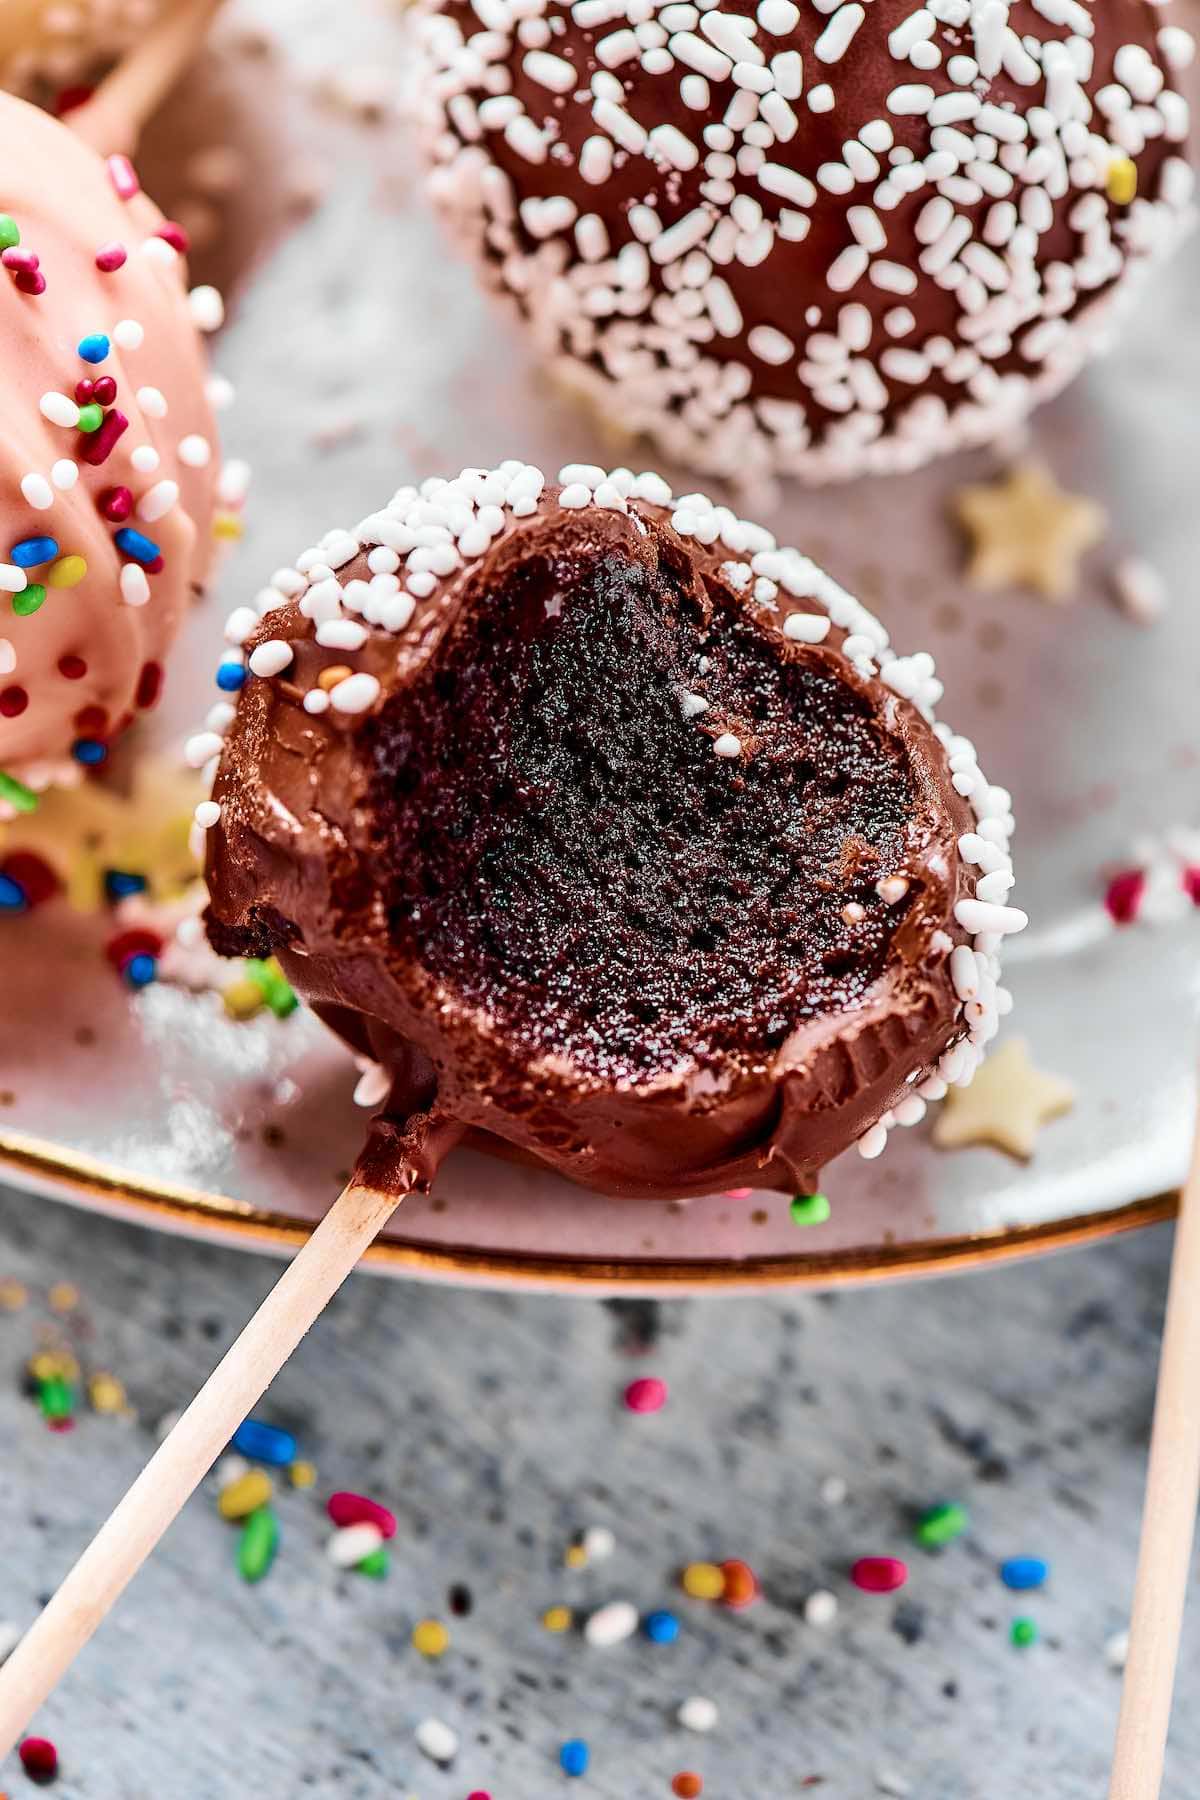
Turn leftover cake into a creative treat using my no-bake cake pop recipe. It’s easy to customize and WAY better than Starbucks!
We love party treats, so try my cake batter dip, pumpkin cake pops, and cheesecake bites next.
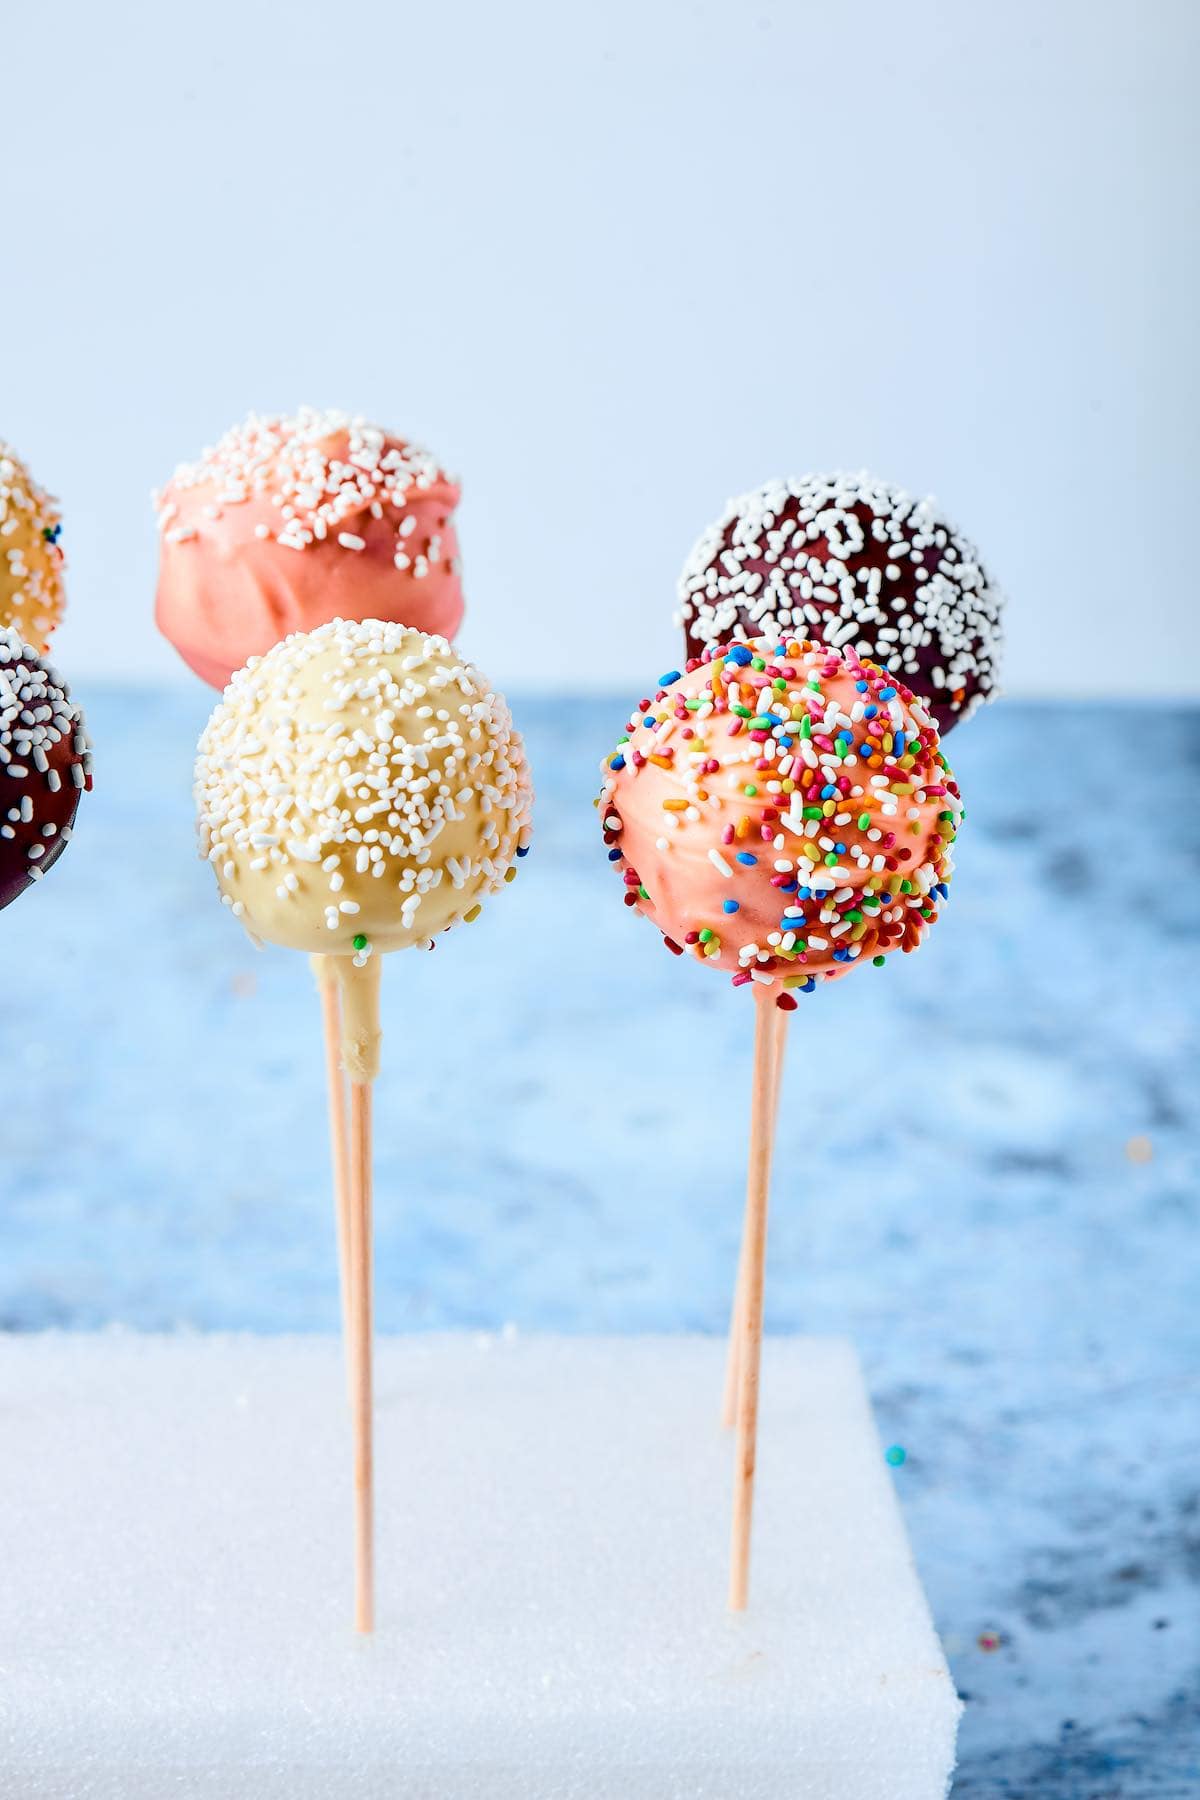
99% of the time, my family asks me to make a Starbucks run–it’s not for coffee–it’s for cake pops. I get it. They’re popular for a reason, but they’re much better when you make them at home.
For this recipe, I used some leftover cake and frosting from recipe testing. Suffice it to say we don’t get them from Starbucks anymore!
Table of Contents
Why I love this recipe
- A good use for leftover cake. Not that I’ve ever encountered such a thing…
- They can be made diet-friendly. Starbucks cake pops are neither vegan nor gluten-free, but it’s easy to do at home.
- No fancy kitchen tools needed. You don’t need a cake pop marker–just your hands and a few bowls.
- Much cheaper than Starbucks. And the last time I ordered some, they were so tiny! Thanks shrinkflation…

Ingredients needed
- Leftover chocolate cake. Use my death by chocolate cake recipe for the most decadent chocolate cake pops. Alternatively, use a boxed cake mix.
- Leftover vanilla cake. My classic vanilla cake recipe is moist, fluffy, and easy to make with pantry staples.
- Vanilla and chocolate frosting. Any frosting will do, whether it’s store-bought or homemade. This will add texture and make the cake pops more sturdy.
- White chocolate chips AND dark chocolate chips. Melted to coat each cake pop. Alternatively, use candy melts.
- Pink gel food coloring. This is mixed into the melted white chocolate to dye the vanilla cake pops pink.
- Sprinkles. For decoration.
How to make homemade cake pops
I’ve included step-by-step photos below to make this recipe easy to follow at home. For the full printable recipe instructions and ingredient quantities, scroll to the recipe card at the bottom of this post.
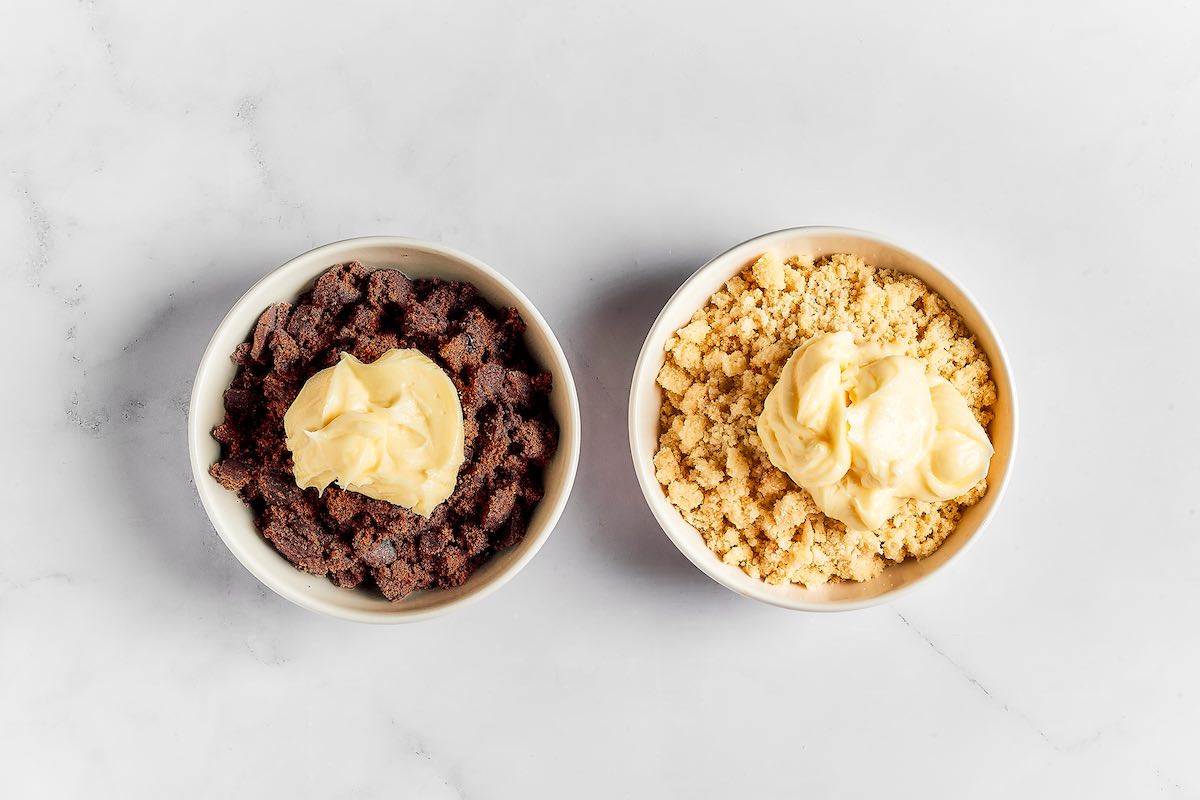
Step 1- Mix. In one large mixing bowl, add the chocolate cake and frosting. In a second bowl, add the vanilla cake and frosting. Crumble and mix each until smooth.
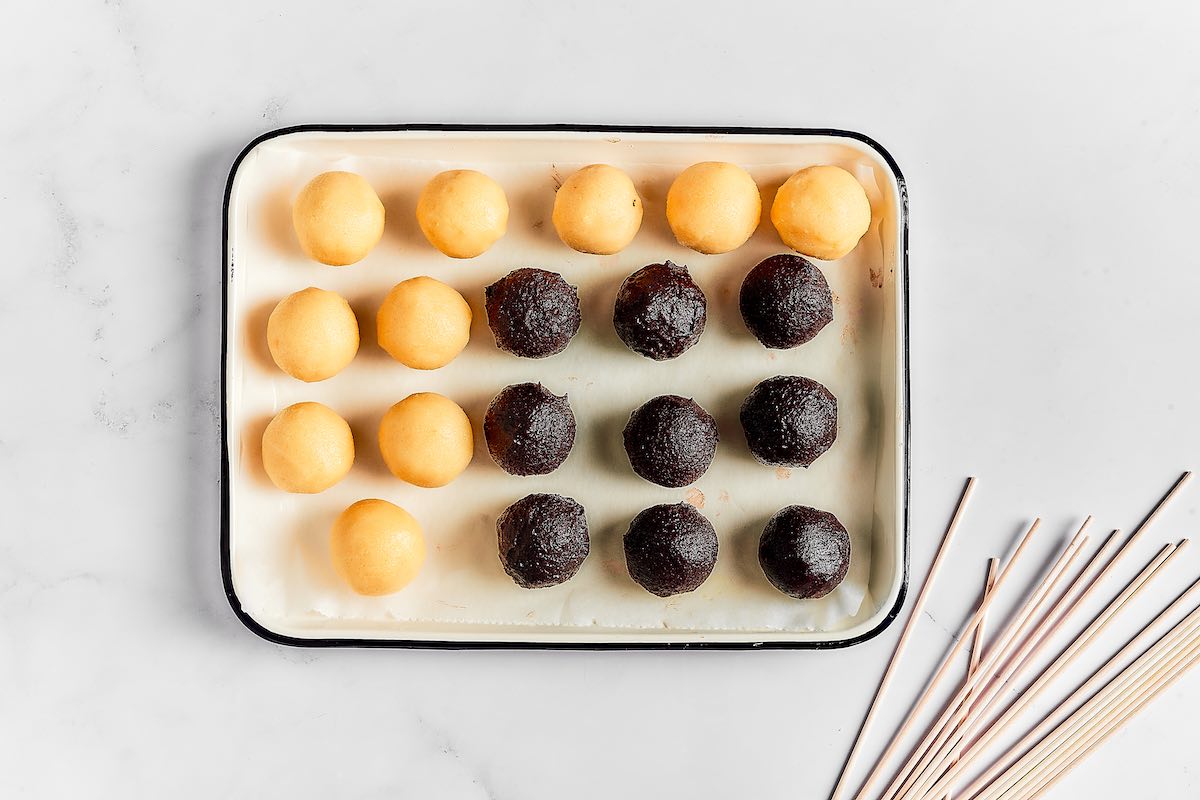
Step 2- Shape and chill. Roll the cake mixture into dough balls and refrigerate on a lined baking sheet. Place a lollipop stick in each.
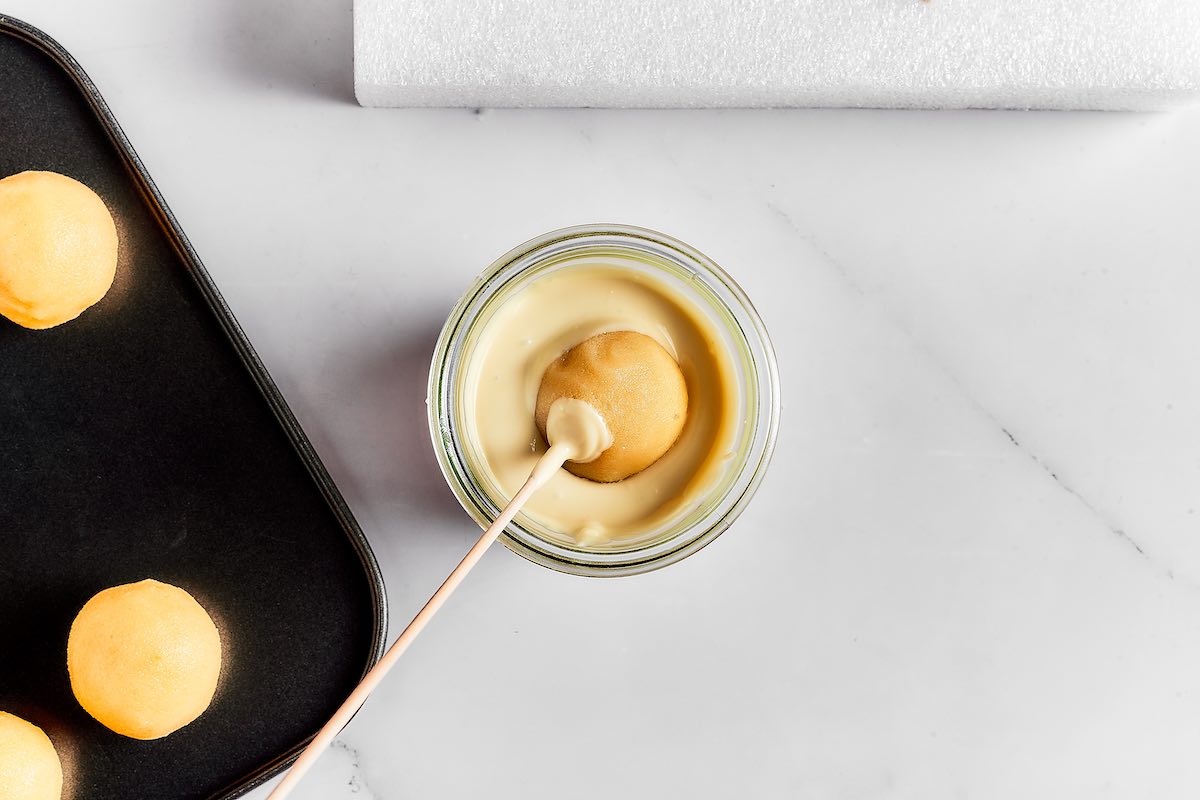
Step 3- Dip. Dip the cake balls into the chocolate, tap off the excess, and return them to the baking sheet.

Step 4- Decorate. Cover the cake pops with sprinkles and refrigerate until firm.
Arman’s recipe tips
- Use a stand mixer or electric mixer. While optional, it makes the mixing process go by faster.
- Dip the sticks in melted chocolate before sticking them in the cake pops. I find this makes the cake pops sturdier.
Variations
- Make them vegan. Use my vegan chocolate cake and vegan birthday cake.
- Make them gluten-free. Use one of my gluten-free cake recipes, like my almond flour chocolate cake or coconut flour cake.
- Swap the frosting. Use any flavored frosting of choice (I love strawberry!).
- More cake flavors! Try my healthy carrot cake, spice cake, or biscoff cake.
Storage instructions
To store: The chocolate-coated cake pops can be stored in an airtight container in the fridge for about 1 week.
To freeze: Freeze them in a freezer-safe container for up to 2 months.
Frequently asked questions
The trick is to add plenty of frosting to the cake mixture as it keeps the cake pop from falling apart. It’s also important to chill the dough long enough so it gets nice and firm.
Starbucks cake pops are made out of cake, while other recipes use a no-bake dough made from a boxed cake mix. My version keeps it simple with dough made from leftover cake and frosting.
I find the best way to melt chocolate for coating cake pops is to microwave them at 50% power in 30-second intervals, stirring in between, until smooth. You can also melt them in a double boiler on the stove.
More bite-sized desserts

Cake Pop Recipe
Video
Ingredients
- 2 cups chocolate cake
- 2 cups vanilla cake
- 1 cup vanilla frosting
- 1 cup chocolate frosting
- 1 cup white chocolate
- 1 cup dark chocolate
- 1 drop pink food coloring
Instructions
- In a large mixing bowl, add the crumbled chocolate cake and in another bowl, the vanilla cake. Add the chocolate frosting to the chocolate cake and the vanilla frosting to the vanilla cake and mix until well combined.
- Roll the cake mixture into balls, about 1-2 tablespoons each. Place the balls on a parchment-lined baking sheet and chill in the refrigerator for 30 minutes.
- In separate microwave-safe bowls, melt the white and dark chocolate in the microwave at 30-second intervals, stirring in between, until smooth. Add a few drops of pink food coloring to the melted white chocolate and stir until well combined.
- Dip the chilled cake balls into the melted chocolate, using a spoon to coat them evenly. Tap off any excess chocolate and place them back on the parchment-lined baking sheet.
- Decorate the cake pops with sprinkles while the chocolate is still wet. Allow the chocolate to set completely.
Notes
Nutrition
Originally published May 2023, updated and republished October 2024


