Petit Fours
This post may contain affiliate links. See my disclosure policy.
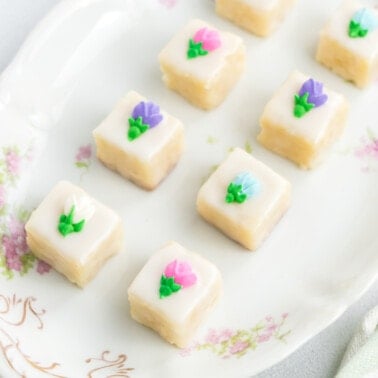
Learn how to make these adorable, elegant petit fours. This classic French dessert is perfect for any occasion and is so easy to make.
Craving more party-sized desserts? Try my pumpkin cake pops, cake batter dip, and cherry bakewell tarts next.
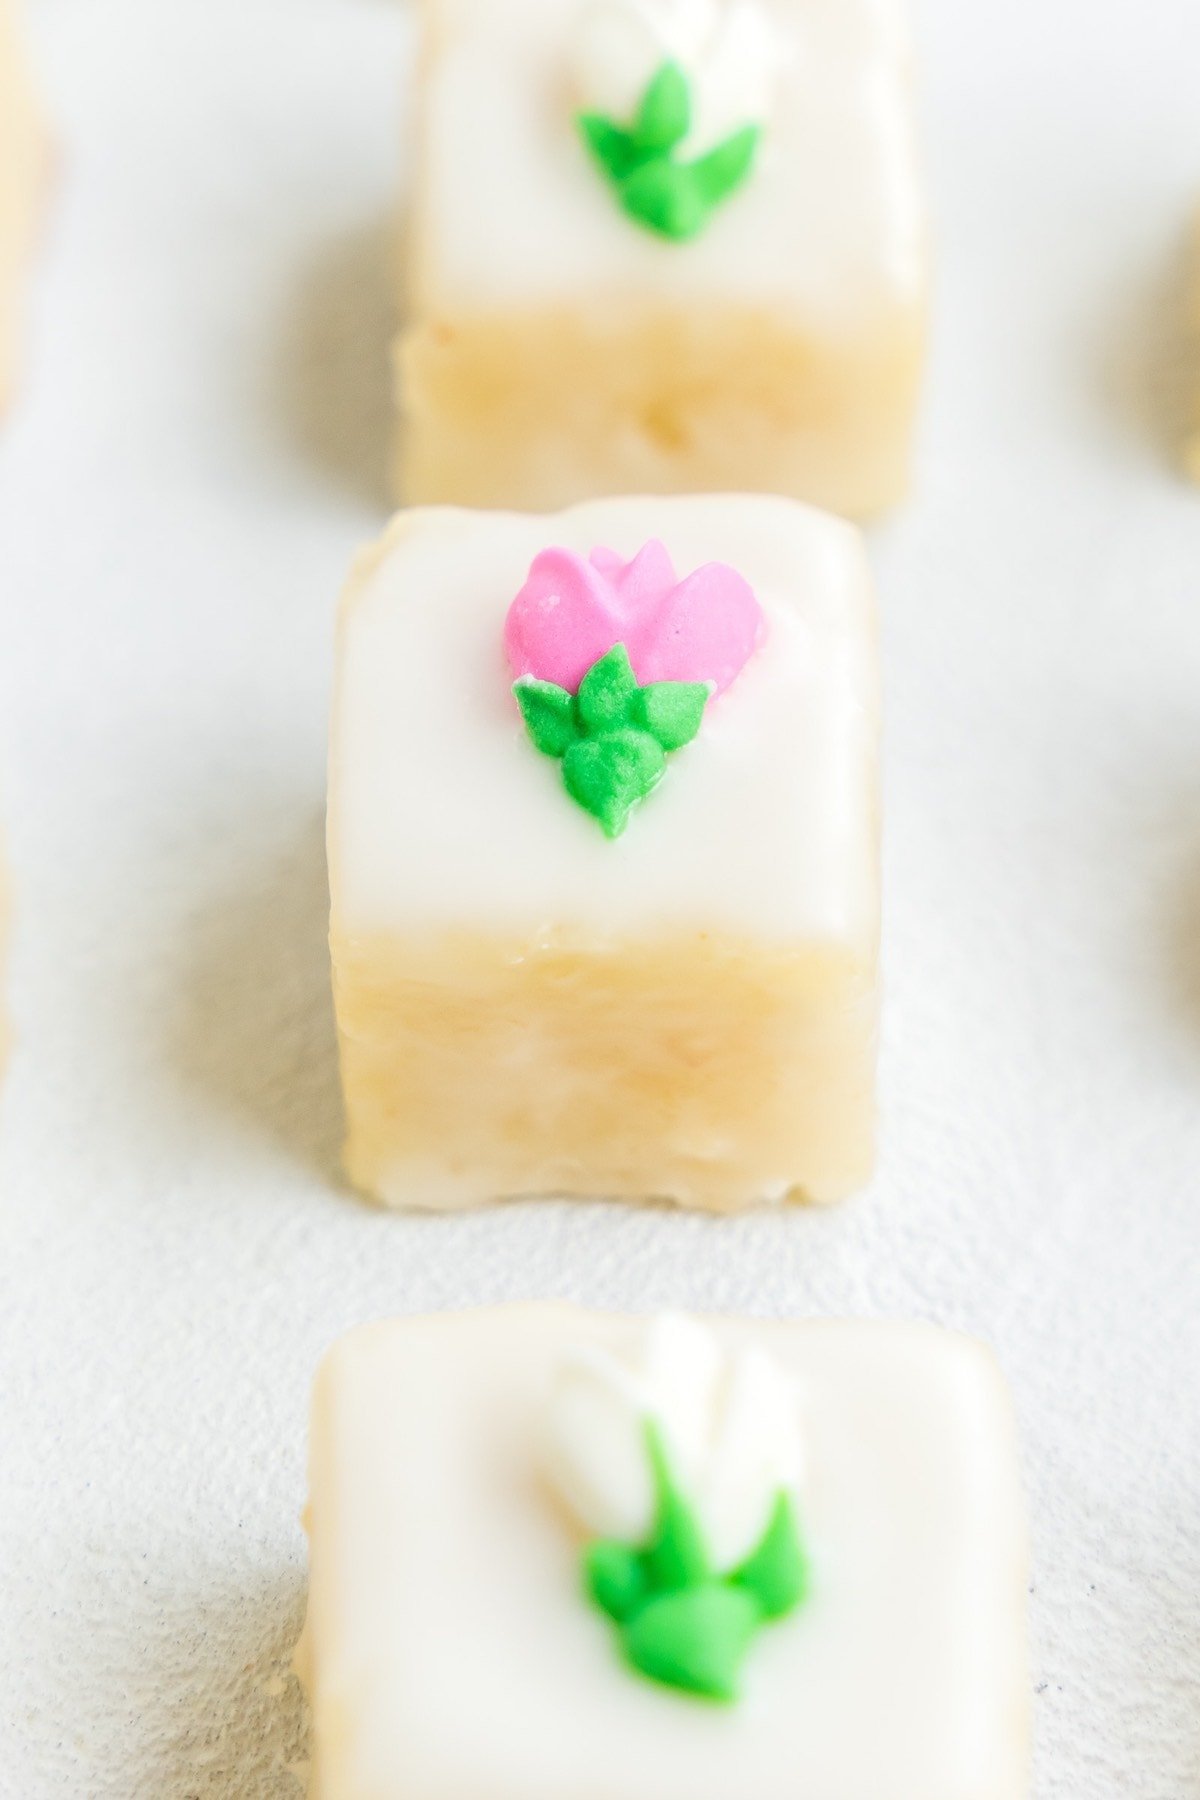
When I need a dessert fit for tea parties (which, I’ll admit, is rare), I make my petit fours.
Made with basic kitchen staples, what sets them apart is their delicate texture, tender crumb, and, frankly, their adorable appearance.
What are petit fours?
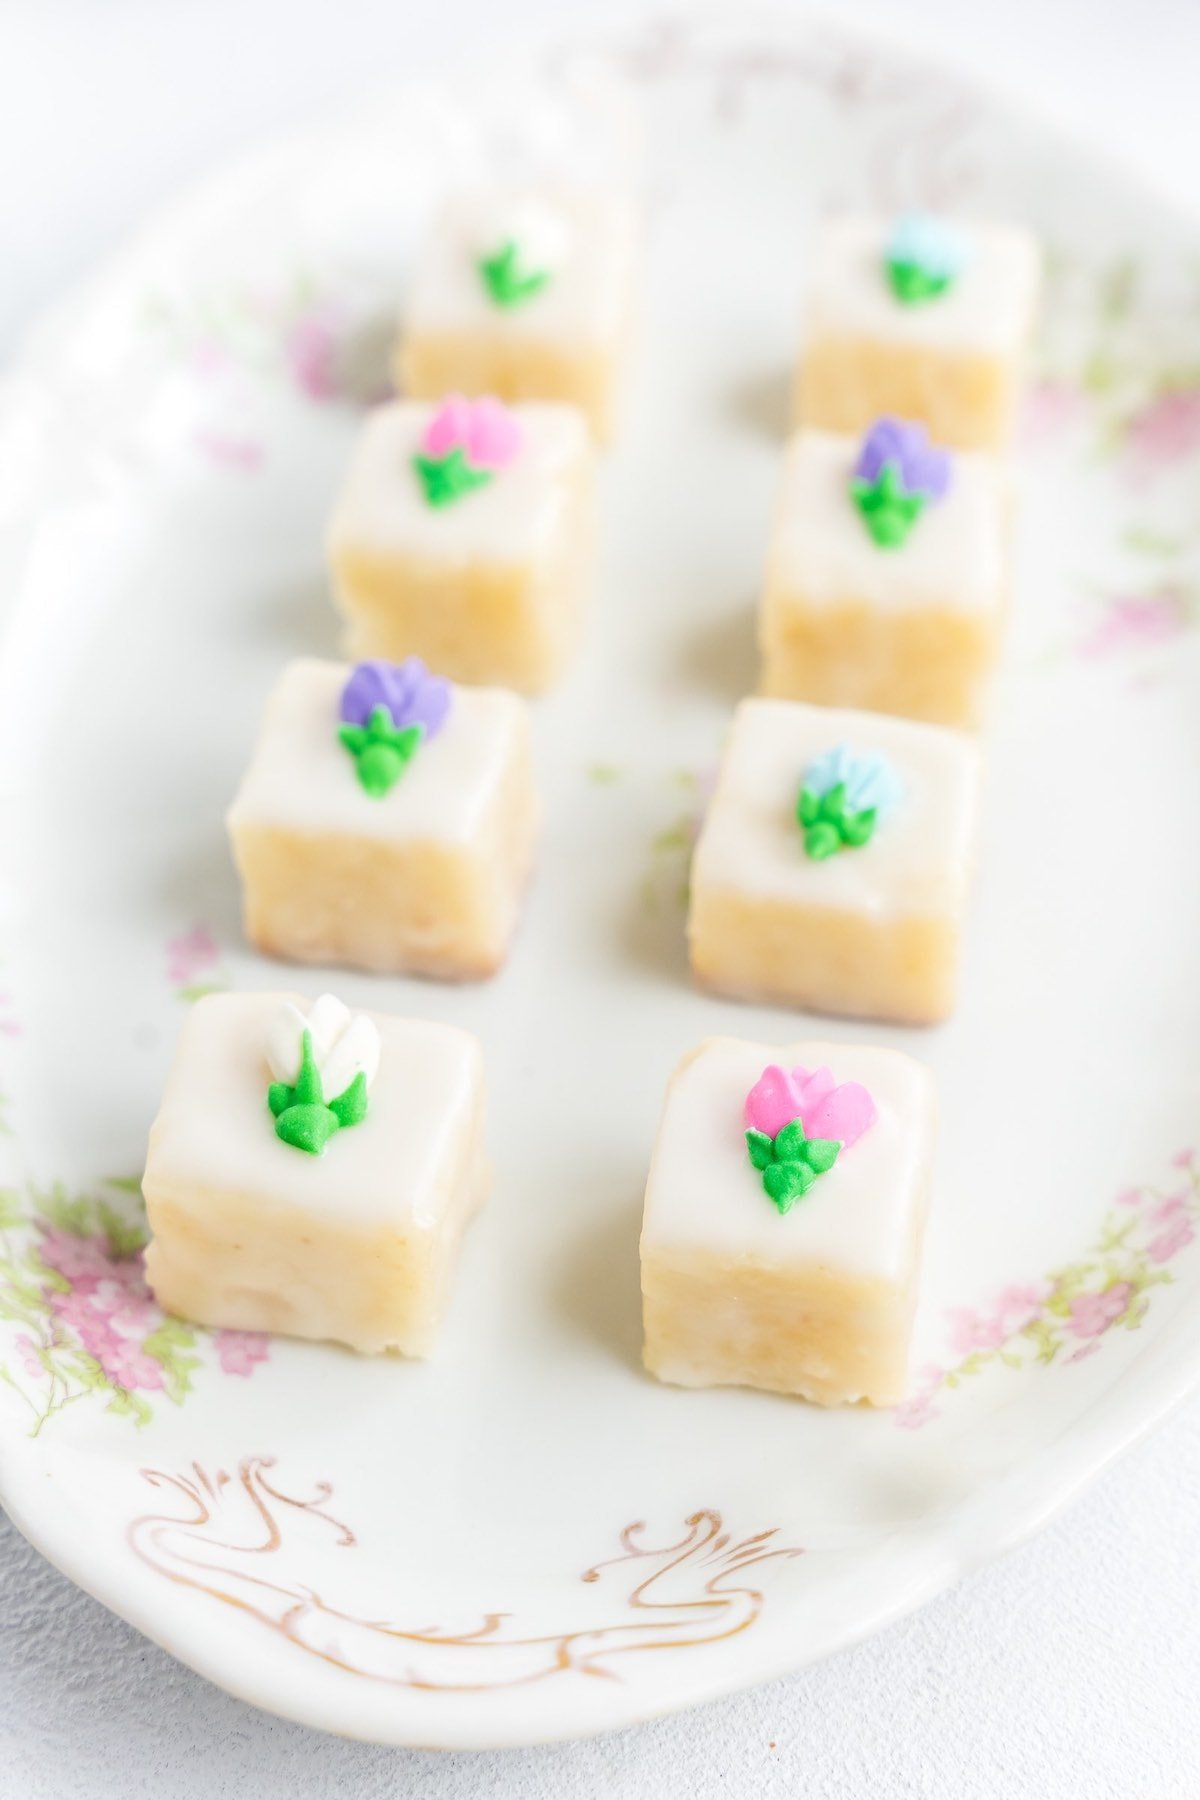
Petit fours are small, bite-sized cakes. Originating in France, the term translates to “little oven” and can refer to any bite-sized cake. In this case, we’re using a pound cake recipe to make glazed or ‘glacé’ petit fours.
Table of Contents
Why I love this recipe
- Quick and easy. Okay, so this dessert may look incredibly fancy, but I promise you, you don’t need to be a pastry chef to make them!
- Simple ingredients. No hard-to-find or difficult ingredients are needed.
- Perfect for entertaining. Mini desserts are always a hit, and these will steal the show!
- Easy to customize. I kept the base recipe simple, but you can add layers or experiment with different frostings.
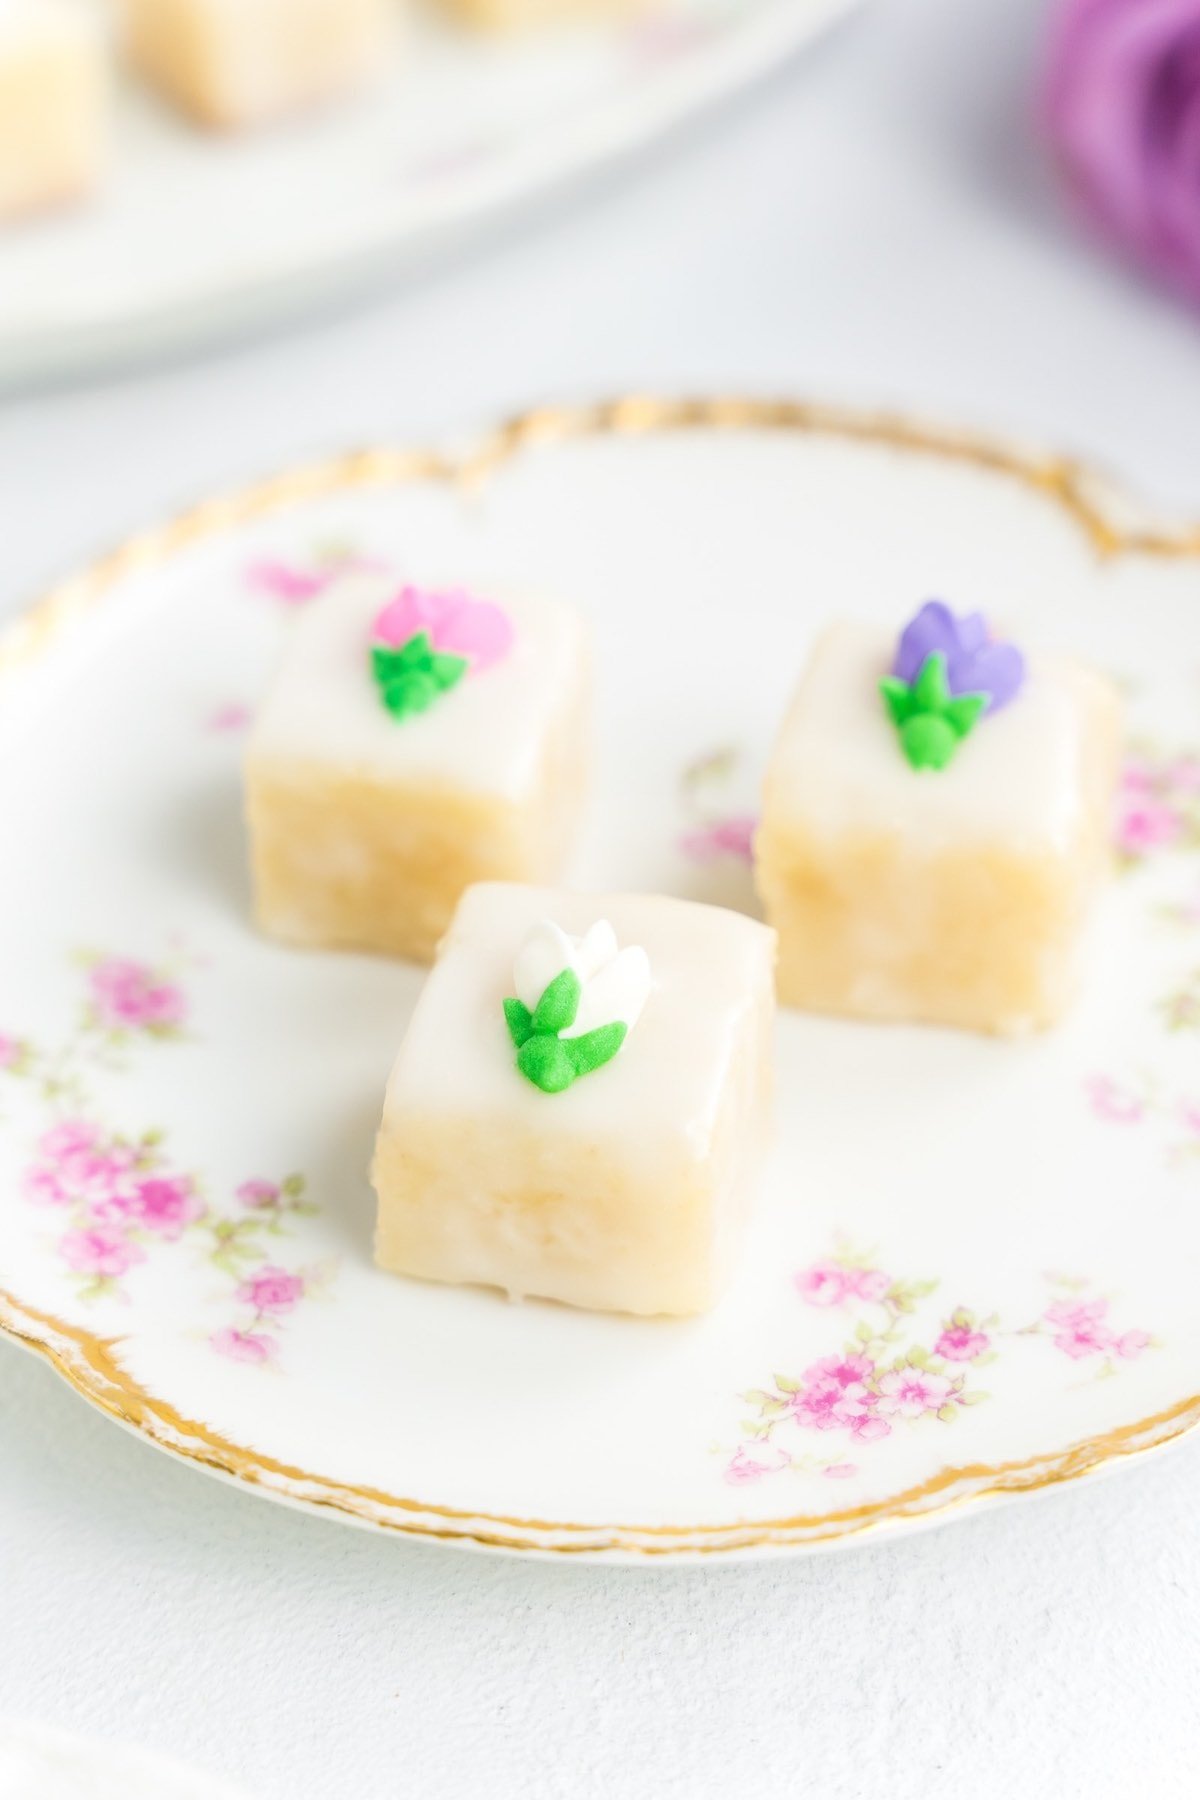
Ingredients needed
- Butter. I suggest using unsalted butter that’s softened to room temperature.
- Superfine sugar. Also known as caster sugar. If you don’t have any, you can use powdered sugar or confectioners’ sugar.
- Vanilla extract. A must for this dessert.
- Eggs. Room temperature eggs are best.
- Self rising flour. AKA flour with baking powder and salt already added. I prefer to skip the expensive pre-packaged kind and make my own homemade self-rising flour. Use gluten-free self-rising flour if needed.
- All purpose flour. Sifted to ensure there are no clumps. Again, use GF flour if needed.
- Milk. I used unsweetened almond milk, but any milk works.
For the icing
- Powdered sugar. The bulk of the icing.
- Light corn syrup. Gives the icing a more viscous consistency and makes it easier to work with.
- Vanilla extract. Essential for vanilla icing.
- Water. Just a dash to thin out the icing.
- Decorative flowers. Optional, but we added some edible flowers for a pop of color.
How to make petit fours
I’ve included step-by-step photos below to make this recipe easy to follow at home. For the full printable recipe instructions and ingredient quantities, scroll to the recipe card at the bottom of this post.
Step 1- Prep work. Preheat oven to 180C/160C and grease a loaf pan.
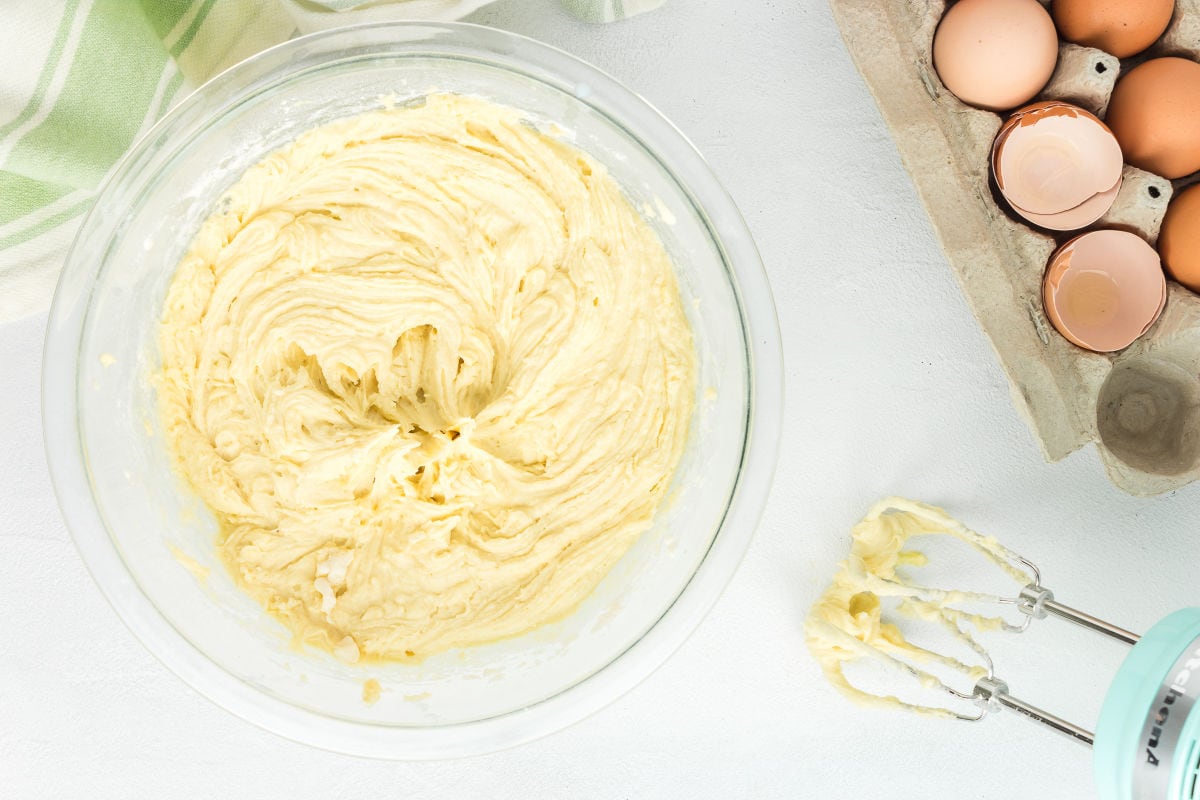
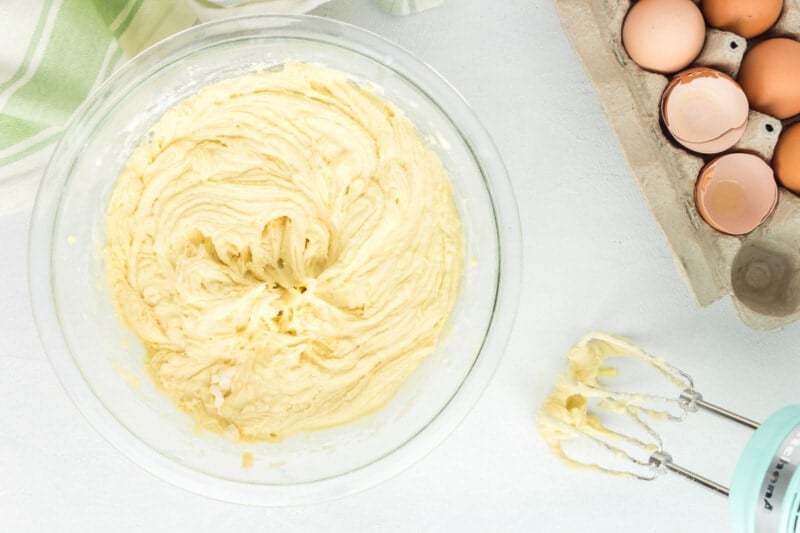
Step 2- Make the cake batter. Using an electric mixer, beat the butter, sugar, and vanilla until fluffy. Add the eggs, one at a time, and mix. Sift the flour, then add the milk and mix to combine.
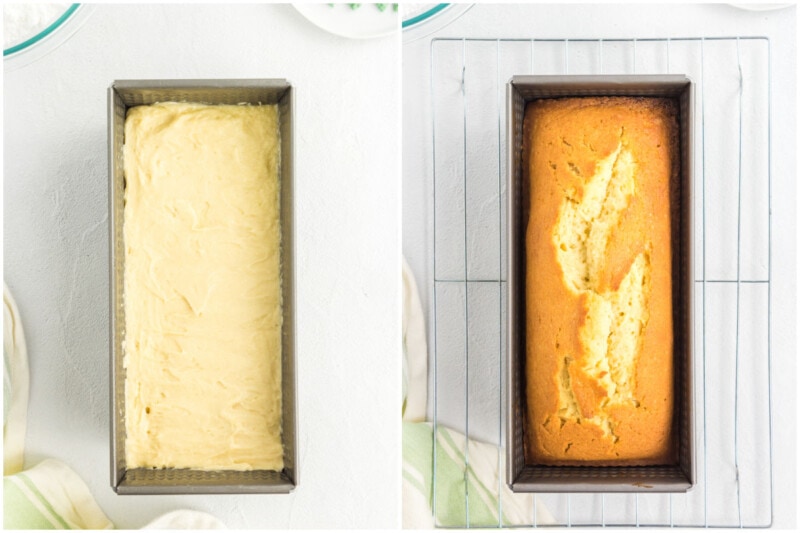
Step 3- Bake the cake. Spoon the batter into the pan and bake for an hour or until a toothpick comes out clean. When it’s done, turn it out on a wire rack and let the cake cool completely.
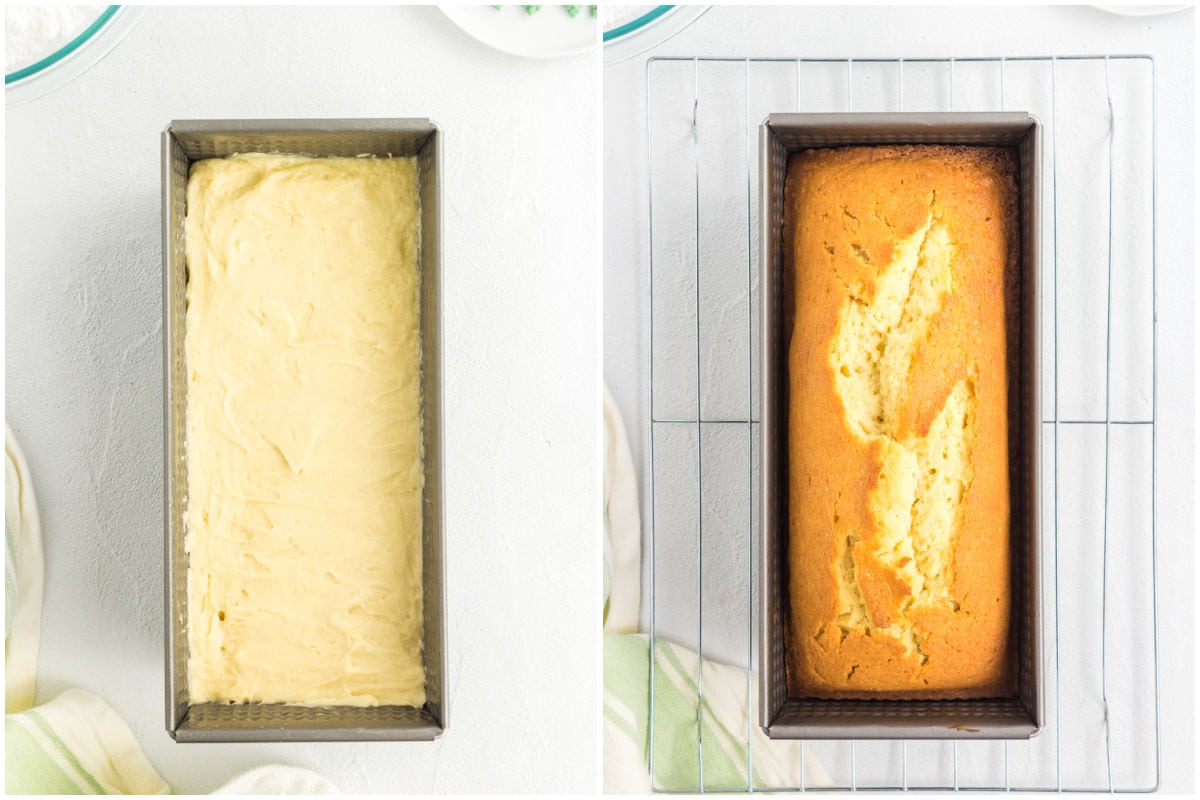
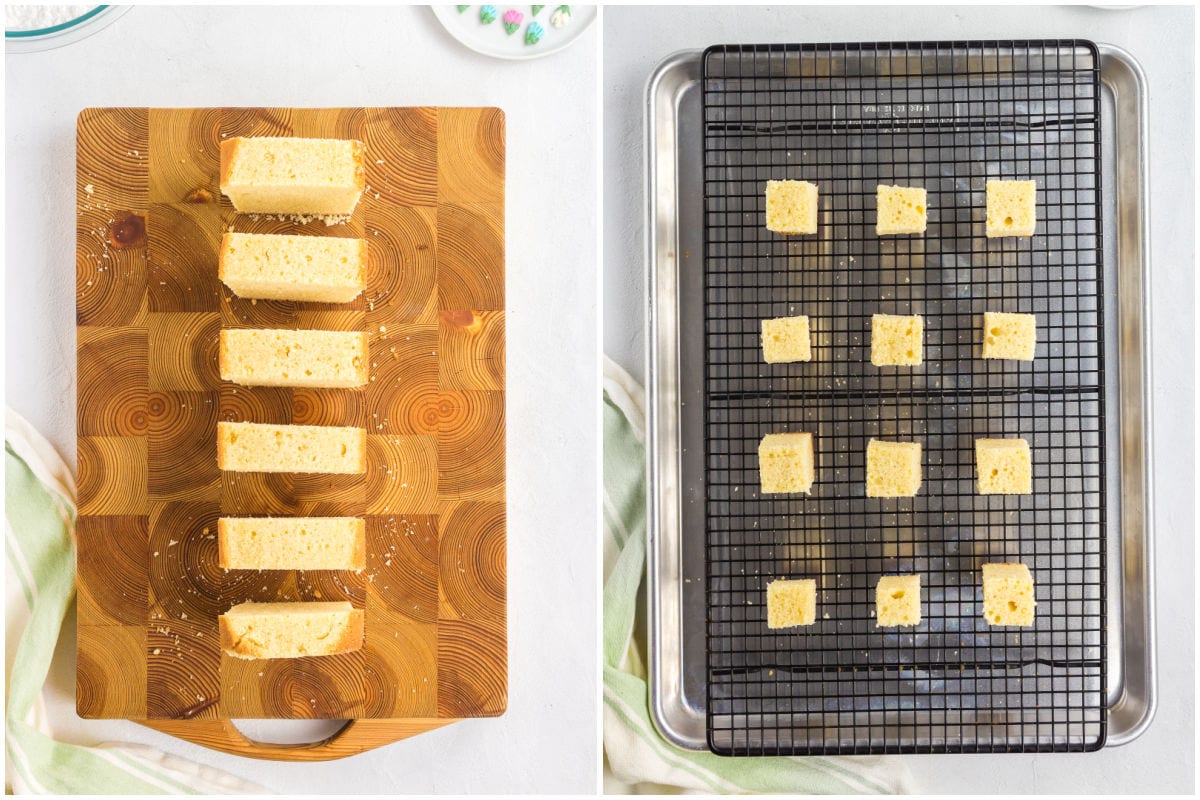
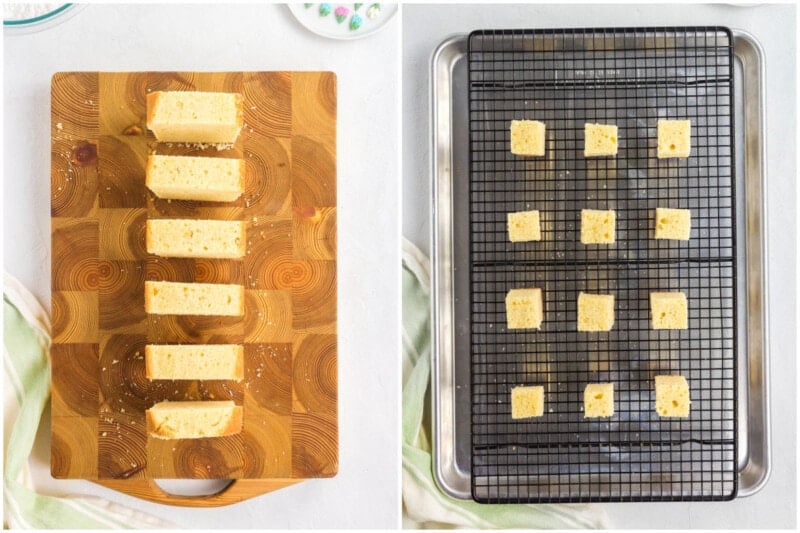
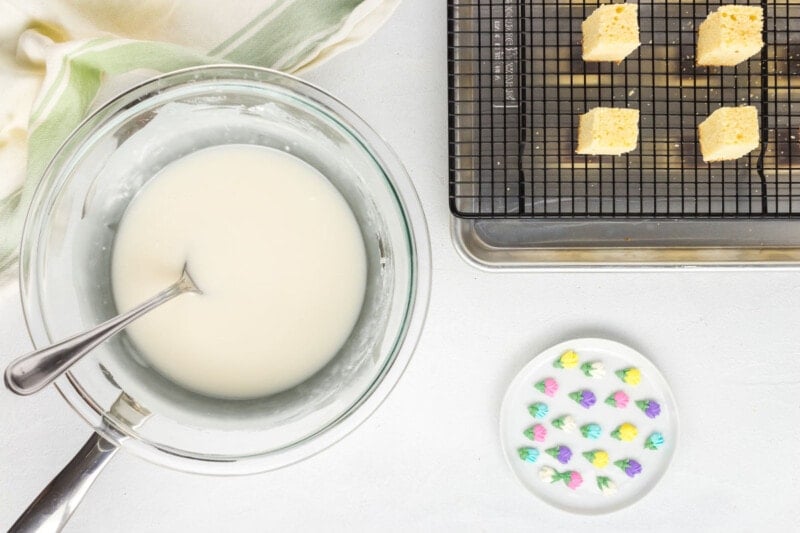
Step 4- Trim the cake. Trim the edges of the cooled cake and cut into 6 1 ½ inch slices. Cut 2 squares from each slice. Place the cakes on a wire rack above a baking sheet lined with parchment paper (to catch frosting drips).
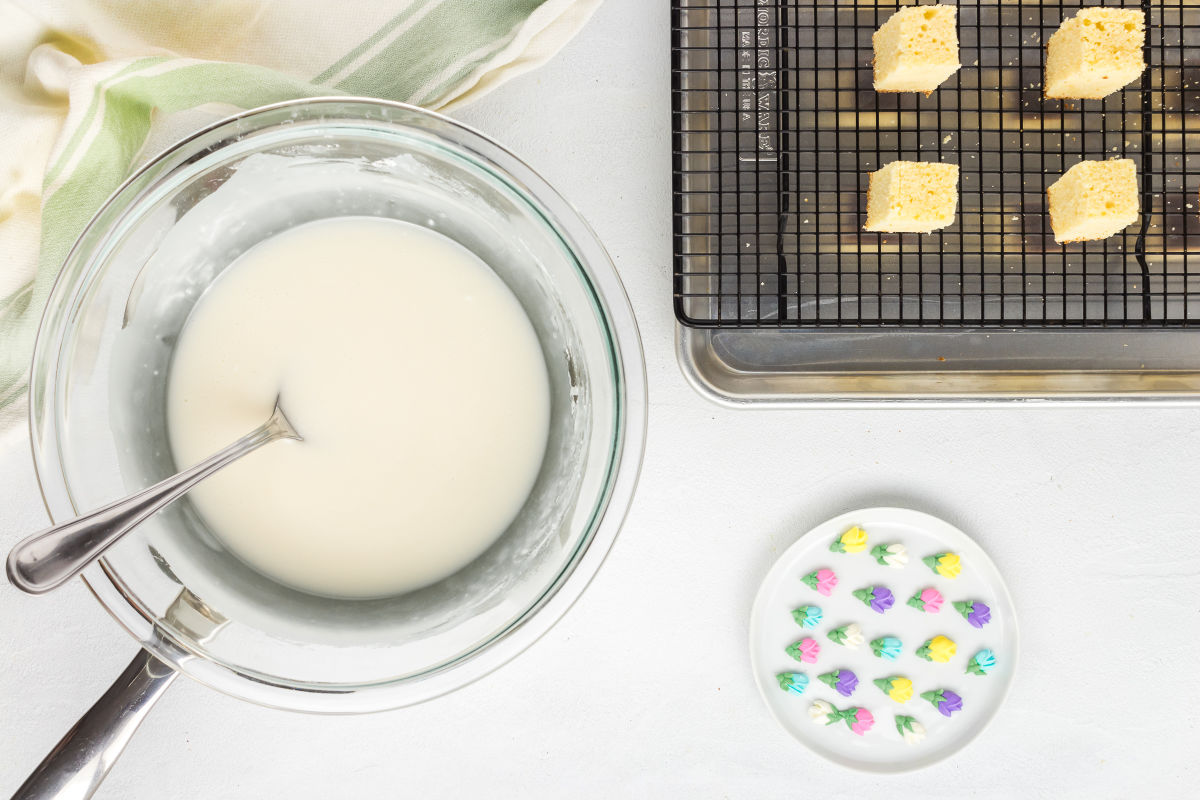
Step 5- Make the icing. Add water to a large saucepan. Place a heatproof bowl on top and add the icing ingredients, minus the flowers. Stir for 4-7 minutes until smooth and runny.
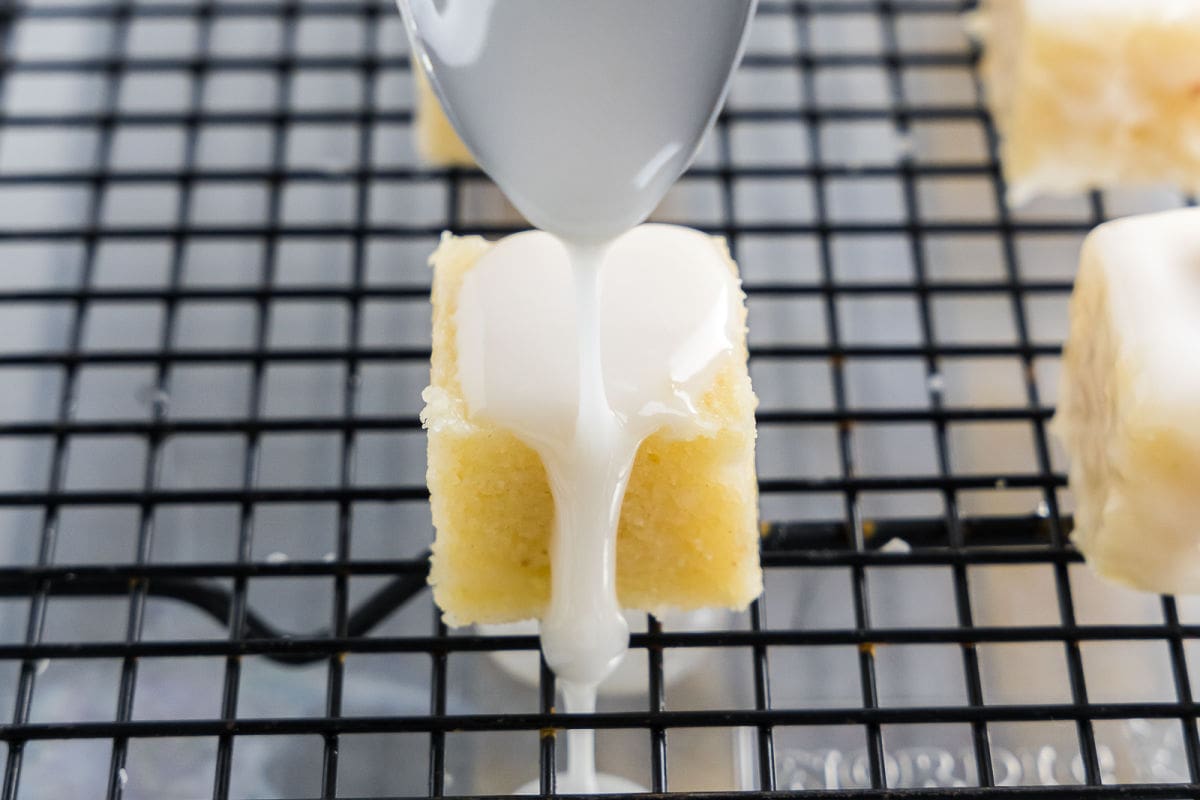
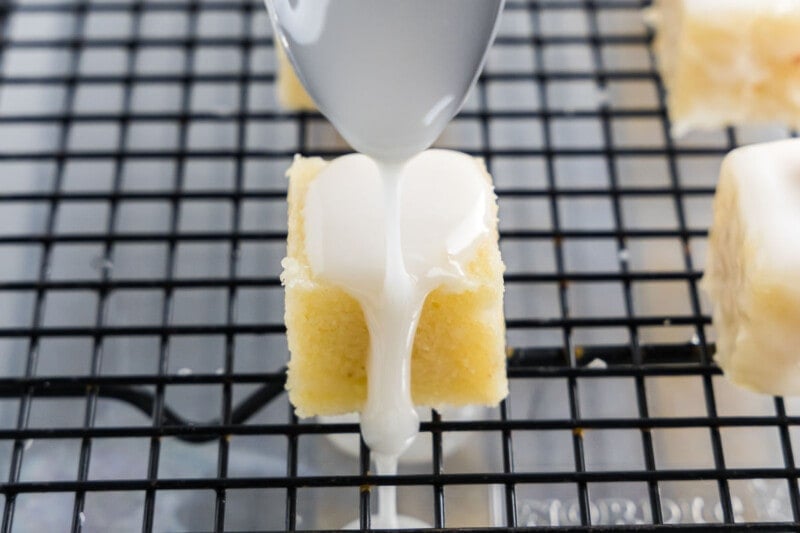
Step 6- Decorate. Pour the icing mixture over one of the cake squares until completely covered. Top it with a decorative flower. Repeat the process until all the cakes are covered.
Arman’s recipe tips
- If the cake browns too quickly, cover it with foil and return it to the oven for the final 15 minutes.
- Freeze the cake slices before coating them with icing. This helps the icing firm up quickly.
- Do not over-mix the cake batter. Over-mixing will cause a build-up of gluten, yielding a gummy cake.
- Layer the cakes. When I want to go the extra mile, I’ll use a sharp knife to slice the cakes in half. Then, I’ll add a thin layer of raspberry jam, strawberry jam, or lemon curd before sandwiching them back together.
- Swap the icing. Drizzle melted white chocolate chips instead, or make a buttercream frosting.
Storage instructions
To store. Place the cakes in a shallow container and keep them at room temperature for three days, or refrigerate them for up to seven days.
To freeze. Leftovers can be stored in the freezer in an airtight container for up to 6 months.
Frequently asked questions
Yes, you can make cake mix to make these instead of using the instructed batter. You can try my vanilla cake or snickerdoodle cake for two tested options.
Petit fours come in three different varieties. Glacé or ‘glazed,’ which refers to cakes covered in icing or fondant, salé or ‘salted,’ which refers to savory appetizers, and sec or ‘dry,’ which refers to baked meringues, macarons, and puff pastries.
More elegant desserts to try
- Opera cake
- Chocolate creme brulee
- Tiramisu cake
- Or any of these dessert recipes
Petit Fours
Video
Ingredients
- 1 cup butter softened
- 1 cup superfine sugar
- 2 teaspoons vanilla extract
- 3 large eggs
- 1 1/2 cups self-rising flour
- 1/2 cup all-purpose flour
- 1/4 cup milk
Glaze
- 4 1/2 cups powdered sugar
- 1/4 cup light corn syrup
- 1/2 teaspoon vanilla extract
- 1/4 cup water cold
- 12 decorative flowers
Instructions
- Preheat oven to 180C/160C fan-forced. Grease a loaf pan and set aside.
- Using an electric mixer, beat the butter, sugar, and vanilla until fluffy. Add the eggs in, one at a time, until mixed in. Sift in the flours and then stir through the milk until combined.

- Transfer the mixture to the pan and bake for an hour, or until a toothpick comes out clean. If there is over-browning, cover the pan with tin foil.

- Turn it out on a wire rack and let it cool completely.
- Trim the edges of the cake and cut it into 6 1 ½ inch slices. Cut 2 squares from each slice. Place the cakes on a wire rack.

- Create a water bath by adding water to a large saucepan. Place a heatproof bowl over it and add the powdered sugar, corn syrup, vanilla extract, and cold water. Stir for 4-7 minutes, until smooth and runny.

- Carefully pour the icing mixture over one of the cake squares until completely covered. Top it with a decorative flower. Repeat the process until all the cakes are covered.

Notes
Nutrition
Originally published March 2023, updated and republished June 2024


Very interesting recipe. Never hears of that name of this kind of sweets.