Raspberry Bars
This post may contain affiliate links. See my disclosure policy.
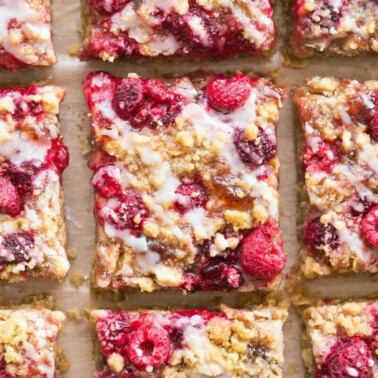
My easy raspberry bars feature a buttery base, raspberry jam in the middle, and a golden crumble topping. They need just five simple ingredients and can be made with fresh or frozen raspberries. They’re such a simple yet elegant dessert.
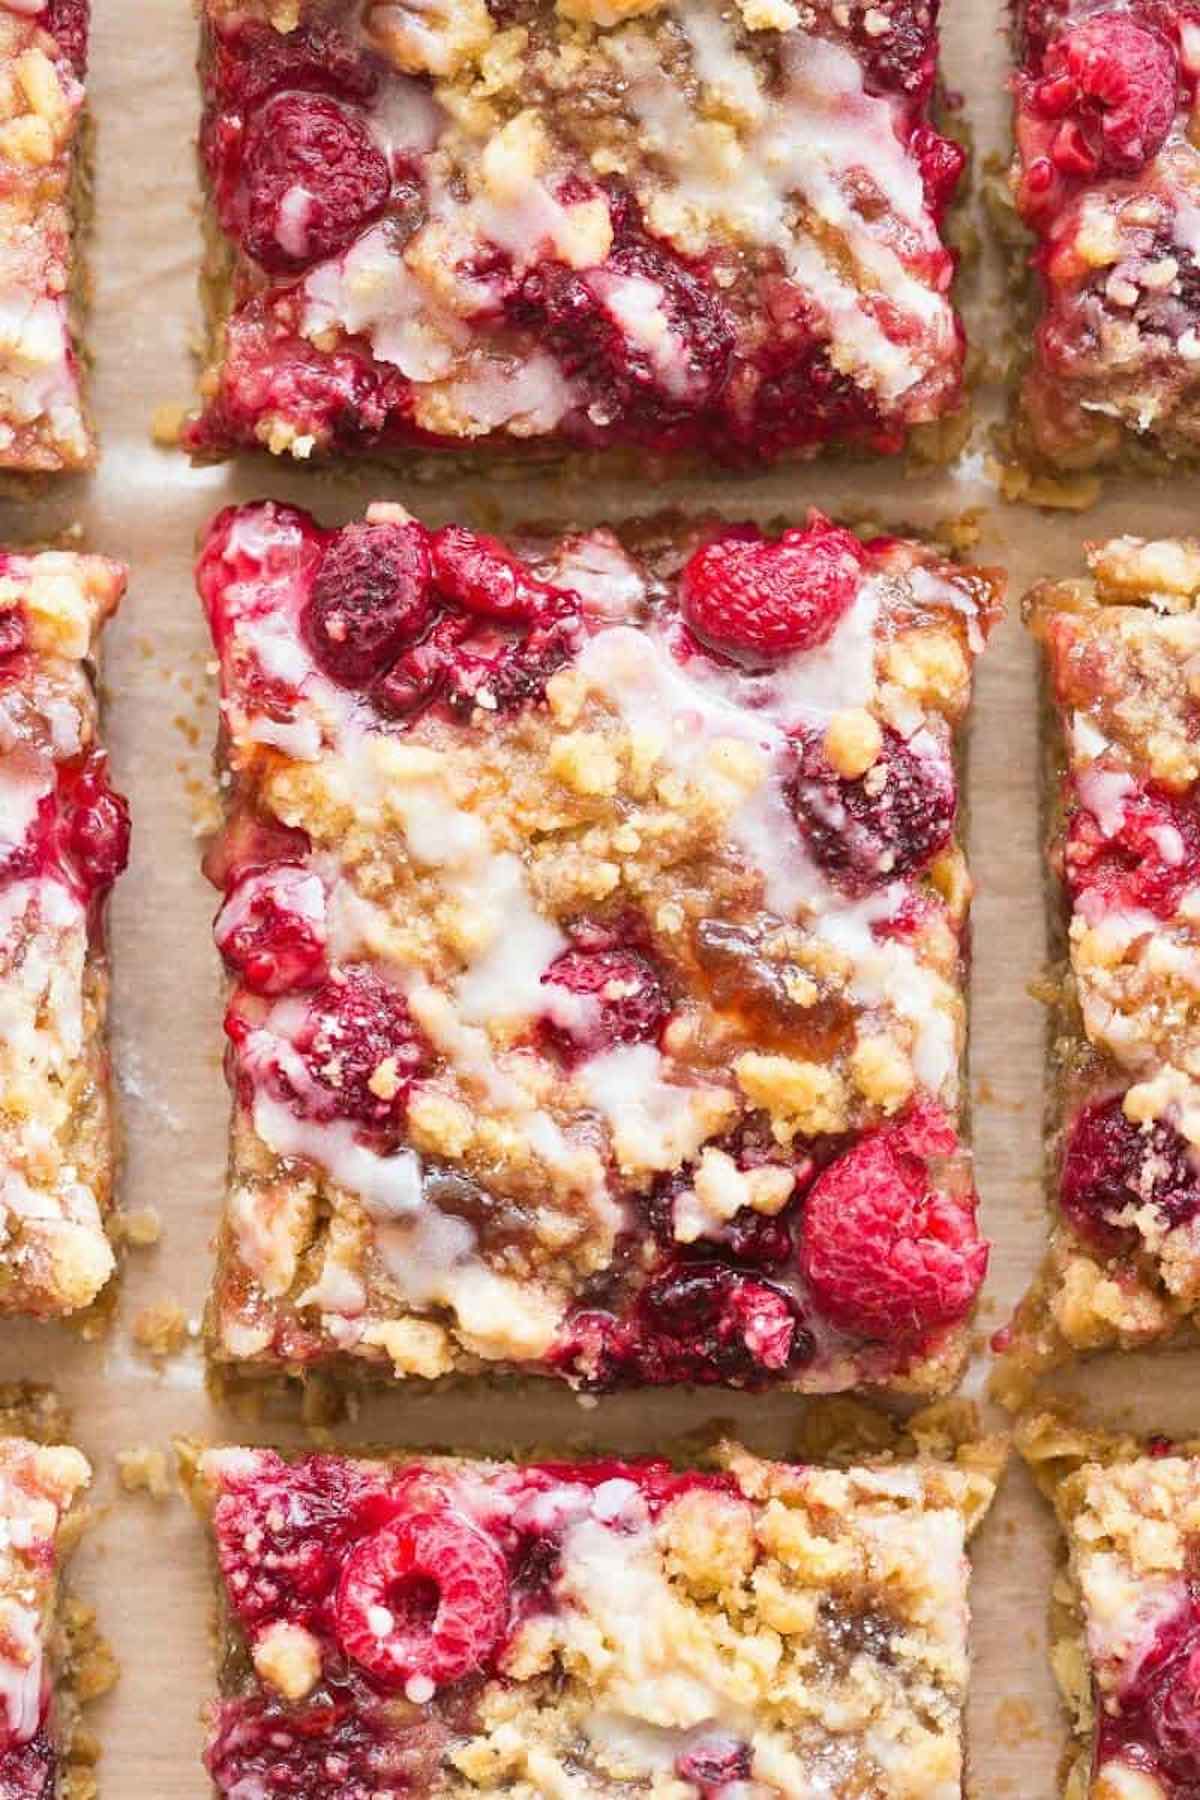
If you love a good dessert bar, then you need to add my raspberry bars to your baking agenda. They are so darn simple to make. The crumble topping combines oats, sugar, and butter, doubling as the base. In between, there’s a thick and gooey layer of homemade raspberry jam.
I love to whip these up during the summer when raspberry season is in full swing, but the crumble bars are great year-round, especially when you use frozen raspberries or my secret shortcut- store-bought raspberry preserves. If you enjoy fruit-based bars, try my strawberry oatmeal bars or banana bars.
Why I adore these raspberry crumble bars

- It uses simple ingredients. You only need a bunch of pantry staples and fresh berries for this recipe.
- Customizable. Once you know the basics, you can make this recipe with any fruit.
- Versatile. These make such a wholesome dessert. They also make a fabulous afternoon treat or something to entertain guests with.
- Great for making ahead. You can make these over the weekend and enjoy them throughout the week.
Key Ingredients
- All-purpose flour. To make the crumbly base and the top. If your flour has clumps, be sure to sift it well beforehand.
- Rolled oats. Rolled or old-fashioned oats are perfect for this recipe. They crisp up upon baking and impart a lovely texture to the bars.
- Sugar. To sweeten the base. Feel free to use brown or white sugar per your preference.
- Butter. To make the crust, use good-quality unsalted butter.
- Raspberry filling. Raspberries, sugar, and all-purpose flour. I typically use fresh raspberries in the summer and frozen ones when they aren’t in season.
How to make raspberry bars
This is an overview with step-by-step photos. Full ingredients & instructions are in the recipe card below.
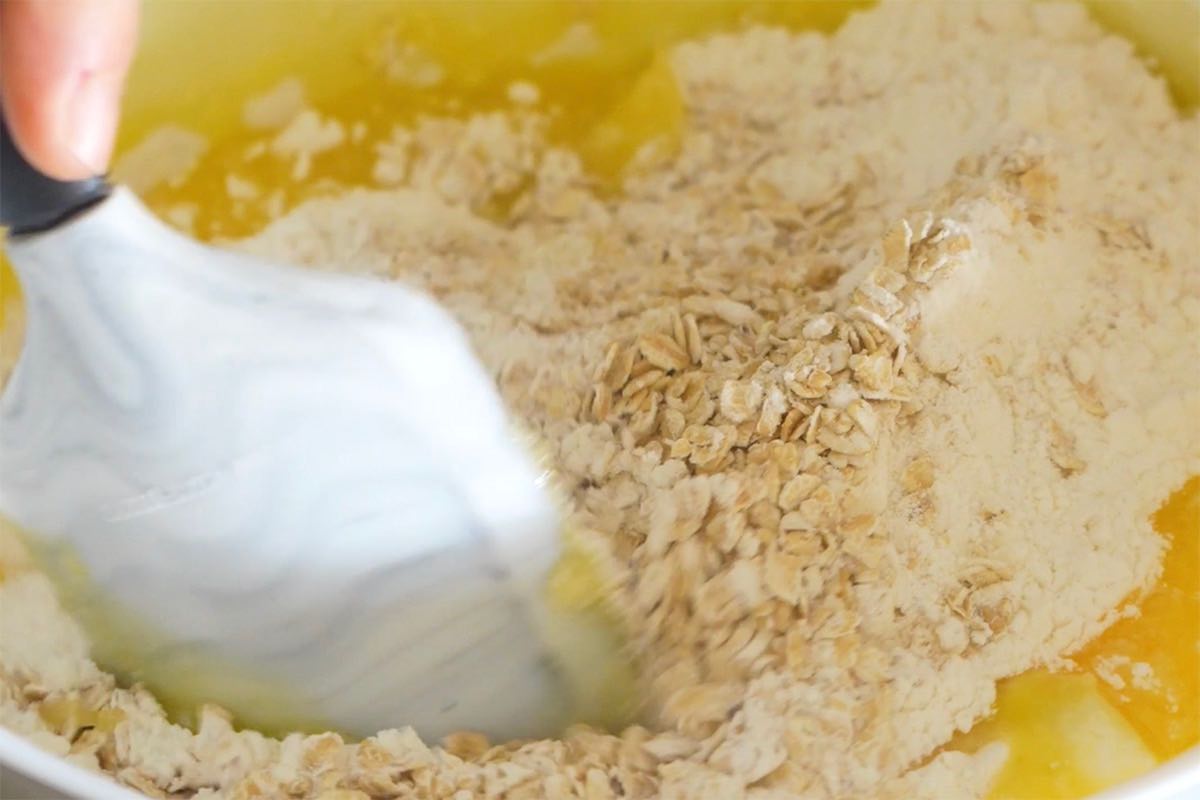
Step 1- Combine flour, oats, salt, butter, and sugar in a large bowl. Mix until coarse and crumbly.
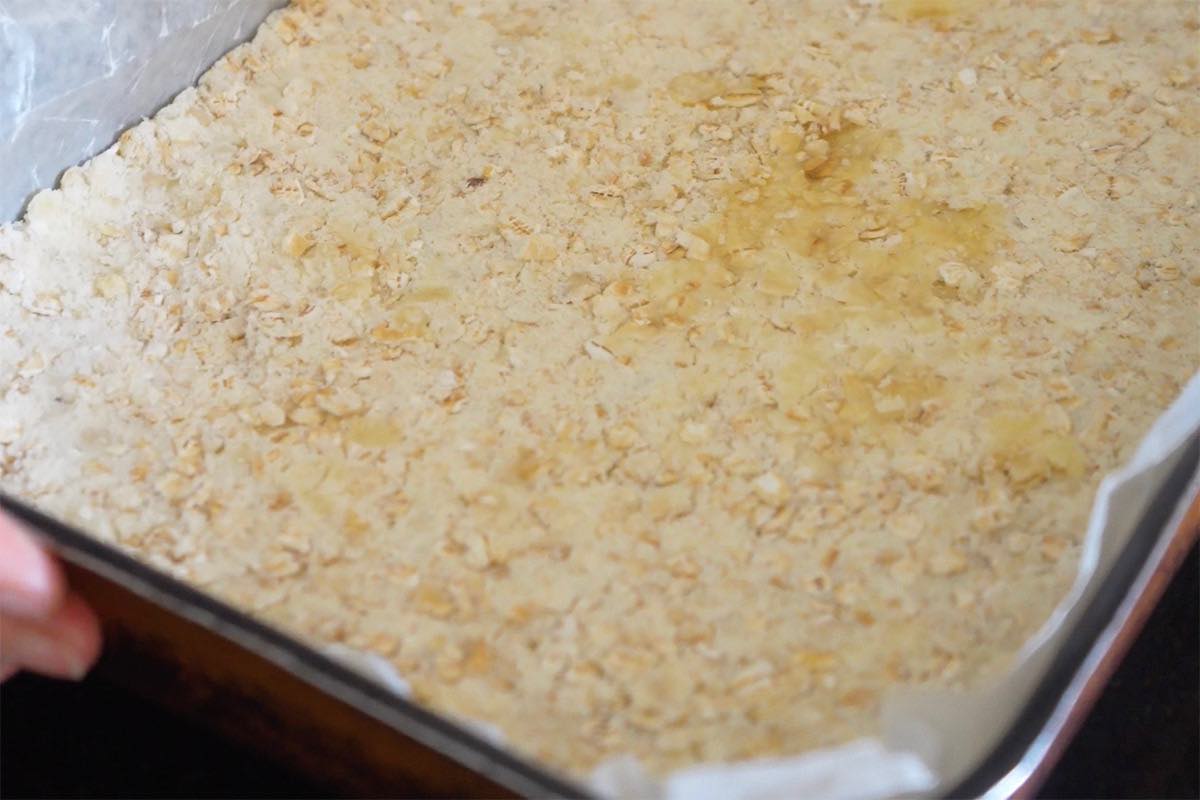
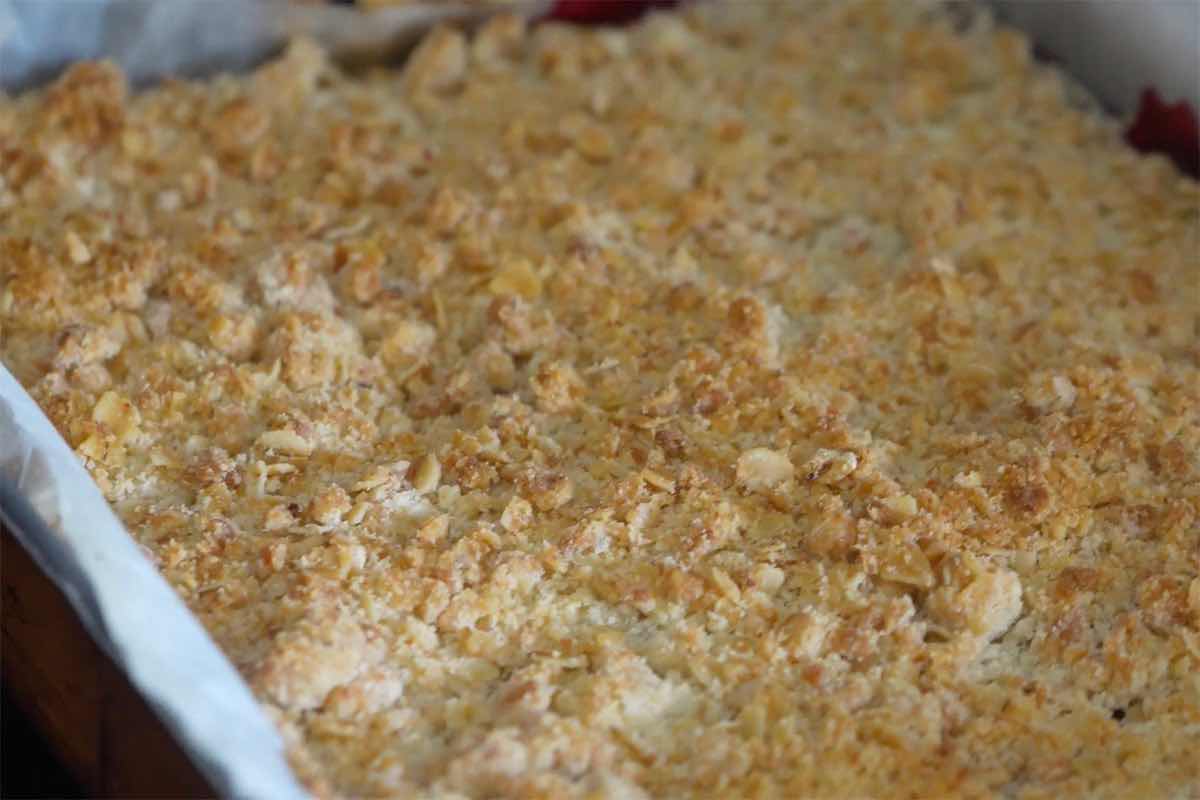
Step 2- Transfer to a square pan. Press it down, poke holes, and bake until golden.
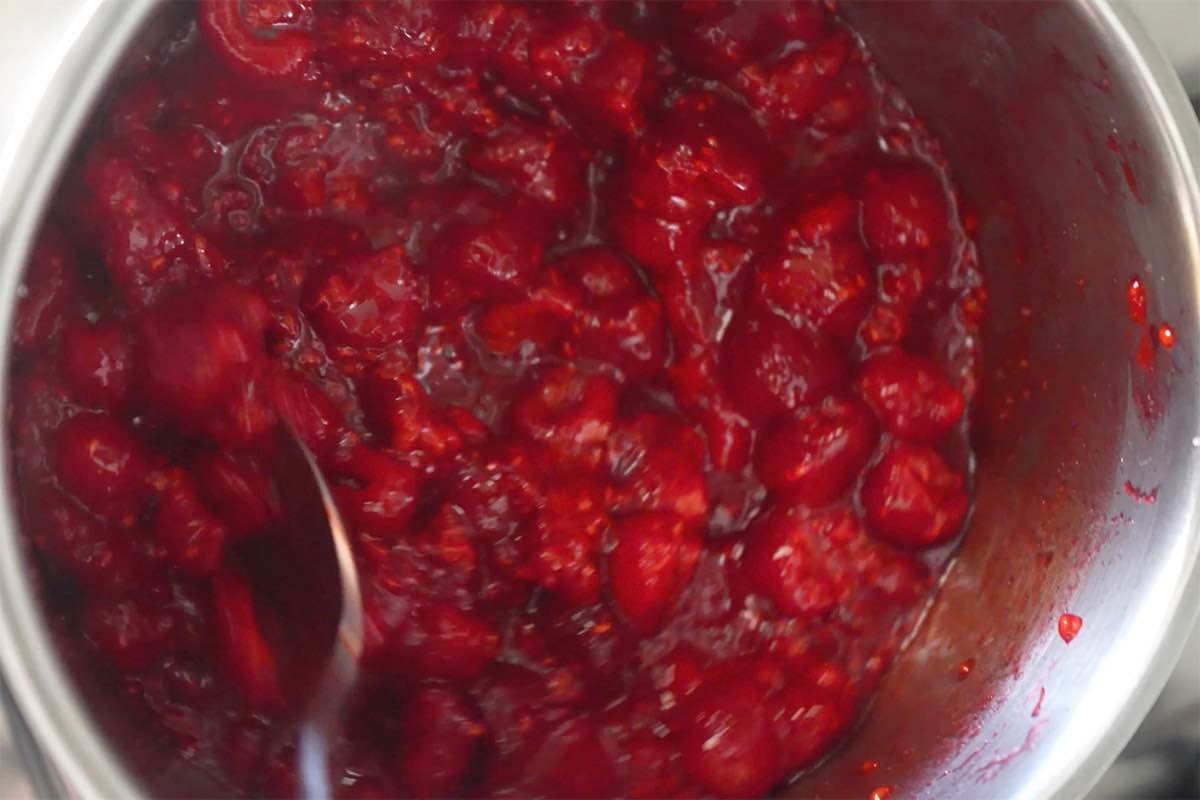
Step 3- Add sugar and raspberries to a saucepan and boil them over medium heat. When smooth, add the flour.
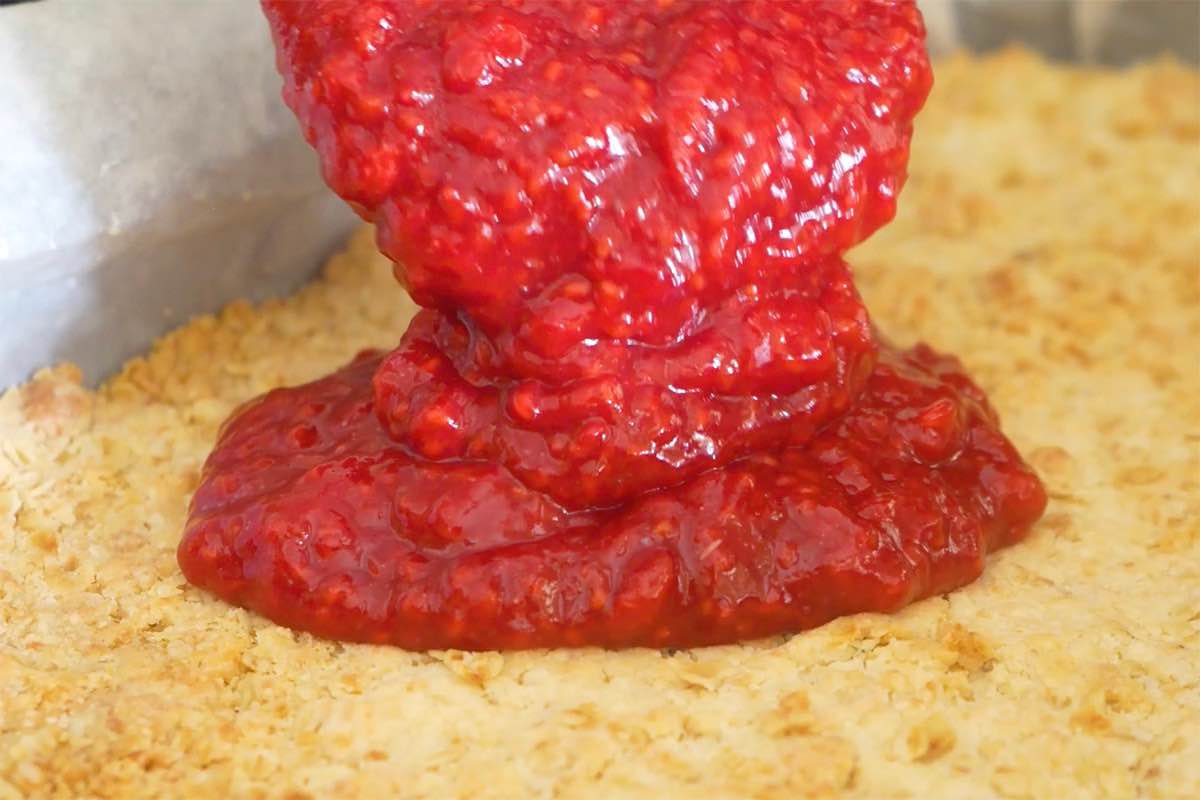
Step 5- Layer the base with raspberry jam. Spread over the remaining crumble, and bake for 20 minutes.
Step 5- Remove the bars from the oven and let them cool at room temperature.
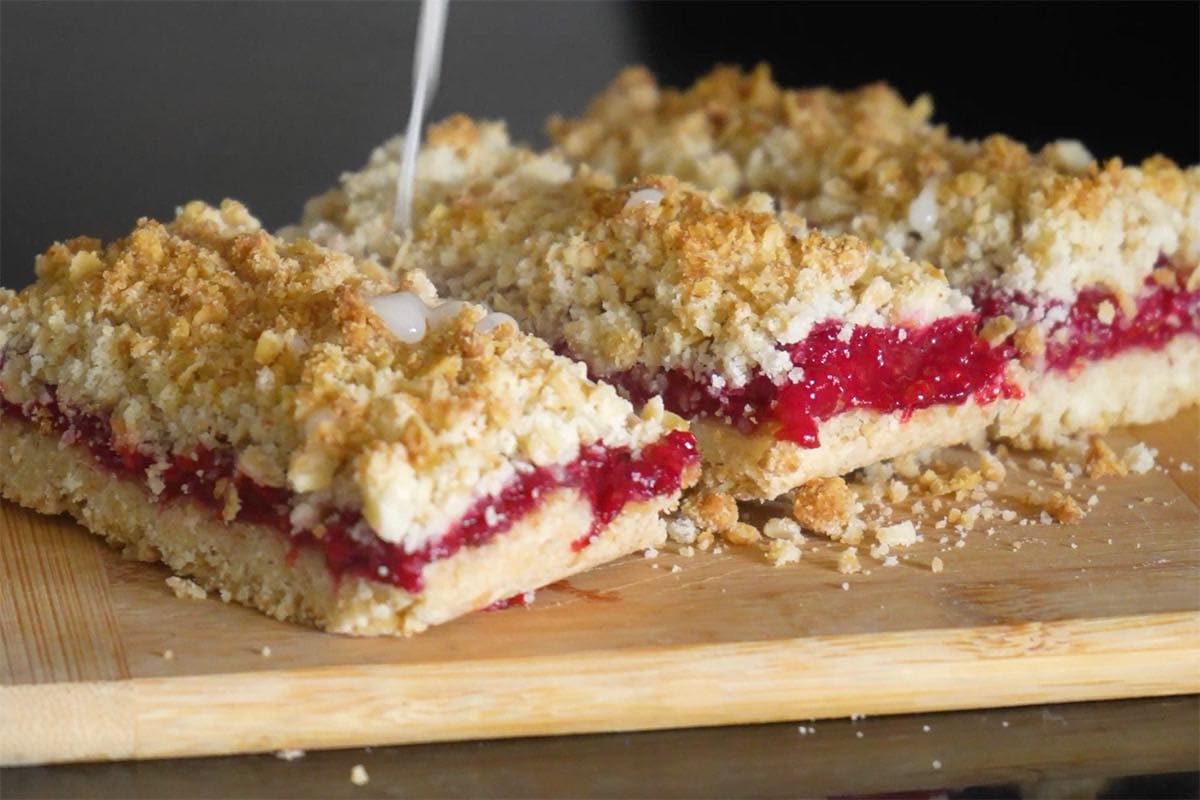
Step 6- Once firm, slice the bars and drizzle with glaze.
Arman’s recipe tips
- Use a food processor. I like to pulse the dry ingredients in a food processor until they come together for a quick crust mixture.
- Adjust the thickness. If you like thinner bars, make this recipe in a 9-inch pan instead. I usually do this when I’m making several batches.
- Use a fork to poke the base several times to prevent the crust from puffing up or cracking.
Storage instructions
To store: Leftover raspberry crumble bars keep well at room temperature in an airtight container for three days. For extended storage, they can be refrigerated for up to a week.
To freeze. Alternatively, you can freeze the raspberry bars in ziplock bags for up to three months.
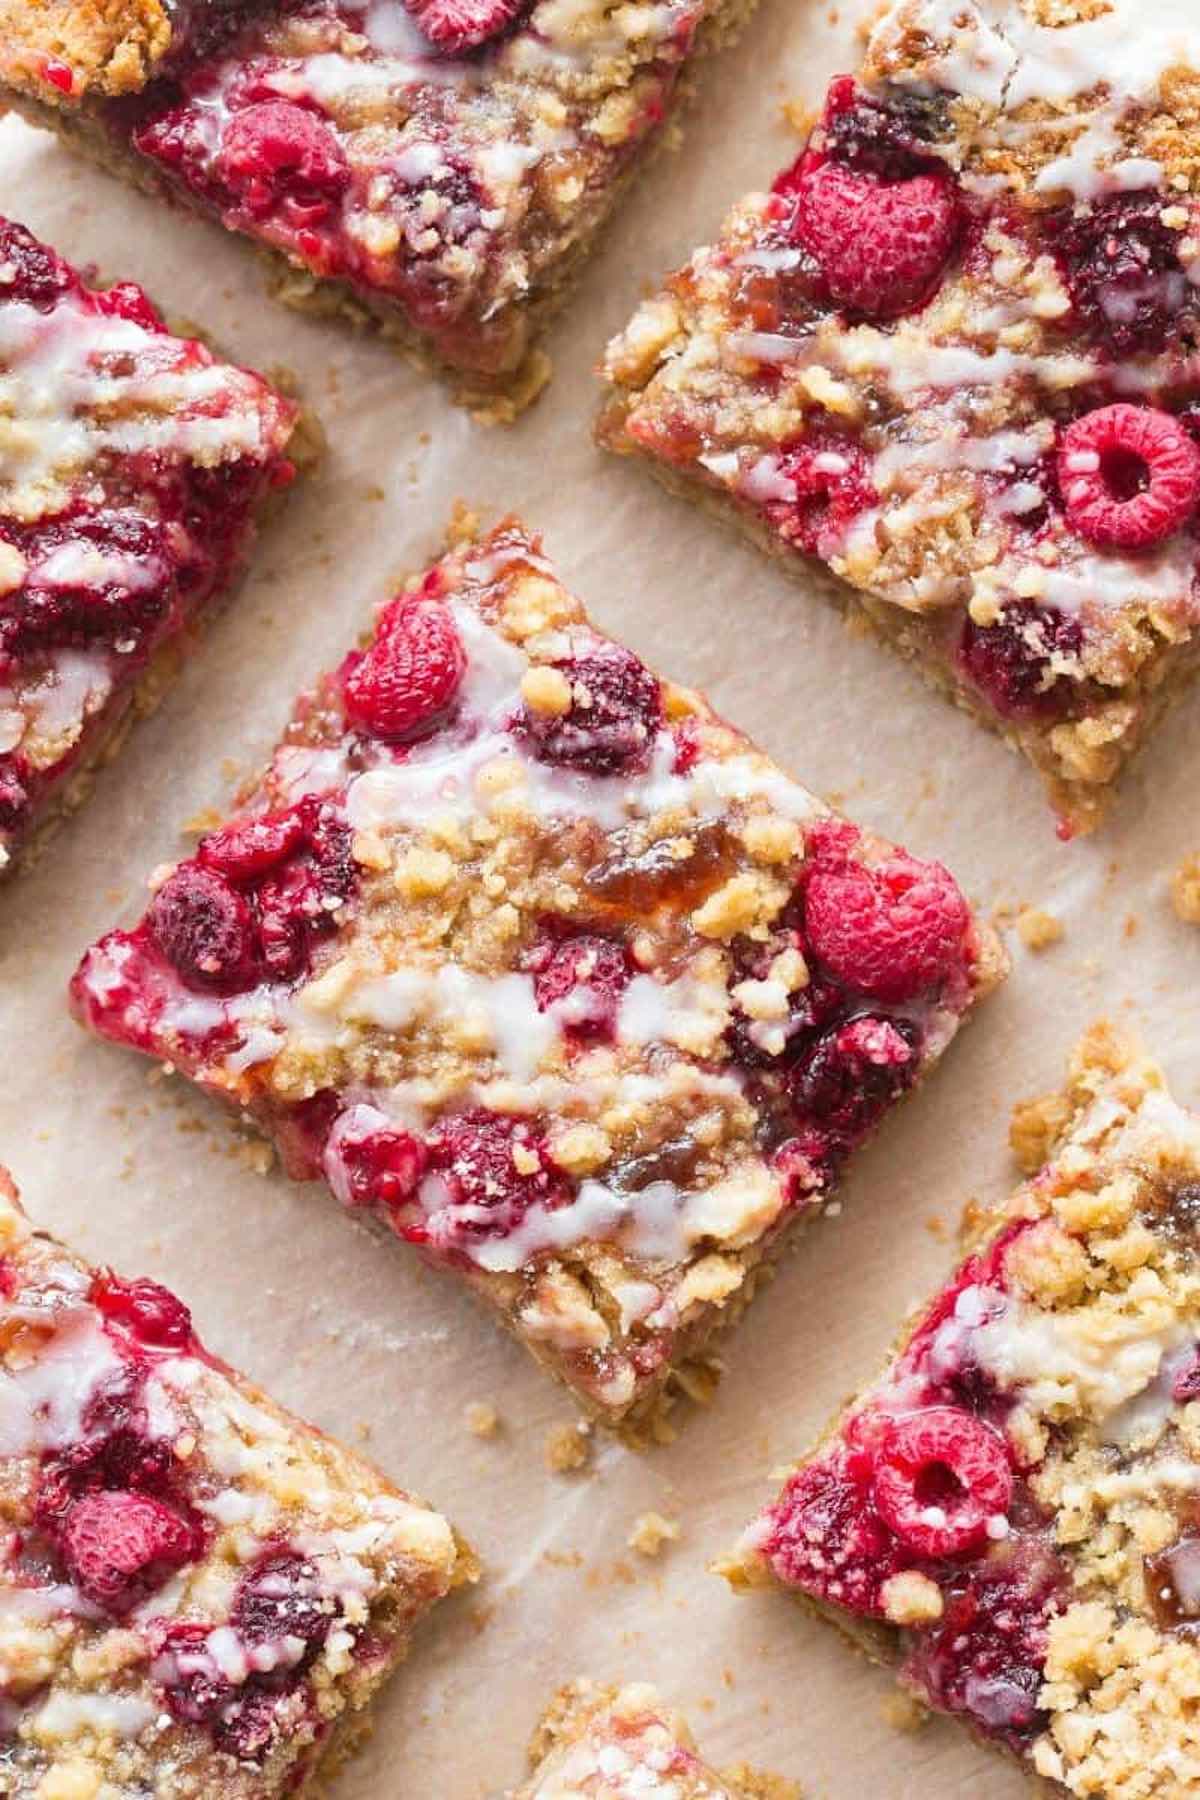
More dessert bars we love
5-Ingredient Raspberry Bars
Video
Ingredients
- 2 1/4 cups + 2 tablespoons all-purpose flour divided
- 2 cups rolled oats
- 1/2 cup + 2 tablespoons sugar divided
- 1 cup butter melted
- 4 cups raspberries
Instructions
- Preheat the oven to 180C/350F. Line an 8-inch square pan with parchment paper and set aside.
- In a large bowl, combine 2 1/4 cups flour, the oats, 1/2 cup of the sugar, and butter, and stir until a crumbly texture remains.
- Reserve a scant 1/2 cup of the mixture then transfer the rest of it into the lined pan. Press the mixture down into the pan until smooth. Poke holes in the crust, then bake for 15-17 minutes, or until golden.
- While the crust is baking, prepare the raspberry filling. In a small saucepan, add the raspberries and the remaining two tablespoons of sugar. Once it begins to boil, use a hand mixer or fork to break down the raspberries until smooth. Add in the remaining two tablespoons of flour and simmer for another minute before removing it from the heat.
- Once the crust is golden, remove it from the oven and spread the raspberry filling on top. Drop handfuls of the remaining crumb mixture over the top and bake for a further 20 minutes or until lightly golden.
- Remove the Bars from the oven and let them cool to room temperature. Once cool, refrigerate for at least an hour to further firm up.
- Once firm, slice into bars and glaze. To make the glaze, whisk together some confectioners' sugar and water.
Notes
- Make it gluten-free. If you want these bars to be suitable for celiacs, you can use certified gluten-free oats and gluten-free flour.
- Make a cookie base. Do you remember good old thumbprint cookies? Revisit the nostalgia by making a shortbread cookie crust instead of a crumb crust.
- Use a mix of fresh raspberries and raspberry preserves. You can add a layer of raspberry jam for a more jammy taste.
- Add other fruits, like blackberries, peaches, and apricots.
- Make raspberry lemon bars. A cinnamon crust tastes delightful with butter and raspberry flavors. I also add lemon zest to the crumble for a subtle lemon flavor.
- Storage. Raspberry bars keep well at room temperature for three days. Refrigerate them for up to a week for extended storage. Alternatively, you can freeze the raspberry bars in ziplock bags for up to three months.
Nutrition
Originally published August 2023, updated and republished June 2025


Hi Arman ,
Tried your raspberry crumble bars last summer . They were so delicious . I am going to bake some today & make a couple to put in the freezer <3
Excellent recipe & ever so easy !
Thank you !
Thank you Linda! So glad you’re enjoying these bars 🙂 They’re a perfect snack to have on hand.
Did you add salt? The overview has salt listed, if so, how much??? Thank you
Just a pinch Bea, to balance some of the sweetness of the raspberries, but this is completely optional. Let us know how you go!
Made the raspberry bars. So yummy and easy to make! Hubby really loved them too! Thanks for sharing all the great recipes!
I made this recipe yesterday, it’s quick, easy, and versatile! I didn’t have enough raspberries, so I added black and blueberries, which worked out wonderfully!
Thanks, Ximena!
Good recipe i will ad whey protein to be higher protein.
Really interesting recipe. I would love to make raspberry dessert such as this one.
Would it be okay if I used a nut butter and maple syrup for the crust, , instead of sugar and butter
Thank You
Lolly Sookdewg
I haven’t tried, feel free to experiment and see!
FABULOUS RECIPES. EASY TO MAKE AND FABULOUS INGREDIENTS
I didn’t have any raspberries so I used blueberries. I used a potato masher to blend then up.
Both worked good. they taste great.
Just tried this morning. Very good. I didn’t have powdered unsweetened sugar so I used sweetened. I will definitely make these again. Yours looks better in the picture than mine.
Is the nutritional values accurate for the keto version? Seems high ?
Nutritional info is for the vegan option. Check out myfitnesspal or another calorie calculator to work out the keto option.
Hey, what can I replace pumpkin purée with?
You could try sweet potato 🙂
I just made these for the third time. They are our fave keto dessert! The first time I made it, the crumble was actually crumbly, like the topping for an apple crisp. The second and third times, however, it was more like dough. It did not affect the taste, but the look and texture. Can you help me trouble shoot this? Thanks! And keep the great recipes coming! 🙂
Hmm, I would add extra flour to combait it 🙂
How do I know how thick the batter should be?
It should be thick enough to transfer to the pan and press into place. If it is pourable and loose, it is too thin.