Fruit Leather
This post may contain affiliate links. See my disclosure policy.
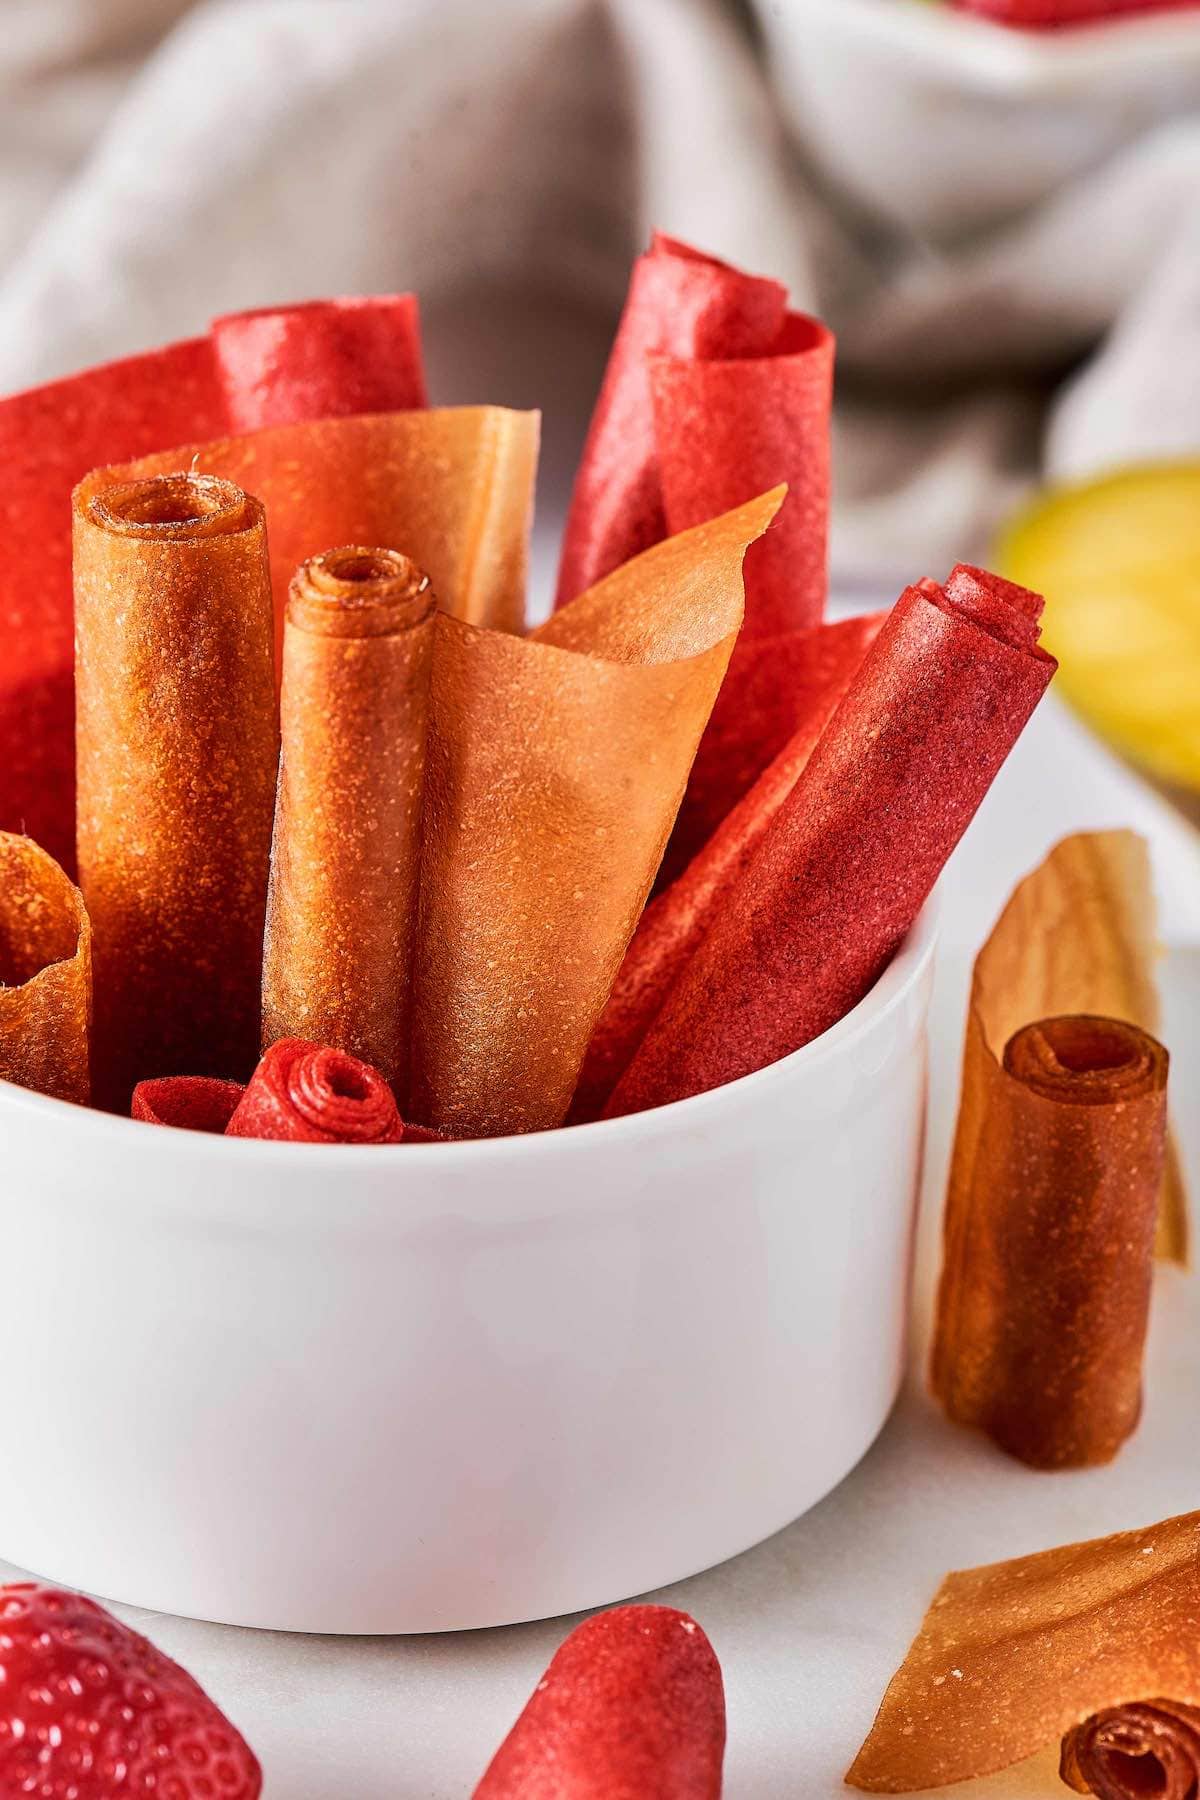
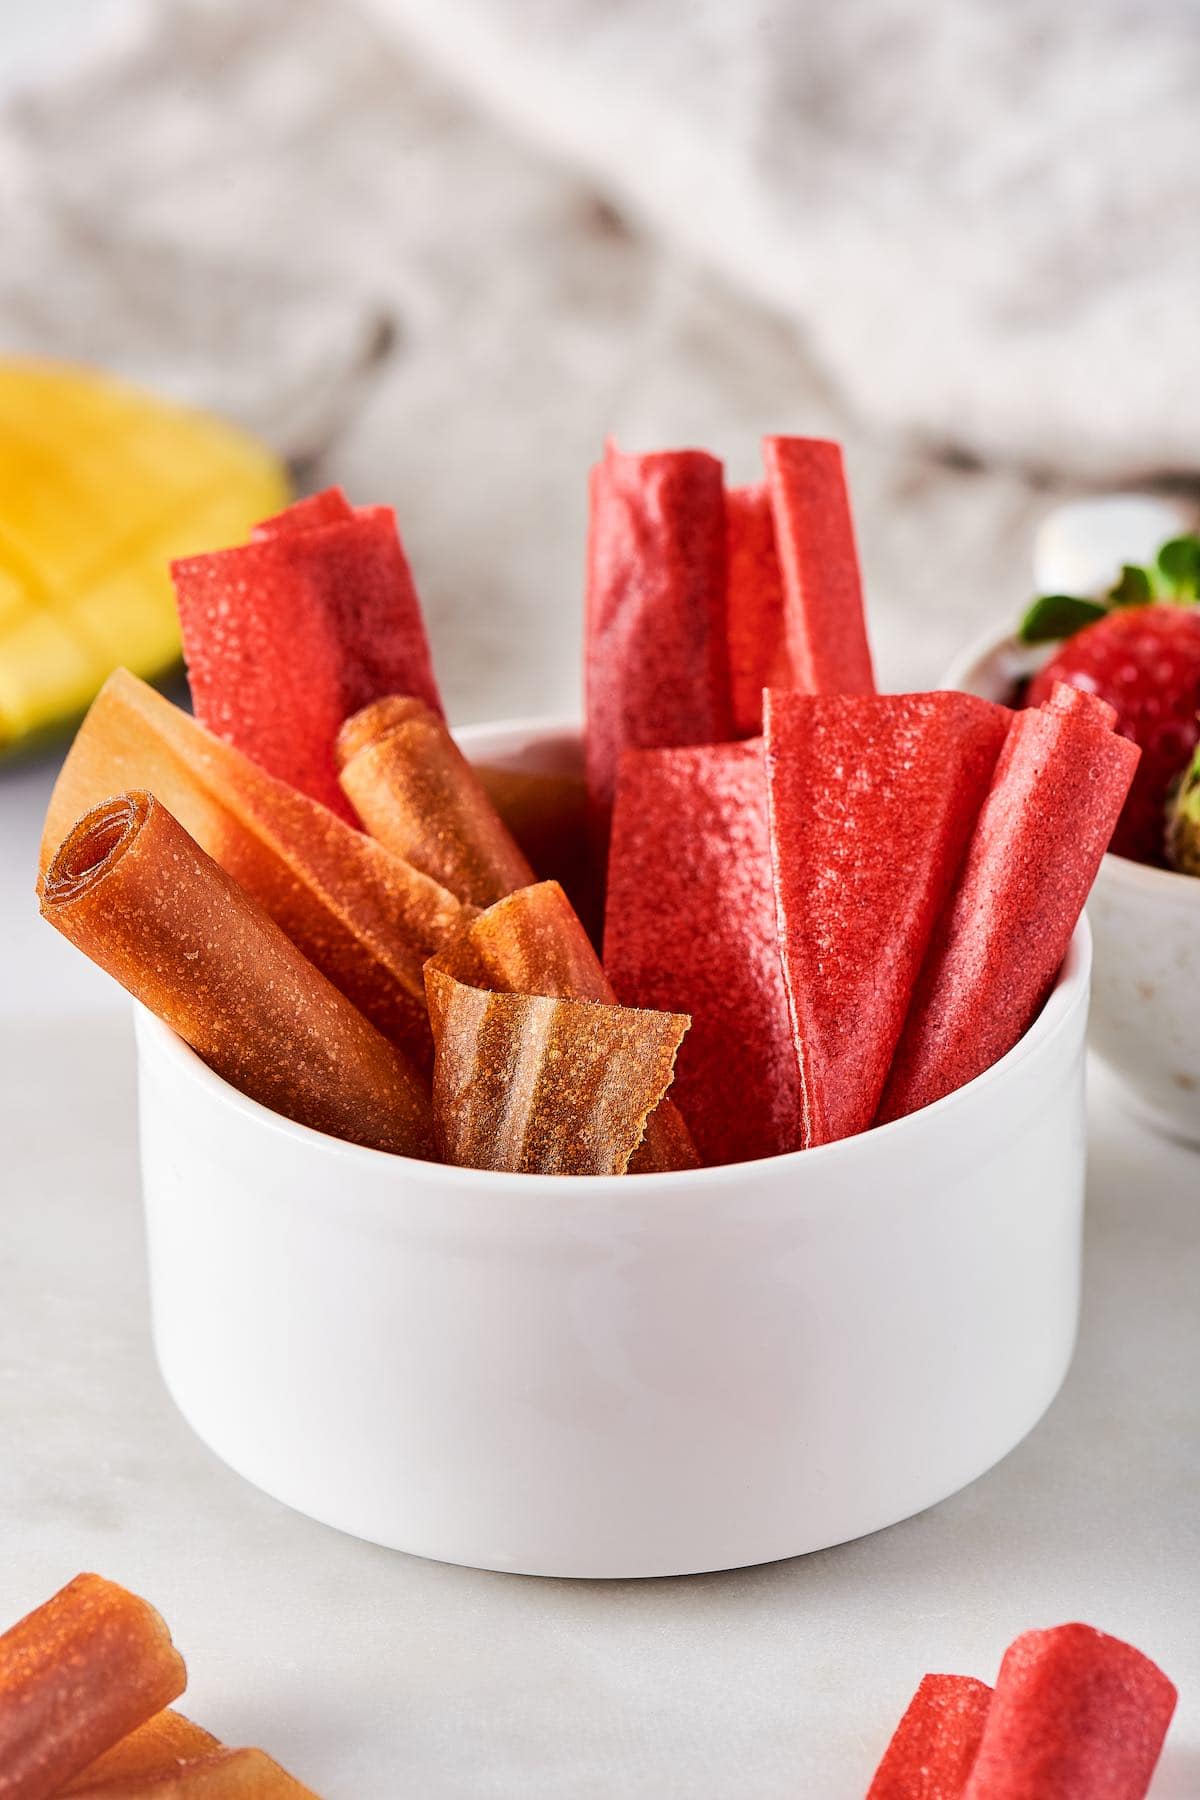
My fruit leather recipe is a new family staple. They are healthier, easy to customize, and need only 2 ingredients.

This might be surprising, but it isn’t always easy to get my family to eat their fruit, especially the younger members of the household. Thankfully, no one can resist homemade fruit leather.
I experimented with two fruits to start (strawberries and mangoes) and tweaked the oven temperatures. Through testing, I found that 175°F was the ideal temperature for a slow and controlled bake that yields firm, chewy, and soft fruit leather.
From there, I played around with different fruits; the process is the same, but the baking time varies depending on each fruit’s moisture content. I’ll include a guide below.
Ever since I started making these, even the carnivores of the house have been requesting them!
Table of Contents
Why I love this recipe
- Kid-friendly. Now that there are little ones in my friendship group and my life, these are snacks we all feel good about sharing with them.
- A healthier snack. They’re low in calories, fat-free, and naturally sweetened.
- Endless ways to customize. Like tanghulu, you can use most kinds of fruit.
- So much better than store-bought. They’re made with NO artificial flavors, colors, or preservatives. Plus, they’re cheaper, store just as well, and, frankly, taste better.
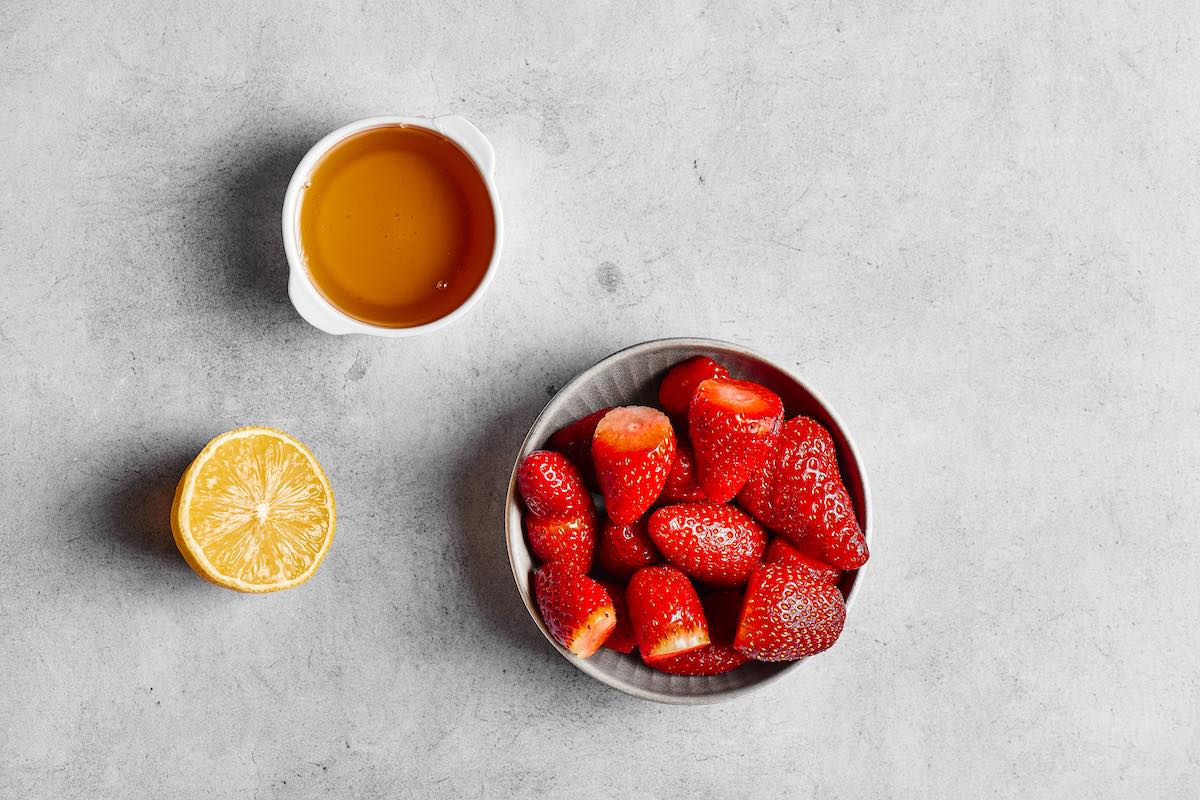
Key ingredients
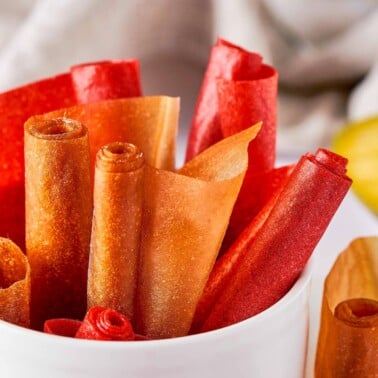
- Defrosted frozen fruit. Strawberries and mangos are what’s pictured, but most fruit works. I recommend sticking to one type of fruit or combining two flavors. See below for my tested recommendations.
- Lime juice. Prevents the roll-ups from darkening. Lemon juice also works.
- Honey. Optional, but it gives leather a sweet flavor without adding sugar. Only add this if you want them to be sweeter. Maple syrup or agave also works.
Fruits to use
Nearly any fruit or combination of fruits can be turned into fruit roll-ups. Here are some of my favorite fruits to use:
- Stonefruit. Plums, apricots, or peaches.
- Berries. Blueberries, blackberries, or raspberries.
- Tropical. Pineapple, mangoes, papaya.
- Other fruits. Apples, pears, kiwi, grapes.
The only fruit I suggest avoiding is watermelon, which contains a lot of water, and its high sugar content can make the leather taste like burnt sugar.
How to make fruit leather
I’ve included step-by-step photos below to make this recipe easy to follow at home. For the full printable recipe instructions and ingredient quantities, scroll to the recipe card at the bottom of this post.
Step 1- Preheat the oven and line baking sheets with parchment paper.
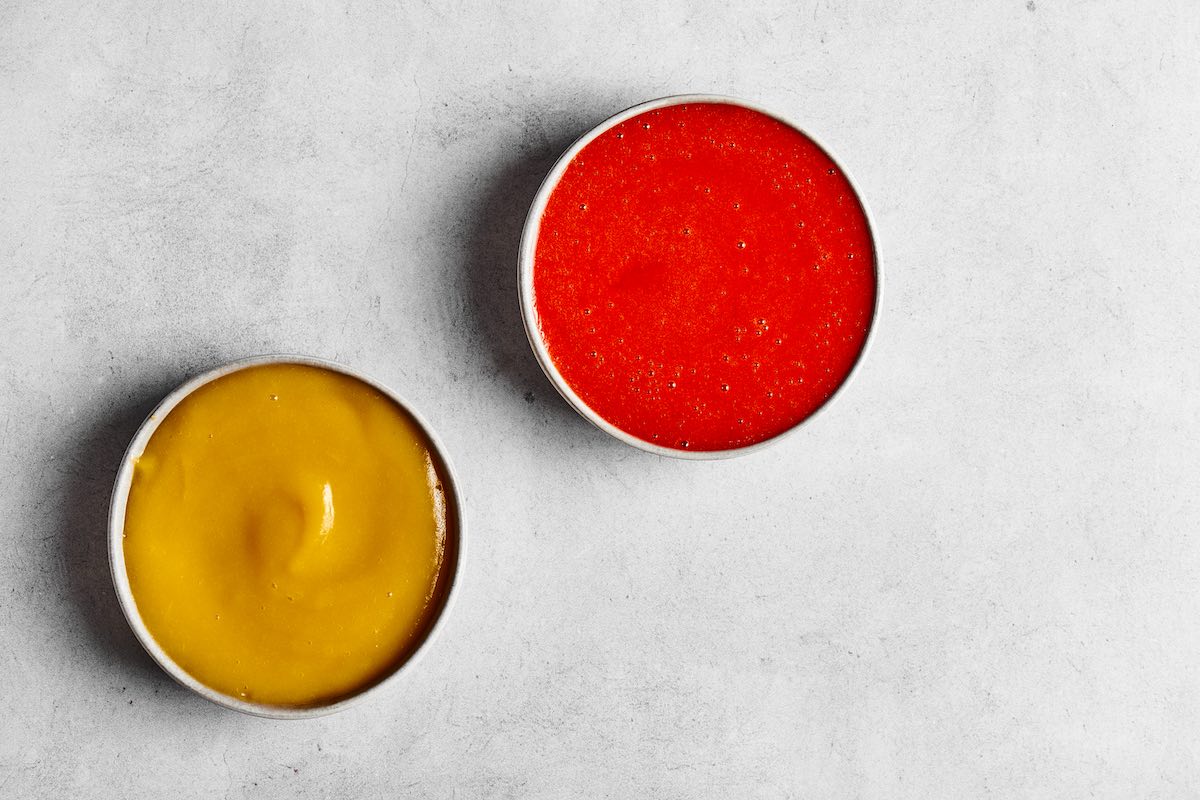
Step 2- Blend the fruit in a blender until smooth. Pour into bowls.

Step 3- Spread the fruit mixture in an even layer onto the baking tray. Bake until dry.
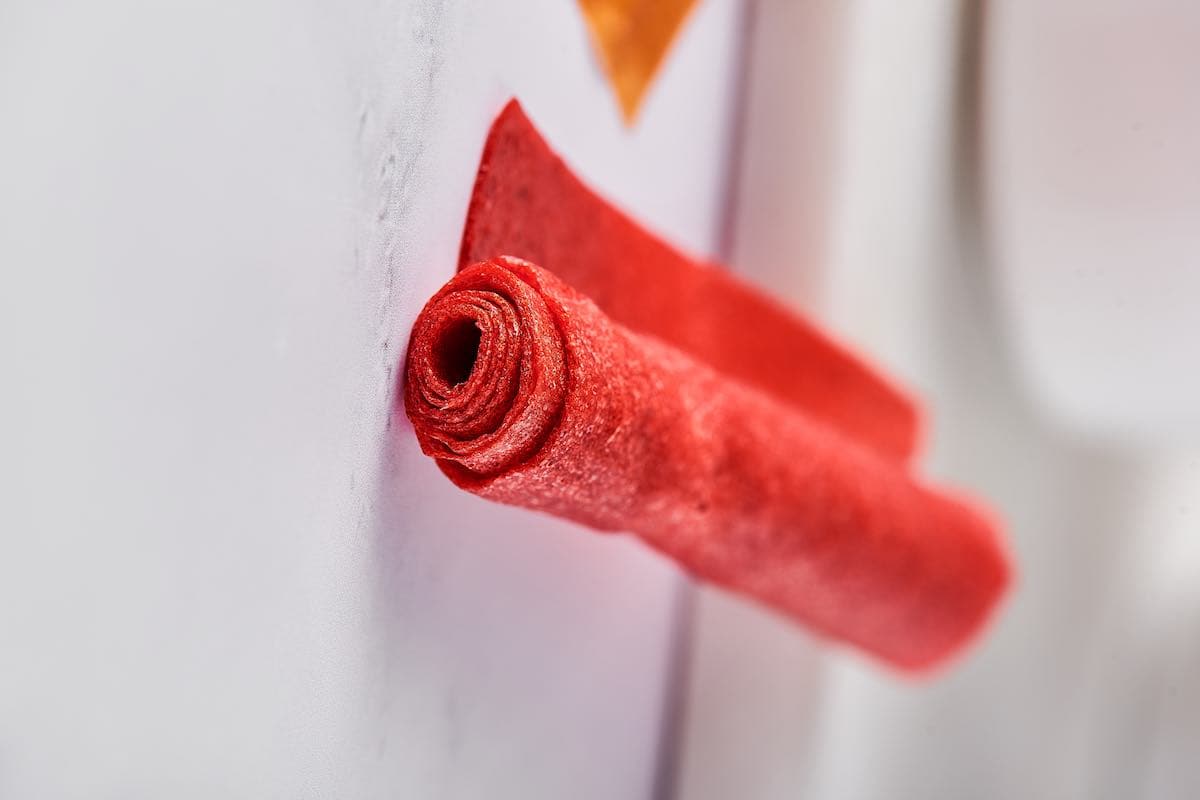
Step 4- Cut the leather into strips using a pizza cutter or scissors.
Arman’s recipe tips
- Frozen fruit works best. Defrosted frozen fruit works best for fruit leather because it becomes softer and juicier after thawing, making it easier to blend into a puree than fresh fruit. It also spreads much more evenly on the tray, which really helps the fruit leather dry.
- Adjust the baking time. Most fruit takes about 2 hours to dry. However, fruit with a high water content, like blueberries, raspberries, nectarines, and peaches, can take longer. A good rule I like to follow for fruit leather is that it’s done when it’s dry to the touch and no longer sticky.
- Spread super thin. The thicker the fruit leather mixture is on the pan, the longer it will take to bake. I like to spread it to an almost paper-thin layer (as shown in the step-by-step pictures and the video). If needed, I’ll use two baking sheets.
- Blend VERY well. You don’t want clumps in your leather, or it won’t set all the way.
Storage instructions
To store: Leftovers should be stored in an airtight container at room temperature for 1 week. For longer storage, refrigerate it for up to 6 months. Wrap the leather in parchment to prevent sticking.
To freeze: Wrap the leather in parchment paper, place it in a freezer bag, and freeze for up to 6 months.
Frequently asked questions
Yes, you can dehydrate the fruit roll-ups instead of baking them. Simply puree the fruit as instructed, then spread it into an even layer on silicone mats, place the mats on the dehydrator trays, and dehydrate at 140F/60C for 6-12 hours, or until firm and dry.
You can, and I’ve had several readers try this successfully. I recommend blending it with some fruit puree, as the pulp can be quite dry.
Fruit Leather
Video
Ingredients
- 3 cups frozen strawberries or frozen mango thawed, See notes
- 1 teaspoon lime juice or lemon juice
- 1 tablespoon honey optional
Instructions
- Preheat the oven to 175F/80C.
- Blend the thawed strawberries in a food processor until smooth.
- Spread the mixtures onto individual lined baking sheets, then spread them out with a rubber spatula until completely flat and paper-thin.
- Bake the fruit roll-ups for 2 hours, or until they are dry enough to touch. The surface should look matte (not shiny or wet), and the color becomes darker and more even. It should feel dry and smooth, and when pressed, your finger shouldn’t leave a dent or wet spot. You should be able to peel it off the parchment paper easily, and it should be flexible and bendable. If not, continue baking.
- Remove the fruit leather from the oven. Let it cool completely then use a pizza cutter to cut long strips, then roll them up.
Notes
Nutrition
More kid-friendly snacks
- Kind bars– A homemade version of the popular snack bar.
- Apricot delight– A simple two-ingredient mix yields these soft and chewy bite-sized snacks.
- Peanut butter oatmeal balls– No bake oat-based balls that are satifying, chewy, and fast to make.
- Candy grapes– If you love sour patch candy, these grapes are a fantastic alternative. Keep a batch in the freezer for quick snacks.
Originally published January 2023


Hello Can we use the dehydrate option of the air fryer ? Thank you
Hi Michele- you know, I haven’t tried that, but I’m going to test it out this weekend (I’ve gotten a new air fryer with that option). I’ll get back you tomorrow! 🙂
Can you use lemon instead of lime?
Yes, you can M. As long as it is a strong citrus fruit, it will work fine. 🙂 Let me know how you go!
I just tried making these with blueberries, super easy by the way. I put them in the oven at 80C and left them for two hours, I came back and they were still wet so I left them to cook for another 1/2 hr. After over 2 1/2 hrs they were still wet and soft so I just took them out. I was just wondering what I might’ve done wrong???
Hi! You likely didn’t do anything wrong! Blueberries have a lot more moisture, so they often take longer to dry than strawberries. I’ll make some updates to the post to reflect the extended baking time depending on the fruit. Blueberries can be anywhere from 2 to 6 hours, depending on the fruit, how thin it’s spread, and the oven. If it’s still soft after a couple of hours, it usually just needs more time in the oven.
Well this mind of dessert I never heard of! It seems very interesting. Which fruits suit the best here?
Can you use fresh fruit? Or should you use defrosted frozen fruit? THANKS!
Hi Dani- Defrosting frozen fruit works best for fruit leather because it becomes really soft and juicy after thawing, so it blends into a smooth puree more easily than fresh fruit. It also spreads more evenly on the tray, which helps the fruit leather dry nicely. 🙂
Can I use maple syrup instead of honey?
Yes, you can Tash! 🙂 Let me know how it goes!
Wow I never heard or read that you make make fruits like this. Must be so different.
These were super easy and the kiddies loved them!
Do you have any suggestions on how to make these using the pulp from a juicer?
Thanks
Yes, you can use juicer pulp. Since most of the juice has already been removed, the pulp can be quite dry, so it helps to blend with a little fruit puree to get a smooth, spreadable consistency. You want it thick but easy to spread on the try so it dries evenly. Then just follow the recipe as usual and dry it until its no longer sticky to the touch.
Can these be made with fresh fruit?
Wow, i wanna make this one. Go 2 the fruit store now. Thanks Arman
What temp is oven set at pkease Arman …..may save trial and error
Hi Natalie- the first line instructs it to be set to 175°F. 🙂 No trial and error needed 🙂
Hmm I used frozen strawberries and it came out crispy. Should I let the berries defrost?
Yes, need to be defrosted.
It seems like this is an important step that needs to be integrated into the recipe
You are absolutely right, Melissa. Will be going in now and fixing it! 🙂 Thanks for bringing it to my attention!
great idea for a snack I would otherwise have no idea how to make! Thank you, love being able to know and even to control what goes into these too
Maybe that comment is a bit confusing. I meant to combine the fruit puree with the unsweetened apple sauce for different kinds of fruit leather, or just use the unsweetened applesauce alone, or with a bit of cinnamon, for apple fruit leather.
I hope that clarifies my comments.