Paleo Protein Bars

This post may contain affiliate links. See my disclosure policy.
My paleo protein bars need only 3 ingredients and ZERO baking. They’re healthy, filling, and pack over 20 grams of protein.
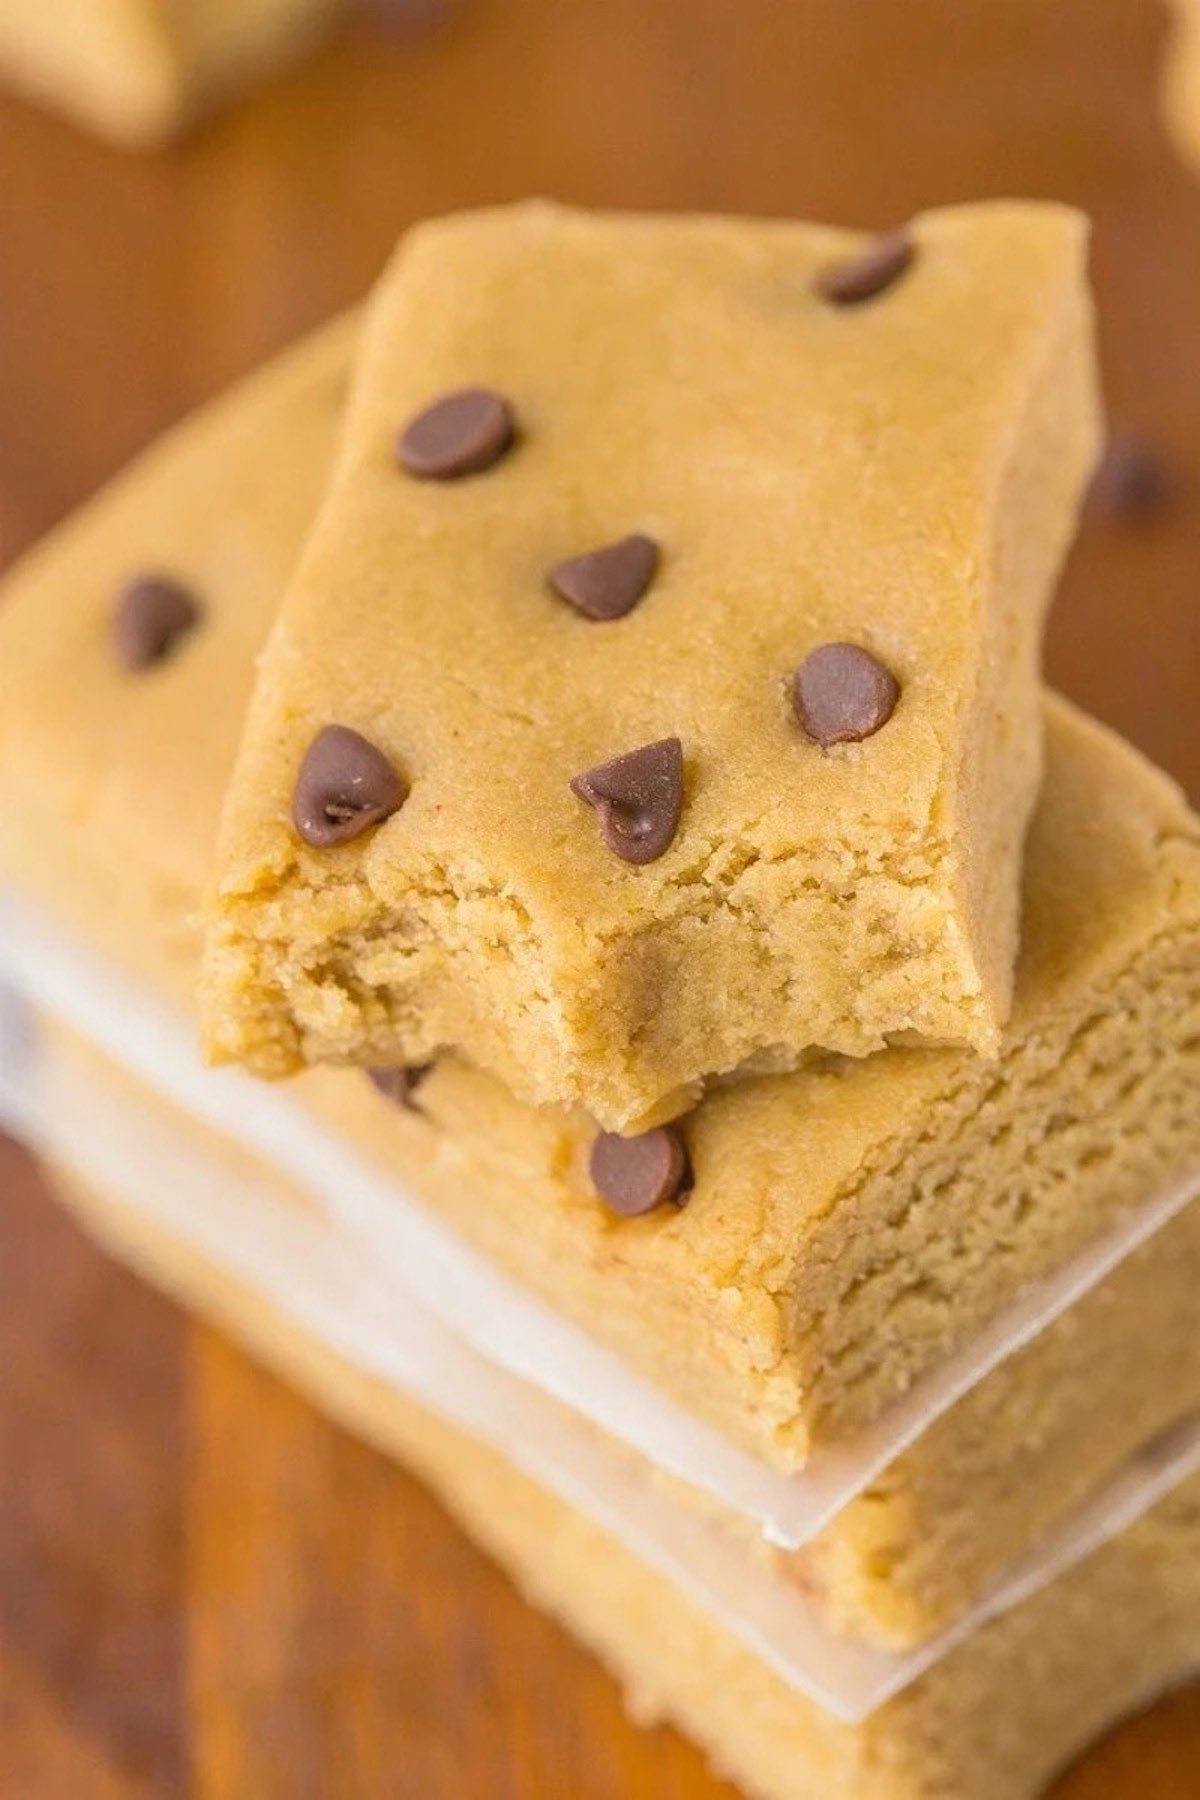
My paleo protein bars recipe is an everyday snack

When my partner announced he was doing a 30-day paleo challenge, I knew my regular homemade protein bars wouldn’t make the cut. Since they’re one of his favorite snacks, I set out to make a paleo version he could still enjoy.
Turns out, they were just as soft, chewy, and satisfying as the original. In fact, I still make these even when neither of us is eating paleo. Here’s why they’re a snacking favorite:
- Just 3 ingredients. All you need is coconut flour, protein powder, and milk.
- Soft and chewy. No dry or chalky protein bars here.
- Ready in 5 minutes. Perfect for meal prep or a last-minute snack.
- Easy to customize. Add chopped nuts, seeds, or a drizzle of dairy-free chocolate.
Let’s make this together!
Key Ingredients
Here’s what you’ll need, along with my kitchen notes. Full measurements are in the recipe card below.
- Coconut flour. I love making no-bake bars with coconut flour because it absorbs moisture and gets a soft, cakey texture that’s hard to replicate without an oven. Make sure to sift it first to remove clumps.
- Protein powder. I recommend using a sweetened paleo protein powder because it’s what adds sweetness to the bars. I’ve made these with Paleo Pro Aztec Vanilla powder, and the flavor was great.
- Milk. I used unsweetened almond milk, but any milk works.
- Nut butter. Optional, but for added richness, I like a little creamy almond butter or cashew butter. For a nut-free version, use sunflower seed butter.
- Chocolate chips. Again, optional, but what’s the harm in adding a handful of dairy-free unsweetened dark chocolate chips? The operative word is dairy-free, to keep them paleo-friendly.
Adjust the sweetness
Sweeten with maple syrup. If you want the protein bars to be sweeter, add some pure maple syrup to the mixture. Remember, you are relying on the protein powder for sweetness.
How to make paleo protein bars
Step 1- Prep. Line an 8×8-inch baking tray with baking paper and grease with cooking spray.
Step 2- Make the batter. In a large bowl, combine the flour, protein powder, and nut butter if using.
Step 3- Add milk. Add milk ¼ cup at a time until a thick batter is formed.
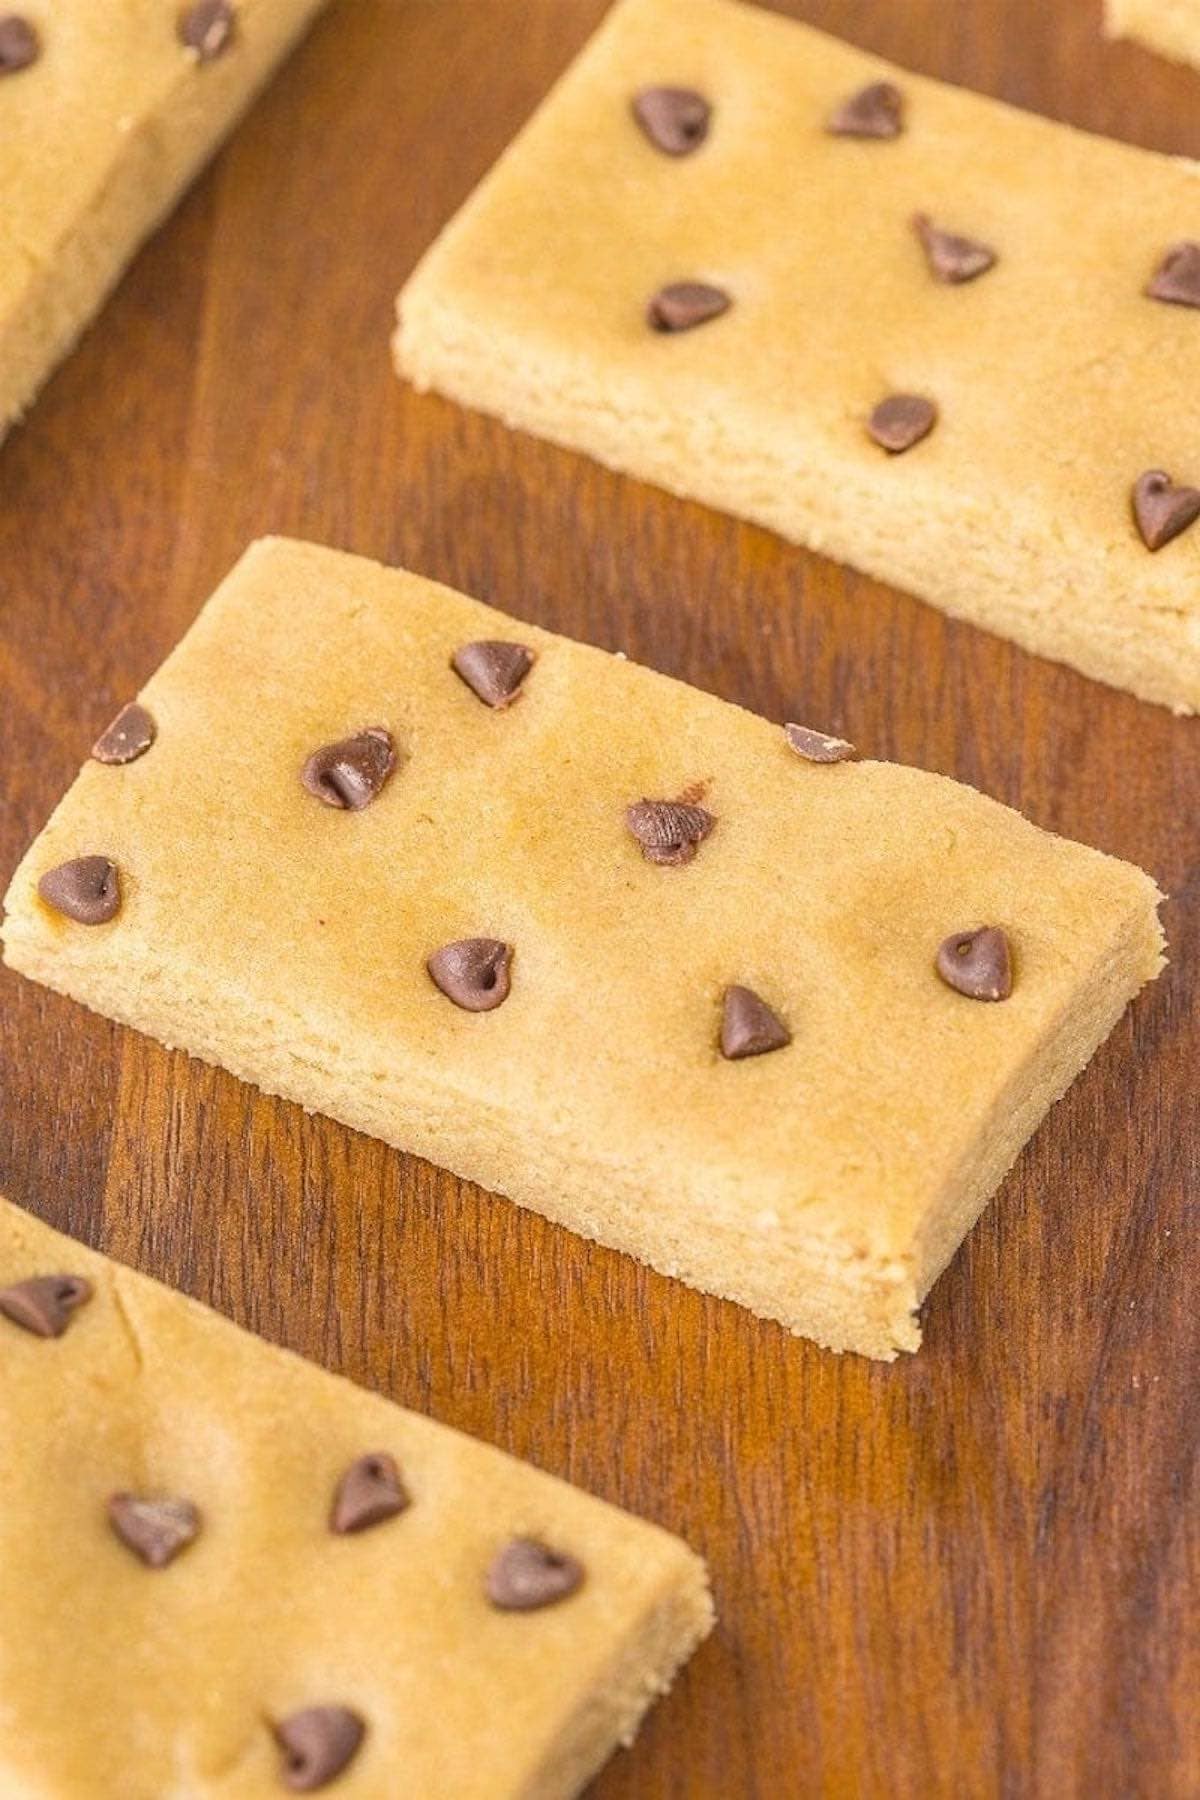
Step 4- Chill. Transfer the batter to the lined pan and press into place. Top with optional chocolate chips and refrigerate for 30 minutes, then slice into bars.
Arman’s recipe tips
- Adjust the consistency as needed. Depending on the brand of coconut flour and protein powder I use, I sometimes need a little extra milk. Add one tablespoon at a time until the mixture is firm but easy to press into the pan.
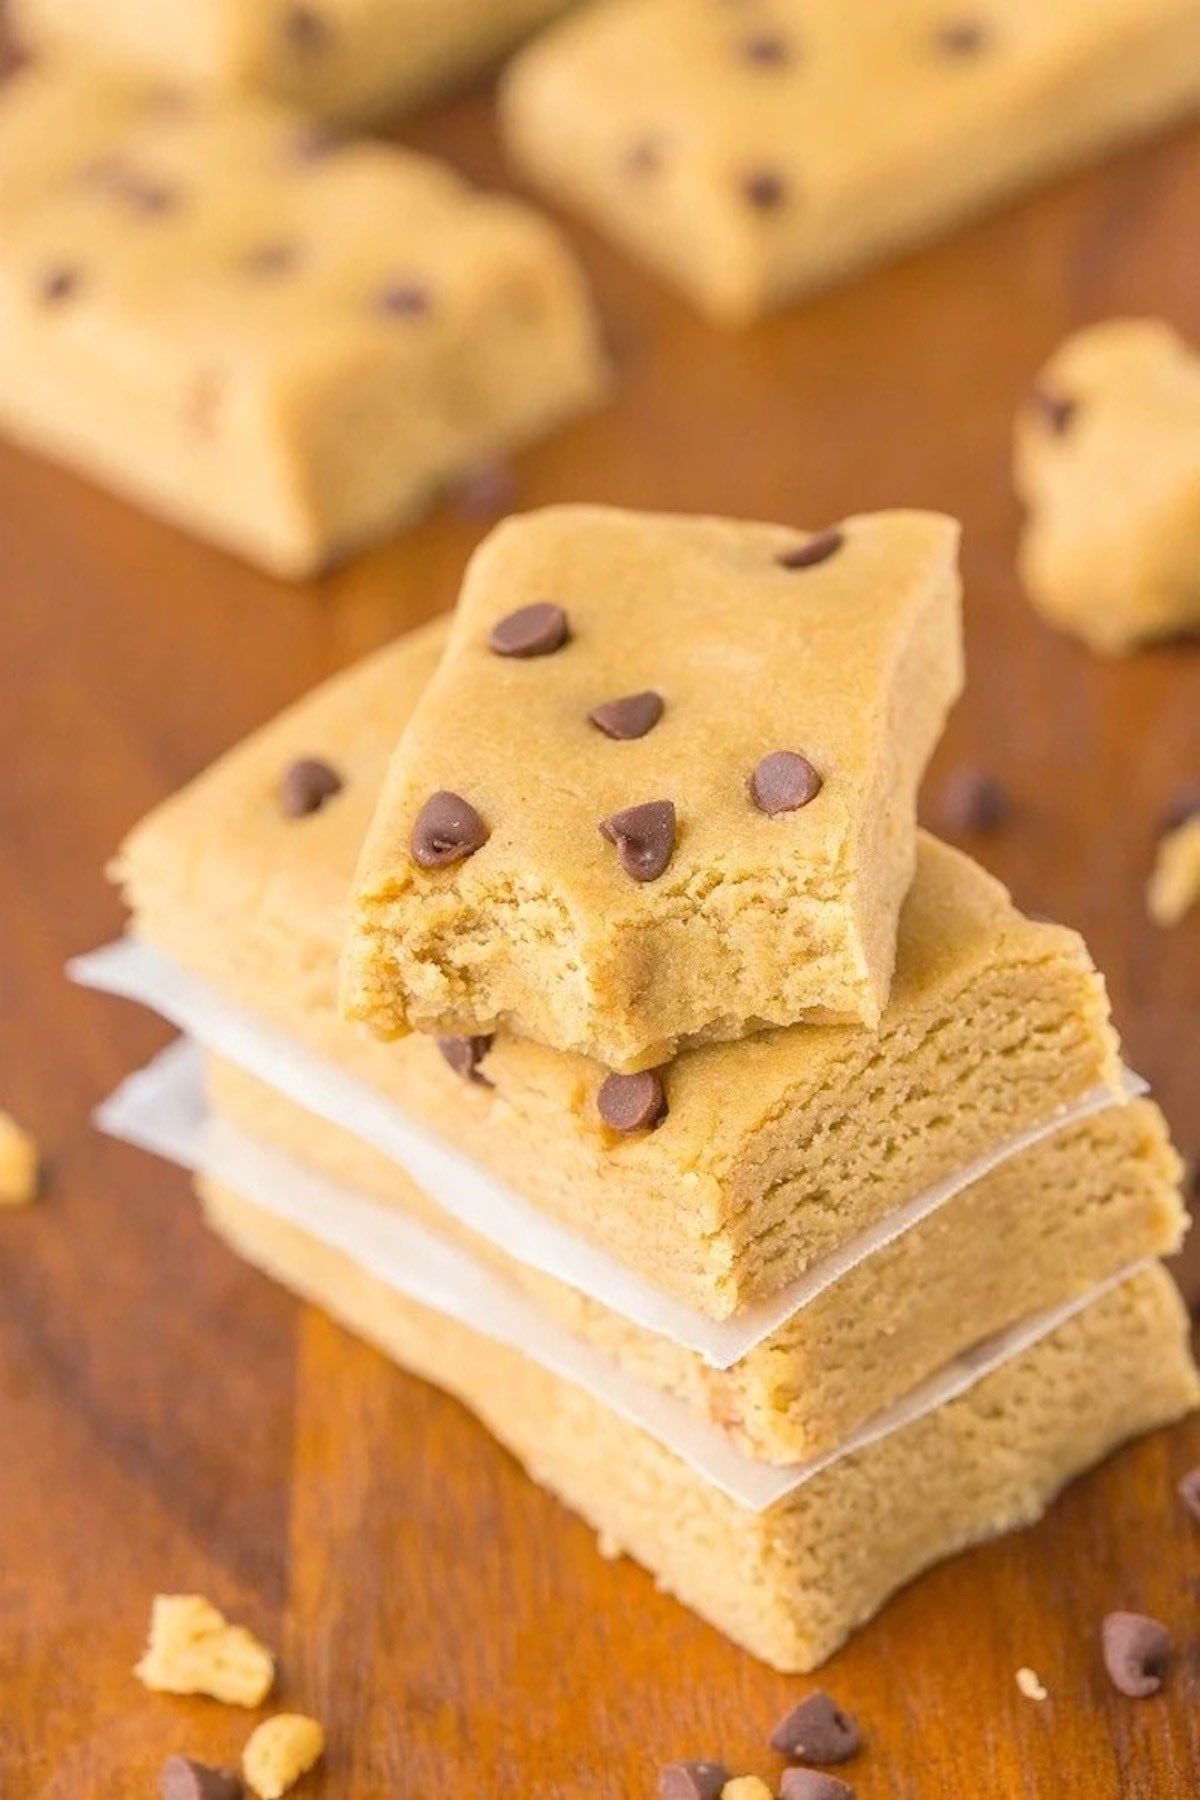
- Wrap them individually. Once the bars are sliced, I like to wrap each one in parchment paper so I can grab one on my way out the door.
- Drizzle the chocolate instead. If I’m dipping the bars in chocolate, I usually melt it in the microwave and drizzle it over the top instead. It’s quicker, uses less chocolate, and means less cleanup.
More protein bar recipes
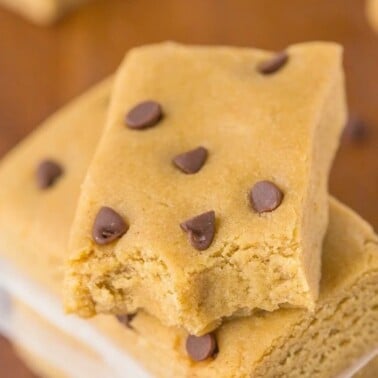
Paleo Protein Bars
Ingredients
- 1 cup coconut flour sifted
- 2 cups protein powder flavored
- 1/2 cup milk of choice * See notes
- 1/2 cup almond butter optional
- 1 cup Dairy free chocolate chips optional
Instructions
- Line an 8 x 8-inch baking tray with baking paper, grease it and set aside.
- In a large mixing bowl, combine the coconut flour and protein powder and mix well. If using the optional nut butter, add that in now.
- Using a 1/4 cup at a time, add your milk of choice until a very thick batter is formed.
- Transfer the batter to the lined pan and press firmly in place. Top with optional chocolate chips and refrigerate for at least 30 minutes. Slice into bars and keep refrigerated.















Unbelievable!
Even the mixture tasted good before the bars were ready!
Love that this has 15g of protein in it and is so easy to make. I used almond flour, Legion salted caramel whey protein powder, Georgia Grinders creamy peanut butter, and unsweetened almond milk. Tastes yummy. Can’t beat the macros though… 15g protein, 10g fat and 5g carbs with the ingredients I used.
I really like these bars because they are plenty sweet for me just with the coconut flour and (unflavored, unsweetened) protein powder. I add a teaspoon of vanilla extract, and they are perfect. I do not suggest using whey protein by itself, though. Both times I’ve used it, the batter was really sticky — like glue sticky — and they did not firm up or cut well, and the gooey texture affected how they tasted, if that makes sense. My previous batches with unsweetened unflavored plant protein powder looked like the photo in the recipe and the texture was very good, even though they required a lot more milk.
I am not sure what I did wrong, but I had to add at least an additional cup and a half of almond milk and barely got the mixture thick enough to hang together when I pushed it into the pan. Is half a cup of almond milk supposed to moisten 3 cups of flour and powder? I am feeling like a failure … 🙁
I have been making these bars consistently for the past three months after finding your recipe. I have exhausted every option of Paleo/Dairy-free protein bars and nothing comes close to this. My partner jokes that these bars are all I eat now. They are so good- chewy and creamy and nutty and full of protein. Thank you thank you for sharing this! (By the way, I use Universal Egg Pro Vanilla Protein and oat milk).
I love that 🙂
Hi Arman, I don’t know if you are still seeing comments for this recipe but I was curious why they need to be eaten within 7 days. The “milk” is the only perishable ingredient and almond milk, at least, is good for a couple weeks after it’s opened.
I’ve been making your white chocolate recipe for about a month now, and I’m going to make some chips to go on top of these protein bars!
Hi Denise! They definitely keep longer than that- I’ll fix it 🙂
Question: Can you, all, please tell me what your favorite protein powders are– both vanilla and chocolate? I have a pea based one, and it seems like a lot of the pea based ones taste gross. I think I’ll enjoy this recipe a lot more once I have a better protein powder. Looking forward to your recommendations! Thank you! Happy, blessed New Year!
I cannot live without these things you have totally saved me. Love this recipe and so versatile and delicious eat these everyday!
Just wondering how many servings this makes?
This makes 12 bars, Nicole!
Do you have the servings/nutritional info for these?
Hi- Yes, it is in the recipe card
Please can you let me know the calories, protein, carb and fat grams for these?
Sure! If you go to myfitnesspal and plug in the ingredients, it will provide it for you!
Could I sub the coconut flour with maybe, almond flour? I dont like coconut and im assuming this makes the bar taste like it.
You won’t taste the coconut flour but you could experiment with almond flour, just double the amount as needed.
Hey! I dont get coconut flour here! What do i use instead?
How many bars does this make?
This makes 4-6 bars, depending on how thick you slice them.
Hi! Question – do you think these would retain their shape/hold up better for on-the-go travel if they were baked for a little while in the oven? If so, do you have any recommendations for temp/how long to cook? Thanks!!
Hi! You can freeze them beforehand and enjoy as is 🙂