Healthy Pop Tarts
This post may contain affiliate links. See my disclosure policy.
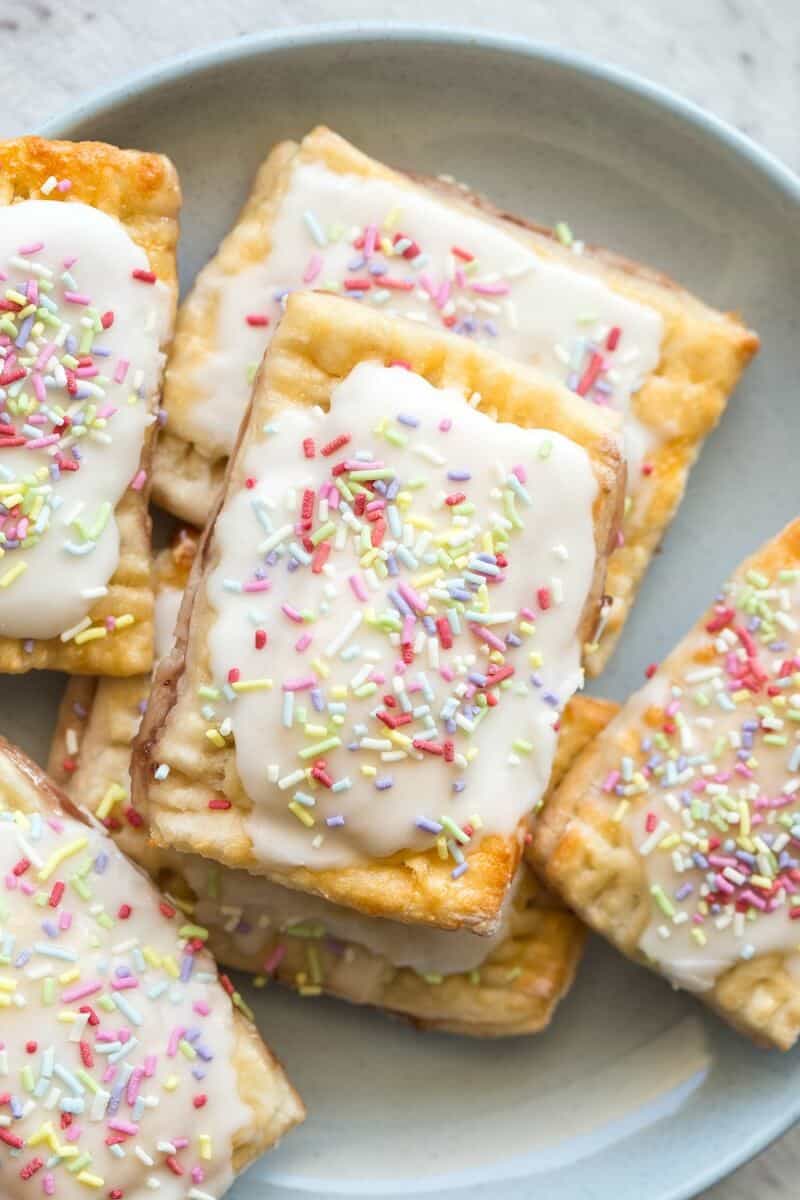
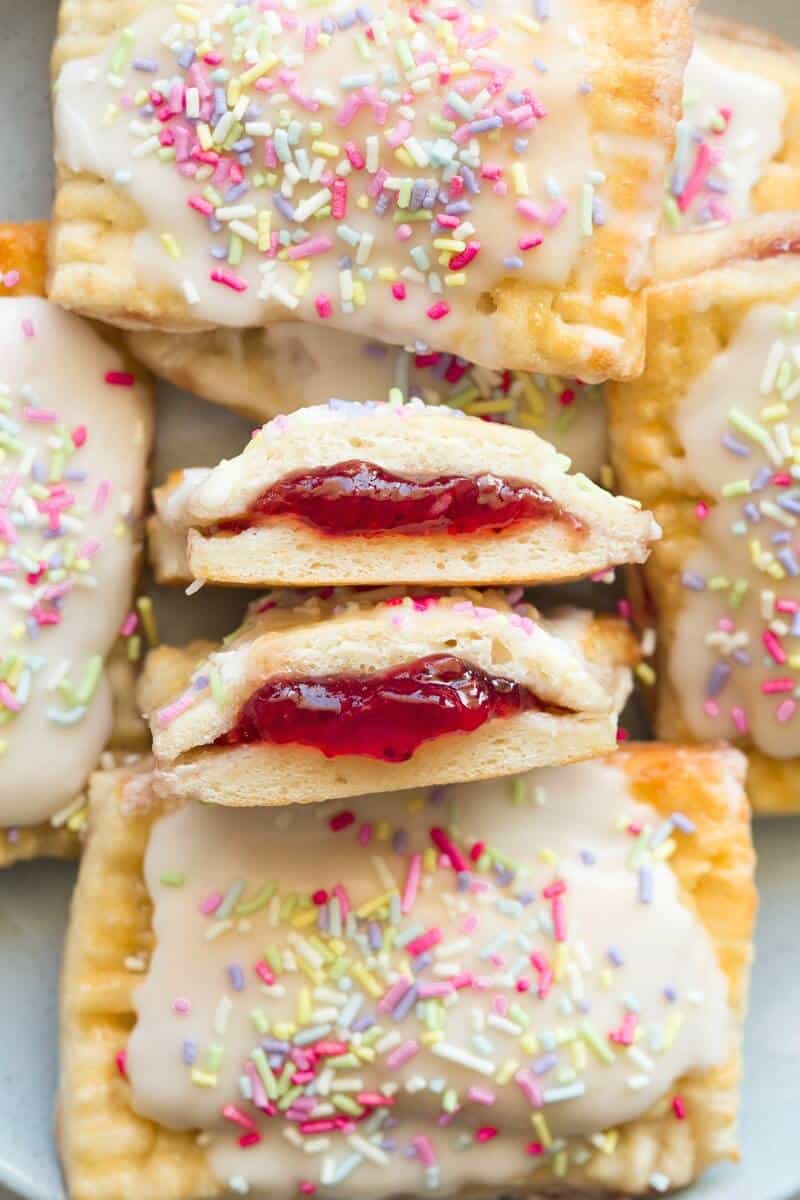
My healthy pop tarts are golden brown and chewy, with sweet berry jam and a decadent vanilla glaze topping. They’re easy to make and WAY healthier than regular pop tarts!

If you love dessert for breakfast, try my breakfast cake, beignets, or raspberry cinnamon rolls next!
Table of Contents
Growing up, I was obsessed with pop tarts. They were a special treat snack, something we’d be allowed less than once a month. When we were REALLY good, we’d get them for breakfast.
Well, now that I’m an adult, I can technically eat pop tarts whenever I want…but since they’re not really healthy, I’ve devised a compromise. Like my protein pop tarts, these look and taste exactly like the real deal, but they’re made with a shortlist of wholesome ingredients.
Why I love this recipe
- Customizable. I started with the strawberry pop tarts (my favorite!), but I also included tips for how to make all of the classic flavors.
- Easy to make diet-friendly. If you’re vegan or gluten-free and have always wanted a pop tart, now’s your chance!
- Perfect for kids. I don’t hesitate to make these for my family…not when they’re made with ingredients that are actually good for you.
- Make them in the air fryer. I prefer to make a big batch in the oven, but just in case you only want one or two, I tested the air fryer method.

Key Ingredients
- Greek yogurt dough. My secret ingredient! This is a dough made of Greek yogurt and self-rising flour (AKA a blend of all-purpose flour, baking powder, and salt). When combined, you’re left with a versatile dough that doesn’t require yeast or rising.
- Granulated sweetener. I use coconut sugar, but a sugar-free sweetener (I’d suggest monk fruit), white sugar, or brown sugar would all work. If you use brown sugar, your dough will be darker.
- Jam/Jelly of choice. For the filling! I typically use strawberry preserves with zero added sugar.
- Milk. To brush the outsides of the pre-baked pastries. I use unsweetened almond milk.
- Glaze. A simple mix of powdered sugar, vanilla, Greek yogurt, and sprinkles.
How to make healthy pop tarts
I’ve included step-by-step photos below to make this recipe easy to follow at home. For the full printable recipe instructions and ingredient quantities, scroll to the recipe card at the bottom of this post.
Step 1- Prep work. Preheat the oven and line a baking sheet with parchment paper.
Step 2- Mix the dough. In a large bowl, make the magic dough with the sugar. Shape into a smooth dough ball.
Step 3- Shape. Transfer the dough ball to a floured surface and knead several times. Use a rolling pin to roll the dough into a 12×6-inch rectangle. Cut into 16 rectangles.
Step 4- Add filling. Place half of the rectangles on the baking pan and add jam to the center of each. Add the second rectangle on top of each. Seal along the sides with a fork.
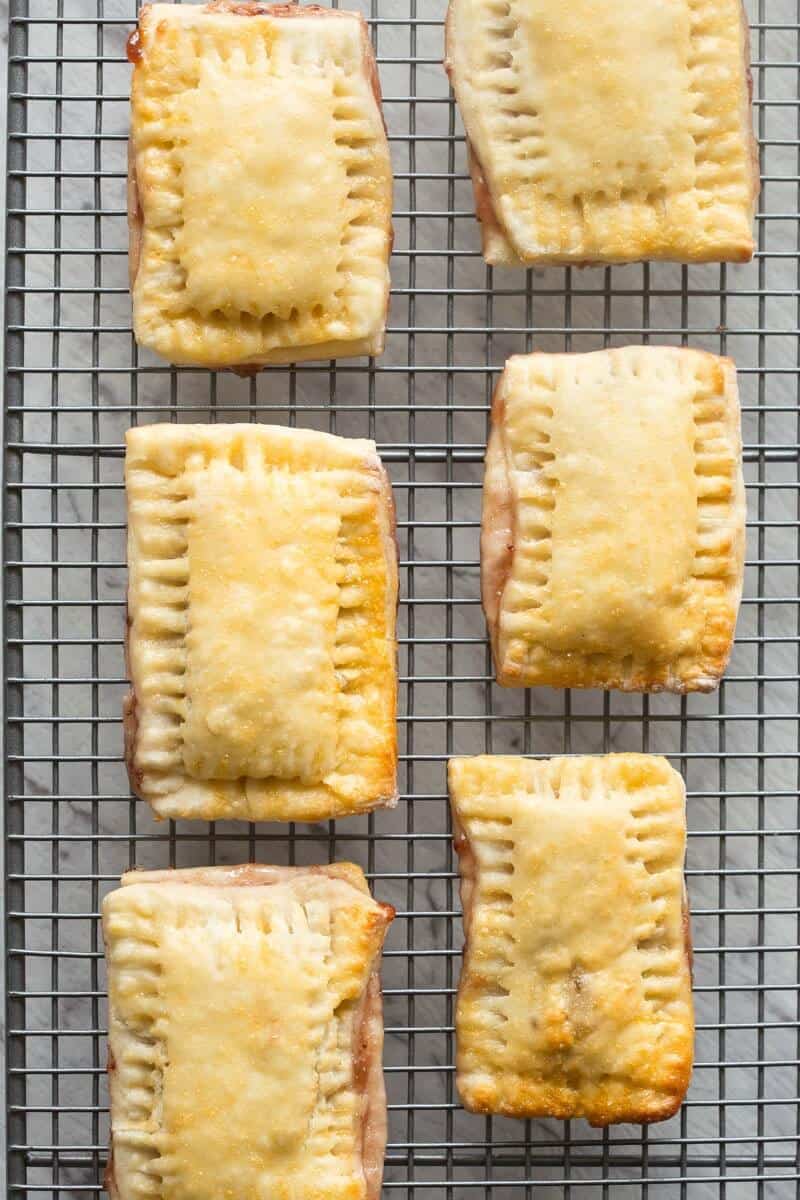
Step 5- Bake. Brush the tops with milk, then bake until golden. Let them cool completely.
Step 6- Add glaze. Mix the glaze ingredients until smooth, then spoon it on the cooled pop tarts. Spread evenly. Top with sprinkles, if desired.

Arman’s recipe tips
- Only add 1 tablespoon of filling. Any more, and the jam will seep out of the pastry. I know it may not seem like much, but it’ll warm up and spread across the pastry as it bakes.
- Make gluten-free pop tarts. Use gluten-free self-rising flour.
- Make vegan pop tarts. Use fermented coconut yogurt for the dough and the glaze.
Frequently asked questions
You could use whole wheat flour, but I wouldn’t recommend almond flour, oat flour, or any flour alternative, as they won’t yield the same texture.
I don’t recommend toasting these homemade pop tarts in a toaster oven. Otherwise, they will get stuck and stick to the edges. If you want a toasted pop tart, leave the icing off and toast them in the air fryer or oven at 370F for 3 minutes, then add the frosting.


Homemade Healthy Pop Tarts
Ingredients
- 1 batch Greek yogurt dough
- 2 tablespoon sugar * See notes
- 1/2 cup strawberry jam can use any jam or jelly of choice
- 2 tablespoons milk
For the glaze
- 1/2 cup powdered sugar
- 2 tablespoon Greek yogurt ** See notes
- 1/2 teaspoon vanilla extract
Instructions
- Preheat the oven to 180C/350F. Line a large baking tray with parchment paper, and set aside.
- In a large mixing bowl, prepare the Greek yogurt dough with sugar and mix well, until combined. Using your hands, shape the dough into a thick, smooth ball.
- Flour a kitchen surface and add a tablespoon of flour on top of the ball of dough. Transfer the ball of dough onto the floured surface, and knead several times.
- Using a rolling pin, roll out the dough, forming a rectangular shape, about 12 inches by 6 inches. Using a sharp knife (or pizza cutter), slice once length-ways, and 7 times the other way, to form 16 uniform rectangles.
- Place 8 of the rectangles on the lined baking tray, evenly spaced apart. Place 1 tablespoon of jam onto each rectangle. Place the other 8 rectangles on top of each one. Using a fork, press along each side of each pop tart, sealing it up completely. Using a pastry brush, brush the tops of each pop tart with milk.
- Bake the pop tarts for 15-20 minutes, or until golden on top. Allow pop tarts to cool, before glazing.
- While the pop tarts are cooling, prepare your glaze by combining the powdered sugar with the vanilla extract and yogurt. Whisk until a thick frosting remains. Using a spoon, spoon out frosting over the tops of each pop tart, spreading it slightly. Top with sprinkles, if desired.


I used regular sugars becuase that is all I had. Soo good.
Thank you
Plesantly surprised! These are SO good!!
I used regular sugars becuase that is all I had. Soo good.
Thank you
I was skeptical of this recipe including the magic dough component BUT both I and my 13 year old son were pleasantly surprised with the end result! The tarts are tasty and so easy! Next time I’ll probably roll the dough out a little bigger by 2-3 inches on each side. My bake time was approx 25 minutes. Thank you again for another great recipe that I will make again!
Hi! I’d prefer a vegan yogurt that isn’t coconut based- do you think cashew milk yogurt would work? LOVE you on IG by the way! <3
Oh yes I think so- just don’t use the cheaper brands like we have here in Australia- it’s so watery haha like milk lol!
Soy yogurt is the best for stuff like this bc it’s higher protein imo or even vegan Greek yogurt or skyr if you can find it.
I need to make 4 dozen how much dose each batch make
Multiply the ingredients to equal 48 pop tarts.
our dough came out too sticky even after we put flour down. does it have to be greek yogurt ? not sure what went wrong.
Yes it does. Not sure why it is super sticky, this is a very foolproof dough.
can you make keto with almond flour?
Nope, not for this.
*Three ingredient dough.
Nope, original recipe is based off my 2 ingredient dough, as the post states.
Enjoy the two ingredient dough base homemade pop tarts!
I want to make all these recipes so bad but with gluten free flour. The kind you had on amazon was very expensive and it didn’t work either.
No that does work, it’s the one I used.