Cereal Bars
This post may contain affiliate links. See my disclosure policy.
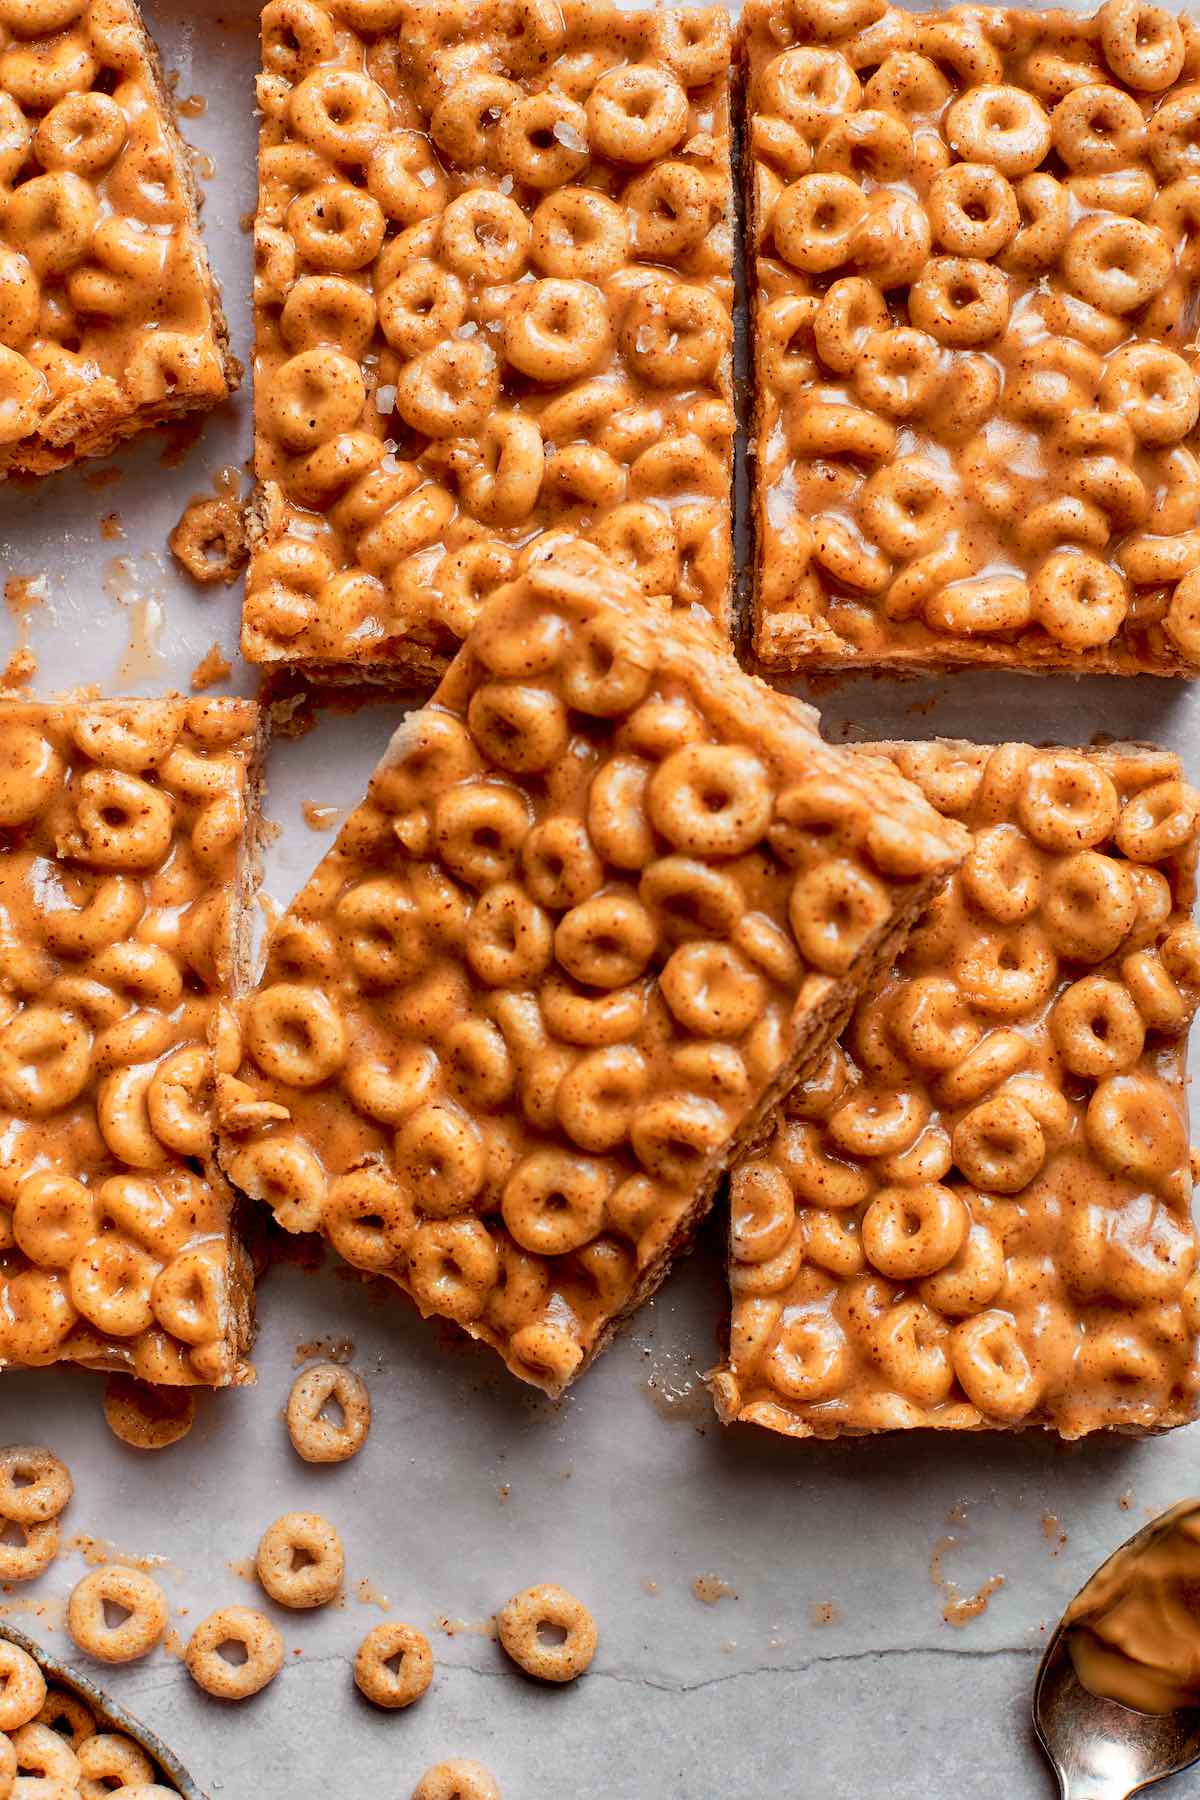
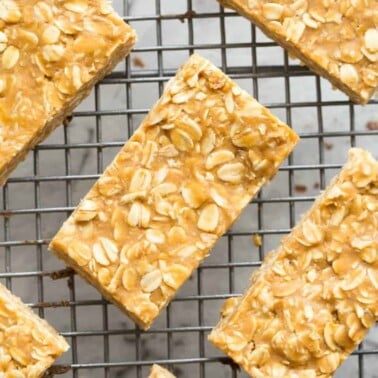
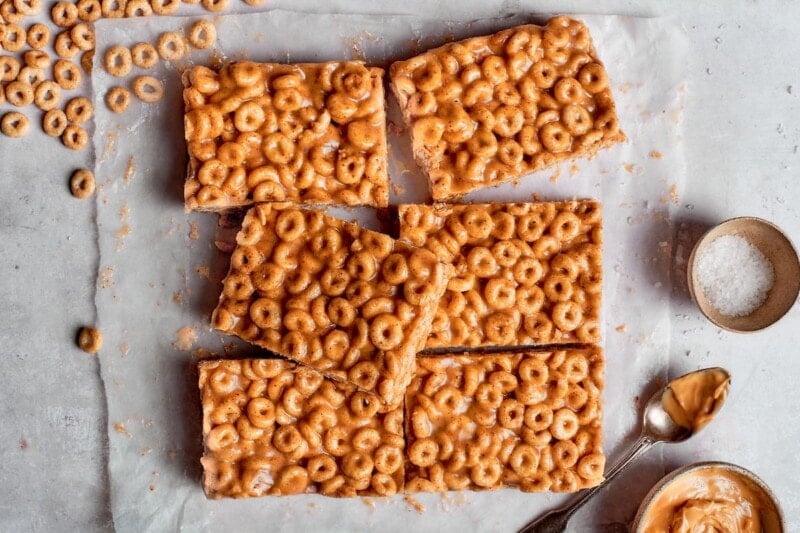
My homemade cereal bars need just 3 wholesome ingredients to make and taste better than anything store-bought! They make a healthy and delicious snack.
It’s no secret that I love making my family homemade snacks, especially because I know what goes into them, and honestly, they are cheaper, too (hello, cost-of-living crisis!).
My homemade cereal bars are one of our weekly staples, and they taste exactly like a packaged cereal bar, minus the laundry list of ingredients, excess calories, excess sugars (yes, plural!), and butter. I’ve been making them for over 10 years, and they still remain a firm favorite.
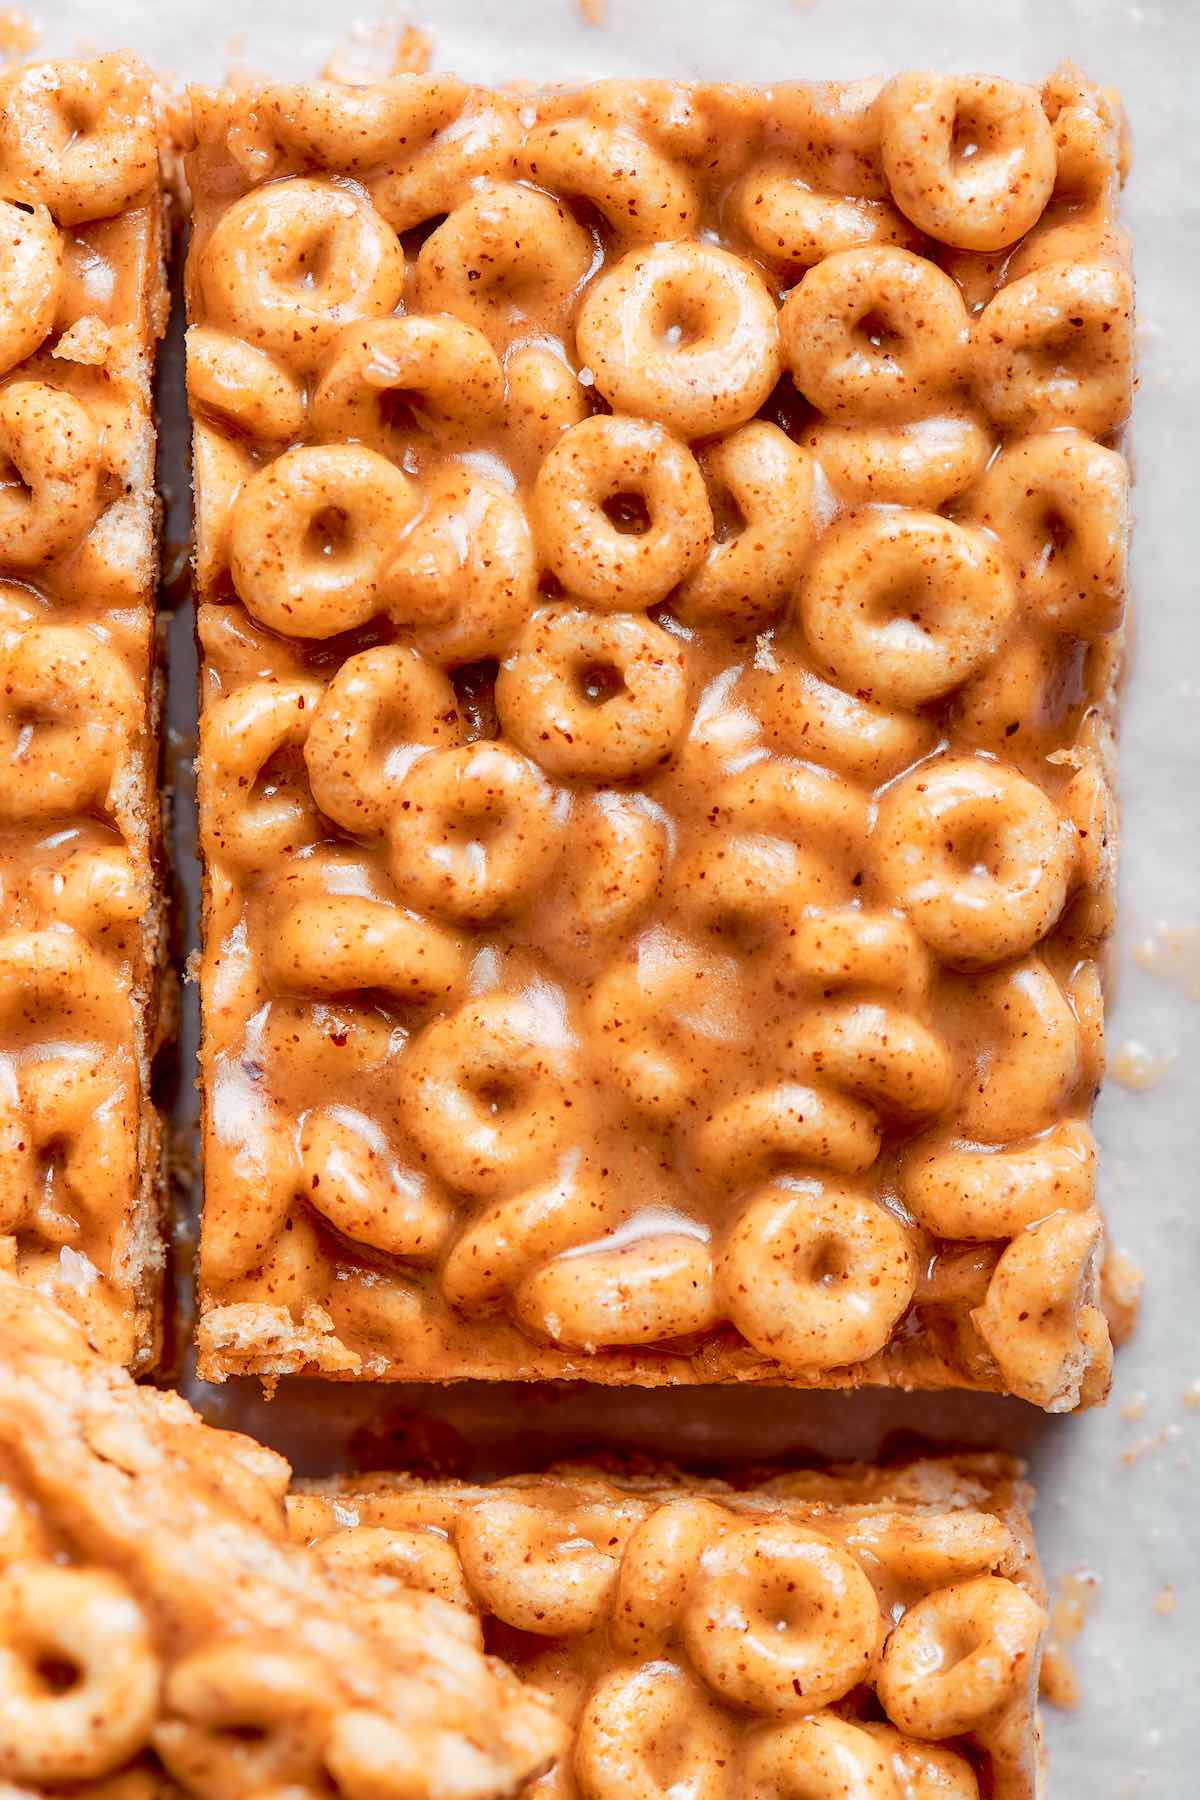
Because I’m only using 3 ingredients, getting the ratio of liquid sweetener (maple syrup) to not butter just right is essential. When I first tested this recipe, the bars either became too soft at room temperature or crumbled when sliced. After a few rounds of tweaking, I found the sweet spot: bars that hold together beautifully yet remain chewy, crispy, and easy to bite into.
Table of Contents
Why I love this recipe
- Just 3 ingredients. Cereal, a sticky sweetener, and nut butter are all you’ll need.
- Ready in 5 minutes. Just mix everything together, transfer it to a pan, and let it set.
- Easy to customize. Change up the cereal, add flavor extracts, or swap for your favorite nut or seed butter.
★★★★★ REVIEW
“I made these bars with Cheerios, American Dream Peanut Butter Cheesecake, peanut butter, and Maple Syrup. Simple and Delicious” – Molly
Ingredients needed
- Cereal. Any crispy cereal works, including Cheerios, Special K cereal, or even Rice Krispies. I like to look for ones made with whole grains and with added vitamins and fiber.
- Maple syrup. Binds everything together and adds a touch of sweetness. I tested honey and brown rice syrup as well, but both produced denser bars and required extra cereal to balance the texture.
- Almond butter. Smooth almond butter with no added sugar or salt. If your almond butter is very thick, warm it slightly before mixing so it coats the cereal evenly.
Variations
The beauty of this cereal bar recipe is just how easy it is to customize it with other ingredients or even add some fun ones to it. Here is what we’ve tried:
- Make it almond-free. If you can’t tolerate almonds or are allergic, switch it out for peanut butter, sunflower seed butter, or tahini.
- Lower the sugar. Swap out the maple syrup for sugar free maple syrup or sugar free honey.
- Gluten-free. Use a celiac-friendly cereal like Gluten Free Cheerios.
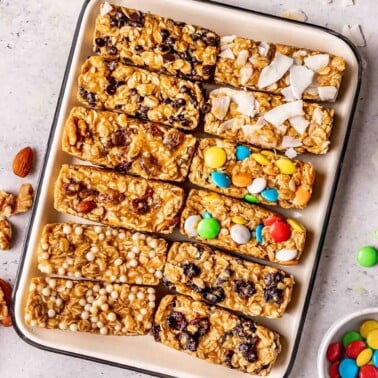
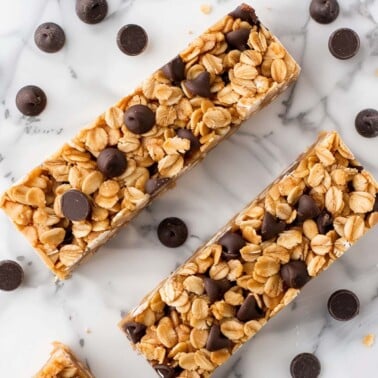
- Add mix-ins. Chocolate chips, white chocolate chips, peanuts, raisins, cranberries, freeze-dried strawberries, and toasted coconut flakes are all great additions.
- Drizzle with some melted chocolate for that extra dose of deliciousness.
How to make cereal bars
I’ve included step-by-step photos below to make this recipe easy to follow at home. For the full printable recipe instructions and ingredient quantities, scroll to the recipe card at the bottom of this post.

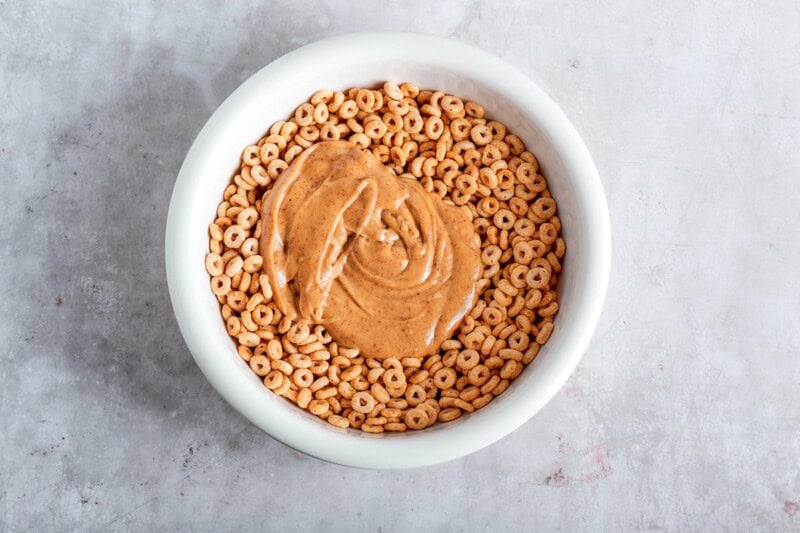
Step 1- Make the bars. Add all the ingredients to a large bowl and stir until fully combined.

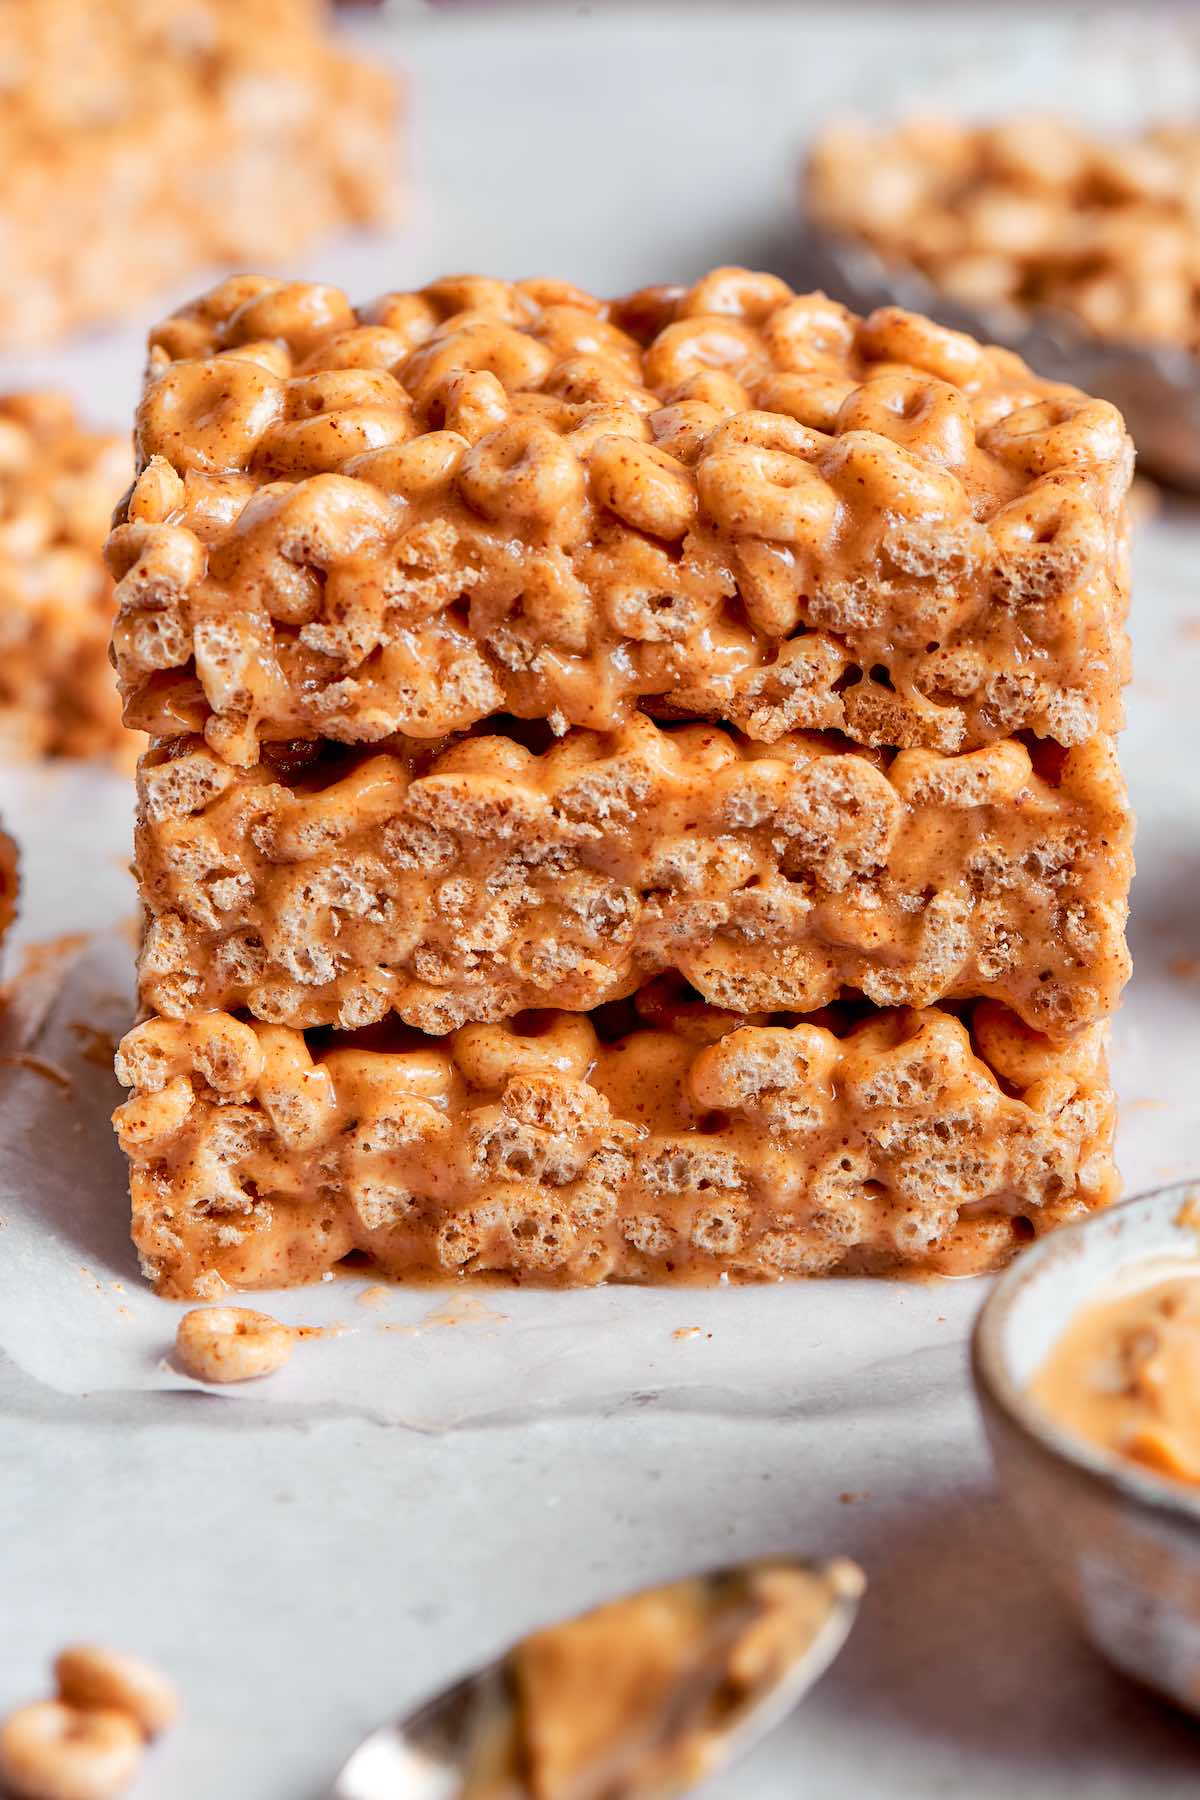
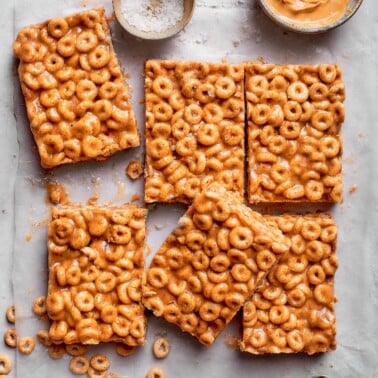
Step 2- Set and slice. Transfer the cereal bar mixture to a lined pan and refrigerate it for 30 minutes or until it has firmed up. Once firm, slice them into bars.
Arman’s recipe tips
- Use a crispy, fresh cereal. This may sound obvious, but stale cereal makes stale cereal bars. I always use freshly opened cereal for the best crunch and texture.
- Avoid overmixing. Once the maple syrup and almond butter are combined, fold in the cereal until just coated. Overmixing can crush the cereal and make the bars denser.
- Press the mixture firmly into the pan. This is the key to holding the bars together. I use the back of a measuring cup or even an overnight oats jar to compact everything into an even layer.
- Line the pan. Even for non-stick pans, I always line them with parchment paper. It makes cleanup a breeze and keeps everything in place.
Storage instructions
To store: Avoid keeping these bars stored at room temperature as they are prone to becoming soggy. Instead, place them in an airtight container and store them in the fridge. They will keep well for up to two weeks.
To freeze: Place the bars in a ziplock bag and store them in the freezer for up to 6 months.
Frequently asked questions
The most common reason is not pressing the mixture firmly enough into the pan. I like to use the back of a cup of jar to push everything into an even layer. The bars also need enough time to chill and firm up before slicing.
More healthy snack bars

3-Ingredient Cereal Bars
Video
Ingredients
- 2 cups cereal cheerios or any crispy cereal of choice
- 6 tablespoons almond butter
- 1/4 cup maple syrup or honey or brown rice syrup * see notes
Instructions
- Line a baking pan with parchment paper and set aside.
- In a large mixing bowl, combine your almond butter and maple syrup and mix until combined. Slowly add in the cereal and mix until just combined.

- Transfer the mixture to the lined pan and press firmly into place. Refrigerate for at least 30 minutes to firm up. Once firm, slice into bars.
Notes
Nutrition
Originally updated November 2022


Delicious taste! I waited an hour before slicing them, and they were still pretty soft/hadn’t set yet. I’m hoping they will be set in the morning. Otherwise I will make them again with a little more cereal/less of the wet mixture.
Thanks for sharing!
5his so7nds yummy. What size pan do you use?