Healthy Chocolate Peanut Butter Balls
This post may contain affiliate links. See my disclosure policy.
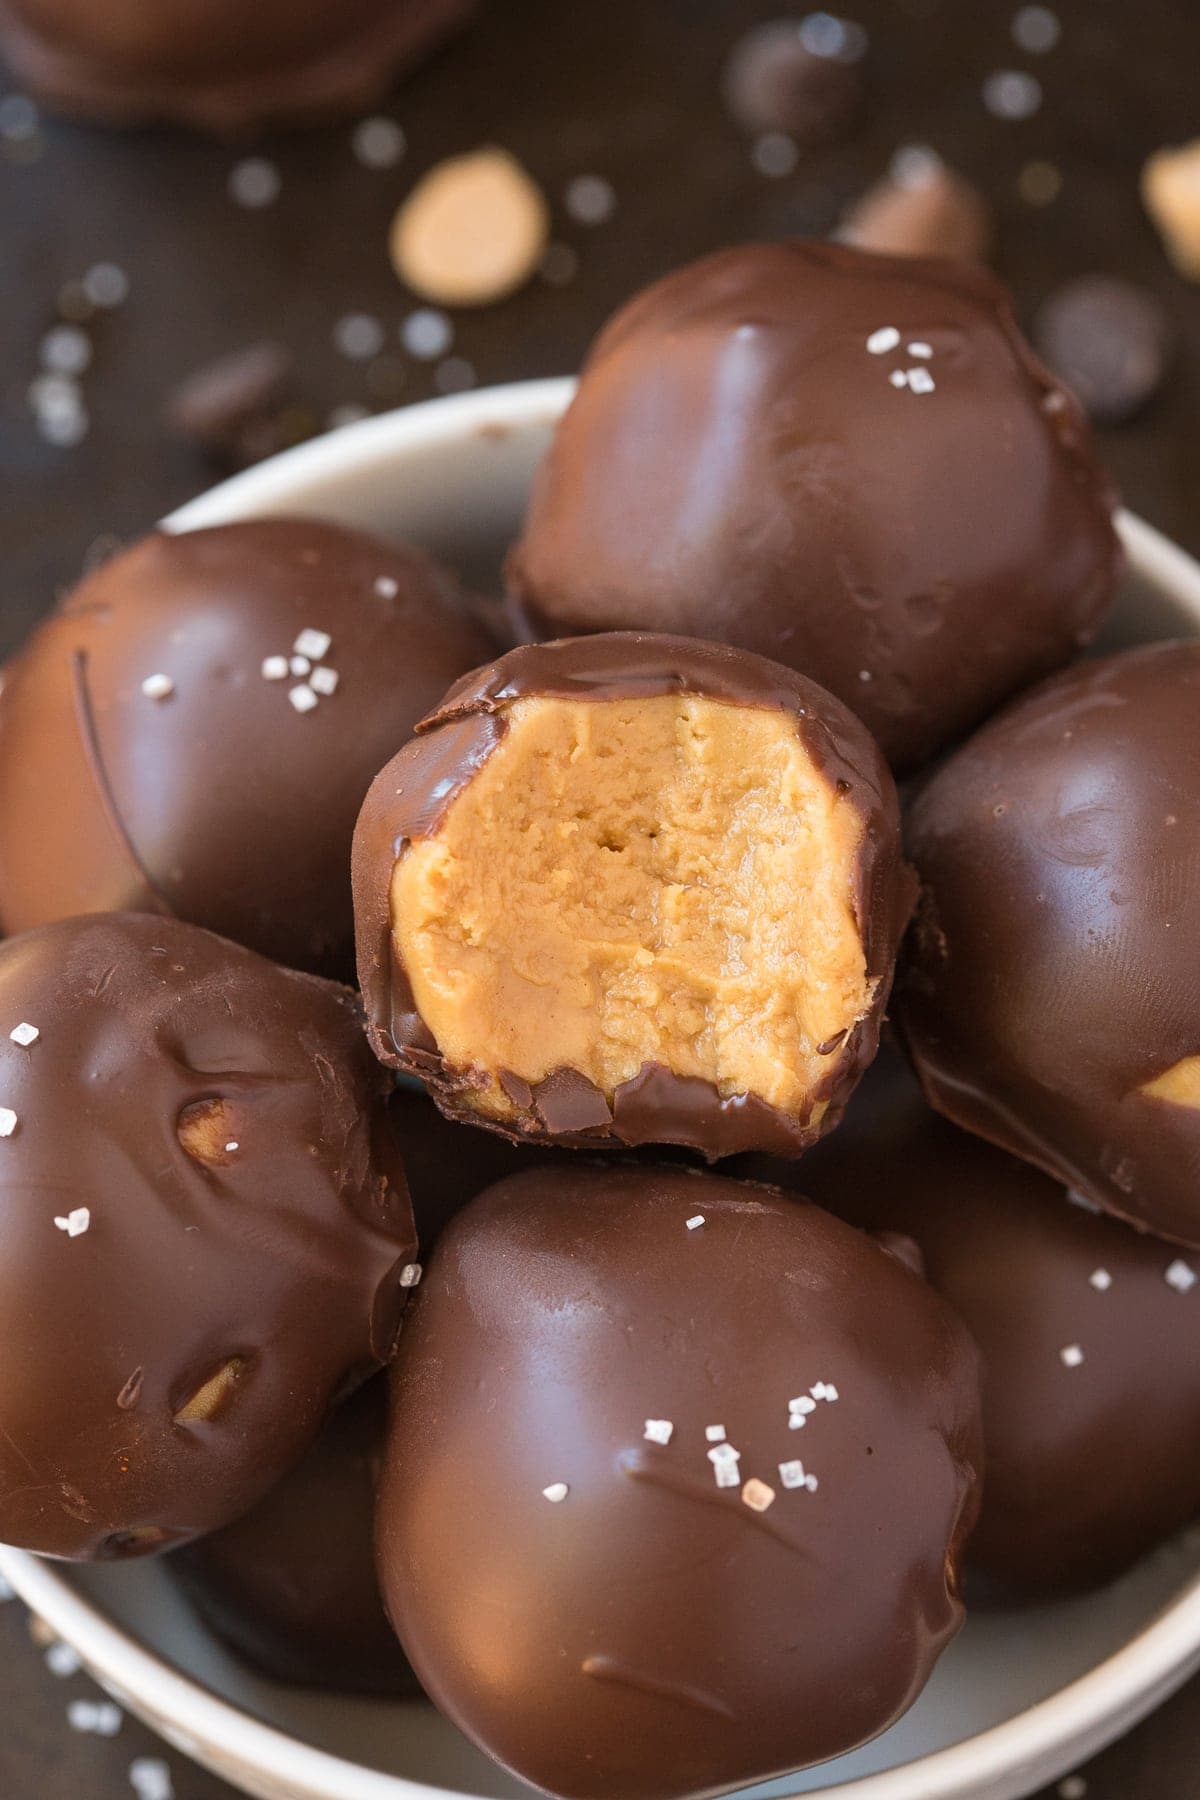
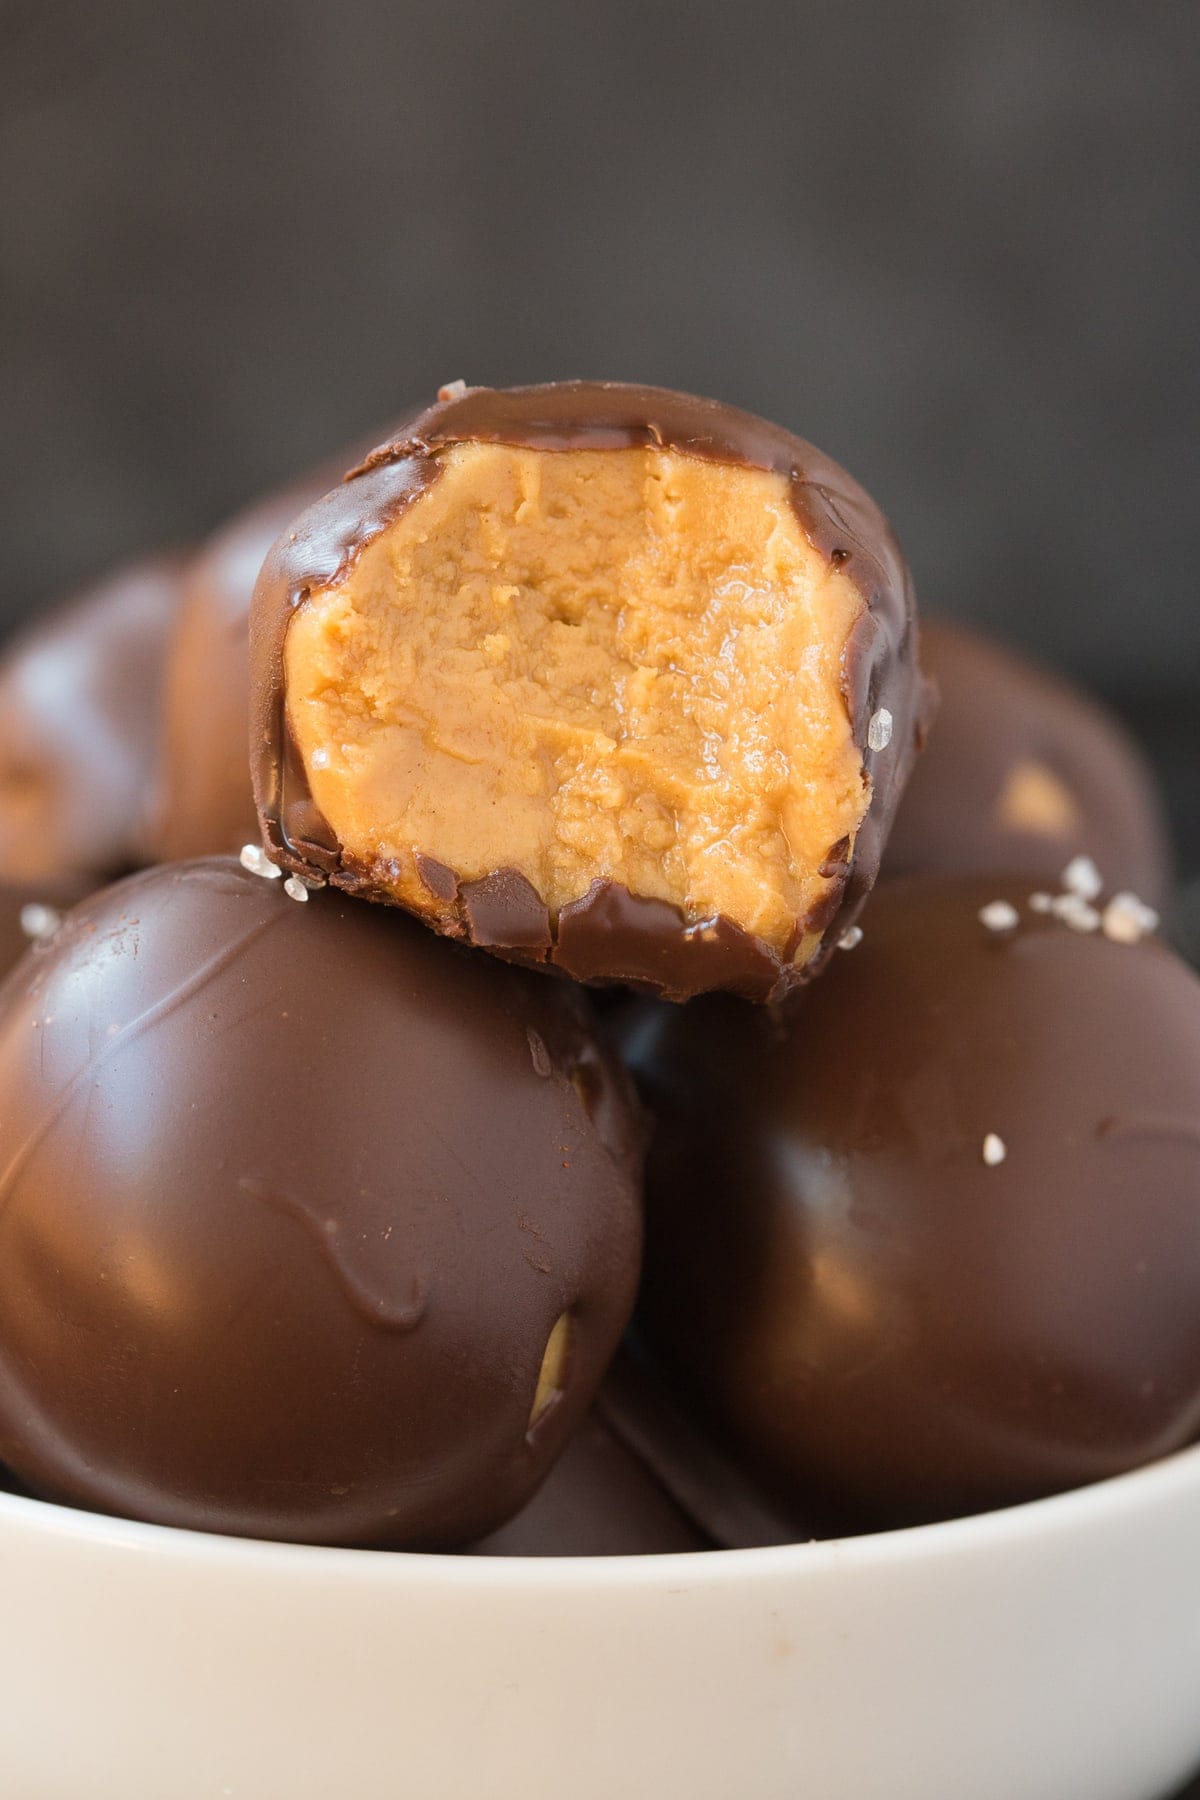
My no-bake chocolate peanut butter balls are made with 4 simple ingredients and come together in less than 5 minutes. If you love all things chocolate and peanut butter, you’re going to fall head over heels for this recipe!
Chocolate and peanut butter are one of those combinations that never let me down, and it’s easily the most-used duo in my kitchen. I’ve made everything from chocolate peanut butter cake to peanut butter cheesecake. Still, these chocolate peanut butter balls are the treat I come back to most, especially around the holidays.
I didn’t reinvent the wheel, though. I took my 3-ingredient peanut butter balls and dipped each in chocolate. After a few rounds of testing to find the perfect amount of chocolate, I landed on this version: creamy centers, smooth, rich chocolate, and all made with a handful of pantry staples. The best part? They taste indulgent, but unlike most versions that use powdered sugar, these are lighter- though you’d never know it. Not even my picky partner who can sniff a healthy ingredient from a mile away (seriously- that or cilantro).
Table of Contents
Recipe highlights
- Just 4 ingredients. All you need is peanut butter, coconut flour, maple syrup, and chocolate chips.
- Easy to customize. Swap the chocolate, use different nut butters, or stir in some mix-ins. The options are endless, and I’ll be sure to share plenty of inspiration later on.
Key Ingredients
Here’s what you’ll need to make these chocolate-covered balls. The specific measurements are in the recipe card below.
- Peanut butter. Smooth, creamy peanut butter is best. If you don’t want to use peanut butter, almond butter, or any nut or seed butter works just fine.
- Coconut flour. My favorite flour for no-bake recipes since it absorbs moisture nicely and gives the balls a little protein boost. Not a fan of coconut? You can swap the coconut flour for equal portions of blanched almond flour or oat flour. However, you’ll want to add a little extra of these as they’re not as absorbent as coconut flour.
- Maple syrup. My sticky sweetener of choice for adding sweetness and binding ingredients. I also tested honey and agave. Both work, but be wary that the honey can be a little overpowering (which my partner loved, because he loves the honey/peanut butter combo).
- Chocolate chips. I used classic semi-sweet chocolate chips, but you can use any chocolate chips you prefer.
How to make chocolate peanut butter balls
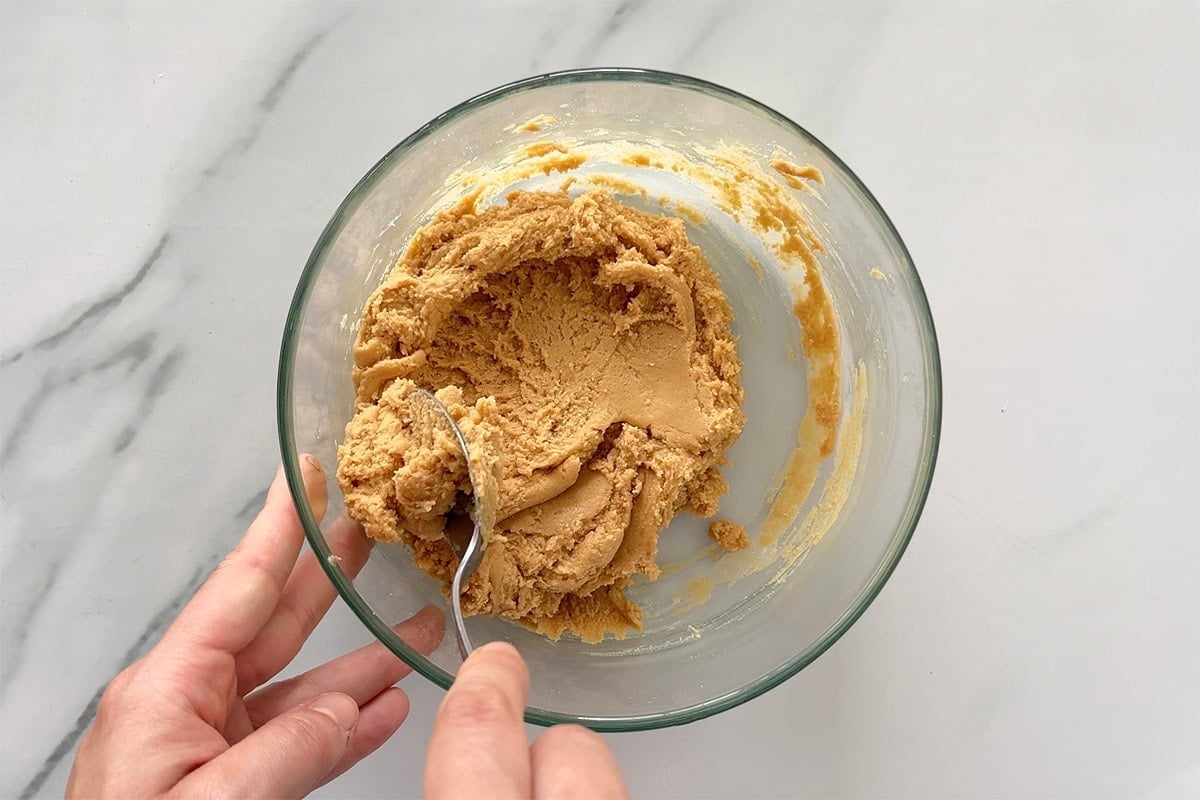
Step 1- Mix. In a mixing bowl, combine all ingredients except the chocolate chips.
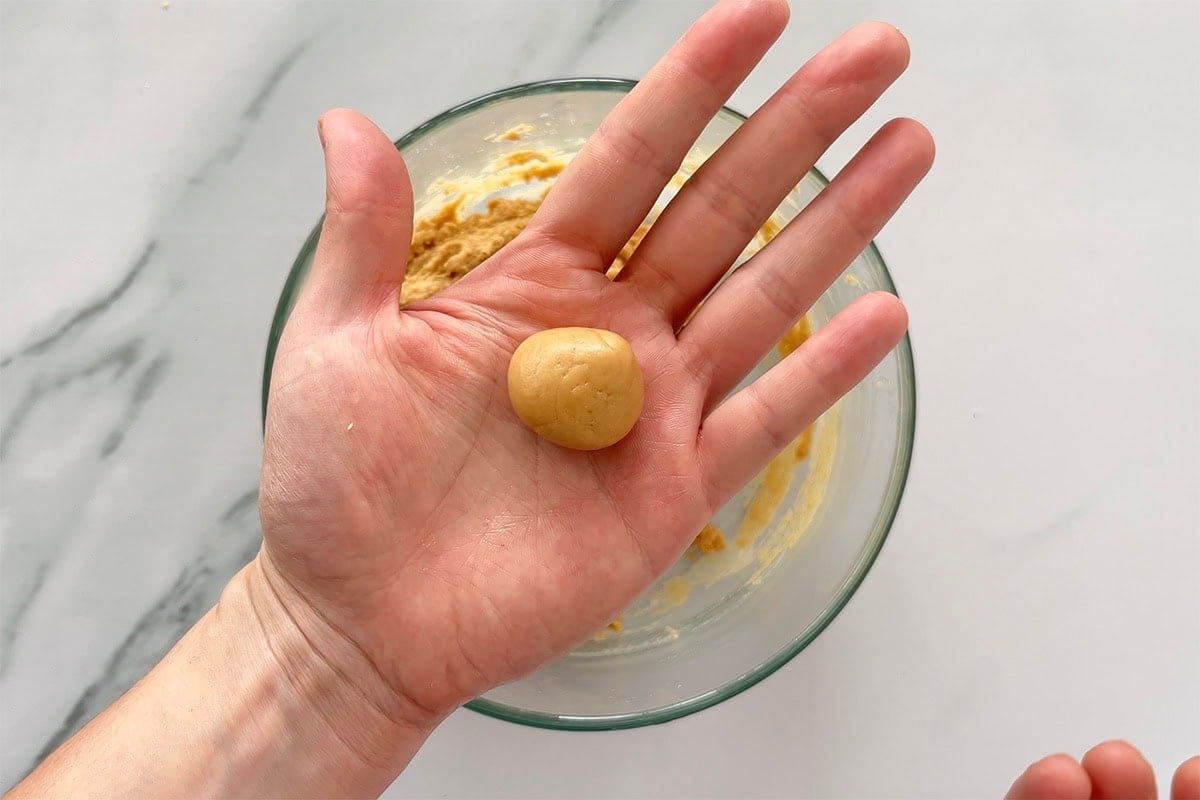
Step 2- Shape the balls. Using your hands, shape the peanut butter mixture into small 1-inch balls and place them on the prepared baking sheet.

Step 3- Freeze for 10 minutes. While the peanut butter balls are firming up, melt the chocolate chips in the microwave or using a double boiler.
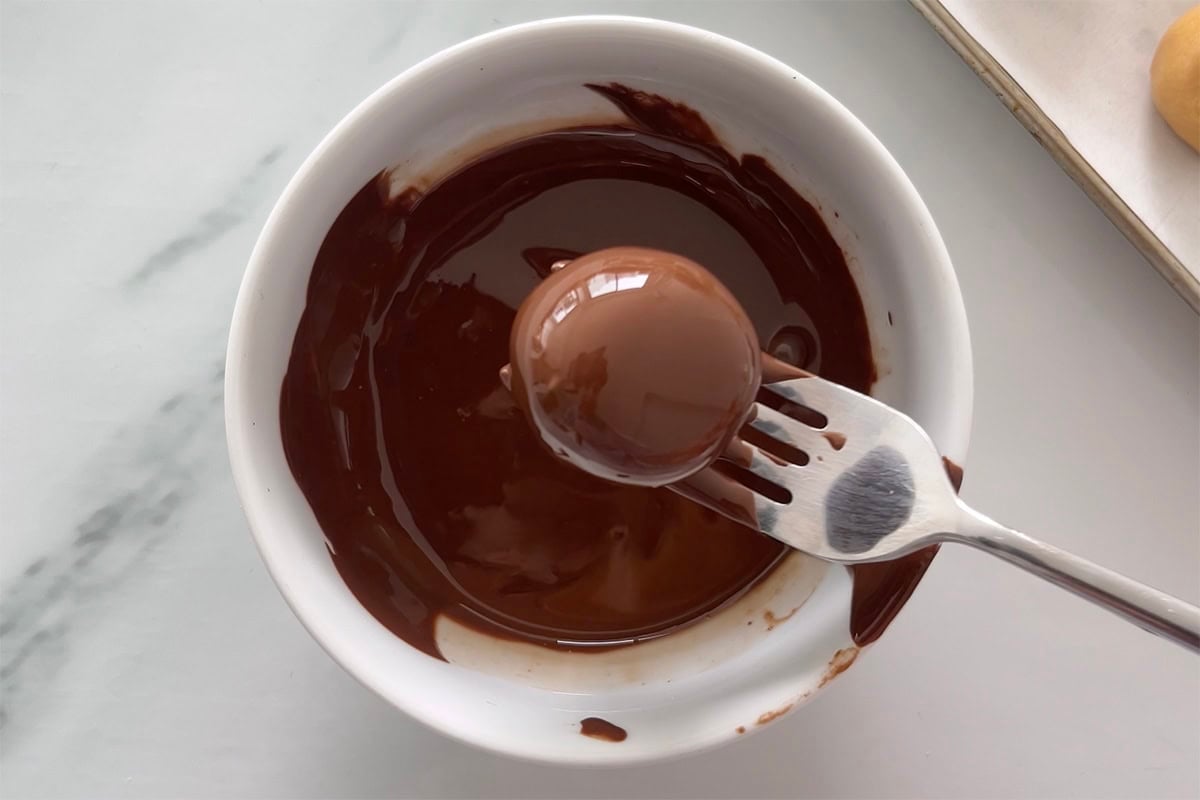
Step 4- Coat. Remove the balls from the freezer and, using two forks, cover each ball in the melted chocolate. Continue dipping the balls until each one is covered in chocolate.
The best way to melt chocolate
I like to microwave the chocolate in 30-second increments until it’s smooth and glossy. However, I know not all of you want to use one, so here is how I do it stovetop using the double boiler method:
Place a small saucepan of water over medium heat. Once it begins to boil, reduce to a simmer and place a shallow bowl over it. Add the chocolate chips and let the steam from the hot water melt the chocolate. Once the base chocolate chips start to soften, gently stir until everything is smooth. Gently remove from the heat and dip.
Arman’s recipe tips
- Use wet hands. To avoid making a mess, I like to use slightly wet hands to shape the balls. You could also skip the handwork altogether and use a small scoop instead.
- Keep the dough chilled. As you work with the dough, it’ll warm up and soften. When this happens, I like to return the dough to the fridge to firm up for 10-20 minutes, though you could also add a little extra coconut flour to thicken it up.
- Thick dough? This can sometimes happen depending on the brand of coconut flour (I use 2-3 brands, and each is different). If your peanut butter filling is too thick, add a spoonful of water or milk to thin it out. Start with one tablespoon then add more as needed.
Dietary and flavor variations
I’ve been making these chocolate-covered peanut butter balls for years and have changed them up depending on who I’m making them for (a nut-allergic nephew or when my partner was following the keto diet) or for something fun. Here’s what worked:
- Cut the carbs. Swap the maple syrup for keto maple syrup and use sugar-free chocolate chips to make a low-carb version of this treat.
- Make them nut-free. When I want to surprise a friend with a nut allergy, I’ll make these balls with sunflower seed butter instead.
- Elevate the flavor. Add a pinch of sea salt or a splash of vanilla extract to switch up the flavor.
- Add some texture. While I prefer these peanut butter balls as is, you can certainly fold in some chopped nuts, Rice Krispies, or coconut flakes if you’d like!
- Coat them. For a little extra fancy touch, I like to dust the balls in cocoa powder, shredded coconut, or finely chopped pistachios.
Frequently asked questions
Technically, no. If you’re planning to enjoy your chocolate balls within a few days, they can be stored in a sealed container at room temperature. I’d only be cautious if you’re in an excessively warm environment.
Your chocolate peanut butter balls may be soft if there’s not enough flour to absorb the moisture from the peanut butter and sweetener. Try refrigerating the dough for 30 minutes, and if it’s still very soft, add more coconut flour.
Chocolate Peanut Butter Balls
Video
Ingredients
- 2 cups peanut butter smooth
- 3/4 cup coconut flour
- 1/2 cup maple syrup
- 2 cups chocolate chips
Instructions
- Line a large plate or tray with parchment paper and set aside.
- In a mixing bowl, combine all your ingredients, except for chocolate chips, and mix until fully combined. If the batter is too thick and crumbly, add some liquid (water or milk) slowly until a thick, formable batter remains.
- Using your hands, form small balls and place on the lined plate or tray. Freeze for 10 minutes.
- While the balls are firming up, melt your chocolate chips. Remove the balls from the freezer and using two forks, dip each ball in the melted chocolate until completely covered. Repeat until all the balls are covered in chocolate.
- Refrigerate for 20 minutes, or until the chocolate coating has firmed up.
Notes
- TO STORE. Place leftover chocolate peanut balls in an airtight container and store them in the refrigerator for up to two weeks. If you intend on enjoying them within a few days, they will keep well at room temperature for up to 5 days.
- TO FREEZE. Wrap the balls in parchment paper and store them in a freezer-safe container for up to 6 months.
Nutrition
More no-bake dessert recipes
Recipe originally published August 2018, updated and republished October 2025


Fabulous – thank you for the recipe!!
You are so welcome, Judy. Thanks for making them!
This was so good mack more like this😍😍😍🤗
I’m so glad to hear you enjoyed them, Bibi- thanks for your lovely comment 🙂
Made these for Easter and they were an absolute hit! My partner loves Reese’s (his favorite sweet) and said he prefers these!! He likes knowing what’s in them and having a healthier version. Love that I can store them in the freezer, one batch makes a lot. Thank you for sharing this recipe!!
You are so welcome, Karen. Yes, that was my intention when developing this recipe- it had to taste like the original. I also keep a batch in the freezer 🙂
Absolutely fantastic!
Thanks for the lovely comment and review! 🙂
I googled how many cups are in a stick of butter & it said half a cup. So these take 4 sticks of butter???
Is there a substitute. I don’t think I’ve eaten 2c of butter in my entire life up til now. That’s a lot of butter
Hi Jeff, this recipe calls for peanut butter, not dairy butter. If you find yourself a healthier peanut butter without sugar, with minimal ingredients, you’ll have a more nutritional outcome. But always best to snack on these balls in moderation too. Hope this helps!
I love to try 🫶 thanks alot
Please do, Ileen- let me know how it goes 🙂
Can you use honey for the syrup?
Yes, you can! I prefer it with honey, but most of our recipe testers found it overpowering (I love honey though, so I’m bias ha!).
How noticeable is the coconut flavour or does the peanut butter flavour disguise it?
Not noticeable at all 🙂
Can you tell me how many this will make?
This makes 24 🙂
no words but love, it
Thank you! Glad you liked this one. We always have these ready to go at home 🙂
Love everything you publish! Thank you
Can I use peanutbutter powder in place of coconut flour
Hi- yes, several readers made this using that successfully!
Thank you for all your content. I really appreciate the work you do. Can I replace the coconut flour with regular flour or almond flour?
Hi Sandra, blanched almond flour or oat flour will work with this! You may just need a little extra because they’re not as absorbent as coconut flour.
Hi, if I add protein powder to get more protein, should I cut back on flour? Thank you.