Coconut Bars
This post may contain affiliate links. See my disclosure policy.
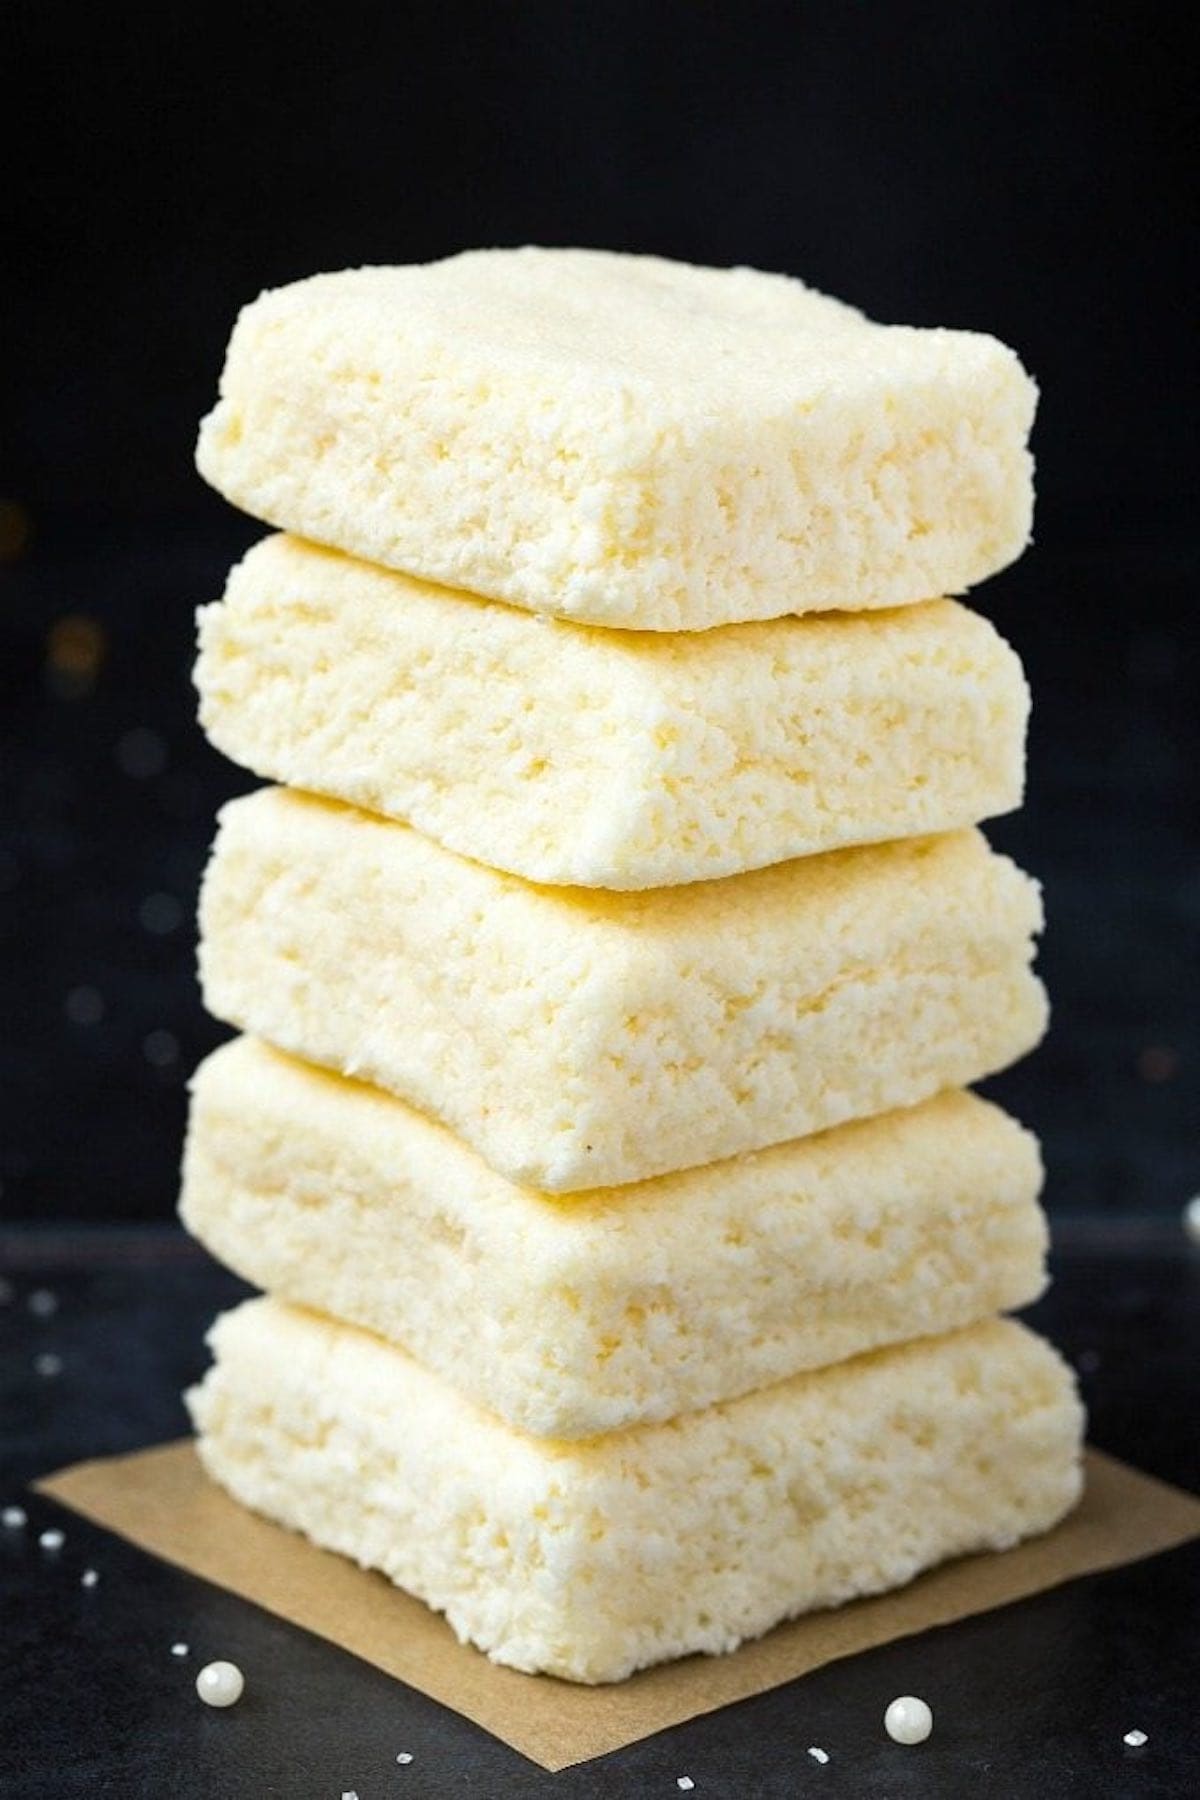
Learn how to make my family’s favorite coconut bars using my no-bake recipe! They’re thick, soft, chewy, and full of addictive coconut flavor.
Bounty bars and Almond Joys are all fine and good, but sometimes I want a bar that just tastes like coconut. No chocolate, no nuts, nada.
Que, my coconut dessert bars. Two of the three ingredients are made with actual coconut, so you only taste that refreshing, tropical flavor. Plus, the bars are soft, chewy, and gooey. They’re addictive, and I dare you to stop with one!
Table of Contents
Why I love this recipe
- Easy. All you need are 3 ingredients and about 5 minutes of prep time.
- Wholesome ingredients. They’re naturally gluten-free and vegan and can easily be made sugar-free.
- No fake coconut flavoring. I made sure these bars actually tasted like they have real coconut inside. No sunscreen flavor here!
- Great for sharing. I frequently bring these bars to parties and potlucks because they’re easy to make ahead of time, and they’re always the first dessert to go.
Key ingredients
- Shredded unsweetened coconut flakes. I suggest unsweetened coconut since the other ingredients are plenty sweet. Also, the more finely shredded the coconut, the smoother the bars will be!
- Coconut condensed milk. Holds the ingredients together and gives the bars a chewy texture. If you’re not strictly dairy-free, you can use regular sweetened condensed milk.
- Confectioner’s sugar. To sweeten the bars and give them a softer bite.
How to make coconut bars
Step 1- Prep. Line a square baking dish with parchment paper.
Step 2- Mix. Stir together all ingredients in a large bowl until you get a thick dough.
Step 3- Chill. Pour the dough mixture into the prepared pan, press into place, and chill until firm.
Step 4- Slice. Once the dough is firm, remove it from the baking pan and use a sharp knife to slice it into bars.
Arman’s recipe tips
- Before slicing, let the bars come to room temperature for a few minutes. This will make them easier to slice without cracking.
- Use a slightly wet knife to slice the bars. I like to run a sharp knife under hot water, then carefully dry it, slice, and repeat.
- If you really must have chocolate, make my chocolate coconut bars instead.
Frequently asked questions
I wouldn’t recommend using coconut cream instead of coconut condensed milk, as the texture isn’t the same, and coconut cream isn’t sweet enough.
Yes, both kinds of coconut will work. Just be sure to use unsweetened versions of the two, as there is already plenty of added sugar.
More no-bake bar recipes
- No-bake carrot cake bars
- Caramel cookie bars
- Banana blondies
- Chocolate coconut cookies
- Chocolate coconut balls
Coconut Bars
Video
Ingredients
- 3 cups unsweetened shredded coconut
- 2/3 cup coconut condensed milk
- 1/2 cup confectioners sugar
Instructions
- Line an 8 x 8-inch pan with parchment paper and set aside.
- In a large mixing bowl, add the shredded coconut, coconut condensed milk, and confectioners sugar and mix until a thick dough remains.
- Transfer the mixture into the lined pan. Using lightly wet hands, press down on top to smooth it out.
- Refrigerate the coconut bars for at least an hour to firm up. Once firm, use a sharp knife to slice into bars.
Notes
- Make them sugar-free. Use sugar-free condensed milk and powdered sugar substitute.
- Top the bars with a sprinkle of toasted coconut flakes and a drizzle of honey for more flavor.
- Add a graham cracker crust layer. For added texture and flavor, combine graham cracker crumbs, coconut oil, and light brown sugar. Mix until you achieve a sandy texture, then add this as your base layer for the bars.
- Add mix-ins. Add crushed walnuts, pecans, or chocolate chips into the bar batter for added crunch.
Nutrition
Originally updated July 2023, updated and republished January 2025


Where is the recipe
Hi there, the recipe is located just above the comment section on the page. Let us know if you have any trouble viewing it 🙂
I’ve been on some next-level coconut cravings & THIS OMG! I made my own powdered sugar from stevia but even so it was so sweet & everything my body has been trying to get so thank you so much for this recipe! Coconut ice cream wasn’t even working but this was so easy & I threw the rest in the freezer & AMAZING AS RECCOMENDED! I’m so content, this is my new favorite dessert go-to!
Hi Eli, this is GREAT news! So glad this dessert was everything you wanted it to be 🙂 Nothing better than satisfying those cravings!
Followed the directions exactly, but end result is nasty. Just like eating a mouthful of dry coconut. I tried adding more Coconut milk to make the dough…didn’t work. Perhaps he left something out of the recipe or directions, because as is, even after chilling for hours, this doesn’t cut into bars…just a bunch of cooled, loosely packed shredded coconut.
Hi D S- I’m not surprised this didn’t work for you if you used coconut milk. This recipe calls for coconut condensed milk, which is essentially condensed milk made with coconut milk. If you try it again using that, it would make sliceable, soft and thick bars.