This post may contain affiliate links. See my disclosure policy.
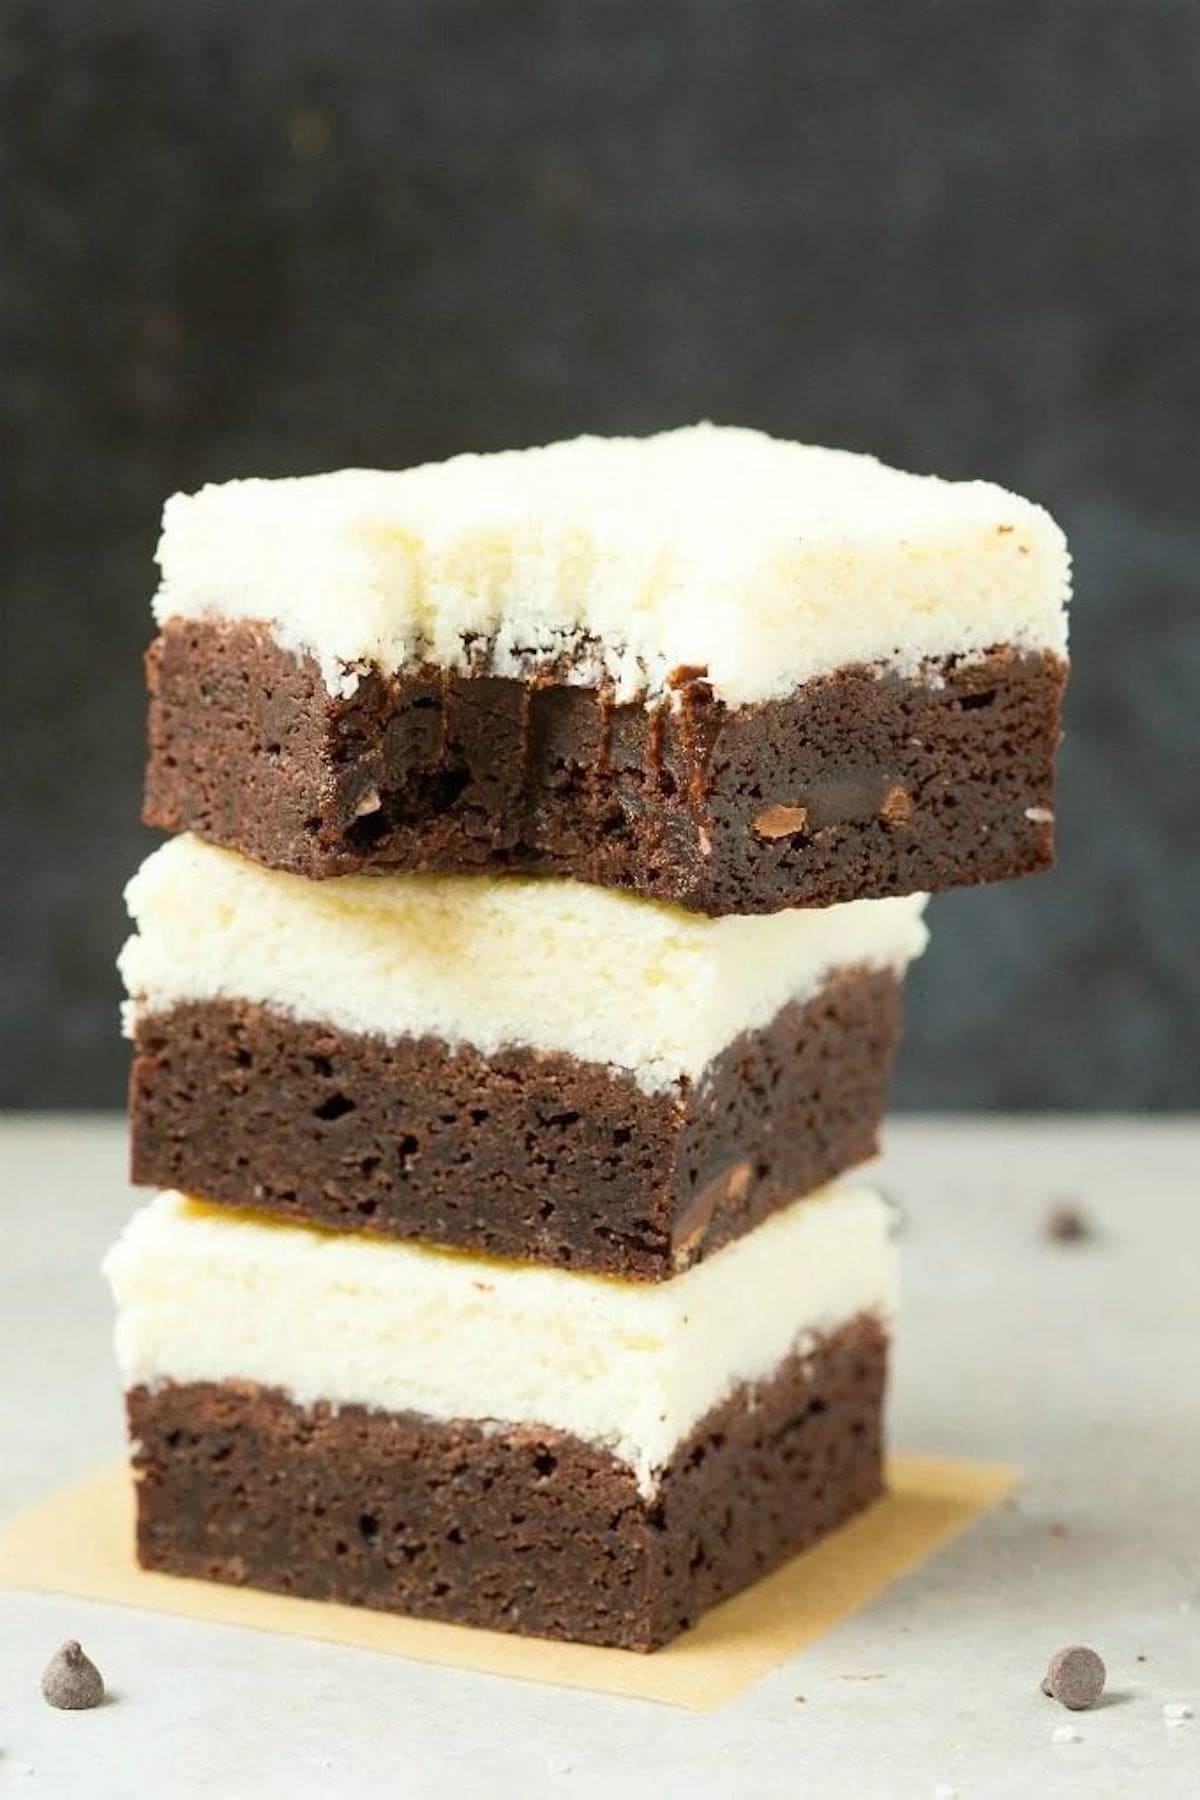
My irresistible coconut brownies feature a rich, fudgy brownie base that’s covered in a thick layer of creamy coconut frosting. It’s naturally gluten-free and SO easy!
Obsessed with coconut chocolate desserts? You’ll love my chocolate coconut bars, coconut clusters, or Bounty Bars next.
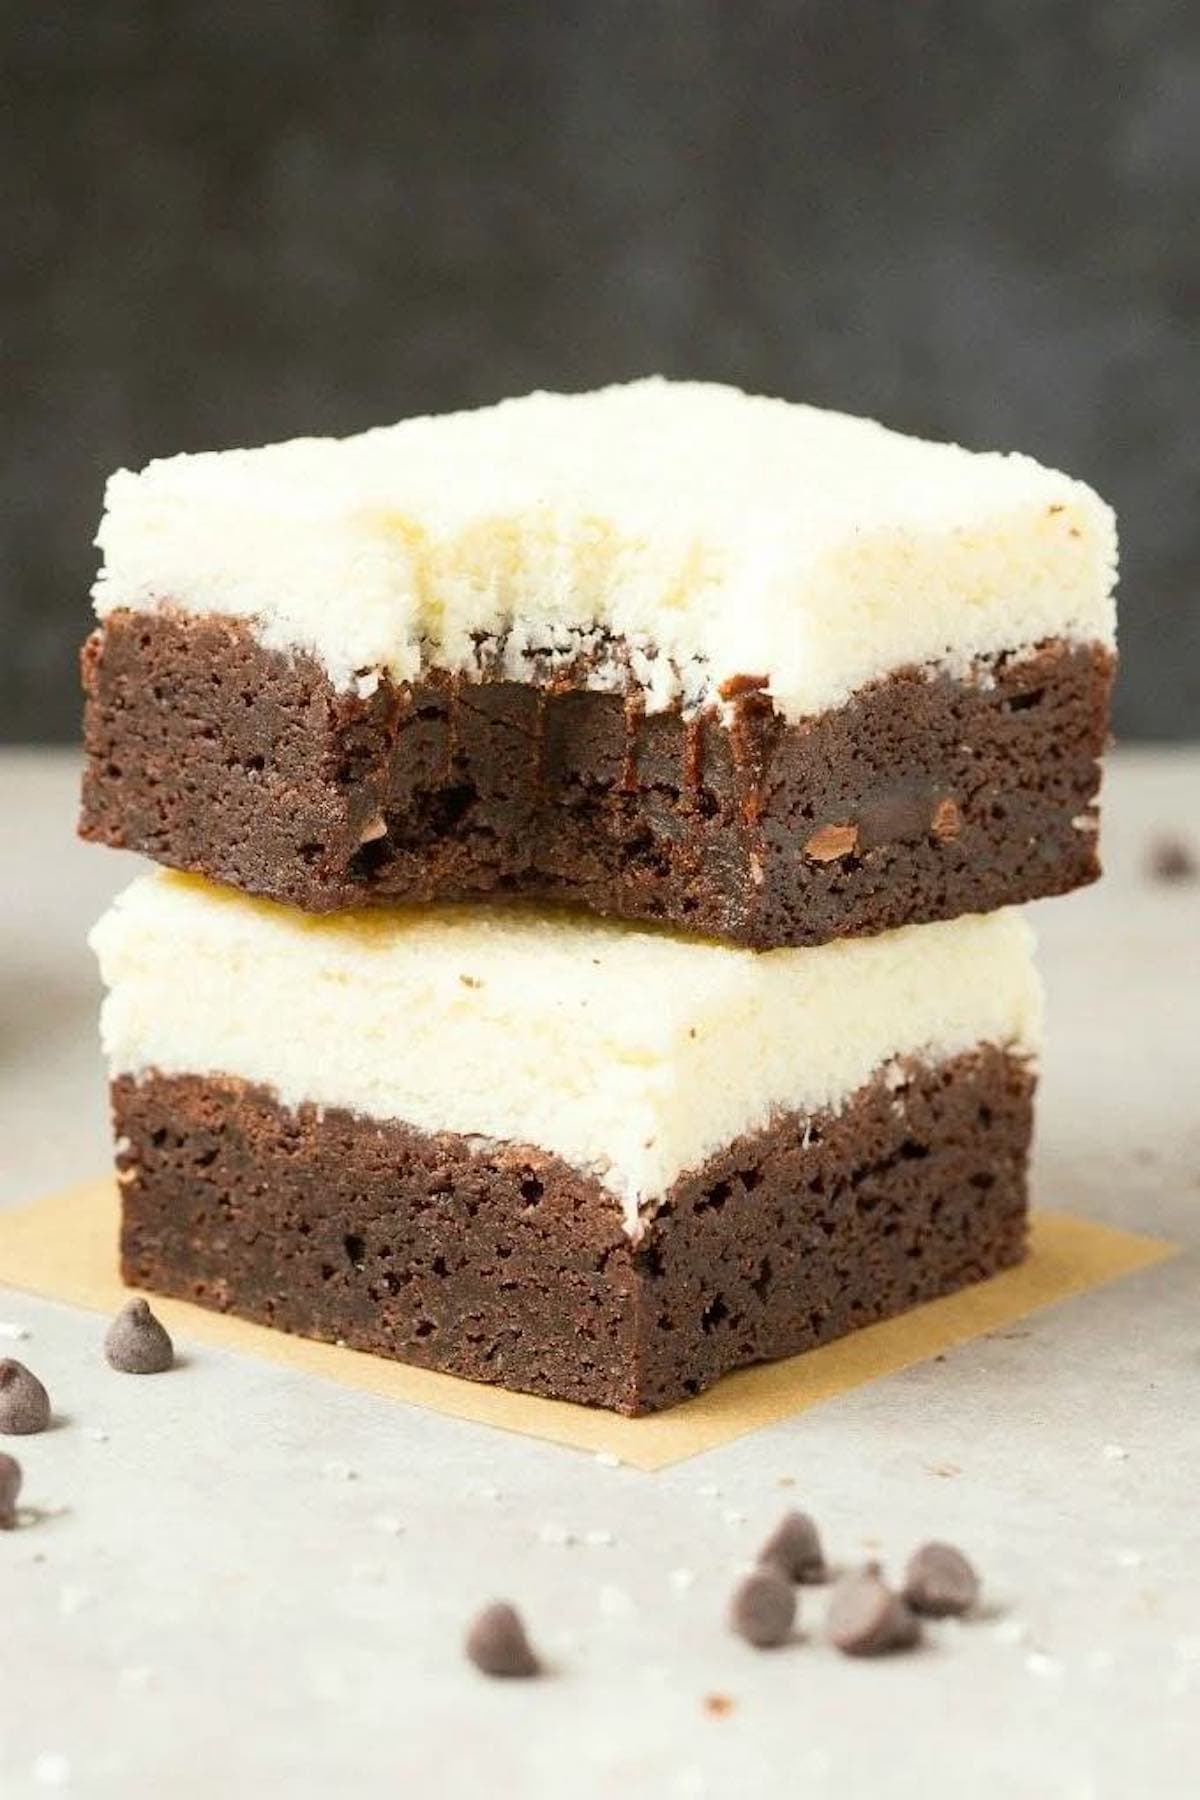
I’m grateful my family loves coconut and chocolate as much as I do. Otherwise, it would be weird that I keep making Almond Joys on repeat…
For this recipe, I combined my favorite flourless brownies with a twist on my coconut bars. The brownies give the soft richness we adore, and the coconut layer adds essential moisture and a touch of sweetness.
Table of Contents
Why I love this recipe
- Flourless. Not even almond or coconut flour!
- Only 9 ingredients. And they’re neither expensive nor hard to find.
- Soft, chewy, creamy, and fudgy! The balance of textures is nothing short of addictive.
- As easy as boxed brownie mix. Don’t get me wrong, there are a FEW more steps than a boxed mix (like, two steps more), but the results are infinitely superior.
Ingredients needed
- Chocolate. I like to use a dark or semi-sweet chocolate bar for a richer flavor. Chop the bar finely before melting it. Alternatively, use high-quality chocolate chips.
- Sugar. I used white sugar, but any granulated sugar (or sweetener) can be used.
- Eggs. Always choose room temperature eggs since they blend more smoothly into the batter.
- Coconut oil. I usually suggest refined coconut oil because it doesn’t have any coconut flavor, but seeing as these are ‘coconut’ brownies, opt for refined coconut oil.
- Cocoa powder. Stick with unsweetened and Dutch-processed.
- Arrowroot powder. To help thicken the batter and give the brownies stability. Cornstarch or tapioca starch also works.
For the coconut layer:
- Shredded coconut. Use unsweetened shredded coconut.
- Coconut oil. To help the coconut layer firm up.
- Maple syrup. I love maple syrup, but honey or agave are great too.
How to make coconut brownies
I’ve included step-by-step photos below to make this recipe easy to follow at home. For the full printable recipe instructions and ingredient quantities, scroll to the recipe card at the bottom of this post.
Step 1- Prep. Preheat the oven and line a baking dish with parchment paper.
Step 2- Melt the chocolate. Microwave the coconut oil and chocolate until the chocolate melts, then stir until smooth and let cool briefly.
Step 3- Mix the batter. In the bowl of melted chocolate, whisk the sugar, then the eggs and dry ingredients.
Step 4- Bake. Pour the brownie batter into the pan and bake until a toothpick inserted comes out with a few moist crumbs. Let them cool completely.
Step 5- Add the coconut layer. Combine the ingredients for the coconut layer, then spread evenly over the cooled brownies. Chill until set, then slice into squares.
Arman’s recipe tips
- Cakey brownies. Add an extra 5-7 minutes of baking time.
- Add a chocolate ganache. You can never really have TOO much chocolate in brownies, right? To do this, melt coconut oil and chocolate until smooth and thick, then pour it over the coconut-covered brownies, top with extra shredded coconut, and chill until firm.
- Add a pinch of salt to the coconut layer to bring out the sweetness of the other flavors.
- Play around with mix-ins, like chopped walnuts or pecans.
Storage instructions
To store: Leftovers must be kept in the refrigerator (in an airtight container) for up to 4-5 days.
To freeze: Carefully wrap the brownies in plastic wrap, place them in a freezer-safe container, and freeze for up to 3 months. Let them thaw in the fridge.
Frequently asked questions
Honestly, so long as I’m using refined coconut oil, I don’t notice a difference in texture or flavor. Use whichever suits your dietary preferences.
Yes, these brownies are gluten-free. They don’t use any wheat flour or other gluten-containing ingredients.
Overbaking is the most common culprit for dry brownies. The brownies may also be dry if there is too little fat and or liquid in the batter.
More impressive brownie recipes to try
Coconut Brownies
Ingredients
- 1/4 cup + 2 tablespoons coconut oil or butter
- 6 oz chocolate chopped
- 2/3 cup sugar
- 2 large eggs room temperature
- 1/4 cup cocoa powder
- 3 tablespoons arrowroot powder
For the coconut layer
- 3 cups shredded coconut unsweetened
- 1 cup coconut oil melted
- 4 tablespoons maple syrup
Instructions
- Preheat the oven to 180C/350F. Line an 8 x 8-inch pan with parchment paper and set aside.
- In a microwave safe bowl, add the coconut oil and chopped chocolate. Microwave in 30-second increments until the chocolate melts. Whisk into the coconut oil and let it cool slightly.
- Whisk in the sugar until completely combined. Add in the eggs one at a time, then add in the cocoa powder and arrowroot powder. Whisk until a smooth batter remains.
- Transfer the brownie batter into the lined pan and bake for 20-25 minutes, or until a skewer comes out clean.
- Let the brownies cool in the pan completely.
- In a small bowl, combine your coconut, coconut oil, and maple syrup. Spread over the brownies and refrigerate for 30 minutes, or until the coconut has set. Slice into pieces.


What about coconut flour instead of shredded coconut? Would that make the difference?
I started enjoying coconut flavour as never before. For summer it is perfect flavour really. This I could try.
Can you use something other than coconut oil in the coconut layer?
Chocolate plus coconut = PERFECTION!
I love the rich, dense and chocolatey texture in these beautiful brownies!