This post may contain affiliate links. See my disclosure policy.
This peanut butter cheesecake is an easy, no bake recipe made with simple ingredients! It’s smooth, rich, and creamy.
Love elegant cheesecake recipes? Try my no bake lemon cheesecake, coconut cheesecake, biscoff cheesecake, and protein cheesecake next.
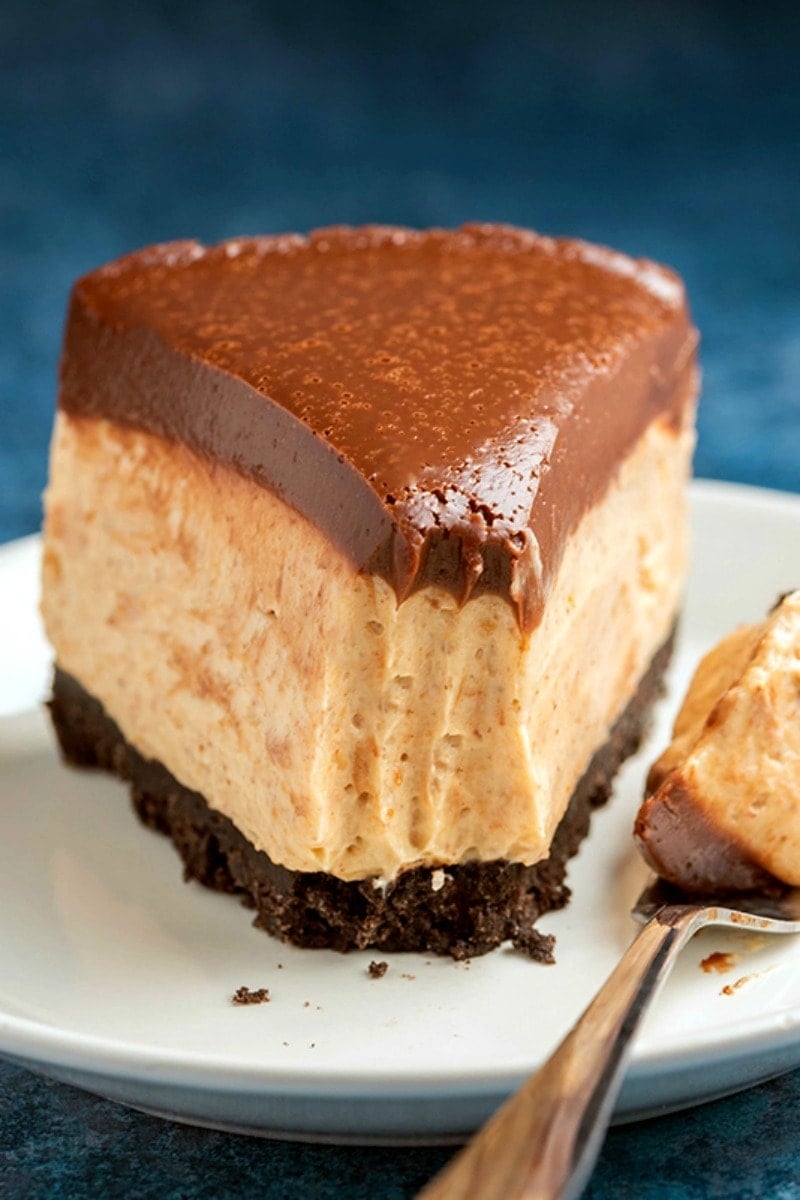
Cheesecake should be its own food group, and I try and find any occasion to whip one up. My peanut butter cheesecake recipe is one of my favorites, especially because it combines my two favorite things- chocolate and peanut butter!
Table of Contents
Why I love this recipe
- It’s a no bake recipe. So the hard part is waiting for it to set.
- It’s simple to make. Everything is made in one bowl, so clean-up is virtually non-existent. No water bath needed!
- It has the best texture. It’s rich and creamy, and the chocolate crust takes it to another level.
- You can make it crustless. If you are all about the filling, skip the crust completely.
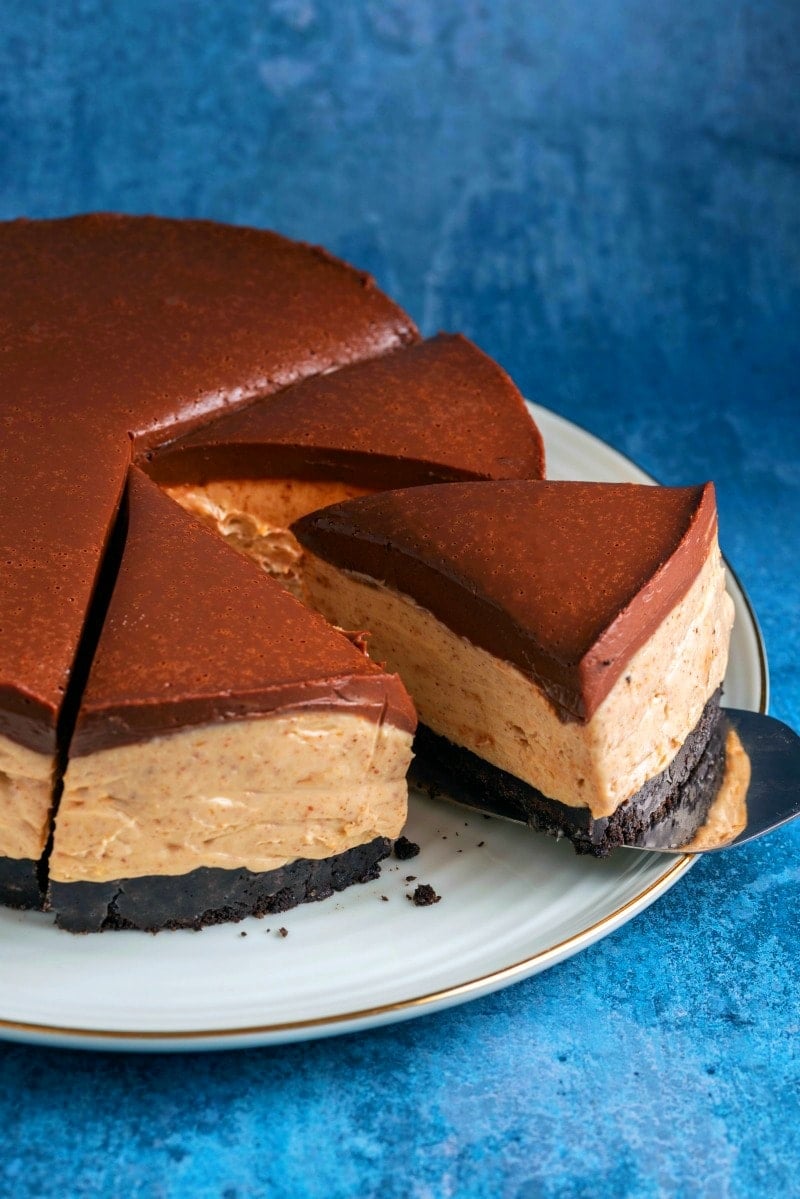
Ingredients needed
- Crust of choice. You can easily make a homemade crust in chocolate or plain flavor. I like to use a simple two-ingredient Oreo crust featuring chocolate sandwich cookies and melted butter.
- Full-fat cream cheese. Be sure that is at room temperature. Dairy free cream cheese works if you have a dairy intolerance.
- Confectioners’ sugar. Sweetens the peanut butter cream cheese filling, and also keeps the filling smooth, not gritty.
- Vanilla Extract. Gives a light vanilla touch!
- Peanut Butter. Smooth and creamy peanut butter, not the crunchy kind!
- Heavy cream. Or double cream. To balance out the cream cheese for that rich and creamy texture.
- Chocolate frosting. Optional, but I love adding a layer of my 2 ingredient dairy free frosting on top. You can also top it with whipped cream and chopped peanut butter cups.
How to make a peanut butter cheesecake
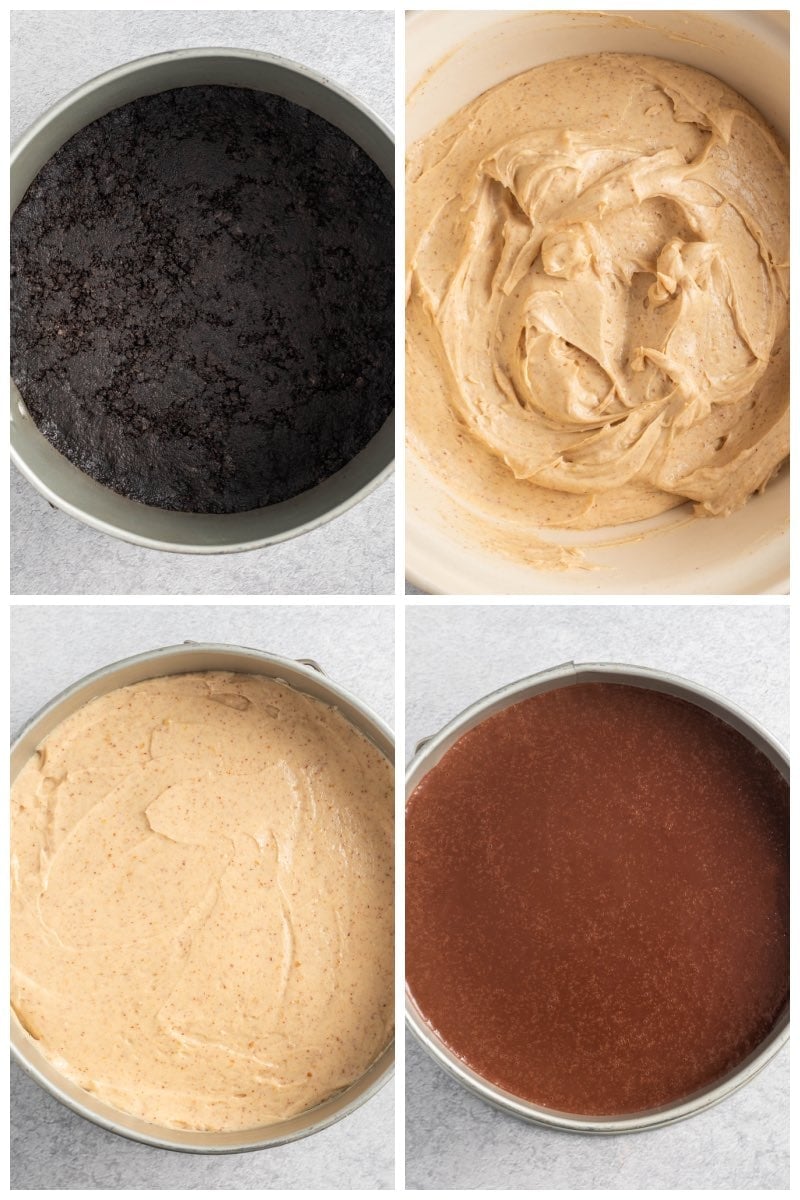
I’ve included step-by-step photos below to make this recipe easy to follow at home. For the full printable recipe instructions and ingredient quantities, scroll to the recipe card at the bottom of this post.
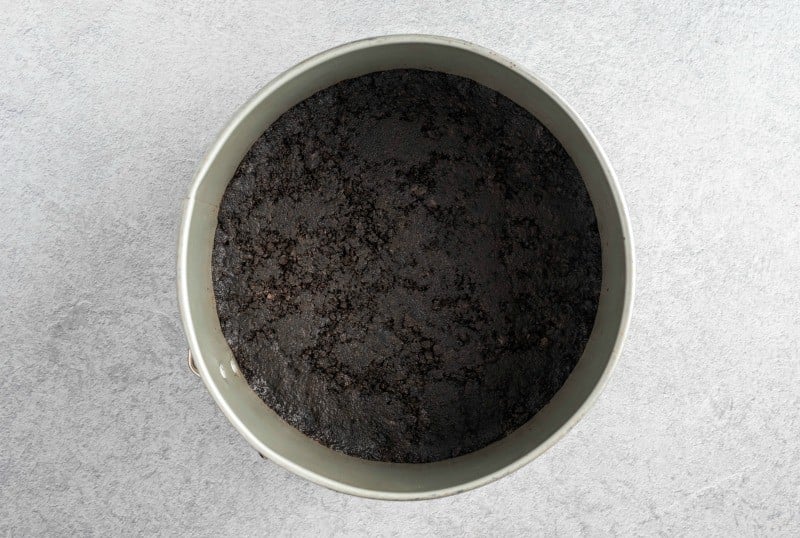
Step 1- Make the crust. Mix together the crushed Oreos with melted butter. Transfer it to an 8 or 9-inch pan and press down into it.
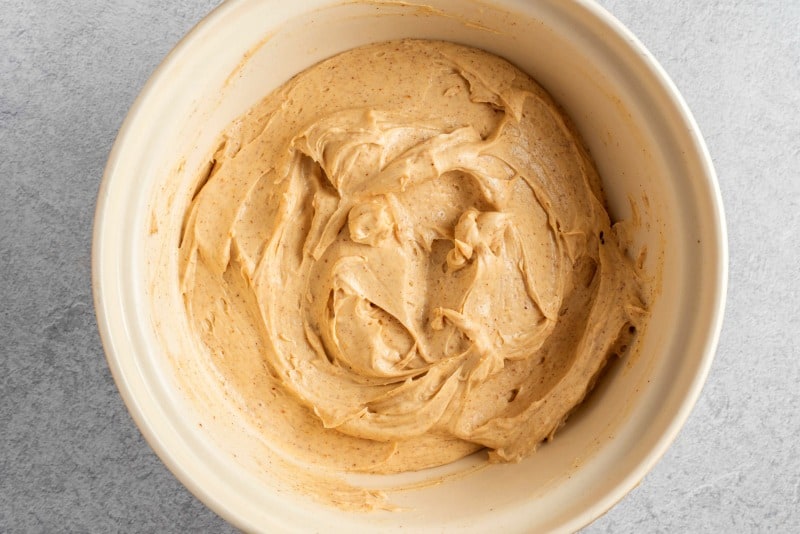
Step 2- Make the peanut butter cheesecake filling. Add softened cream cheese and powdered sugar in a bowl and beat until combined. Stir in the vanilla extract and peanut butter, and beat into the mixture. Add your heavy cream and continue beating until completely combined and smooth.
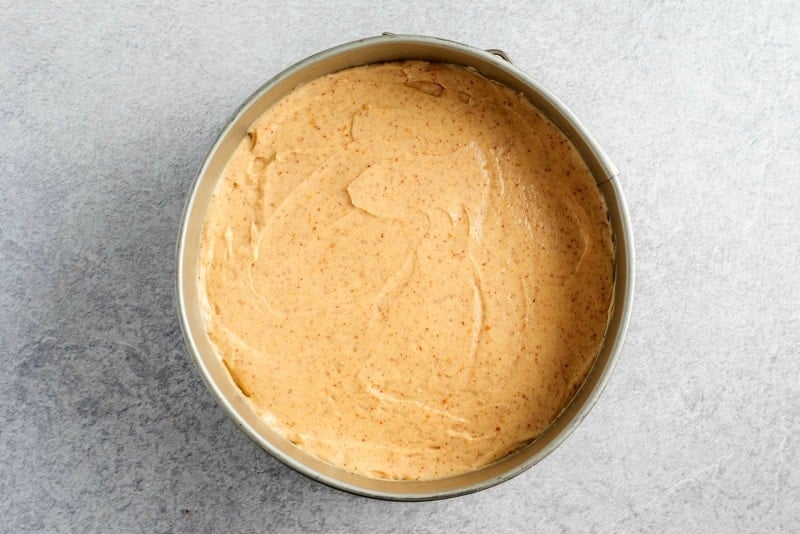
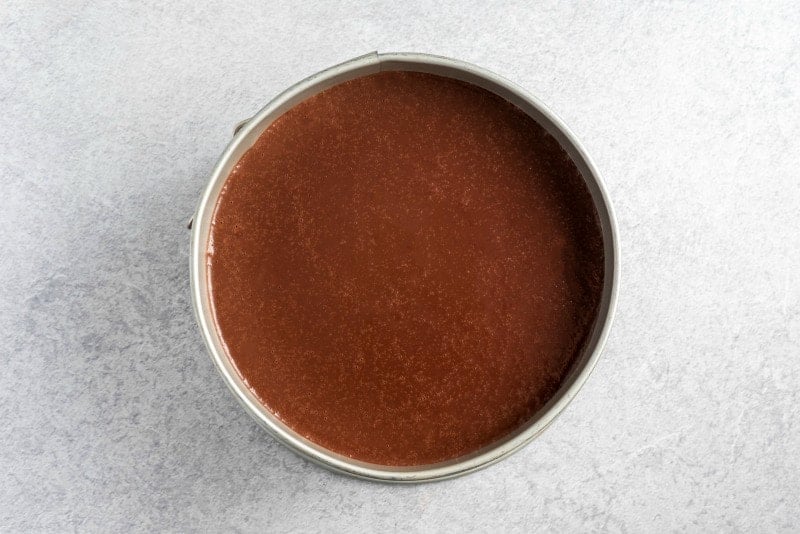
Step 3- Chill. Transfer your cheesecake filling over the pie crust and refrigerate overnight or for at least 6 hours.
Step 4- Frost. Once the cheesecake has set, spread the frosting over the top and let it sit for 30 minutes before serving.
Arman’s recipe tips
- Use a spring-form pan if you can– This makes removing the cheesecake so easy!
- Your peanut butter should be smooth and drippy. If you use a slightly firm one, you can microwave it for 20-30 seconds to get it moving. Be sure the peanut butter has no added salt unless you want a slightly salty flavor. Generic brands like Jif and Skippy work well.
- Either an 8-inch pan or a 9-inch pan will work. If you’d prefer a thicker cheesecake, use an 8-inch pan.
- For a richer peanut butter flavor, use peanut butter cookies for the crust.
Variations
The beauty of this cheesecake is how easy it is to adapt to various diets and serving styles out there.
- Make it low carb. Most of the ingredients can easily be swapped out for lower carb options. Just be sure to use a keto powdered sugar instead of the traditional kind.
- Cut the dairy. Use dairy-free versions of the cream cheese and heavy cream.
- Add a glaze. Swap out the frosting for a chocolate glaze.
- Make it crustless. Omit the crust together and let the cheesecake set in for two more hours.
- Swap out the peanut butter. Almond butter or tahini will work precisely the same way that peanut butter does.
Storage instructions
To store: Leftovers can be stored in the refrigerator, in an airtight container or in the pie dish, covered in plastic. It will keep fresh for up to 1 week.
To freeze: Freeze leftover slices in a freezer-friendly container, and keep in the freezer for up to 6 months. Thaw at room temperature or in the refrigerator overnight.
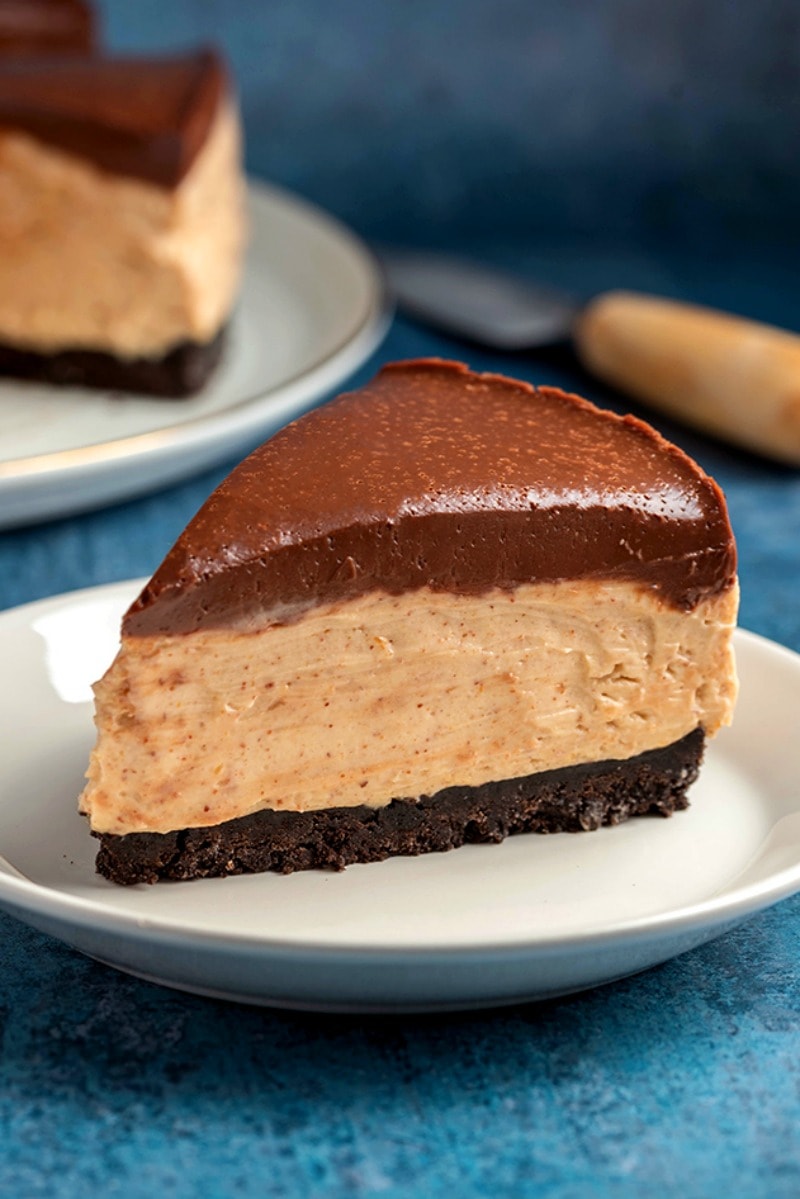
Frequently Asked Questions
Do not freeze the cheesecake during the firming process because it can actually create a freezer burn on top and yield an unset cheesecake at the base.
Unfortunately, cream cheese is a vital ingredient for this cheesecake, and no suitable substitutions are available.
When made with gluten free cookies in the crust, this cheesecake is suitable for celiacs.
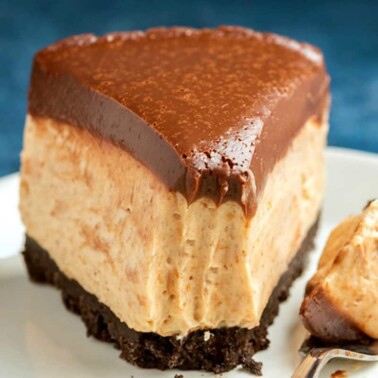
Peanut Butter Cheesecake
Video
Ingredients
- 2 1/4 cups cream cheese
- 1 3/4 cups confectioners' sugar
- 1 teaspoon vanilla extract
- 1 cup peanut butter
- 1/2 cup heavy cream
Crust
- 24 Oreo cookies
- 1/4 cup butter melted
For the chocolate ganache
- 1 cup coconut cream full fat
- 1 cup chocolate chips can use a chopped up chocolate bar
Instructions
- Prepare your pie crust by blending the cookies into a fine crumb then mixing it with the melted butter. Press it into 8 or 9-inch springform pan and set aside.

- In a large mixing bowl, beat together your cream cheese with the powdered sugar until combined. Add your vanilla extract and peanut butter and continue beating, until smooth. Slowly add your heavy cream and beat until fully incorporated and smooth.

- Transfer your cheesecake filling onto the prepared pie crust and refrigerate for at least 6 hours, or overnight.

- Once the peanut butter cheesecake has set, prepare your ganache by heating up your coconut cream (in the microwave or stovetop). Once warm, add your chocolate chips and let sit for 1-2 minutes, before whisking together until combined. Pour the ganache over the top of the cheesecake.

- Refrigerate for 30 minutes before slicing and serving.
Notes
Nutrition
Originally published July 2020, updated May 2023, and republished May 2024


Simply marvelous ~ one of the best cheesecakes I’ve ever had, let alone made. Silky smooth and rich with a great combination of flavors…and easy to make, to boot!
Thank you, Amy!
I am a beginner baker, had to learn after my husband of 40 years passed away last year and to my surprise, this cheesecake was absolutely delicious. I followed the recipe without any variations (I see others used different options) and have made it twice so far and as a one person eater I ate every piece of it except 2 pieces that I gave my colleagues to try and they loved it. HUGE SUCCESS for me. Thank you!
These are the greatest flavors to ever exist in a cake.
Filling and base turned out perfectly but im gonna need to perfect my ganache skills i think. thanks for sharing!
I made this Peanut Butter Cheesecake following the recipe exactly as written including the ganache topping and the end result was excellent. My cheesecake looked the exact same as in the recipe photo using a springform pan. Everyone at dinner had good comments about it. I’ll make this cheesecake again.
I made this recipe 5 times already. I absolutely love it. I have one question tho as I forgot the coconut cream at times. Can I sub it with heavy cream or anything?
For the frosting? That is completely fine 🙂
That is what I’m going try, since I have cream left over from the cheesecake filling and wasn’t able to find coconut cream.