Banana Protein Balls
This post may contain affiliate links. See my disclosure policy.
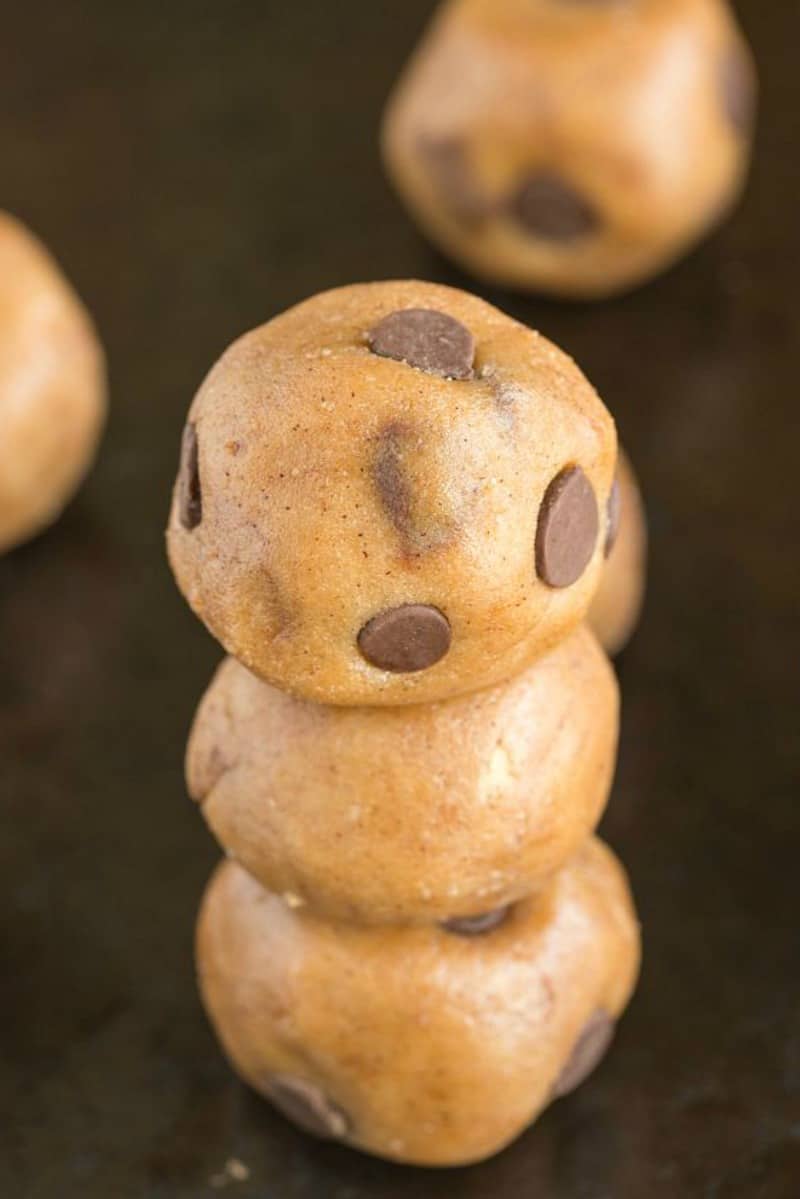
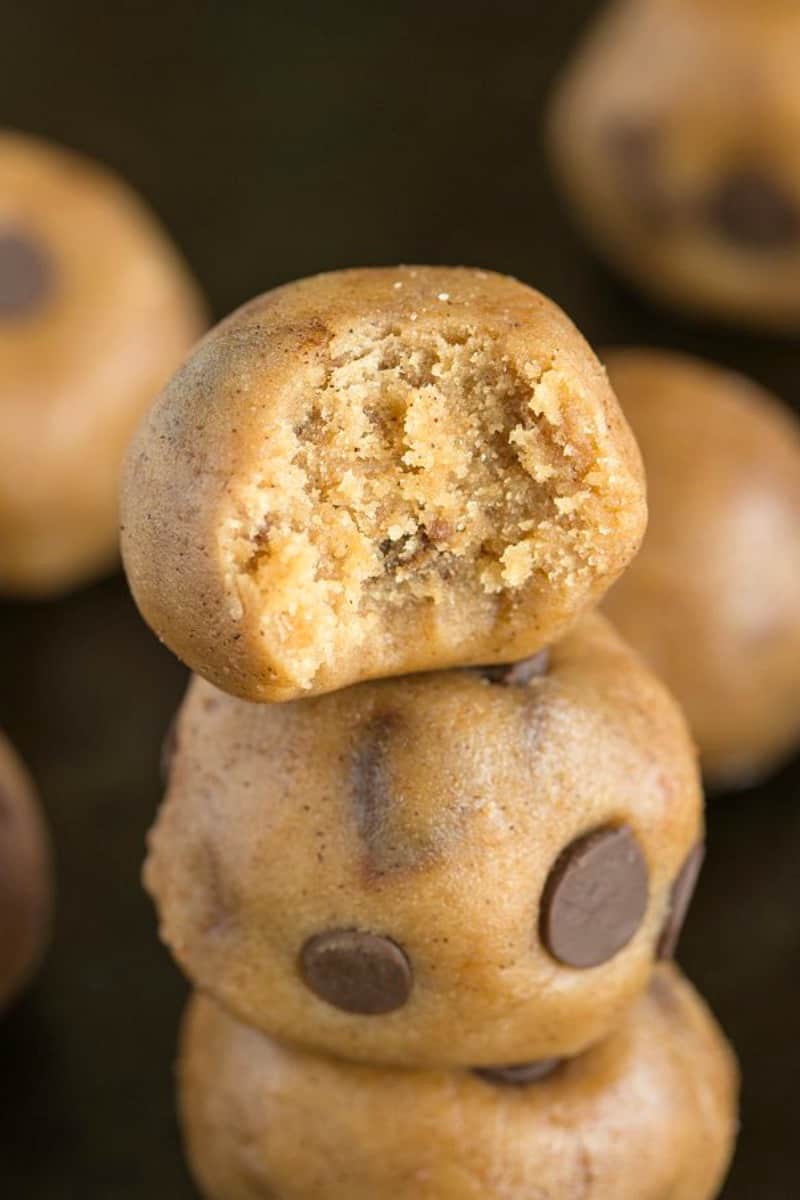
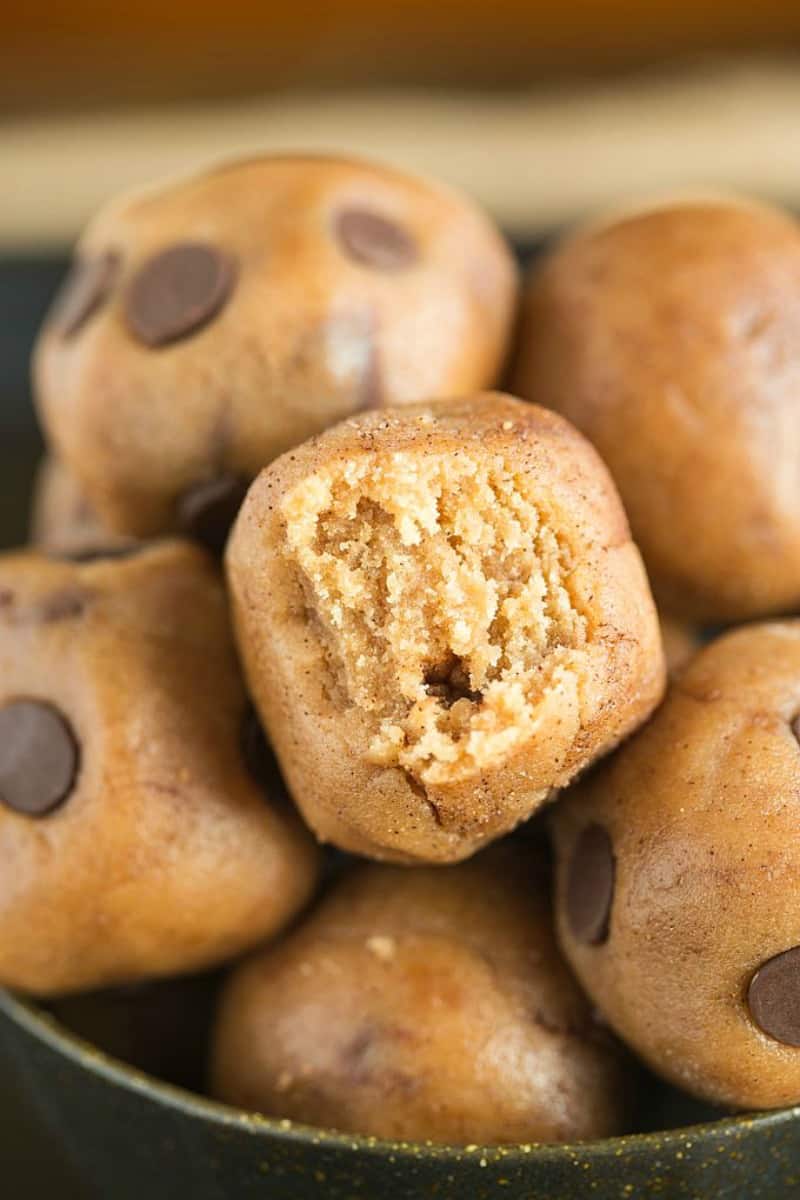
My banana protein balls are a healthy, homemade snack full of real banana flavor. They’re naturally vegan, gluten-free, and made with NO protein powder!
Keen on more protein ball recipes? Try my cranberry protein balls, peanut butter protein balls or snickerdoodle protein balls next.

Craving the flavor of banana bread but need a quick, healthy snack? You’ll love my banana bread protein balls!
Inspired by my banana protein bars and classic protein balls, I figured, why not make them into an even more convenient grab-and-go snack? Made with a shortlist of wholesome ingredients, they’re my favorite post-workout treat.
Table of Contents
Why I love this recipe
- No dates! 99% of no-bake protein balls use dates as the binder. I love dates as much as anyone, but I prefer to skip them in this recipe.
- A new way to use leftover bananas. One can only have so much banana bread before it starts to get old (or so I’m told).
- Healthy. There’s no dairy, eggs, heat-treated flour, or refined sugar!
- 20 grams of protein. And that’s all without protein powder.
Ingredients needed
- Coconut flour. My favorite low-carb, grain-free flour that’s naturally absorbent and high in protein. It also gives the protein balls a chewy, cake-like texture.
- Salt. Brings out the sweetness.
- Cinnamon. A must for any banana dessert.
- Granulated sweetener. I used erythritol, but you can use any sweetener or even regular brown sugar if you prefer.
- Banana. The riper the banana, the sweeter your banana bites will be.
- Peanut butter. Smooth and drippy, with no added sugar or salt. Alternatively, use any nut butter, like almond butter, cashew butter, or even sunflower seed butter.
- Maple syrup. For sweetness and to soften the protein bites. Agave nectar or honey can also be used.
- Milk. I used unsweetened coconut milk, but any milk will work.
- Chocolate chips. Optional but recommended. For added texture, I used a mix of mini sugar-free chocolate chips and regular chocolate chips.
Find the printable recipe with measurements below.
How to make banana protein balls
Step 1- Prep. Line a baking sheet or plate with parchment paper.
Step 2- Mix. In a blender or food processor, blend the banana until smooth. Add the other ingredients except the chocolate chips. Once combined, fold in the chocolate chips.
Step 3- Shape and chill. Using a cookie scoop, form bite-sized balls and refrigerate for 20 minutes to firm up.

Arman’s recipe tips
- Adjust the consistency. If the batter is too thick, add extra milk. If it’s too thin, add more coconut flour. The dough should be firm but malleable.
- Swap the coconut flour. Try blanched almond flour or oat flour instead. Just note you’ll need to add more as neither is as absorbent as coconut flour. Start with 1 ½ times the amount and add more as needed.
- Amp up the protein. Add 1-2 scoops of vanilla protein powder and adjust the texture with more milk. I’d suggest avoiding whey protein powder as it can make the balls difficult to shape.
Storage instructions
To store: Leftover banana bread energy balls should be stored in the fridge in an airtight container for up to two weeks.
To freeze: Place leftover energy bites in a freezer-safe bag and freeze for up to 6 months.

More ways to use leftover bananas

Banana Protein Balls
Video
Ingredients
- 1 cup coconut flour sifted
- 1/8 teaspoon salt
- 1 teaspoon Cinnamon
- 1/4 cup allulose * See notes
- 1 medium banana about 1/4 cup mashed
- 2 tablespoons maple syrup
- 1/4 cup peanut butter can use any nut or seed butter
- 1/4 cup milk ** See notes
- 1/4 cup chocolate chips optional
Instructions
- In a high speed blender, food processor or mixing bowl, blend your banana until smooth. Add the rest of your ingredients, except for the chocolate chips. If your batter is too thick, add a little extra milk. If too thin, add more coconut flour. Fold through your chocolate chips.
- Using your hands, form into bite sized balls and refrigerate for at least 20 minutes to firm up.


Delicious
Thank you, Patricia!
I have made these twice. I followed the recipe exactly the 1st time. Turned out yummy.
The 2nd time I tripled the recipe and made a little bit of a change, I used 1 cup of each coconut, almond and walnut flour and they came out even more delicious. Thank you for the yummy recipe.
Thank you so much, Surinder!
Just made these (a little bit adapted) for my 16 month-old toddler and he loved them!!! He grabed three at once: had a mouth full and a happy face 😛 I don´t give him sugar yet, therefore I was looking for something with honey, which is the only sweetener he tried so far and in small quantities. Even though I skipped the coconut sugar, chocolate and protein powder, it came out wonderfuly and was a big hit! I just love everyting you post and my little one is already a fan! :*
Aw that means so much- Hope the little one enjoyed it 🙂
Hello! I love raw recipes!!!! Yours! :))) Please don’t stop with them! 🙂 I’m vegan and trying raw vegan… And I love to eat something sweet… 😀 thanks for all you share with us. Kisses from Brazil, Rio de Janeiro.
Hi!!! That is so sweet of you!
I totally have a problem… I realize it has been two years since you posted this recipe, but…
I didn’t have any gluten-free oat flour on hand, and I’m too lazy to grind up oats at the last minute. So these were made with almond flour instead of oat flour.
Now for my problem…
I made an entire batch, and I made the balls fairly small, and my children have devoured more than three-quarters of them and they aren’t even fully set yet. How am I supposed to have some of these leftover for tomorrow… And are these a suitable substitute for dinner?
Also, in case it wasn’t obvious… These are delicious. And thank you so much for this recipe. We have both wheat and dairy allergies so baking is something that’s quite interesting to achieve. We made a couple other recipes. And your blog as one of our favorites to check back with. I especially appreciate the no-bake stuff, because it means that I don’t have to heat the house up to make a quick treat for the kids.
Hello,
I tried making these today and mine needed about a cup of almond milk to achieve more of a thick batter but they don’t look like the photo in the recipe and are still much more dry. I followed the recipe exactly and used almond butter for the nut butter, sugar for the granulated sweetener, honey for the liquid sweetener, and almond milk for the dairy free milk. They are very light in color and as I said on the dry side, they don’t appear to have that soft gooey texture of yours. Any advice? Could it have been the combo of ingredients I used? The coconut flour flavor is very apparent over the others. Thanks!
Hi Alyssa! For sure- Do you mind telling me what brand of coconut flour you used? Many vary brand to brand and some are very absorbant and can be quite difficult to work with. Also, for the optimum texture, I really recommend overripe bananas which lend themselves beautifully to them.