Banana Protein Bars
This post may contain affiliate links. See my disclosure policy.
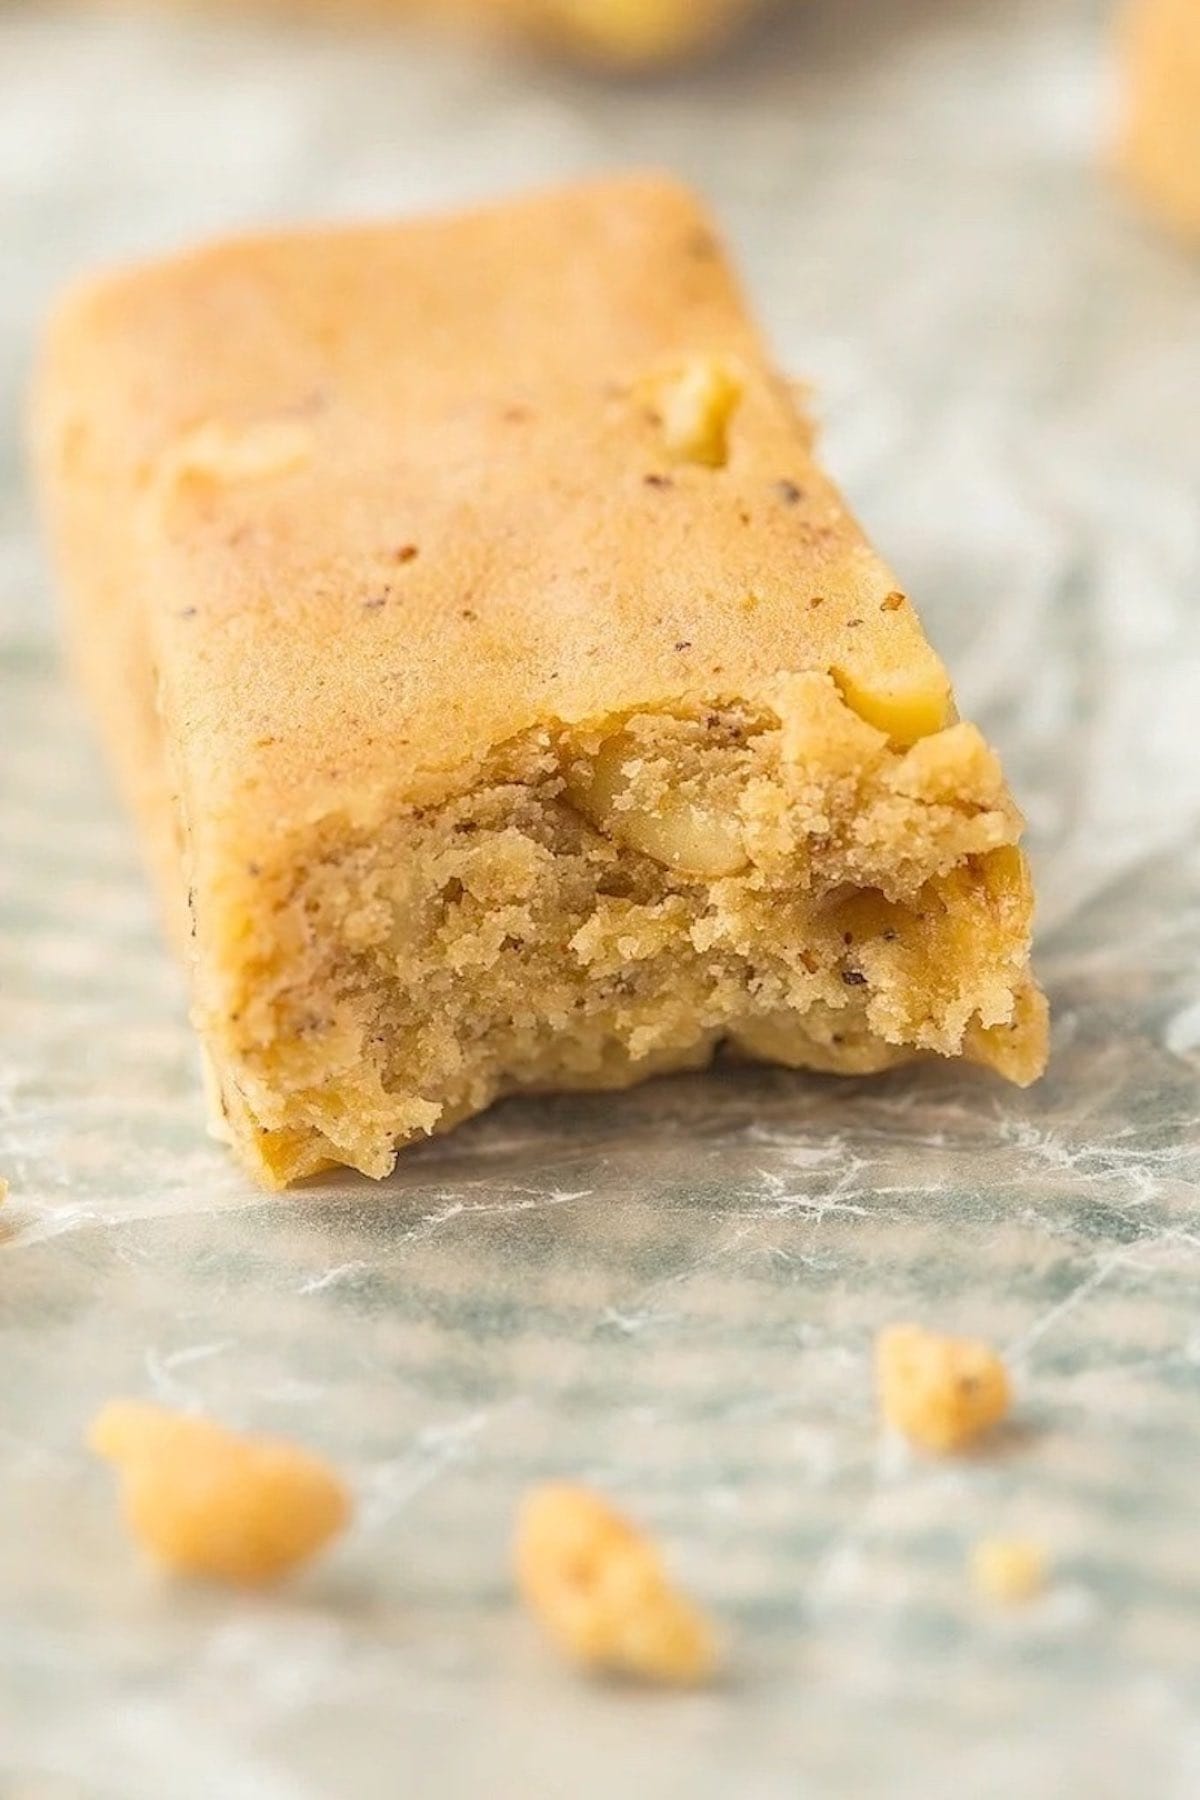
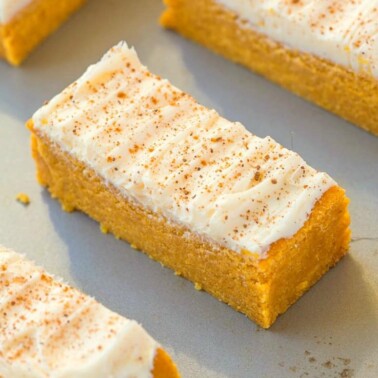
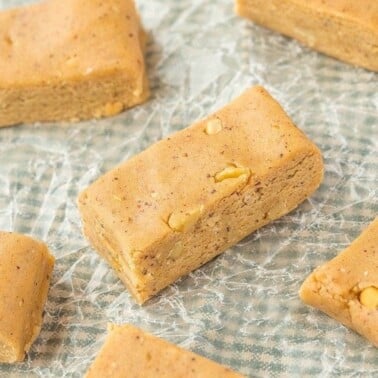
My sweet and chewy banana protein bars are the ultimate post-workout treat or midday snack. Made with simple ingredients and real banana, they pack in 15 grams of protein.
I used to love Quest protein bars, because they packed in plenty of protein and came in so many fun flavors. Quite a few of my homemade protein bar recipes have been inspired by them, including these banana protein bars.
Unlike most store-bought ‘banana-flavored’ bars, these contain actual bananas. They also pack in a solid amount of protein, making them one of my favorite post-workout snacks or quick, grab-and-go treats.
The tricky part when using real bananas instead of a flavor extract is balancing the extra moisture. During recipe testing, I found that casein and brown rice protein powders absorbed moisture much better while keeping the bars soft and chewy rather than gummy or rubbery.
They also store surprisingly well, which is ideal because I usually make a batch ahead of time for my partner and me to snack on throughout the week.
Table of Contents
Why I love this recipe

- Less than 10 minutes to make. Healthy treats shouldn’t take a lot of time to prepare, and these bars need barely any prep.
- A no-bake recipe. Yet you’d never guess it from their soft and chewy texture.
- Actually high in protein. Depending on the protein powder used, each bar can pack in 15 grams of protein and zero added sugar.
- Real banana flavor. Nothing artificial tasting, I promise.
Key Ingredients
Here’s what goes into this banana protein bar recipe, along with my kitchen notes. Full measurements are in the recipe card below.
- Coconut flour and oat flour. Works perfectly for no-bake recipes and gives the bars a cake-like texture. I’m using a mix of these two flours because they are completely safe to eat raw, and also they both absorb moisture well and keep the bars chewy. The coconut flour also gives them a cake-like texture.
- Protein powder. Use vanilla-flavored protein powder, as it adds sweetness, along with a lovely, subtle vanilla flavor. I like using vanilla casein (optimum nutrition) or brown rice protein (Growing Naturals).
- Brown rice syrup. Sweetens the bars while helping bind everything together. I tested honey and maple syrup too, but honey slightly overpowered the banana flavor while maple syrup made the bars softer.
- Almond butter. I like smooth, all-natural almond butter, but any nut or seed butter works.
- Mashed banana. The browner, the better, as those are the sweetest.
- Nuts. Optional, but I like to add some walnuts because I’m a sucker for banana walnut bread.
- Milk or water. Only as needed. Depending on the protein powder you use, you might not even need any.
- Granulated sweetener (optional). Some readers found the bars weren’t sweet enough when using unflavored protein powder, so I recommend adding a little granulated sweetener if needed. I like allulose because it dissolves smoothly without leaving a gritty texture.
How to make banana protein bars
Step 1- Prep. Line an 8 x 8-inch baking dish with parchment paper.
Step 2- Combine the dry ingredients. In a large mixing bowl, combine the dry ingredients.
Step 3- Mix dry and wet ingredients. In a microwave-safe bowl, melt the almond butter and brown rice syrup. Pour the wet mixture into the dry and combine. Fold in the banana, followed by the nuts. Using a spoon, add the milk one spoonful at a time until a thick, firm batter forms.
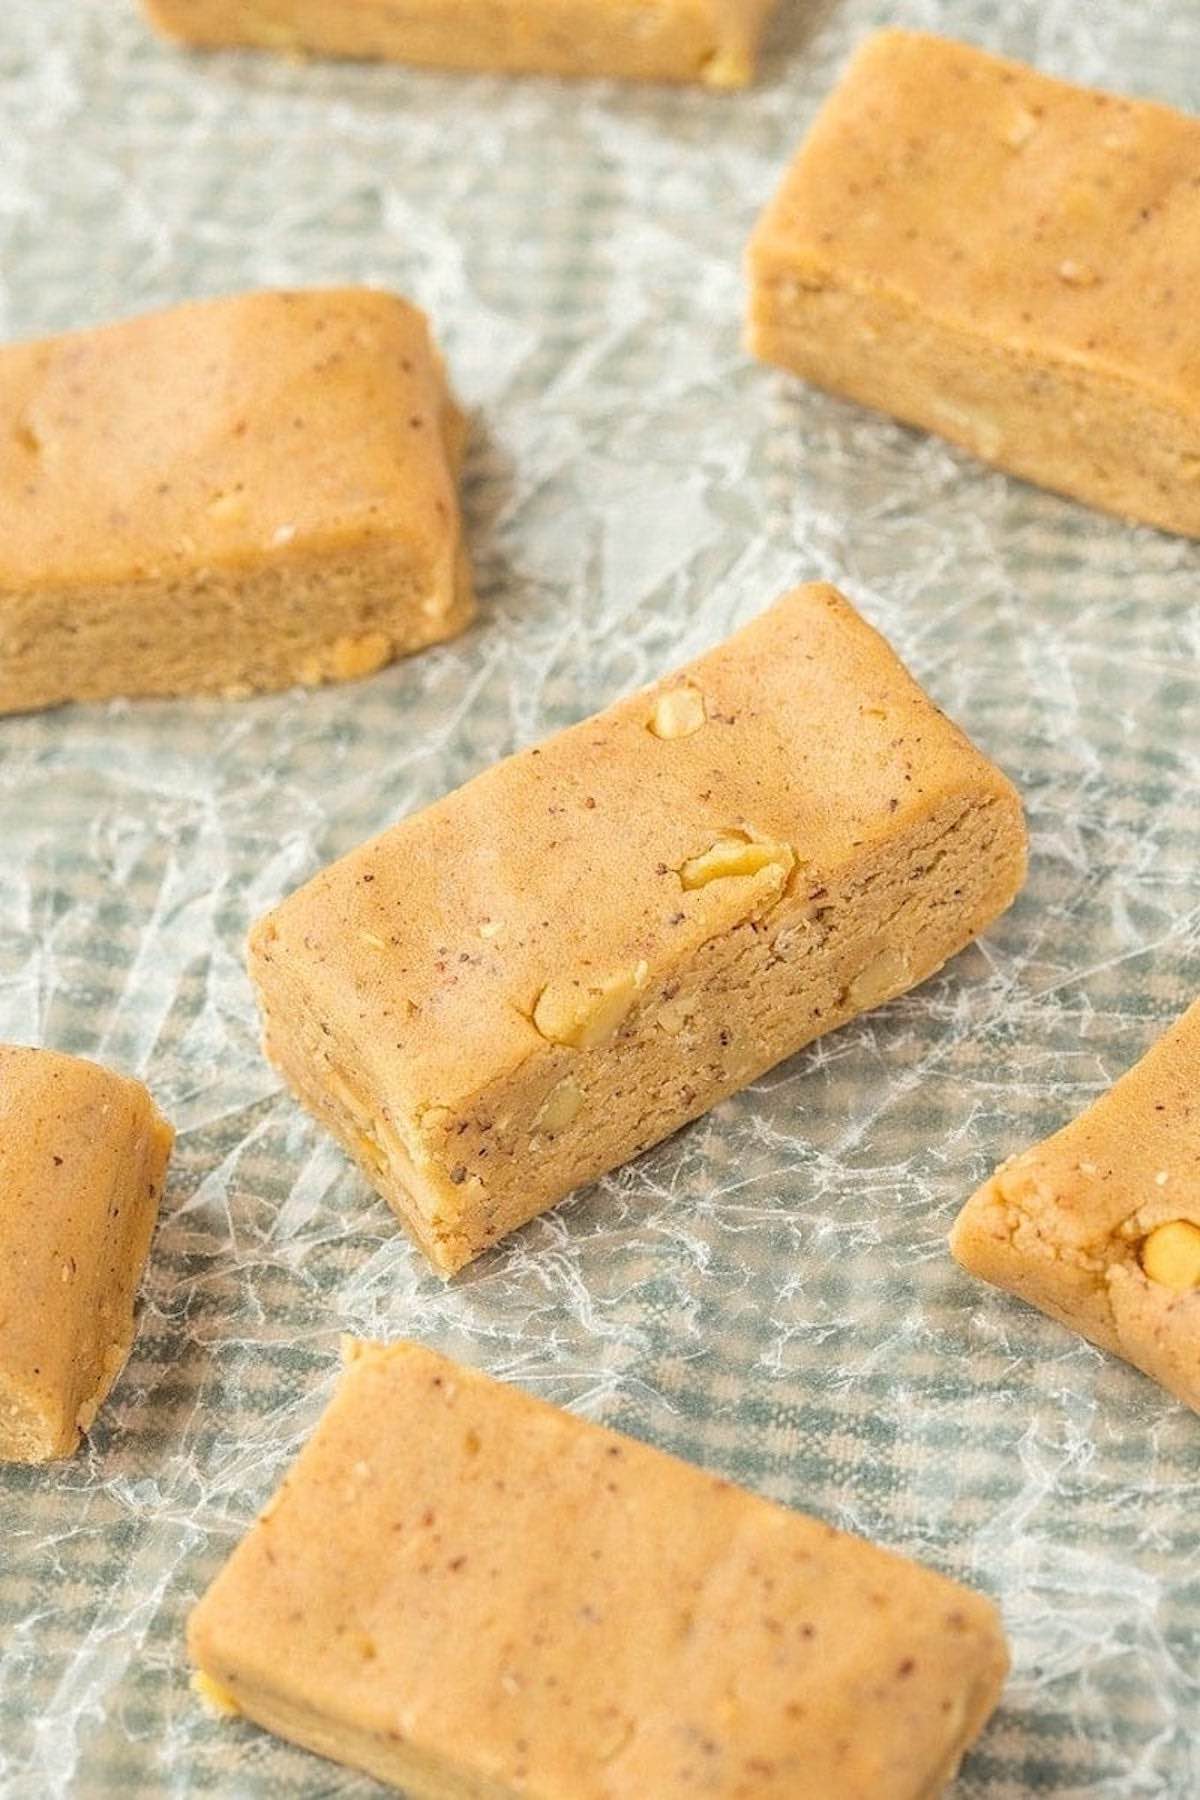
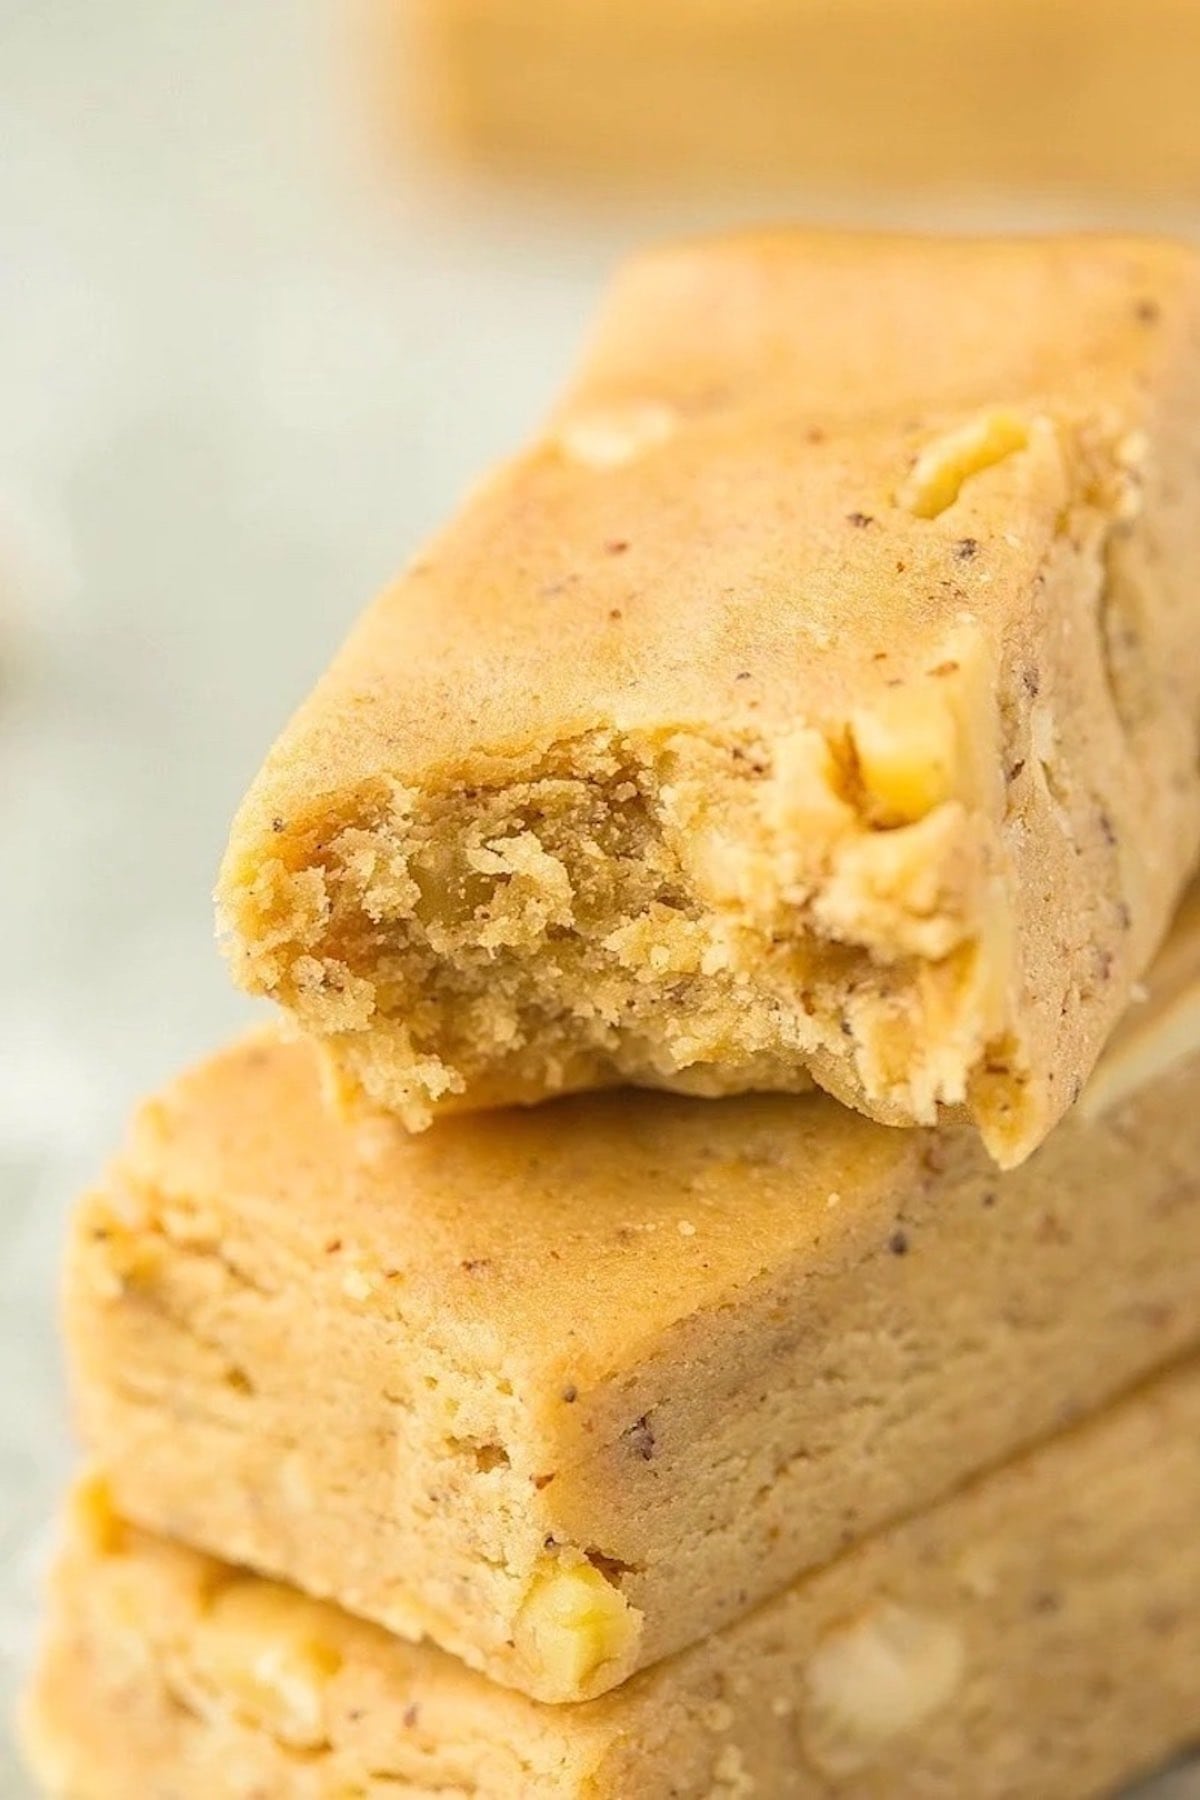
Step 4- Chill and slice. Transfer the batter to the baking pan and press down firmly. Refrigerate for at least 30 minutes, then slice into 12 bars.
Arman’s recipe tips
- Adjust the consistency. Depending on the size of the bananas, sometimes I need to add a little more flour to compensate. The texture of the batter should be firm but easy to press into a pan.
- Don’t skip the chill time. I found the bars sliced much more cleanly after chilling for at least 30 minutes. If you cut them too early, they’ll stick to the knife and be soft in the middle.
- Avoid whey protein powder. I feel like I say this on many of my protein powder recipes, but it’s worth repeating. During testing, whey protein made the bars super sticky and actually thinned out the mixture. I’d stick with casein or brown rice.
Storage instructions
To store: These bars will stay fresh at room temperature in an airtight container for 2-3 days. If you want to keep them fresher for longer, refrigerate them for up to 1 month.
To freeze: Place leftover bars in a freezer-safe bag and freeze them for up to 6 months. I usually just let them sit at room temperature about 30 minutes before enjoying.
More protein bar recipes
Banana Protein Bars
Ingredients
- 1 cup oat flour 90g
- ½ cup coconut flour or more oat flour, 56g
- 1 ½ cups vanilla protein powder 135g
- 2 tablespoons allulose optional, see notes, 24g
- 1 tablespoon cinnamon 7g
- 1/4 cup almond butter can sub for any nut butter, 60g
- ½ cup brown rice syrup or honey, 120mL
- 1 small banana mashed, 115g
- 1/4 cup chopped nuts optional, 30g
- 1 tablespoon milk see notes
Instructions
- Line an 8 x 8-inch baking dish with parchment paper and set aside.
- In a large mixing bowl, combine the oat flour, coconut flour, protein powder, sugar, and cinnamon, and mix well.
- In a microwave-safe bowl, combine the almond butter and brown rice syrup and heat until melted. Pour the wet mixture into the dry and mix well. Add the banana and mix until combined. Stir through nuts if desired. Using a spoon, add the milk one spoonful at a time until a thick, firm batter is formed. You may need more milk as needed. The batter should be thick but workable.
- Transfer to the lined baking dish and press down firmly. Refrigerate for at least 30 minutes before slicing into 12 bars.


Hi Arman! Can I substitute maple syrup for the brown rice syrup? Thank you!
Yes you can, Wendy 🙂
Which nut butter is go the best here?
Hi Mario- Thanks for sending the photos via email- I’m glad you found cashew butter better tasting than almond butter!
Love these for a quick and easy snack!
Bananas in the shape of protein bars should be amazing. I was always searching for flavour of banana when I was buying protein bars. Really interesting.
Bananas are my favourite fruit. But I always eat
Only banana. I can try this recipe!
Could I substitute some of the flour for additional protein powder, so pack a little more punch?
You can try
This is the first protein bar recipe that has really worked for me so thank you! I varied it, using no syrup or sugar but a large banana (and almond flour instead of coconut). It is a little softer than ideal but that may be because I used 2tbsp of milk. Tastes good and I know it is healthy! I’ll be trying your other protein bar recipes.
Can I use this recipe with the baked method ? thankyou
I wouldn’t recommend it, as it will bake up dry and brittle around the edges. It’s best as a no bake recipe.
Hiya! Do these keep long term eg. Freezing? Thanks !
Hi Alex! My section on storage instructions cover that, including freezing-
To freeze: Place leftover bars in a freezer-safe bag and freeze them for up to 6 months.
Hi! If I don’t have gluten free oat flour, what other flour can I use??
Regular oat flour is fine- it’s so easy to make by blending down oats to a fine powder-like consistency.
No nutritional info for these? How can I work out the nutritional information?
You can use myfitnesspal to calculate any recipe you like! Enjoy!