Sugar Free Chocolate Syrup
This post may contain affiliate links. See my disclosure policy.
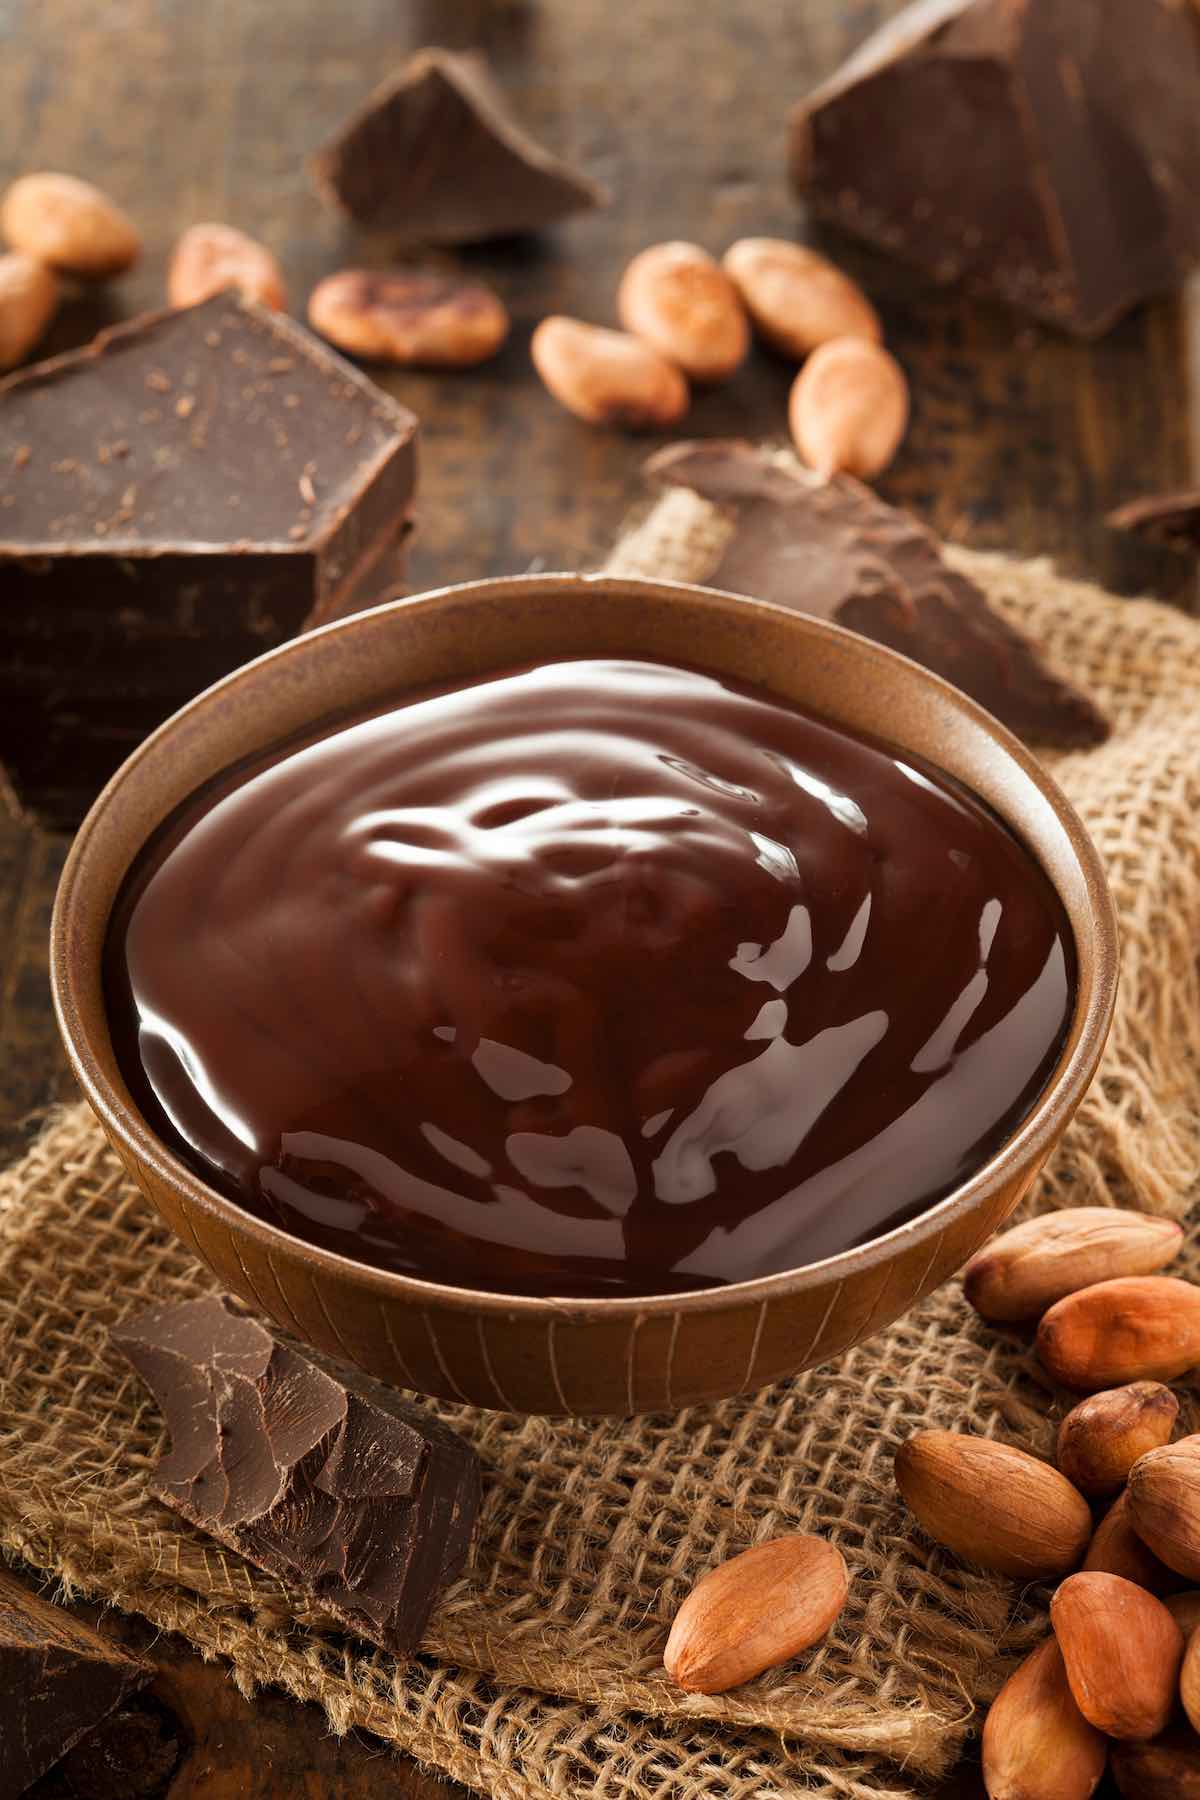
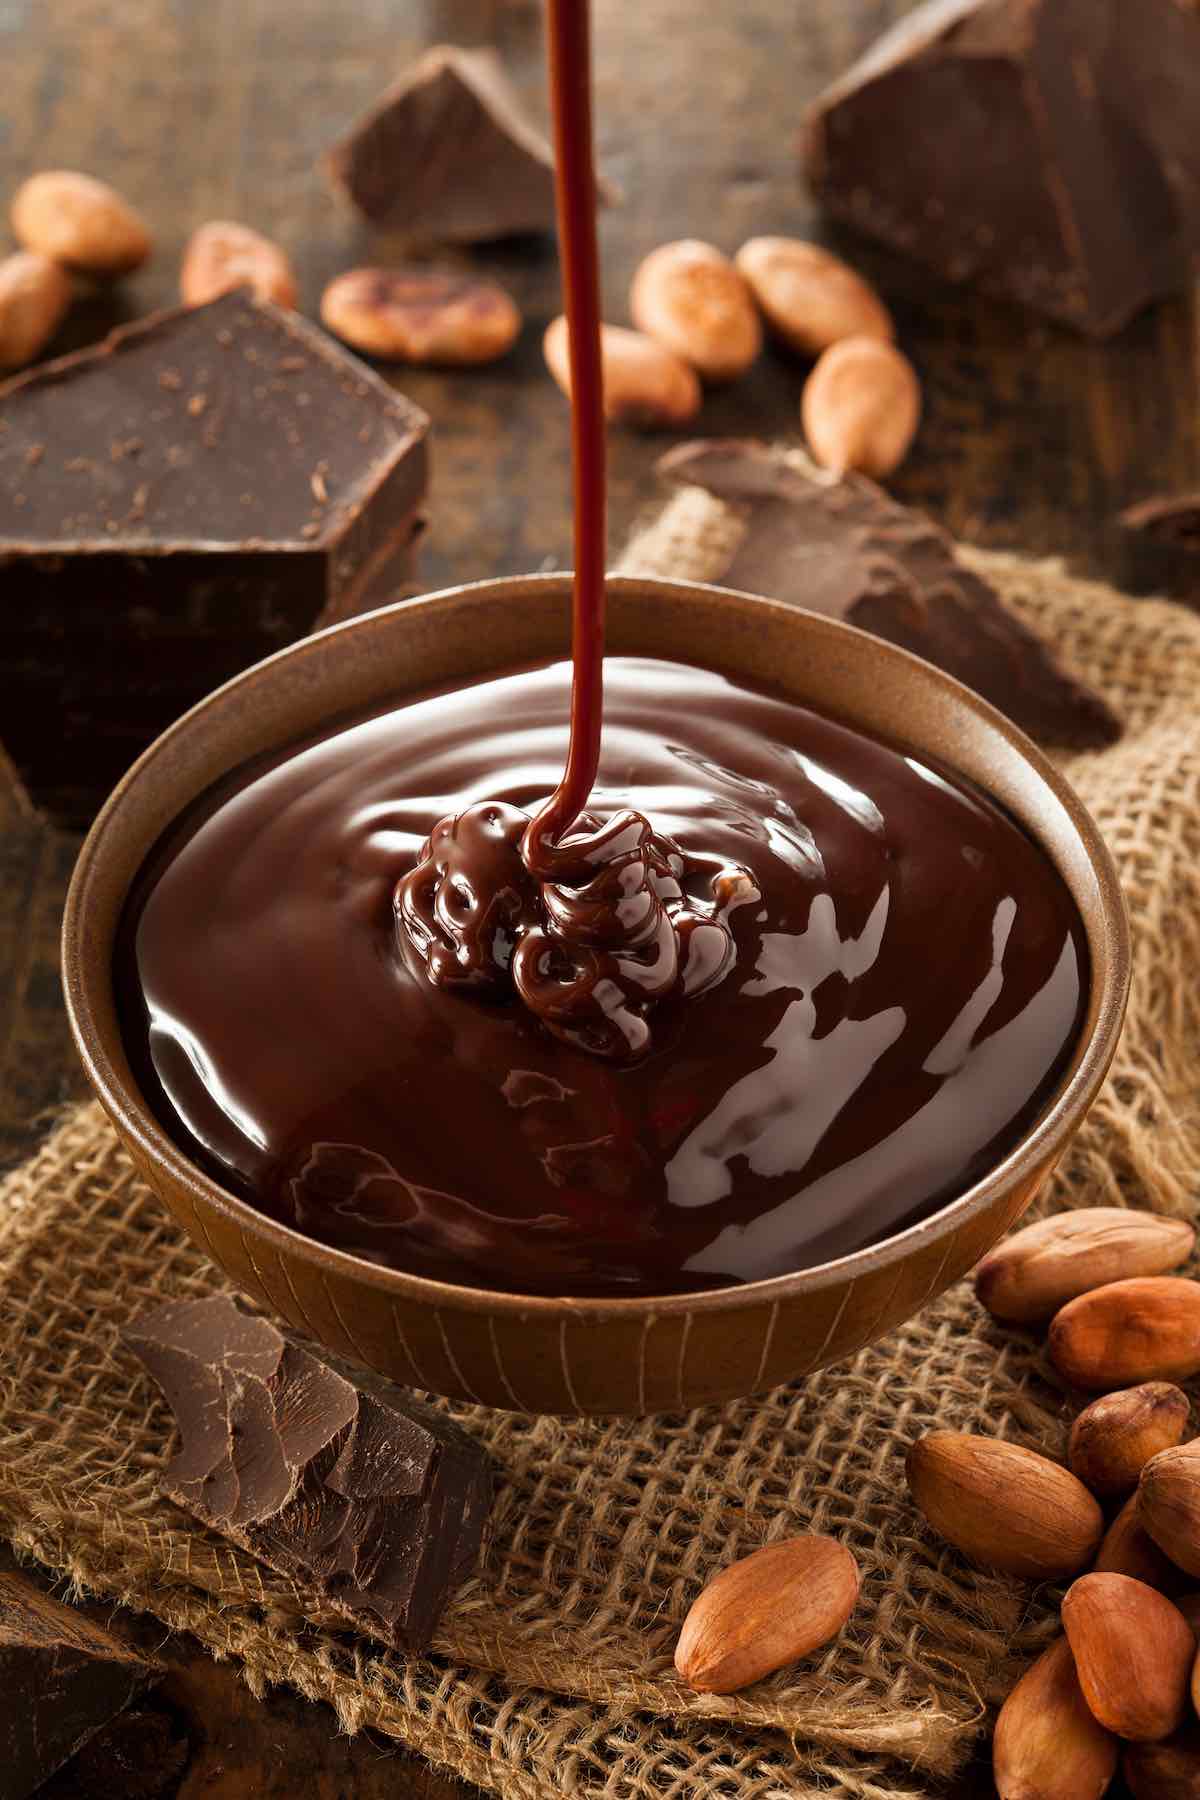
My sugar free chocolate syrup is rich and smooth, perfect for all your favorite low-carb desserts. Made with just 3 main ingredients, it’s spoonable and addictive!
Need more sugar-free syrups? Try my sugar-free caramel syrup, keto maple syrup, and keto simple syrup next.

It’s important to have a few staples in your sugar-free diet. And yes, I consider chocolate syrup a staple.
I used to swear by Hershey’s sugar-free chocolate syrup, but now that I know how to make it from scratch, I’ll never go back.
Table of Contents
Why I love this recipe
- Made with 4 wholesome ingredients. And zero artificial flavor, sugar, thickeners, or sodium benzoate (whatever that is).
- Versatile. Drizzle it over keto ice cream, keto pancakes, or a keto milkshake. There are no wrong answers!
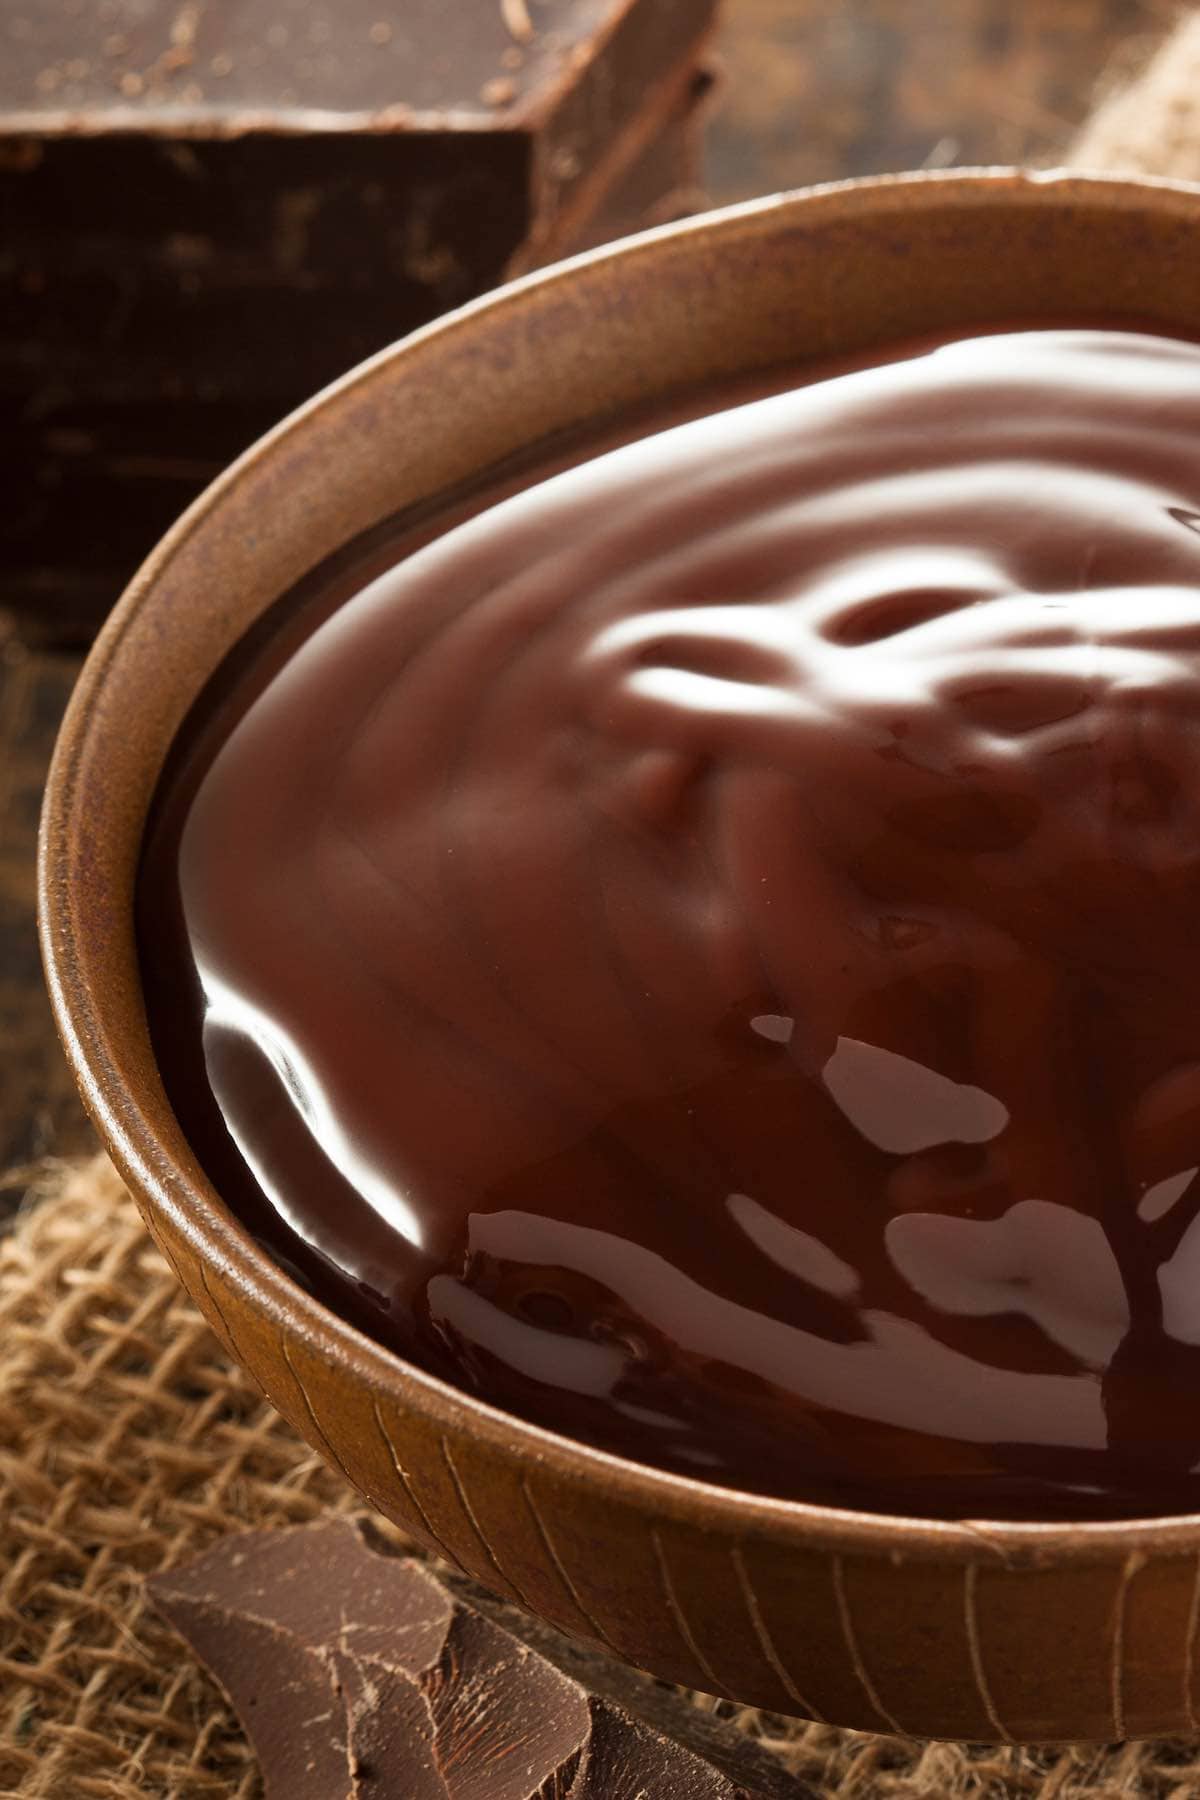
- The perfect texture. It’s thick and smooth yet pourable like any good chocolate syrup should be.
- Have it whenever you need it. Once it’s made, you can store your chocolate syrup for up to two weeks–not that it’s ever lasted that long in my house!
Ingredients needed
- Sweetener. I prefer allulose because it doesn’t crystalize and won’t leave the sauce gritty. If you don’t have either, use sucralose or keto powdered sugar. The only sweetener I don’t recommend is stevia, which I tested and found to be quite bitter.
- Cocoa powder. I used sifted unsweetened cocoa powder. Avoid using raw cocoa powder as it can be VERY bitter.
- Salt. A pinch to balance the sweetness.
- Water. Use tap or chilled water. I also tested this with unsweetened almond milk, and I actually preferred the consistency of it with water.
- Vanilla extract. Essential for the overall flavor.
How to make sugar-free chocolate syrup
I’ve included step-by-step photos below to make this recipe easy to follow at home. For the full printable recipe instructions and ingredient quantities, scroll to the recipe card at the bottom of this post.
Step 1- Combine ingredients. In a small bowl, whisk together the cocoa powder, sweetener, and salt. Add the mixture to a saucepan with the water and whisk to combine.
Step 2- Boil. Place the pan over medium heat. Once it’s boiling, reduce to low heat and simmer for 1-2 minutes, stirring regularly.
Step 3- Chill. Remove the syrup from the heat and whisk in the vanilla. Let it cool completely, then transfer it to a shallow jar and refrigerate for an hour to thicken.

Arman’s recipe tips
- If your chocolate sauce is too thin, don’t worry. It’ll continue to thicken as it cools down.
- That said, if you want it EXTRA thick, add 1 teaspoon of xanthan gum.
- Enhance the chocolate flavor. Use dark or black cocoa powder and add a pinch more sweetener.
- Use a good quality cocoa powder. Trust me, it makes all the difference!
Storage instructions
To store: Homemade chocolate syrup is not shelf-stable. It should be stored in an airtight container in the refrigerator for up to two weeks. Let it sit at room temperature for 15 minutes before using.
To freeze: Place the leftover syrup in a shallow container and freeze it for up to six months.

Recipes to use keto chocolate syrup

Sugar Free Chocolate Syrup
Ingredients
- 1/2 cup cocoa powder
- 1 cup allulose
- 1/8 teaspoon salt
- 1/2 cup water room temperature
- 1 teaspoon vanilla extract
Instructions
- In a small bowl, whisk together the cocoa powder, allulose, and salt. Add it to a small saucepan, add the water, and whisk once more.
- Place the saucepan over medium heat. Once it begins to boil, reduce to low heat. Let the sauce simmer for 1-2 minutes, stirring regularly.
- Remove the saucepan from the heat and whisk in the vanilla extract. Let the syrup cool completely, before transferring it to a shallow container or jar and refrigerating it for at least an hour, to thicken.
Notes
Nutrition
Originally published July 2021, updated and republished August 2024


Does anyone know what sweeteners can be used instead of allulose?
Hi Omak! When recipe testing, I tried every keto sweetener that’s easily accessible, and the reason why I rave about allulose is that out of all of them, it’s the only one that dissolved like sugar would. I don’t want to recommend other blends like monk fruit or erythritol, which will result in a gritty and dense syrup. Let me know if you want a hand finding allulose- It’s easy to find online but depending on where you are, it can also be in a mainstream grocery store.