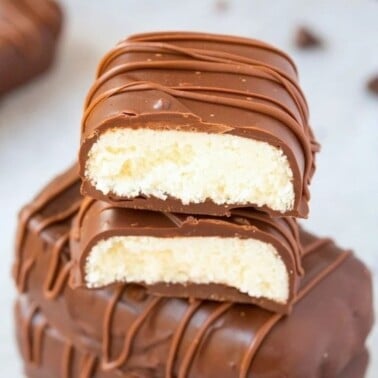
Cookies and Cream Protein Bars
This post may contain affiliate links. See my disclosure policy.
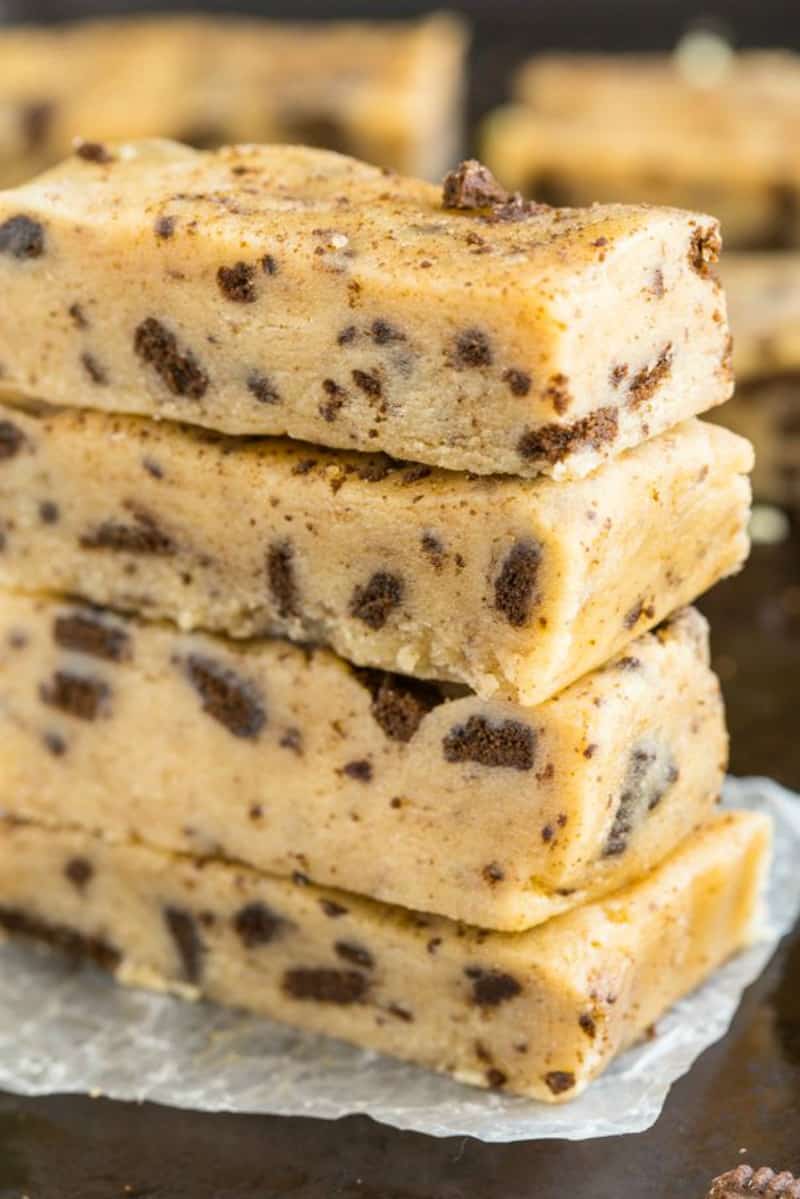
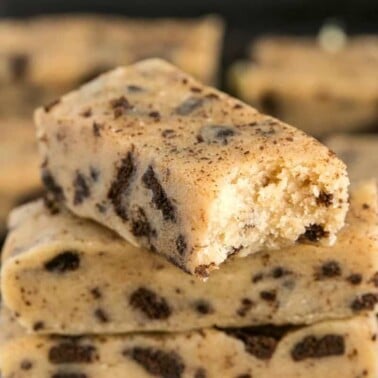
My cookie and cream protein bars are one of my favorite high-protein snacks, packing 14 grams of protein each. They are soft, chewy, and have real sandwich cookie pieces in every bite.
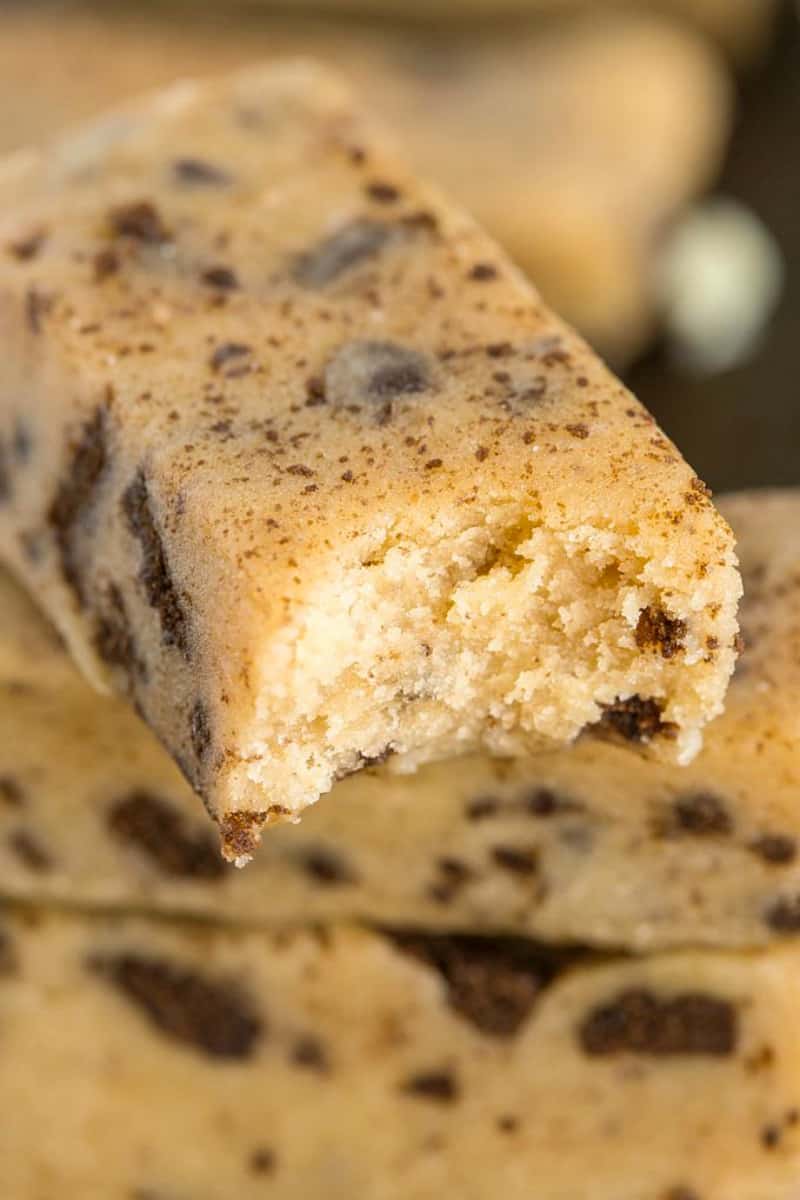
Not to brag, but, well… I’m going to. I’m quite an expert on homemade protein bars, having tested so many recipes and built quite a collection. During college, I had a full-fledged love affair with Quest Cookies and Cream protein bars, so of course, I’ve decided to try making them from scratch. These thick and chewy bars have the same base as many of my other bar recipes- coconut flour, protein powder, and maple syrup. The difference here is that I add finely crushed sandwich cookies. I know they’re not the healthiest (okay, not even remotely), but I’m only using two for the entire recipe, so it barely counts.
Table of Contents
Arman’s recipe highlights

The shortlist of ingredients. No corn syrup, hidden sugars, or “natural flavor.” What you see is what you get. Don’t even get me started on what was in those Quest ones…
Stable at room temperature. I developed the ideal combination of ingredients to make sure the bars travel well and do not need refrigeration. Saying that, I do keep them in the fridge for long-term storage.
Actually high protein. Many recipes labeled ‘high protein’ have just 4 or 5 grams per serving. These pack in at least 14 grams each, and I’ll also include a trick to increase them even further.
Key Ingredients and Tips
- Oat flour. If I have rolled oats at home, I’ll usually make my own oat flour, but you can buy them from the store instead. Use gluten-free oat flour if needed.
- Coconut flour. Works with the oat flour to keep the bars extra chewy. If you don’t want to use this, extra oat flour works just fine.
- Protein powder. I typically use vanilla casein, as it yields the best texture and adds sweetness. Vanilla brown rice or pea protein is also great. I don’t recommend whey, as it can be quite wet and difficult to shape into bars.
- Almond butter. Smooth and drippy with no added sugar or salt. Any nut or seed butter will work as long as it is smooth (my partner loves these with cashew butter).
- Maple syrup. Gives the protein bars sweetness and holds them together. Honey or brown rice syrup is a great alternative.
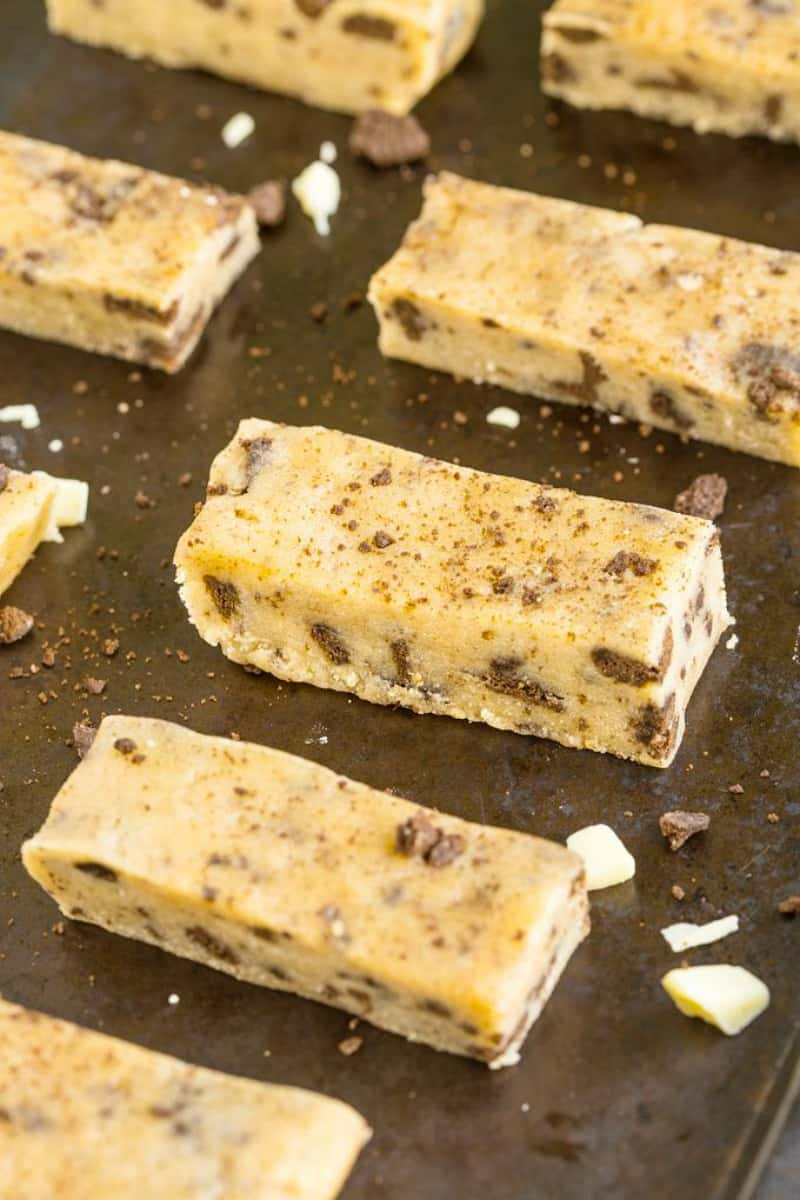
- Chocolate cookies. Oreos or other Sandwich cookies work well. They do need to be crushed, so throw them into a ziploc bag and use a rolling pin (or your hands, I don’t judge) to crush them up.
- Milk. Depending on the protein powder you use, the ‘dough’ may be a little crumbly. If that happens, add milk (or water), one tablespoon at a time, until it’s workable.
Find the printable recipe with measurements below.
How to make
Step 1- Prep. Line an 8×8-inch baking dish with parchment paper.
Step 2- Combine dry ingredients. In a mixing bowl, combine the flour, protein powder, and sweetener.
Step 3- Add the wet ingredients. Stir in the almond butter and syrup until a crumbly batter remains.
Step 4- Finish the batter. Using a spoon, add milk one tablespoon at a time until a thick batter forms. Fold in the crumbled cookies.
Step 5- Refrigerate. Transfer the batter to the pan and press it into place. Refrigerate for 30 minutes or until firm.
Expert tips
- Pick the right protein powder. Aka use a protein powder you like the taste of. You’ll be able to taste subtle notes of it throughout.
- My #1 tip when slicing no-bake bars is to use a warm, sharp knife. I like to run hot water over the knife, carefully dry it, then slice. You might have to repeat this in between each slice, but it’ll help guarantee smooth, even cuts.
- Adjust the mixture as needed. If you notice your bar mixture is crumbly/thick, slowly add milk or water to loosen it and make it workable. If it’s too wet, add a little extra oat flour or protein powder.
- Add even more protein. If I have some extra time, I like to whisk 1/4 cup of vanilla protein powder with some milk and one tablespoon of powdered sugar. It makes a mock ‘icing’ that I drizzle over the bars, and chill until they set.
Storage notes
I like to keep leftover bars in the fridge, covered. They will keep well for about 2 weeks (although good luck having them last that long). You can also freeze them in a Ziploc bag for up to 6 months.
I mentioned them being room temperature stable– just keep them covered in parchment paper or in a grease-proof bag.
More homemade protein bar recipes
Cookies and Cream Protein Bars
Ingredients
- 1 cup oat flour
- ½ cup coconut flour can sub for more oat flour
- 1 cup vanilla protein powder
- 2 chocolate sandwich cookies crumbled
- ½ cup almond butter can sub for any nut or seed butter
- ½ cup maple syrup can sub for honey or brown rice syrup
- 1/4 cup milk ** See notes
Instructions
- Line an 8 x 8-inch baking dish with parchment paper and set aside.
- In a large mixing bowl, combine the oat flour, coconut flour, and protein powder. Set aside.
- Add the almond butter and syrup, and mix well, until a crumbly batter remains.
- Using a spoon, add the milk of choice, one spoonful at a time, until a thick, firm batter forms. Gently fold through the crumbled cookies. .
- Transfer to lined baking dish and press firmly. Refrigerate for at least 30 minutes.


So good, whole family liked them even the picky eaters
Love to hear that, Eliza 🙂
best protein bars EVER!
Really is cookies and cream. I always bought on webshops such protein bars. But this I should try.
Would it be okay if I use whole cup of protein powder instead of half?
I thought I dont like cookies and cream flavour but I really do. Will try this one!
These were so good! Thank you. I only had cookies and cream whey protein powder so that’s what I used. Because I read your comment about whey protein possibly making them too sticky, I only used half of the maple syrup and kept the 2T of monkfruit sweetener. I only needed 1/2c of unsweetened almond milk. They did not come out sticky (to me) and the bars formed well. I’m pleasantly impressed by how good these taste. My husband said these are “better than store bought,” and I agree.