
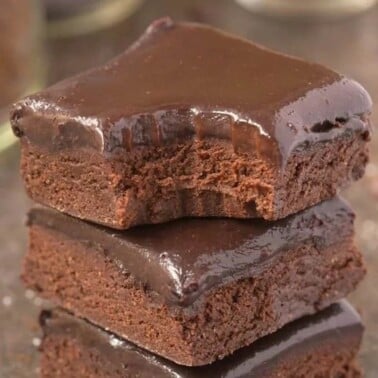
Brownie Recipes
Brownie Recipes
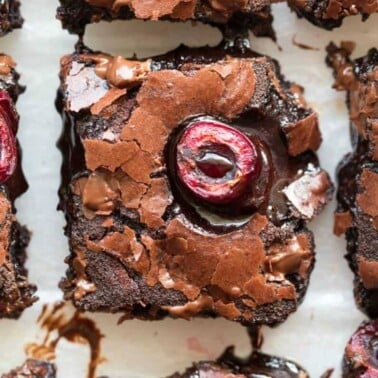
Cherry Brownies
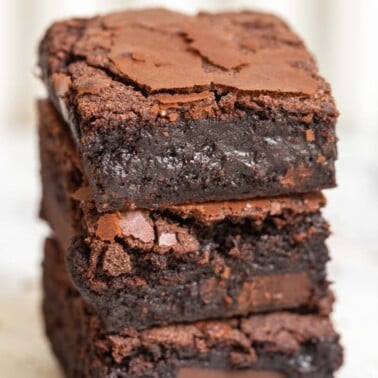
Brownie Recipes
Fudgy Eggless Brownies
Brownie Recipes
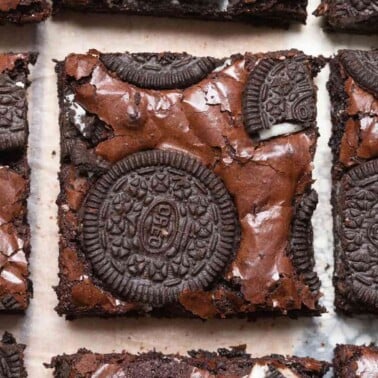
Fudgy Oreo Brownies
Brownie Recipes
Zucchini Brownies
Brownie Recipes
Cottage Cheese Brownies
Brownie Recipes
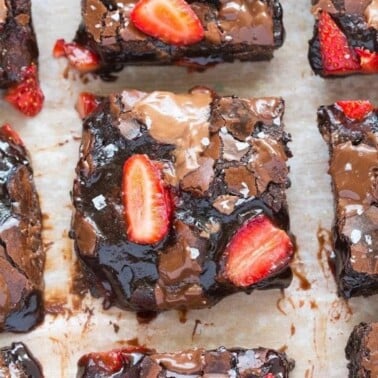
Strawberry Brownies
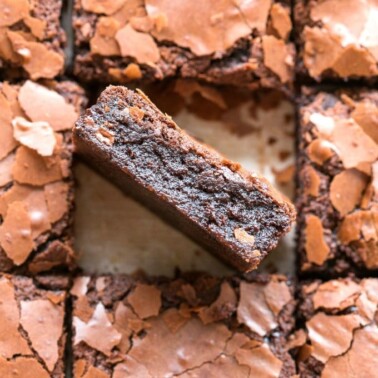
Brownie Recipes
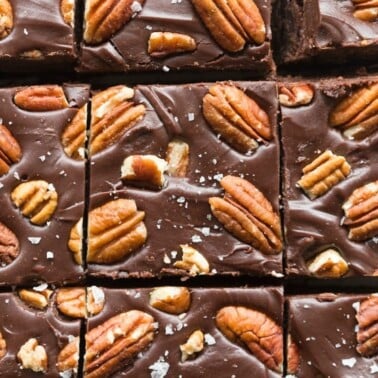
Pecan Brownies
Brownie Recipes
Peanut Butter Brownies

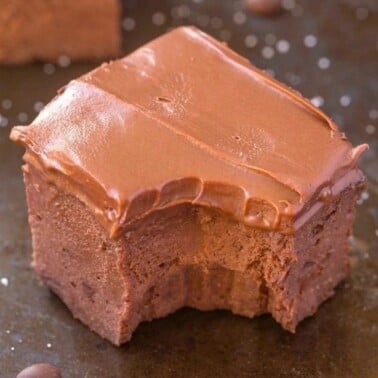
Brownie Recipes
Nutella Brownies
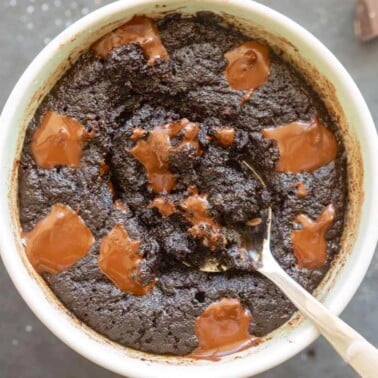
Brownie Recipes
Microwave Brownies
Brownie Recipes
Avocado Brownies
Brownie Recipes
Applesauce Brownies
Air Fryer Recipes
Air Fryer Brownies

Brownie Recipes
Oatmeal Brownies
Brownie Recipes
No Bake Brownies
Brownie Recipes
Black Bean Brownies

Brownie Recipes
Sweet Potato Brownies
Brownie Recipes
Pumpkin Brownies
High Protein Desserts
Protein Brownies

Brownie Recipes
3 Ingredient Brownies
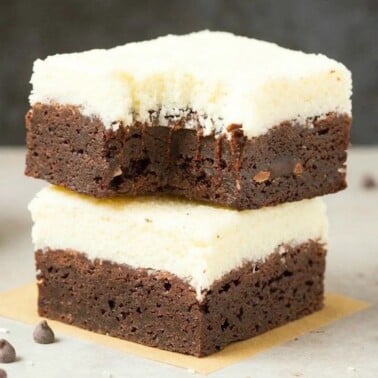
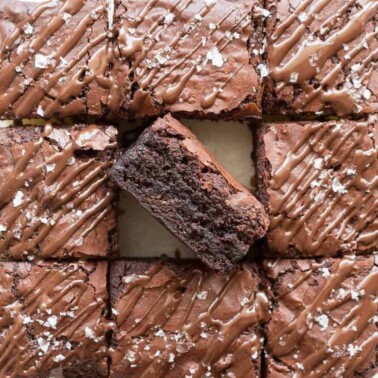
Brownie Recipes
Coconut Brownies
Brownie Recipes
2 Ingredient Brownies
Brownie Recipes


